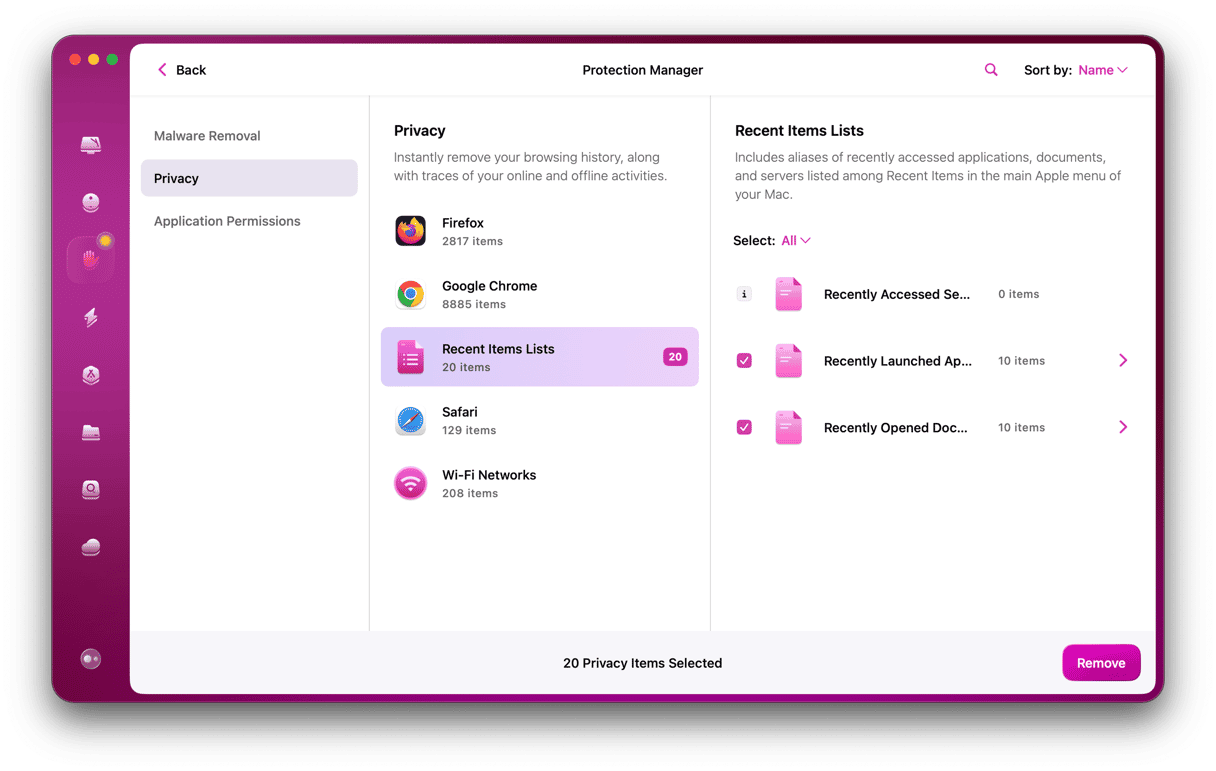
One of the big leaps forward Apple’ made when it launched OS X all those years ago was to support multiple user accounts on one Mac. Before that, there were no user accounts at all and no way to keep your files and settings separate from other people who used the same Mac. Since then, user accounts have evolved to tie in more closely with Apple ID and iCloud accounts and to allow you to quickly move from one user account to another. In this article, we’ll show you the different solutions for how to switch users on a Mac, and we’ll explain what the different types of user accounts are and what they are for.
How to create and manage user accounts on Mac
If you are the only person who ever uses your Mac, you probably only have one user account set up and have never thought of adding another one. But even for solo users, there are reasons for adding a second user account. For example, you could have one account for work and one for personal use so that you keep the data and settings for each separate. Or you could create a guest account so someone else can borrow and use your MacBook.
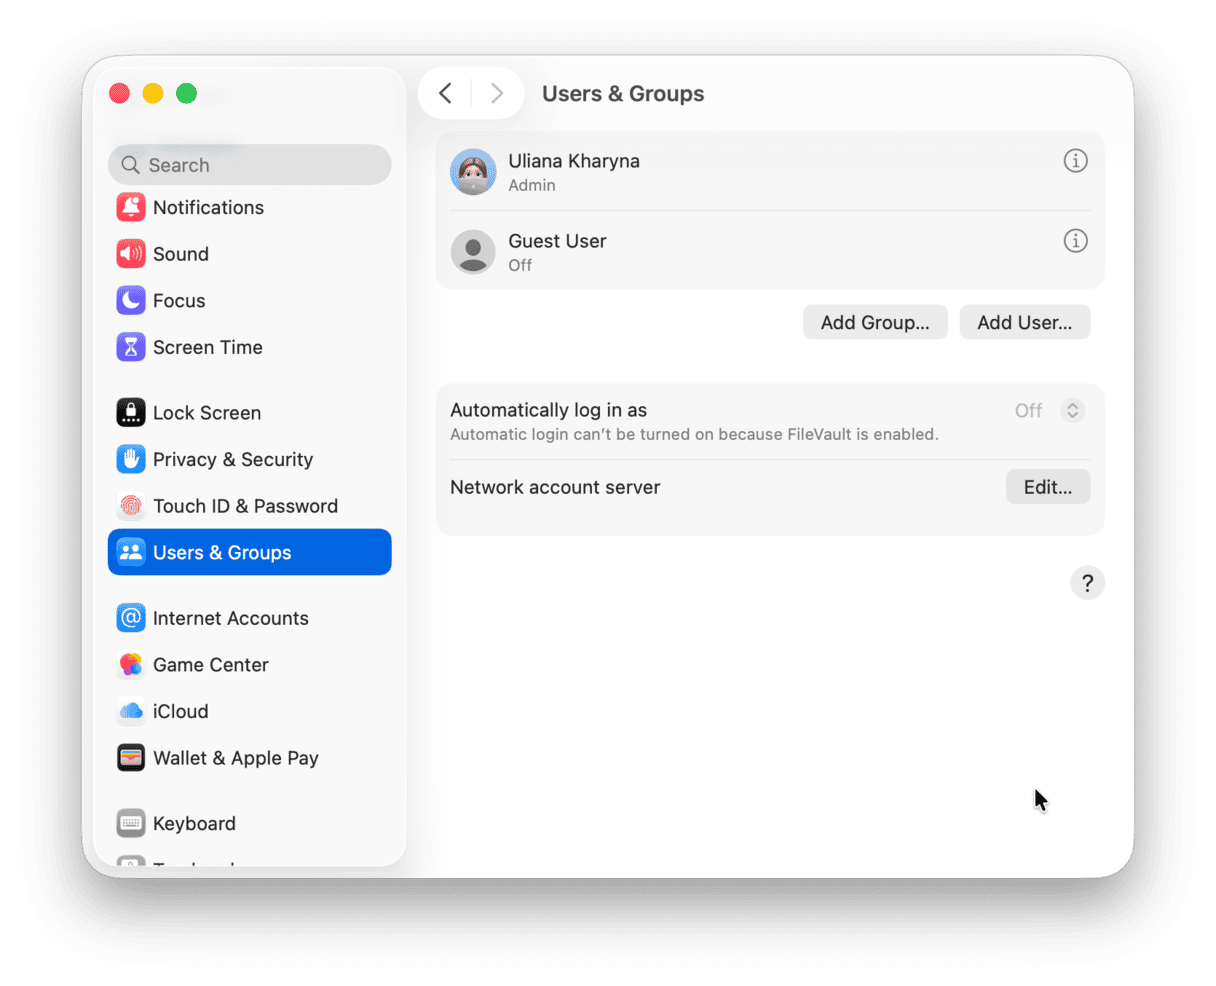
To create a new user account on your Mac, do the following:
- Click the Apple menu and choose System Settings.
- Go to Users & Groups.
- To enable the standard guest account, click the ‘i’ next to Guest User and turn on Allow guests to use this computer.
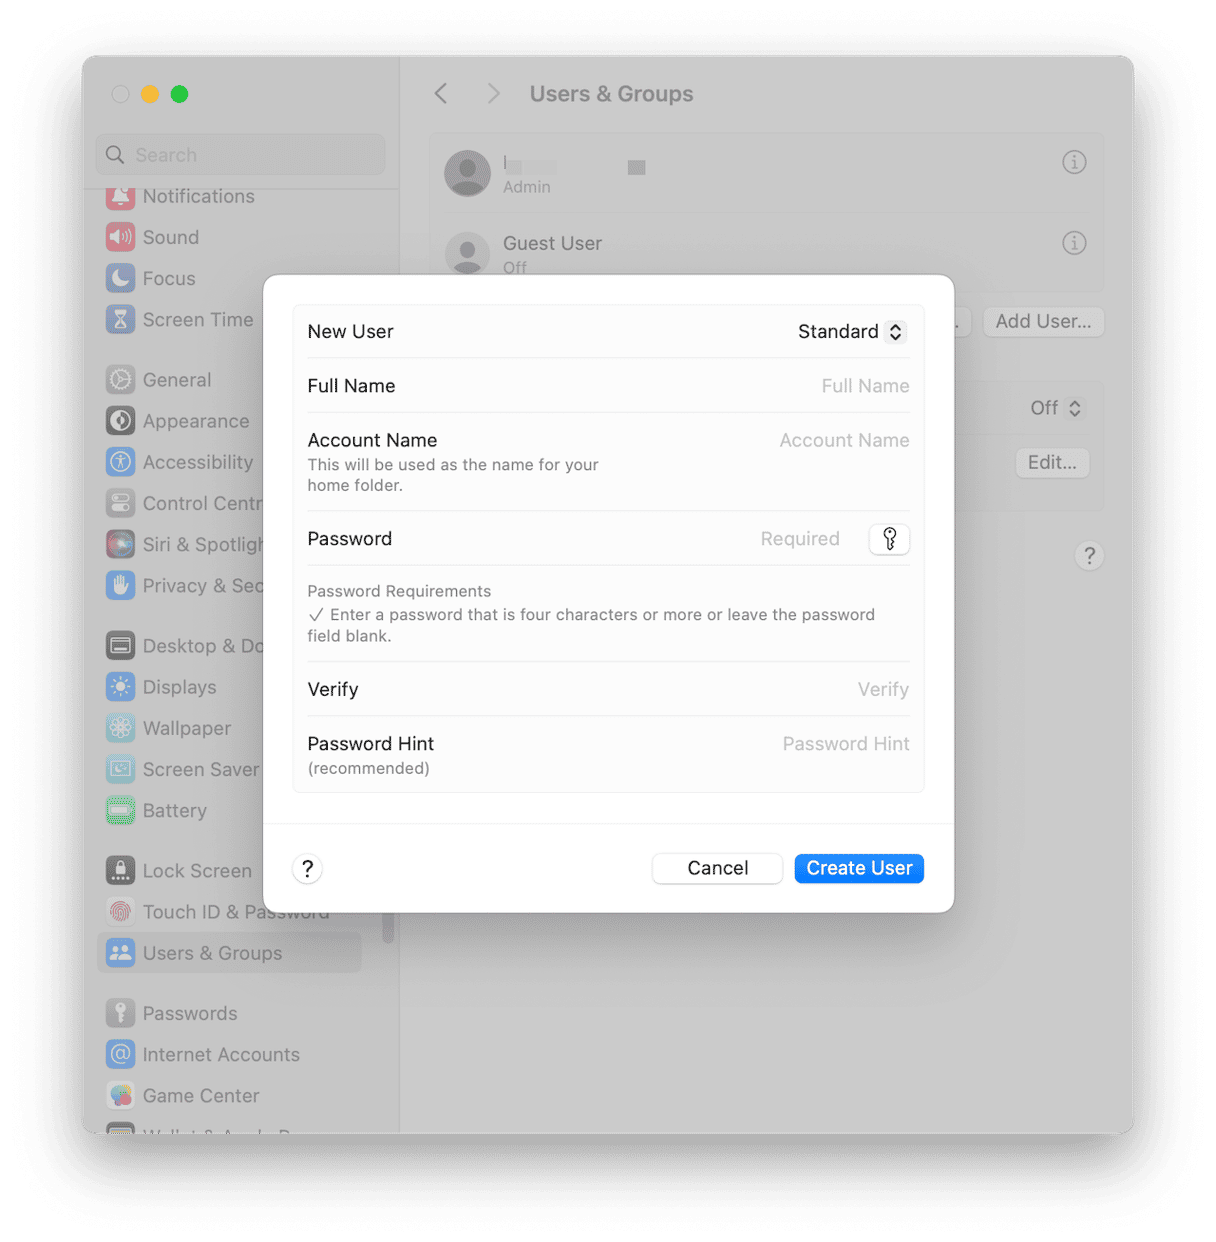
- To create another user account, click Add User then type in your admin password.
- Complete the form that appears on the screen and click Create User.
Note that while you can have as many admin users as you like on one Mac, you only need one. As long as one user has admin rights, the others can all be regular users who can make changes to their own accounts but can’t do things, like install some software or change some settings, that are reserved for admin users.
How to switch between users on Mac
There are several ways to switch user accounts, each with its own pluses and minuses.
1. Fast User Switching
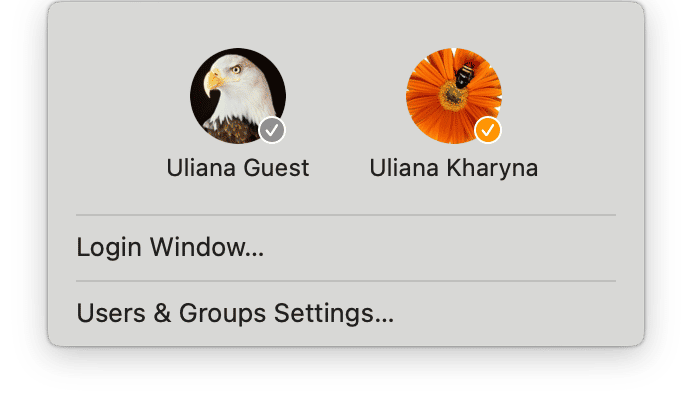
As its name suggests, this is the fastest way to switch users on Mac. All you have to do, once it’s enabled, is to click the user icon in the menu bar and choose the user you want to switch to. Then, type in the password for the user account. The downside of this method is that because the current user remains logged in, their account continues to take up resources like RAM, so it may slow your Mac down. Here’s how to enable Fast User Switching:
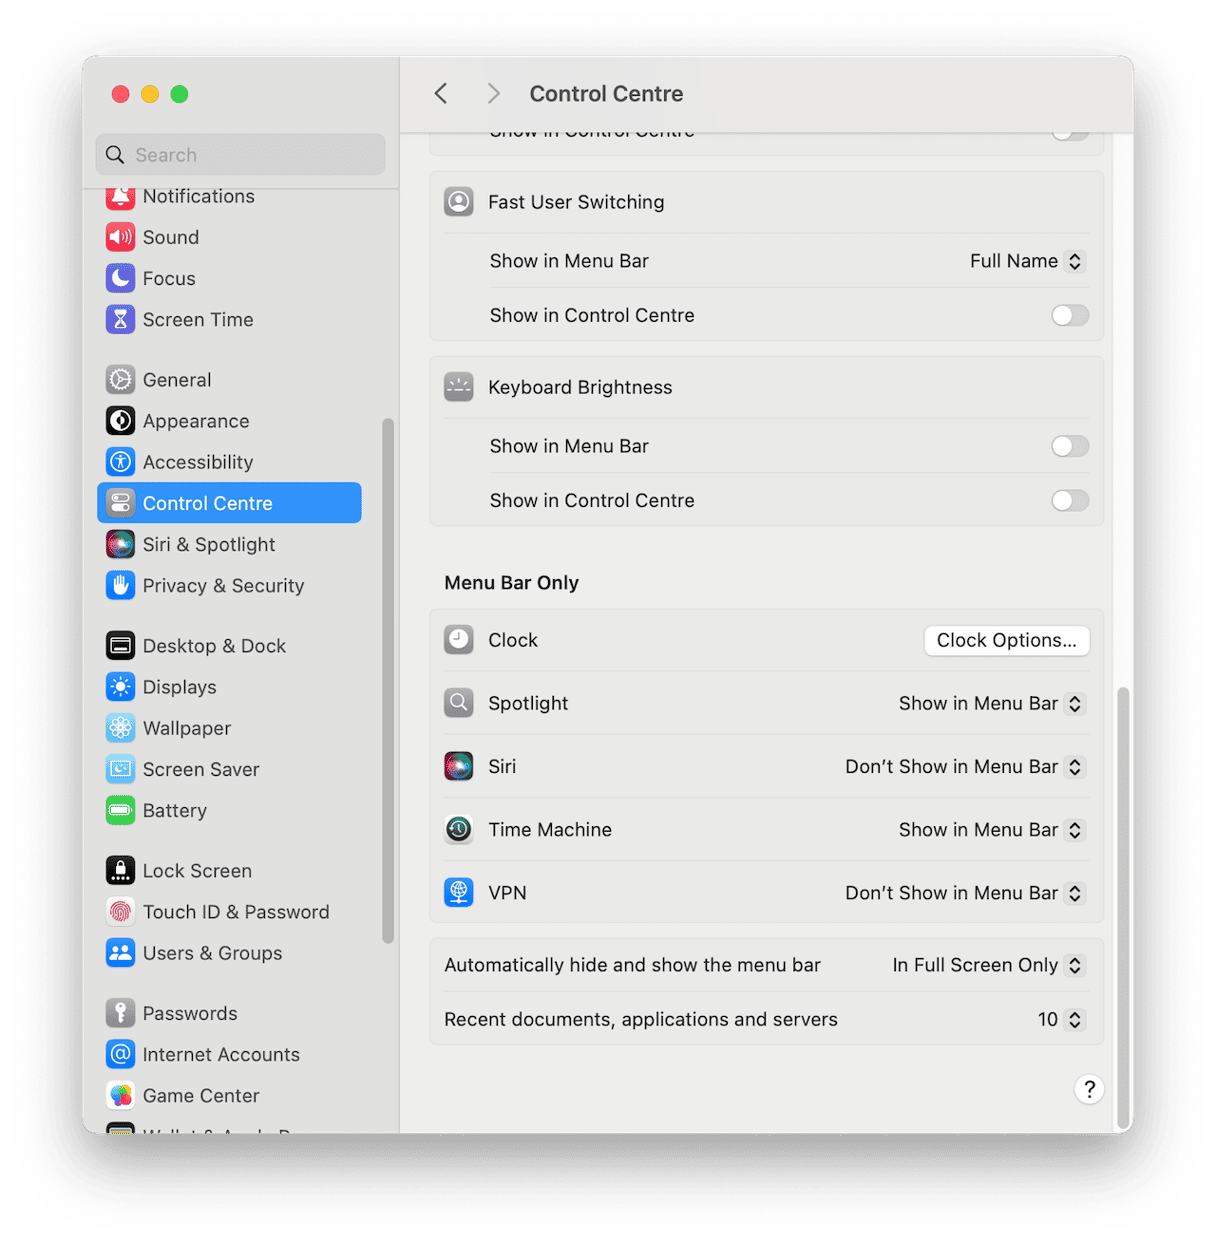
- Go to System Settings and choose Control Center.
- Scroll down to Fast User Switching.
- Click the menu next to Show in Menu Bar and choose an option.
- If you want to add it to Control Center as well as or instead of the menu bar, enable that option.
Once you’ve enabled Fast User Switching, here’s how to quickly switch users on Mac:
- You choose the user you want to switch to in the menu bar or Control Center.
- Enter the password or use TouchID instead of typing in the password.
2. Lock Screen
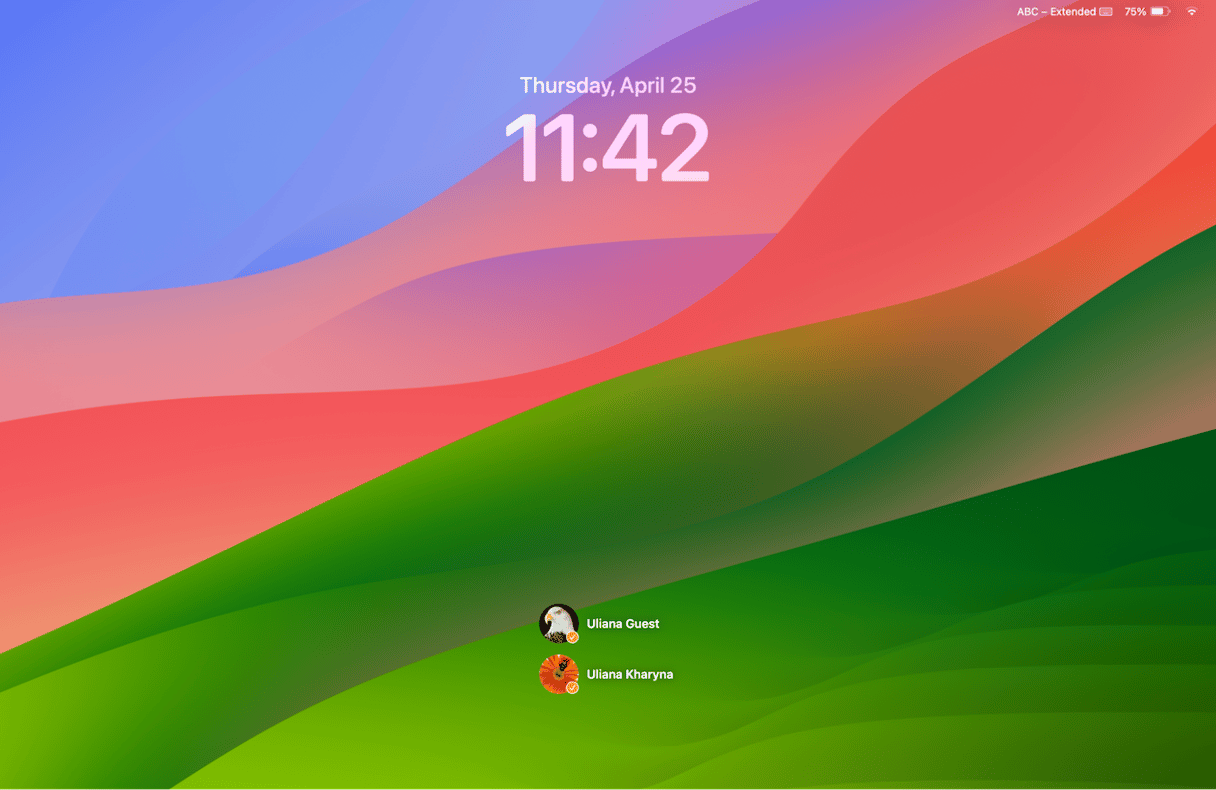
This method also leaves the currently logged-in user logged in, so it will also consume more resources, but it’s useful if your Mac goes to sleep while one user is logged in and you want to switch to another user.
- If the lock screen isn’t already visible, click the Apple menu and choose Lock Screen.
- Click on the name or picture of the user on the lock screen.
- Choose a different user.
- Type in the user’s password or use Touch ID to authenticate.
3. Log out and then log back in again
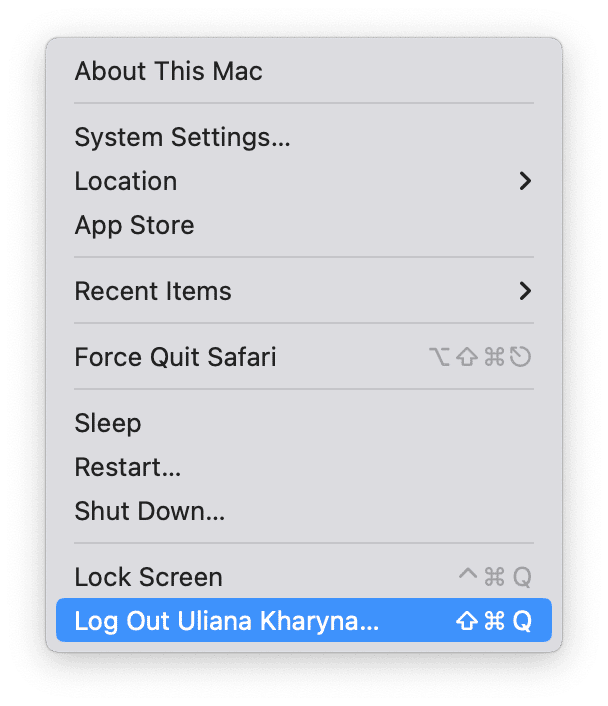
This method uses the fewest resources because it logs one user out before logging another user in.
- Click the Apple menu and choose Log out.
- On the next screen, click the user you want to log in.
- Type in the password for the user or use Touch ID to authenticate.
4. Use keyboard shortcuts
You can also use keyboard shortcuts to switch users:
- To switch to the next user account, use Control + ⌘ + F
- To return to the lock screen and choose a different user, use Control + ⌘ + Q
If your Mac has lots of user accounts on it, you may need to switch between them quickly, or you may need to log out of one and into another. Follow the tips above to discover how to switch users on your Mac.


