The iPhone is a great device for taking photos and videos. Its camera has improved with each new iPhone release and is now able to shoot 4K video, with a telephoto and wide-angle lens, in low light and using some very clever tech to automatically switch focus from one subject to another in a scene. It’s no surprise that the iPhone has been used to shoot movies and is frequently used in television for reporting from remote locations. However, while you can edit and share videos directly from your iPhone, most of us want to put them on our Mac for editing. And that’s not always as simple as it should be. In this article, we’ll show you how to move videos from iPhone to Mac in four different ways.
Options for transferring videos from iPhone to Mac
There are lots of options for transferring videos from your iPhone to your Mac. We’ve detailed the most convenient and fastest methods here:
- iCloud Photo
- AidDrop
- iCloud Drive
- USB cable
However, you can also use a third-party USB stick that also has a Lightning connector to connect to your iPhone. Or you could copy files to a network attached storage device if you have one. You could even email videos to yourself from Photos by choosing Mail in the sharing options.
How to avoid clutter while importing videos
If you transfer lots of videos to your Mac using the instructions here, they will take up lots of space on your Mac. It’s a good idea to archive those you don’t need to access regularly on an external drive.
Locating those videos, however, can be tricky if they are stored in lots of different places on your Mac. One easy way to track them down is CleanMyMac’s Large & Old Files module. It scans your Mac and locates the largest and oldest files, many of which will be videos. You can then decide whether to move them to another storage device or delete them. It’s a very quick and easy way to free up lots of space on your Mac, and you can download CleanMyMac for free here.

Once downloaded and installed, follow these steps:
- Open CleanMyMac and click Large & Old Files from the sidebar.
- Click Scan.
- Now, select the files you want to delete.
- Select the removal type and click Remove.
iCloud Photo: the easiest way to transfer videos from iPhone to Mac
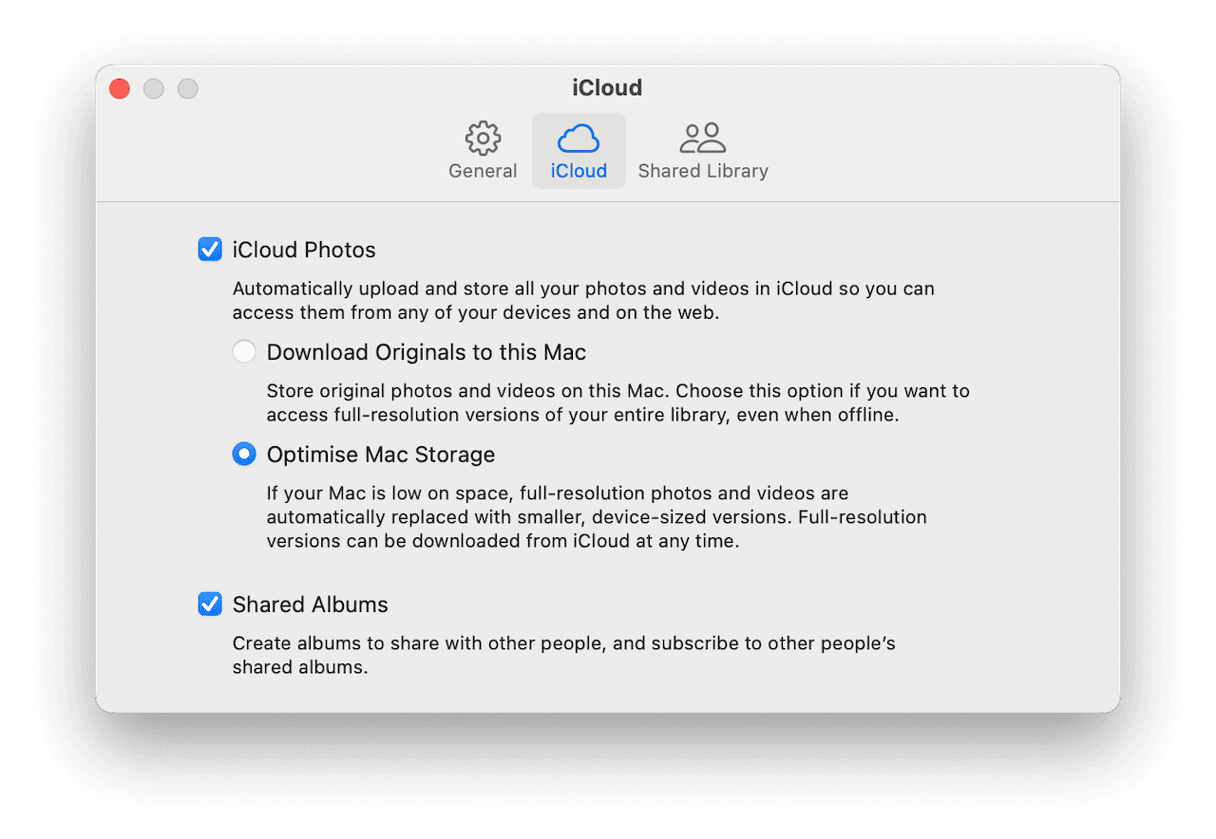
The simplest method to put iPhone movies on your Mac is to use iCloud Photo. If you have iCloud Photo enabled on both your Mac and iPhone and are signed into the same Apple ID on both, then the videos you shoot on your iPhone will sync with iCloud and eventually appear in Photos on your Mac. You can then export them and use them in any application you want.
The problem with this method is that it can be very slow, especially if you have several large videos to transfer. Depending on how you have your iPhone configured in Settings, they may not sync when you’re not connected to Wi-Fi. And, in all cases, your iPhone will pause syncing when the battery level drops below a certain point. You will have to manually restart it and force it to sync, then wait for Photos on your Mac to sync.

How to move videos from iPhone to Mac using AirDrop
AirDrop is Apple’s wireless technology for transferring files from one device to another. The device can be a Mac, iPhone, or iPad. We’ll use the Photos app for this, as that’s where videos are usually stored. Even those shot in other apps are usually saved in Photos. However, the method will work in any app that has a share button.

Here’s how to use it to transfer videos from your iPhone to your Mac:
- Make sure your iPhone and Mac are close to each other and on the same Wi-Fi network. Both should also have Bluetooth switched on.
- Open Photos on your iPhone and locate the video you want to share.
- If you want to transfer more than one video, tap Select and choose all the videos you need to export. If you only want to transfer one video, tap it.
- Tap the share icon (a rectangle with an up arrow in the center).
- If you see your Mac in the list of options, tap it. If not, tap AirDrop and then choose it.
- Wait for the video to transfer. You’ll see a notification on your Mac telling you that there is an incoming transfer.
- When the transfer is complete, click Options in the Notification and choose Show in Finder or Open.
Importing video from iPhone using iCloud Drive
This method is similar to using AirDrop. Here are the steps:
- Locate the video in Photos or another app and select it.
- Tap the Share icon.
- Scroll down the list of options and choose Save File.
- Tap iCloud Drive.
- Select the folder where you want to save it and tap Save.
- On your Mac, navigate to iCloud Drive in the Finder and then the folder where you saved the video. You should see it there.
You can also use Save to File to copy a video to a network attached storage device if you have one and have installed its app on your iPhone or to another cloud storage service. You can then access it in the Finder on your Mac.
How to transfer videos from iPhone to Mac using a USB cable
- Plug the Lightning end of the cable into your iPhone and the USB end into your Mac (you may need an adapter for a USB-C connection).
- If prompted, confirm you trust the device you just plugged in.
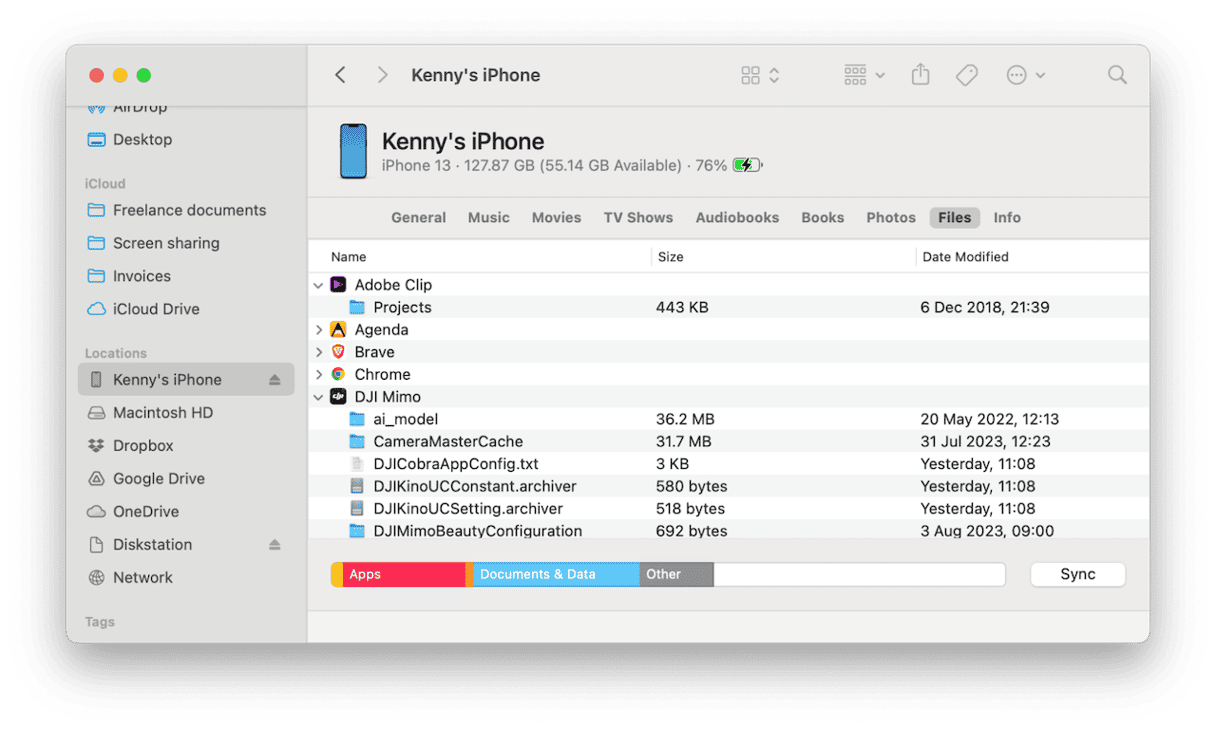
- Select your iPhone in the Finder sidebar and choose the Files tab.
- Locate the app in which the video is stored, click the dropdown arrow next to it to show its files, and then drag the video you want to transfer to your Mac onto the Desktop.

If the video is in the Photos app, you will need to open Photos, select your iPhone in the sidebar, and follow the prompts on the screen to transfer your video.
Transferring videos from your iPhone to your Mac should be simple, but it can be time-consuming if the video is a large file. Choose the method above that best suits your circumstances and follow the steps to transfer it to your Mac.


