If you’re like most iPhone users, you take full advantage of your camera. But the more photos and videos you have on your iPhone, the harder they are to organize.
Fortunately, there are several different methods for organizing your photos and removing them from your iPhone.
This article will look at different backup methods and ways to transfer your images from your iPhone to a computer or an external hard drive so you can finally organize your digital clutter and save space on your iPhone.
Why you might need to get photos off your iPhone
The most common reason to get photos off your iPhone is to free up storage space. High-resolution photos and videos take up a lot of space, and before you know it, you won’t be able to perform software updates or download new apps.
If you hate deleting images, removing them from your iPhone will reduce clutter and probably anxiety, too. Instead of living on your iPhone, you can keep your photos in the cloud or on an external device. They’ll be safe, but you won’t have to look at them.
However, I still recommend spending a few minutes each day, week, or month going through your digital clutter and permanently deleting photos you no longer want, including random screenshots, blurry images, or duplicates.
Why? Because if you keep taking photos and videos and not managing them, eventually, you will have to pay to store those photos that you may never look at again.
How to get photos off your iPhone
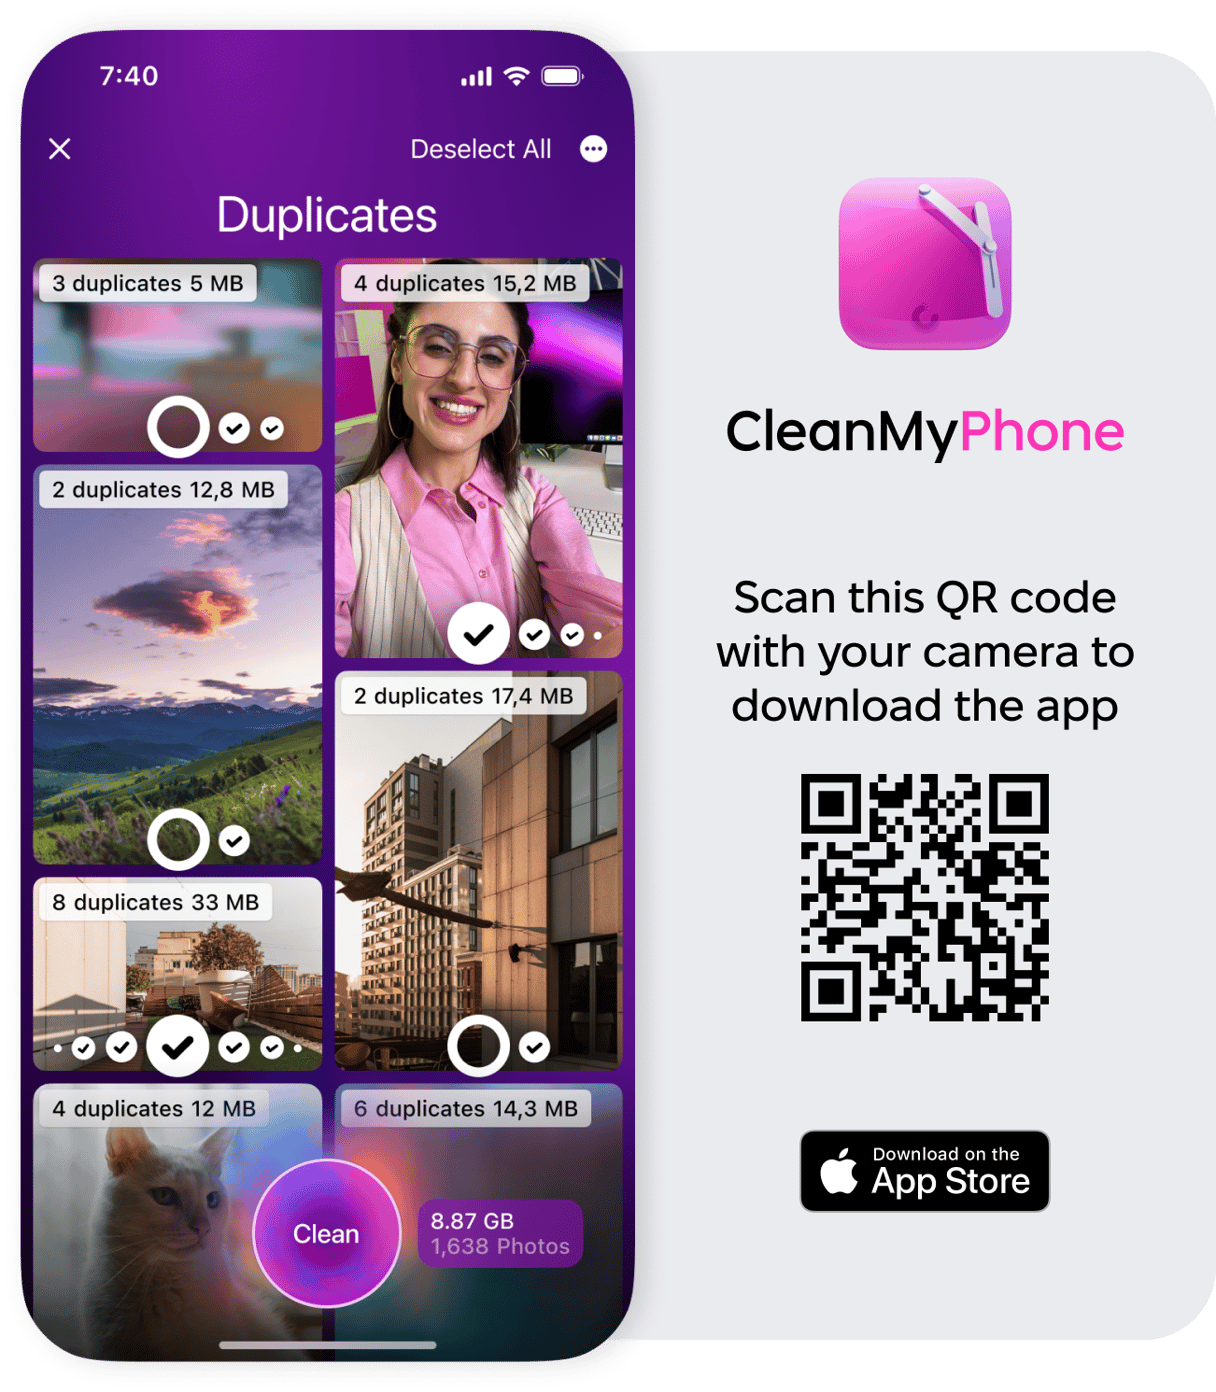
Sure, you can manually work your way through all of your photos and delete the ones you don’t want from your photo library, but there’s an easier way. You can use CleanMy®Phone — the photo management app that makes the tedious chore of managing the photo library on your iPhone or iPad quick, painless, and a lot more fun.
CleanMy®Phone uses an advanced AI model to analyze and sort your media files, selecting those you may not want to keep any longer. To use CleanMy®Phone, simply download the app, tap ‘Scan’ while on the Declutter screen, and go through your categories to find duplicates, blurry photos, screenshots, and other useless stuff. You can also use CleanMy®Phone and its Organize module to find similar shots and categorize the remaining ones in albums.
How to offload photos from iPhone
When you backup your photos and videos to iCloud, you are saving the high-resolution version in the cloud while keeping a low-resolution thumbnail on your phone. As long as you have strong cell service or Wi-Fi, you can access your entire photo library whenever you need it.
iCloud is by far the easiest method for backing up your photos, but there are a few downsides. The first is that your iPhone syncs with iCloud, so if you accidentally delete a photo on your iPhone, it will also be deleted from iCloud the next time it syncs. The other issue is that depending on how many photos you are storing, iCloud can be expensive, especially if you never go through and delete photos you don’t want.
Other cloud storage options include iCloud, Google Photos, and Dropbox. Both can be set up to sync your photos automatically and, unlike iCloud, photos you delete from your iPhone will remain in Google Photos or Dropbox until you remove them.
Here are instructions for how to offload photos from iPhone by backing up your photo library to different cloud storage platforms.
Offload photos to iCloud
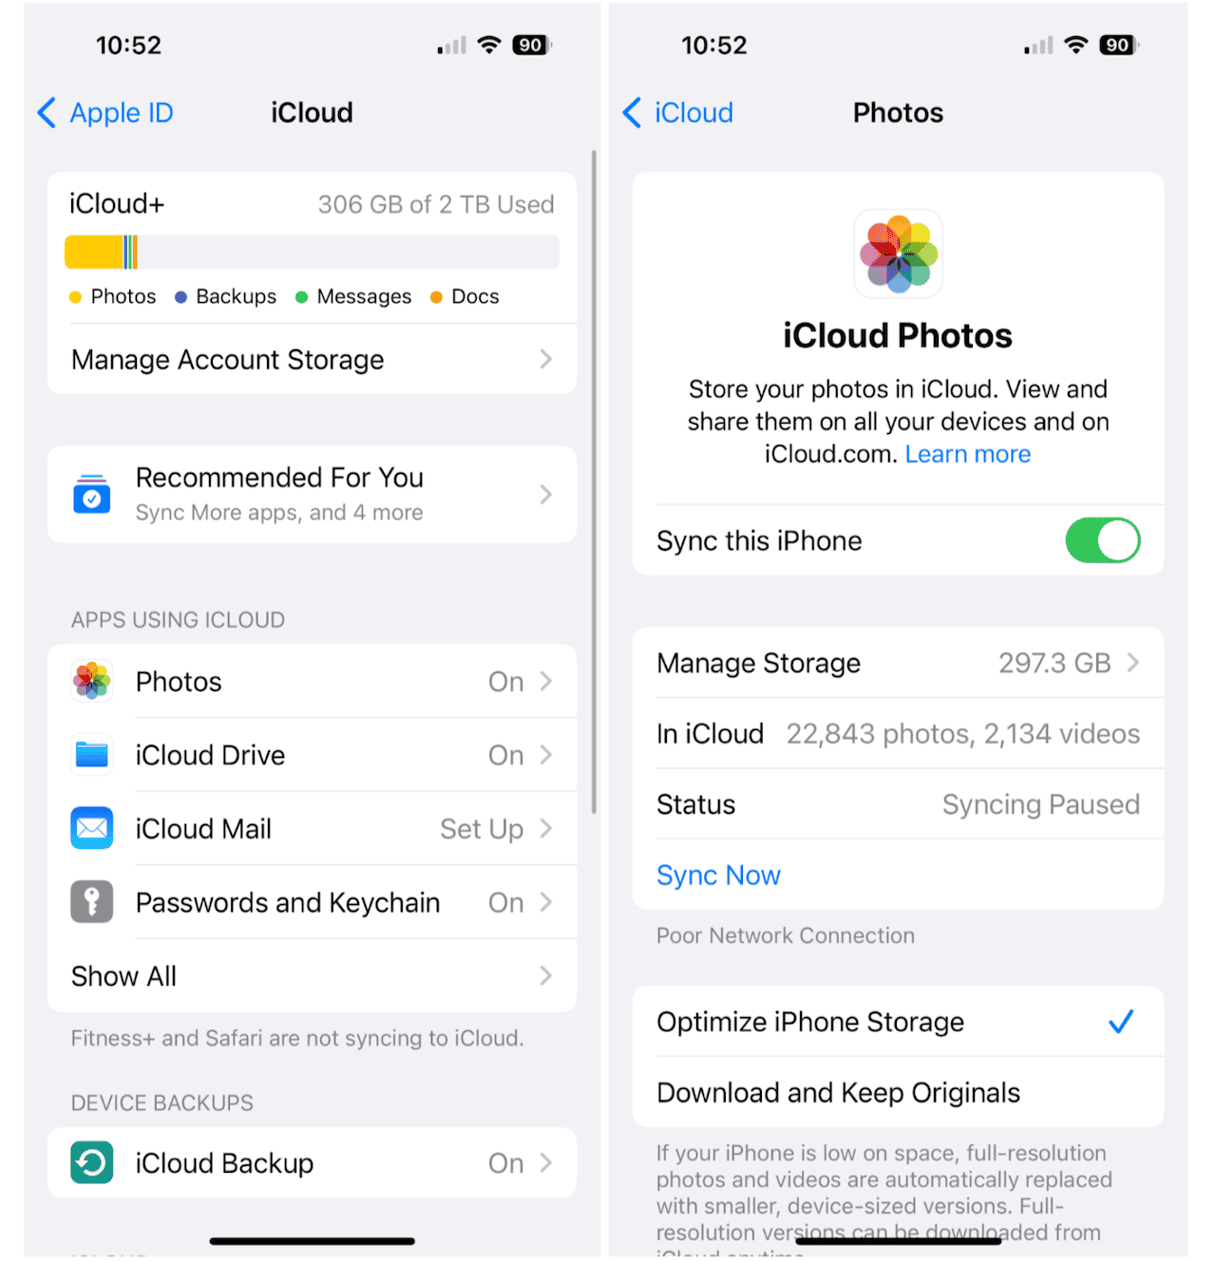
iCloud Photos works in conjunction with the Photos app to store your photos and videos securely. When you save your photos and videos in iCloud, you can access them from any Apple device using that iCloud account. Here’s how to make sure your photos and videos are being saved to iCloud automatically:
- Navigate to Settings on your iPhone.
- Tap your name to open your Apple account.
- Choose iCloud.
- Tap ‘Photos’ and enable ‘Sync this iPhone.’
Offload your photos to Google Photos
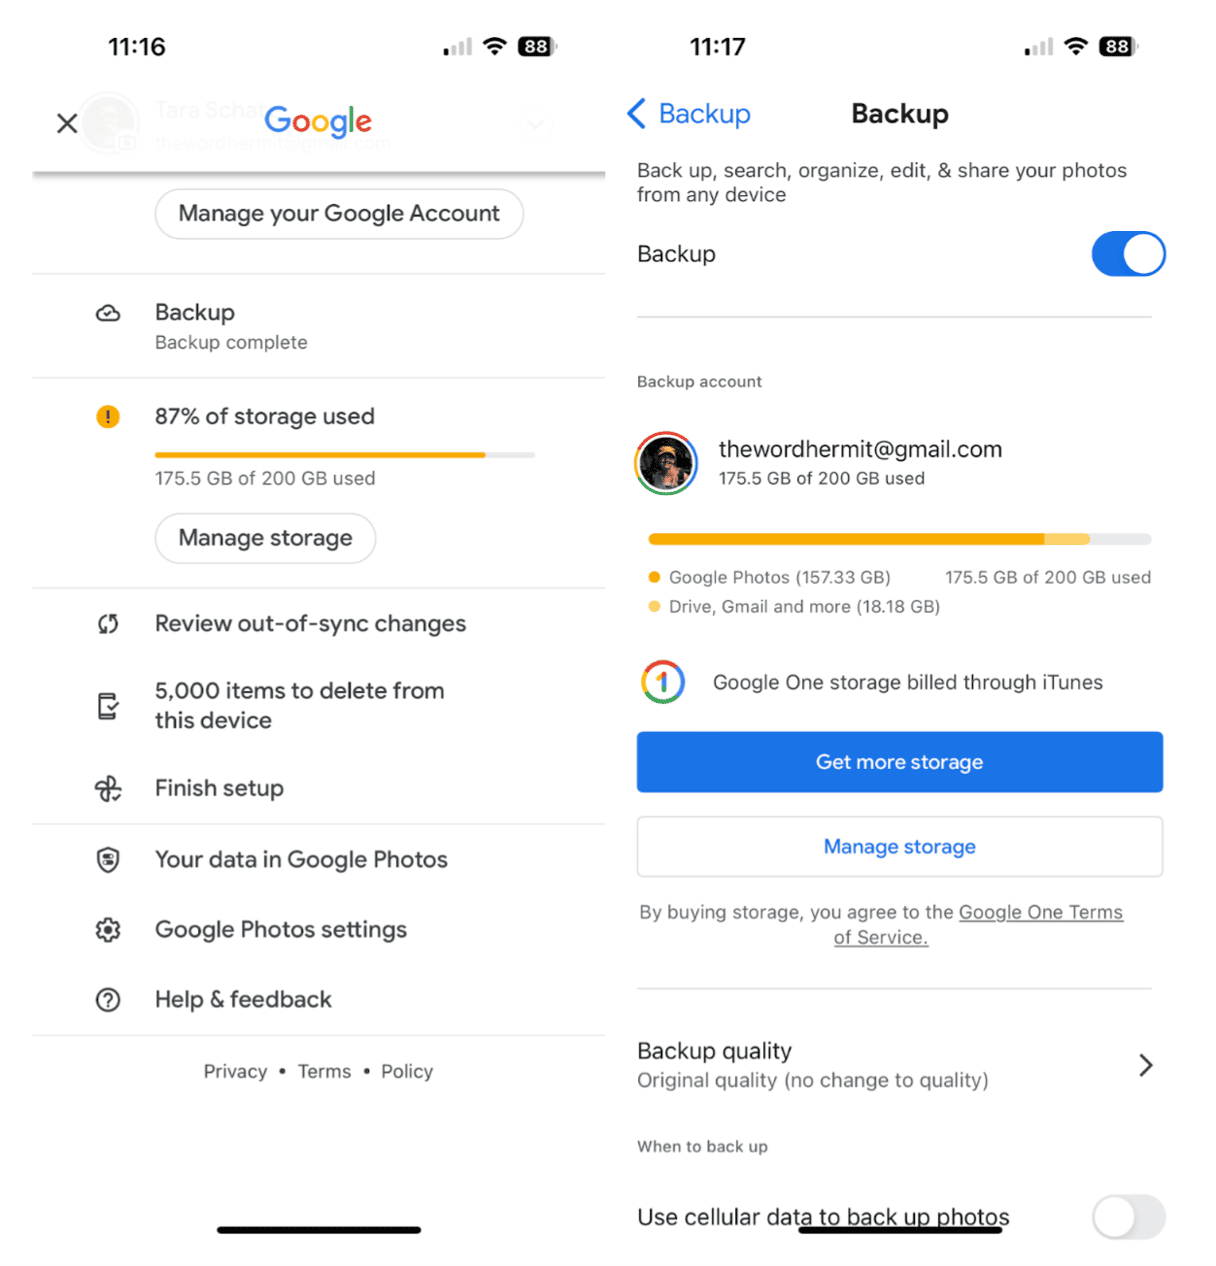
If you use Google Photos, you can set it up to automatically save your photos and videos, which you can then access with any device as long as you are signed into your Google account. It’s important to remember that your Google Account storage is shared across all of your Google products, including Gmail, Google Drive, and Google Photos. Here’s how to backup your photos to Google Photos:
- Open Google Photos on your iPhone.
- Tap your photo icon in the upper right corner of the screen.
- Tap ‘Backup’.
- Choose the settings icon in the upper right.
- Toggle on ‘Backup’.
- You can also choose ‘Backup quality’ to adjust the quality of your backups.
How to get pictures off iPhone to Dropbox
If you use Dropbox as your cloud storage, you can easily upload your photos using the mobile app. Here’s how:
- Open Dropbox on your iPhone.
- Tap the person icon.
- Choose ‘Camera uploads’.
- Tap ‘OK’ to give Dropbox permission to access your photos and videos on your iPhone.
- Choose what you want to back up to Dropbox and whether you want to complete backups using cellular data.
- Choose ‘Turn on camera uploads’.
How to offload photos from iPhone over Wi-Fi
Automatic backups are the easiest way to get photos off of your iPhone, but you can also use AirDrop to transfer photos to other Apple devices using iOS or macOS, or you can transfer photos using Bluetooth or Wi-Fi.
How to use AirDrop on your iPhone to transfer images
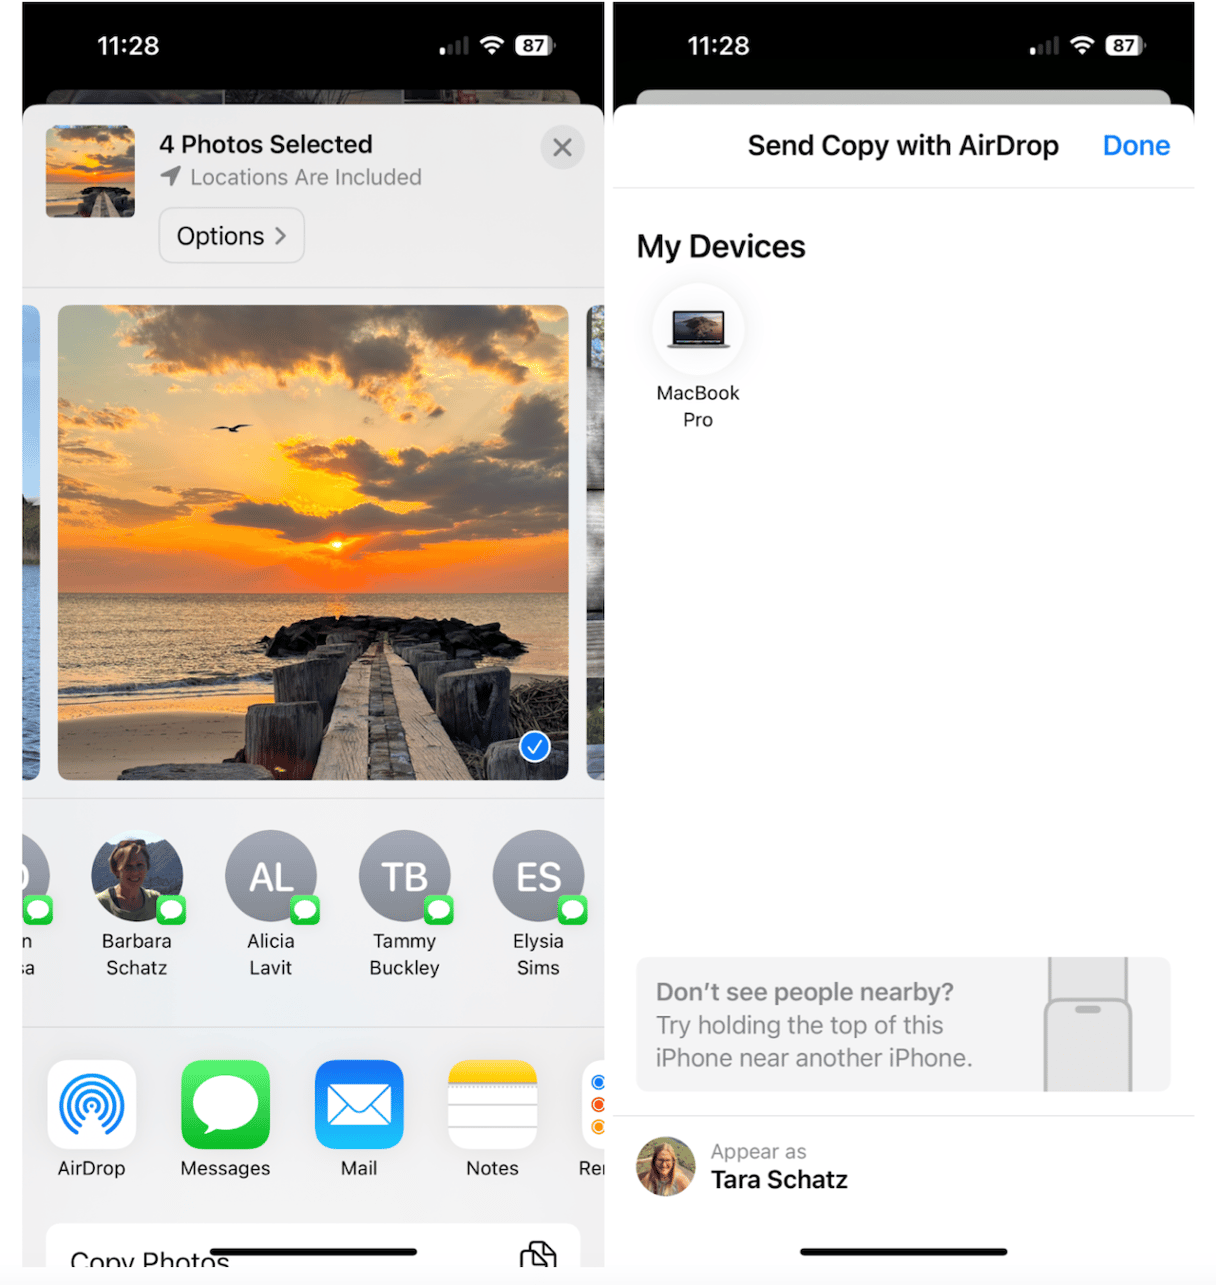
In order to use AirDrop to get photos off your iPhone, you must send them to an Apple device within Bluetooth and Wi-Fi range, and both devices must have AirDrop enabled to receive information from ‘Everyone’ or ‘Contacts Only’ (as long as you are one of those contacts).
Follow these instructions to transfer photos or videos via AirDrop:
- Open your Photo library and select the photos and videos you want to send.
- Tap the share icon at the bottom of your screen.
- Choose ‘AirDrop’.
- Choose the device that you want to send your photos to.
- On the other device, choose to accept or decline the transferred photos.
Transfer photos to a computer using Wi-Fi or Bluetooth
If you need to transfer photos from your iPhone to a Windows PC, you can do it over Bluetooth. Both devices should be within Bluetooth range of each other and connected. Follow these instructions to begin a wireless transfer:
- On your iPhone, go to Settings and open the Bluetooth menu.
- Tap on the name of your Windows PC.
- Once the two devices are connected, open your photos and select the ones you want to send.
- Choose the share icon and choose ‘Bluetooth.’
- Approve the transfer on your PC.
Transfer photos using a USB drive
You can also transfer your photos to a USB drive or other storage device. Once you’ve transferred your photos from your iPhone to an external drive, you can move to a computer. Follow these steps to get photos off your iPhone using this method.
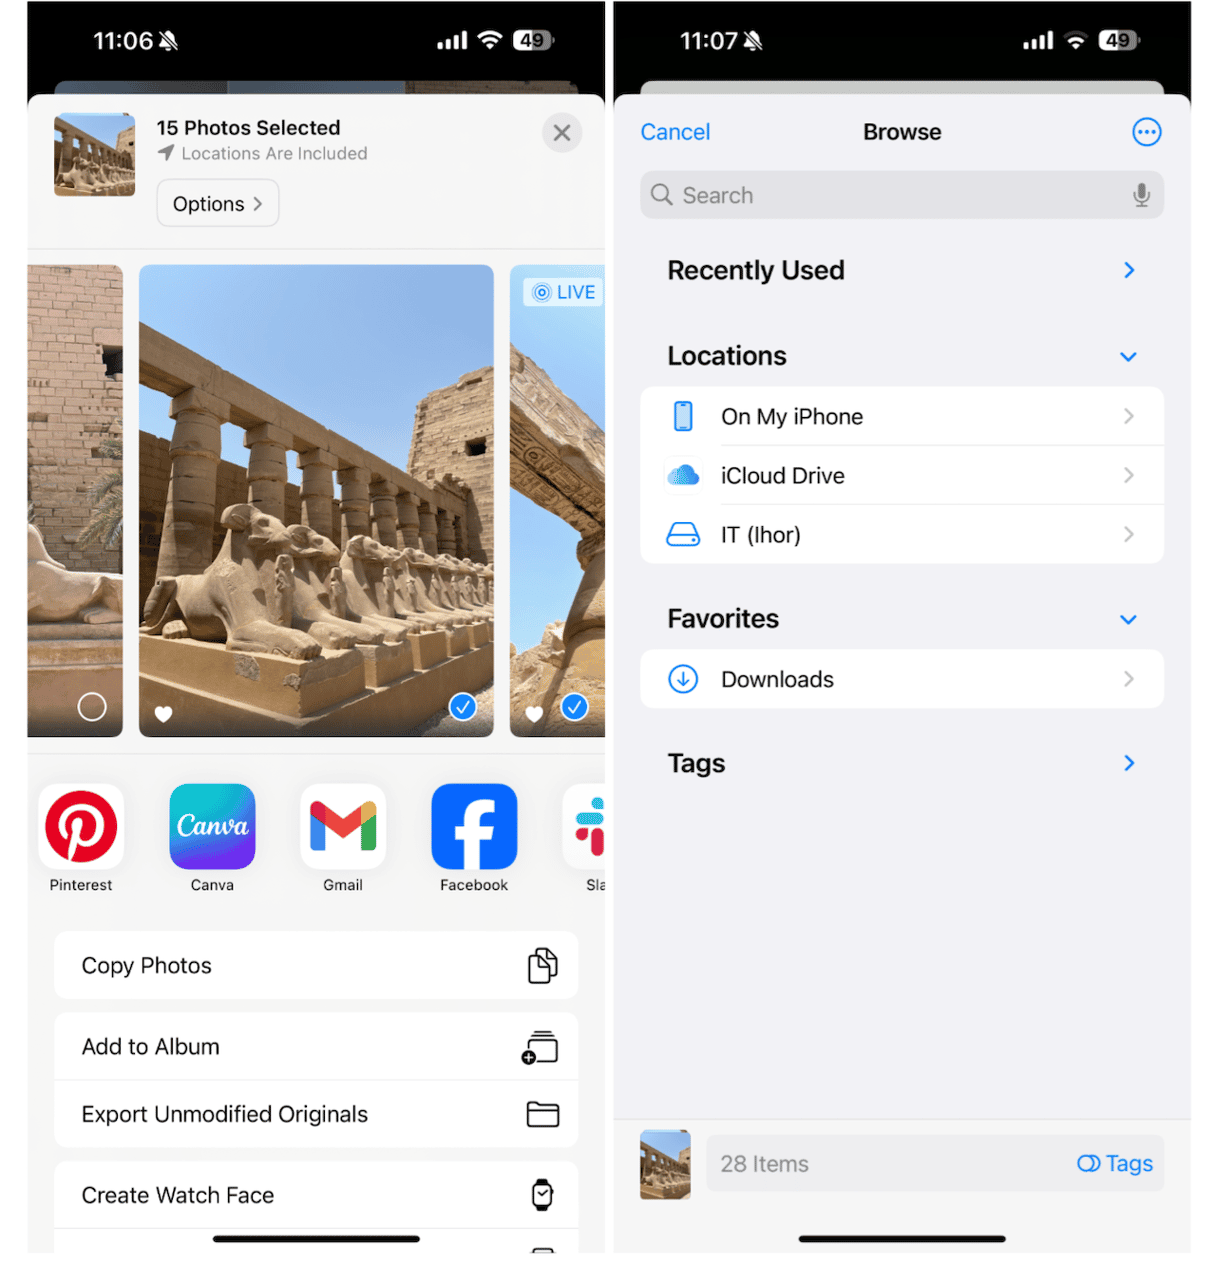
- Connect an external storage device to your iPhone using either a Lightning or USB-C connector.
- Open the Photos app.
- Select the photos and videos you want to get off your iPhone.
- Tap the share icon.
- Choose ‘Export Unmodified Original.’
- Under Locations, choose the storage device that you want to use and tap ‘Save.’ Your photos and videos will be saved on your external hard drive. You can now delete the photos from your iPhone.
If you want to transfer the photos to a computer or even to a flash drive when your iPhone is connected to your computer, simply plug the drive into your Mac and use Image Capture. If you connect it to a Windows PC, you’ll need to use the native Photos app or File Exporter. Find all the steps you’ll need to follow in this article.
While it’s not difficult to get photos off of your iPhone, the more photos and videos you have, the harder they will be to manage. Sure, you can pay extra to save all of your files in iCloud, Google Photos, or Dropbox, but an easier method is to simply take some time to go through your photos and delete the ones you no longer want using CleanMy®Phone.


