There are a ton of great reasons why you’d want to transfer your pictures over to an external hard drive. First, photographs and videos can take up a lot of space. So, moving them off of your Mac’s hard drive will free up your storage for other things. Maybe you want to keep your photo library on your computer but want to make sure you have a backup somewhere. Well, don’t worry. This article will show you how to do both of those things and what you should do before you start.
Tips for how to move your Photos library to an external hard drive
As you’ll see later in this article, transferring over your pictures might not be as daunting as you think. But there are a couple of steps you should take before you start.
1. Clean up your Photos library
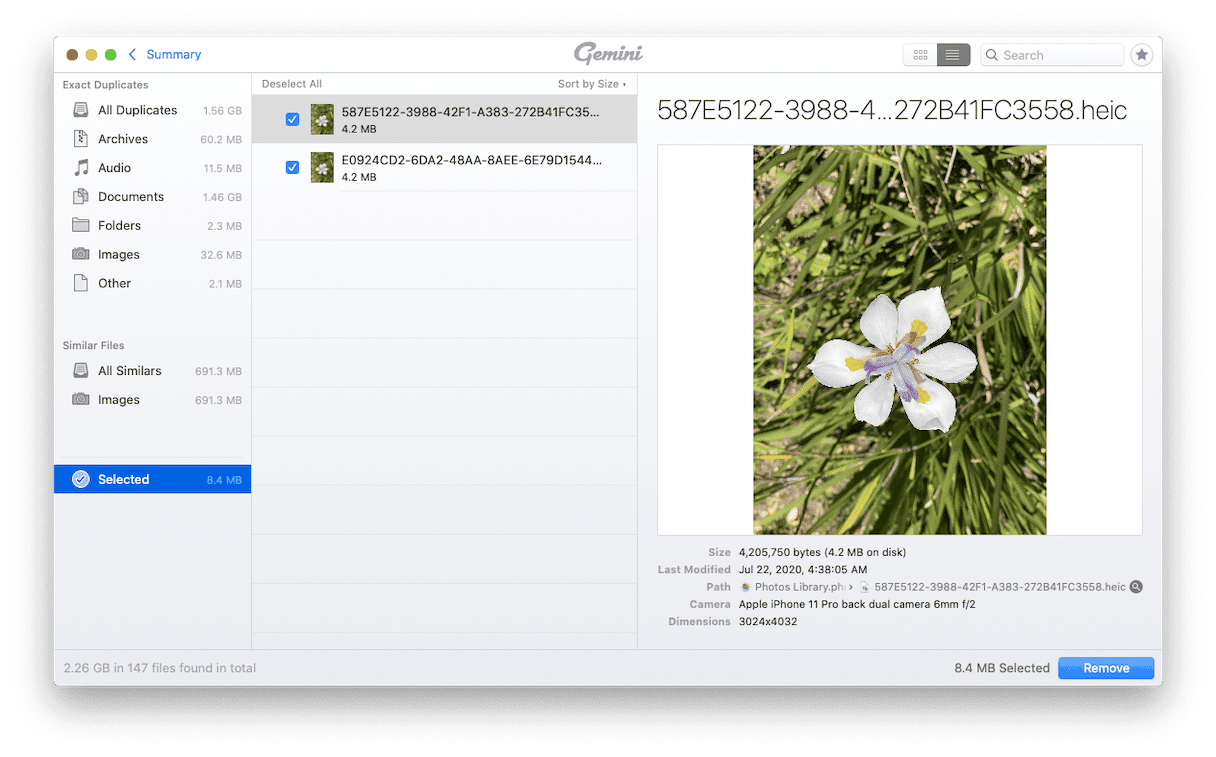
Your pictures and videos can use a lot of space. The last thing you want to do is waste any of that storage on images you don’t actually want, like duplicates and similar-looking pictures. Fortunately, the app Gemini 2 can scan your hard drive for all of the duplicate files on your Mac and will help you quickly get rid of them.
Once you have Gemini 2 downloaded and installed, follow these steps to clean up your Photos Library.
- Open Gemini 2.
- Click + > Pictures Folder > Scan for Duplicates.
- Choose either Review Results or Smart Cleanup.

If you want to see what Gemini’s scan found, you can click Review Results and select the files you want to delete. On the other hand, Gemini uses an algorithm to choose the best version of your pictures, and you can get rid of all the additional copies by clicking Smart Cleanup.
2. Format your hard drive
Most external hard drives work universally for both Mac and Windows computers. But, each of those operating systems has a different hard drive format they work better with.
Before you just start dragging and dropping your files over to your external drive, you should make sure it’s formatted the way you want. And that’s because when you format or reformat a hard drive, you are completely erasing it. So, save yourself the headache later and format it right from the start.
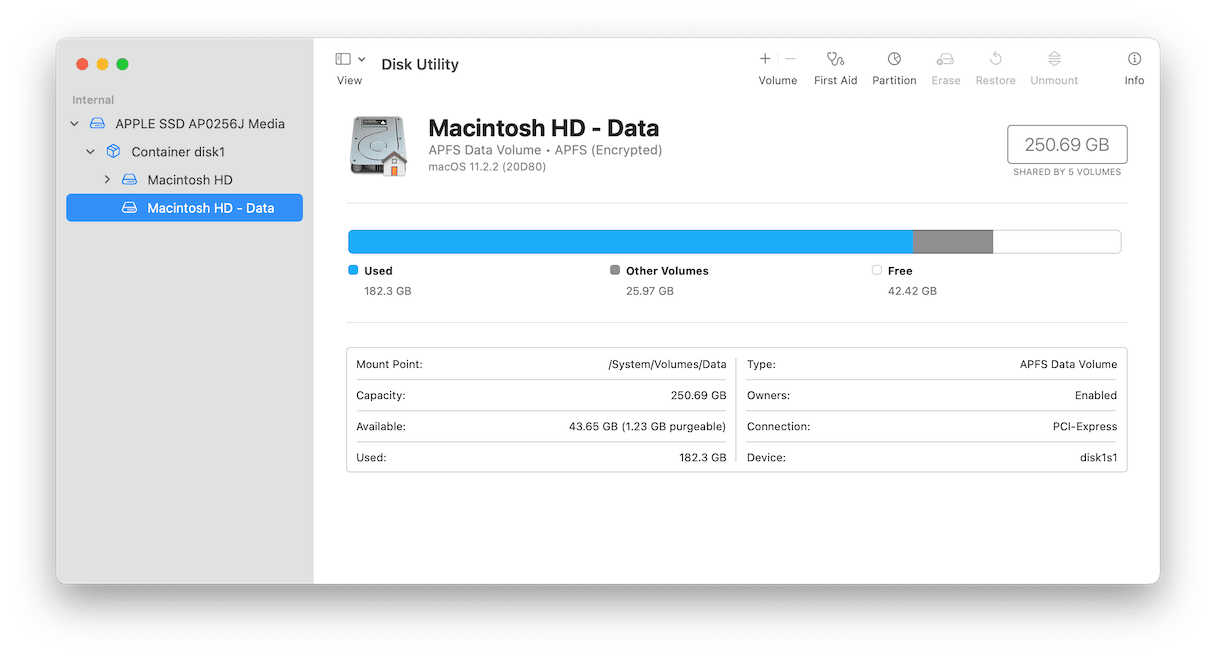
As a general rule of thumb, your external hard drive should be formatted the same way the hard drive in your computer is formatted. Here’s how you check the format of your internal drive:
- Open Disk Utility.
- Click on Macintosh HD in the sidebar.
- In the Type field, you’ll see the format. It’s usually APFS or Mac OS Extended (Journaled).
Tip: It’s in the Applications > Utilities folder.

Now that you know what format your external drive should be in, keep Disk Utility open and follow these steps:
- Connect your external drive to your Mac.
- Click View > Show All Devices.
- Select the hard drive in the sidebar, then click the Erase.
- From the Scheme pop-up menu, choose GUID.
- Then, in the Format pop-up menu, select the file system format.
- Enter a name for the disk or volume.
- Click Erase.
Note: Do not click Macintosh HD. That will erase your Mac’s hard drive.
3. Transfer your photos
After you’ve cleaned up your library and formatted your external hard drive, then it’s time to transfer your pictures.
How to copy photos from Mac to an external hard drive
Manually, copying your pictures from your Mac to an external drive is pretty straightforward. And it’s even easier if all of your images are in your Photos library.
Assuming all of your pictures in iPhoto or Photos, here’s how you copy over your library:
- Connect your external hard drive to your Mac.
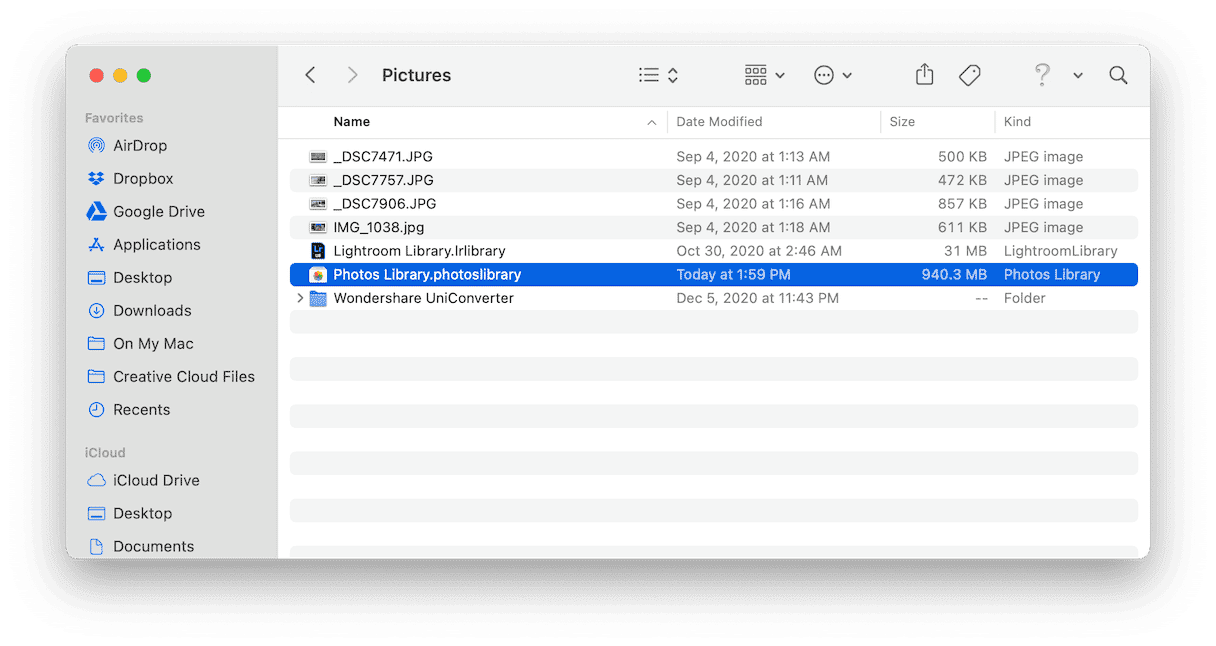
- In Finder, go to your Pictures Folder.
- Drag your iPhoto or Photos Library onto your external hard drive.
Note: If you don’t see Pictures in the sidebar, you can click Go > Home > Pictures.

If your images are not all saved in iPhoto or Photos, you can follow these same steps but for step 2, find the folder with your pictures instead.
How to backup Mac photos to an external hard drive
In theory, manually dragging and dropping your pictures to an external hard drive is a way of backing them up. But if you’d prefer something a little more automatic, then you should use the built-in macOS feature, Time Machine.
Follow these steps to enable Time Machine:
- Connect your external hard drive to your Mac.
- Open System Preferences.
- Click Time Machine > Select Backup Disk.
- Select your external hard drive and click Use Disk.
- Then, make sure you check the box Back Up Automatically.
Using Time Machine will back up your entire Mac, but you can exclude specific folders if you’d like by clicking the Options button.
Using an external hard drive for your pictures and videos can be incredibly helpful for saving space. But it’s also a great way to make sure all of your memories are backed up. Doing either is not difficult. However, the steps you take to prepare for moving over your photo library can save you from a ton of headaches.


