Visual Studio and Visual Studio Code are developer tools from Microsoft that support multiple different programming languages and enable the coding of websites and applications. If you’ve installed them on your Mac but no longer use them, it’s a good idea to uninstall them to free up space. We’ll show you several ways to do just that in several different ways.
What are Visual Studio and Visual Studio Code?
Launched by Microsoft in 2015, Visual Studio Code (VScode) is a source-code editor that runs on Windows, Linux, and macOS. It has support for several different programming languages, including C++, Java, JavaScript, and Python. Features include syntax highlighting, code folding, and bracket matching, along with intelligent code completion, code refactoring, and snippets. It also allows extensions to be installed to add more features.
Visual Studio is an integrated development environment that incorporates Visual Studio Code and also includes other tools such as a debugger and graphical user interface designer.

Why uninstall Visual Studio and VScode?
The most likely reason for wanting to uninstall Visual Studio and Visual Studio Code is that you installed them to try them out and no longer use them. If that’s the case, you should uninstall them to free up space on your Mac and prevent possible conflicts with other software you may install at a later date.
How to uninstall Visual Studio on your Mac
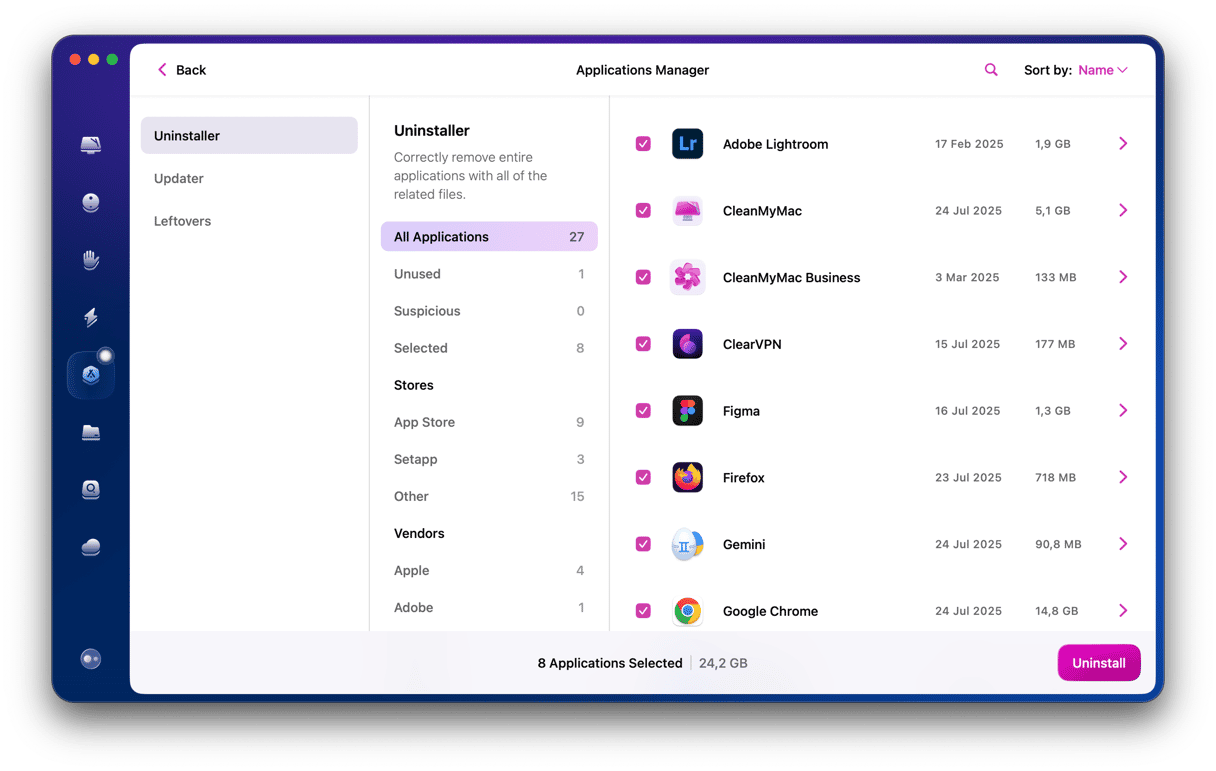
There are a few different ways to uninstall Visual Studio and VScode on your Mac. We’ll start with the simplest one — automatic removal. This method uses the Uninstaller tool in CleanMyMac. It will identify and delete all the files associated with both Visual Studio and VScode with one click. You can download CleanMyMac for free here. Once you’ve downloaded and installed it, follow the steps below:
- Open CleanMyMac and choose Applications in the sidebar.
- Click Scan > Manage My Applications > Uninstaller.
- Search for ‘Visual Studio’ in the list of all applications or under vendors (select Microsoft here).
- Select both Visual Studio and Visual Studio Code.
- Click Uninstall.

How to uninstall Visual Studio using a script
Microsoft has created a shell script that you can run using Terminal to uninstall Visual Studio. If you’re comfortable using Terminal, follow the steps below. If not, skip to the next section to uninstall Visual Studio manually without using Terminal.
- Control-click here and choose Download Linked File As. Do not open the link — just control-click on it. Then choose your Desktop as the location and click Save.
- Open Terminal and type:
cd ~/Desktop - Type:
chmod +x ./uninstall-vsmac.sh - Press Return.
- Type:
sudo ./uninstall-vsmac.sh - The script will now run and uninstall Visual Studio.
- Quit Terminal and drag the script to the Trash.
How to manually uninstall vsCode and Visual Studio without a script
To uninstall Visual Studio and Visual Studio Code without using a script, you will need to manually locate all the files they have placed on your Mac and remove them. We’ll start with Visual Studio Code as it’s the easier of the two.
- Go to your Applications folder and drag Visual Studio Code to the Trash.
- Click on the Finder icon in the Dock and then the Go menu.
- Choose Go to Folder.
- Type this path in the text box:
~/Library/Application Supportand press Return. - Look for files or folders with ‘Code’ or ‘vscode’ in their name.
- Drag them to the Trash.
- Empty the Trash.
Manually uninstall Visual Studio
- Go to your Applications folder and drag Visual Studio to the Trash.
- In the Finder, click on the Go menu and choose Go to Folder.
- Type or paste each of the paths below, one at a time, into the text box. At each location, look for files or folders with Visual Studio in their name. Also, look for those with Xamarin in their name. If you find any, drag them to the Trash.
~/Library/Application Support
~/Library/Logs
~/Library/Caches
~/Library/Preferences
~/Library/VisualStudio - When you’ve dragged matching files from those folders to the Trash, empty the Trash.
How to reset Visual Studio if it’s misbehaving
If you still plan to use Visual Studio but decided to uninstall it because it’s not working properly, you should try resetting it first. Resetting returns it to the state it was in when you first installed it and could solve any problems it’s having. It deletes all app-related files except the app binary. You can reset applications using CleanMyMac:
- Open CleanMyMac.
- Click Applications > Scan > Manage My Applications > Uninstaller.
- Locate Visual Studio in the list of apps.
- Click an arrow next to its name and select everything except Binaries.
- Click Remove.

How to reinstall Visual Studio
If, after you’ve uninstalled Visual Studio, you decide you want to reinstall it, go to Microsoft’s website and download it.

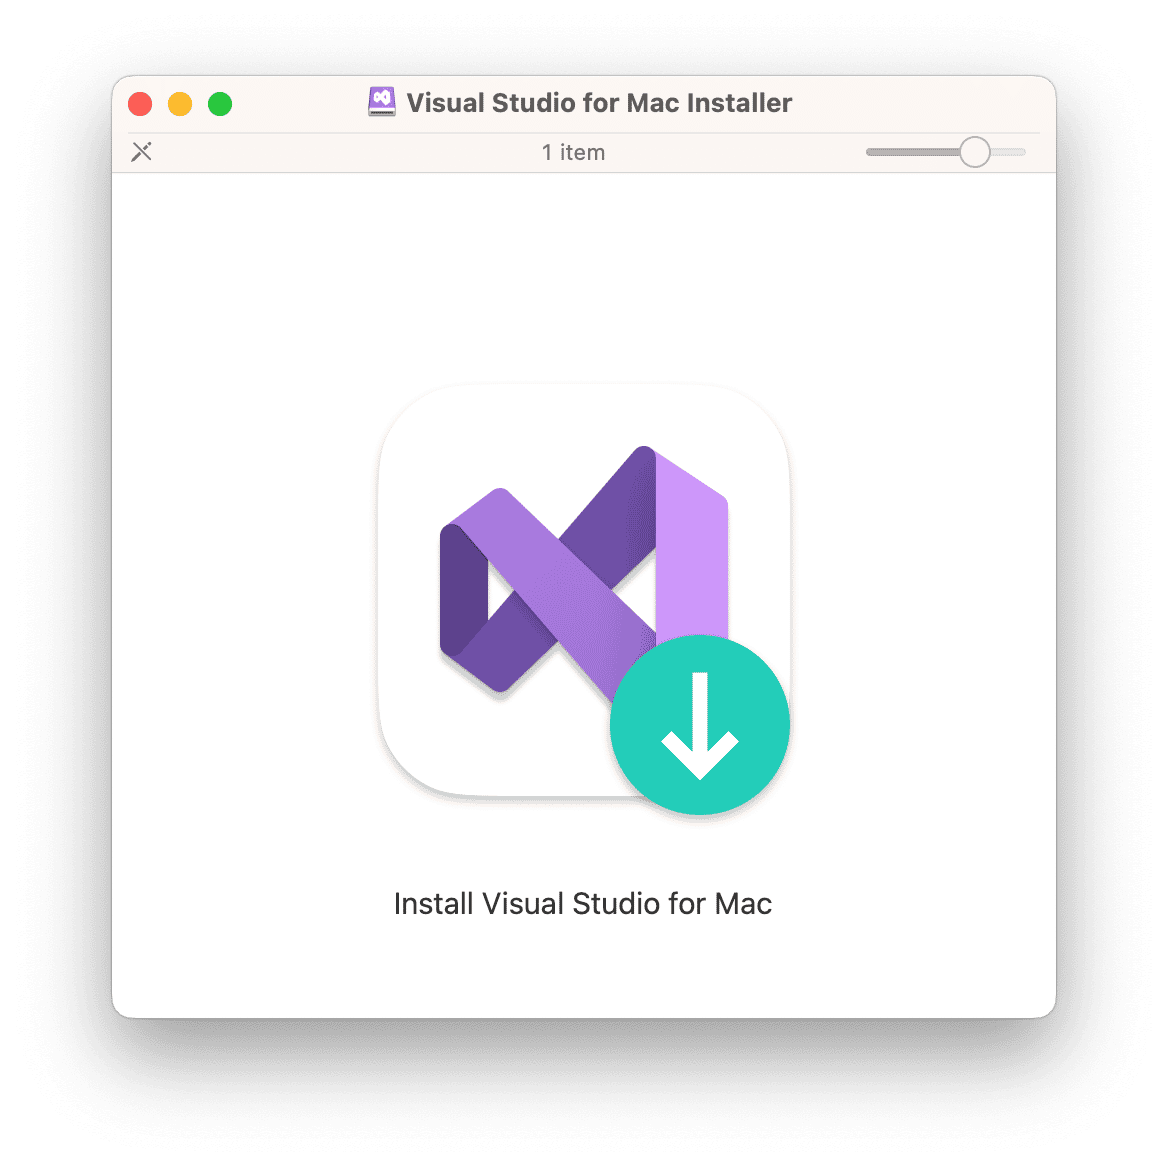
- Once it’s downloaded, double-click the disk image to mount it.
- Double-click the green arrow to start the installation.
- Click Open to agree to install it.
- When the installation starts, click Continue.
- A window will open with a list of components. Choose the ones you want to install and click Install.
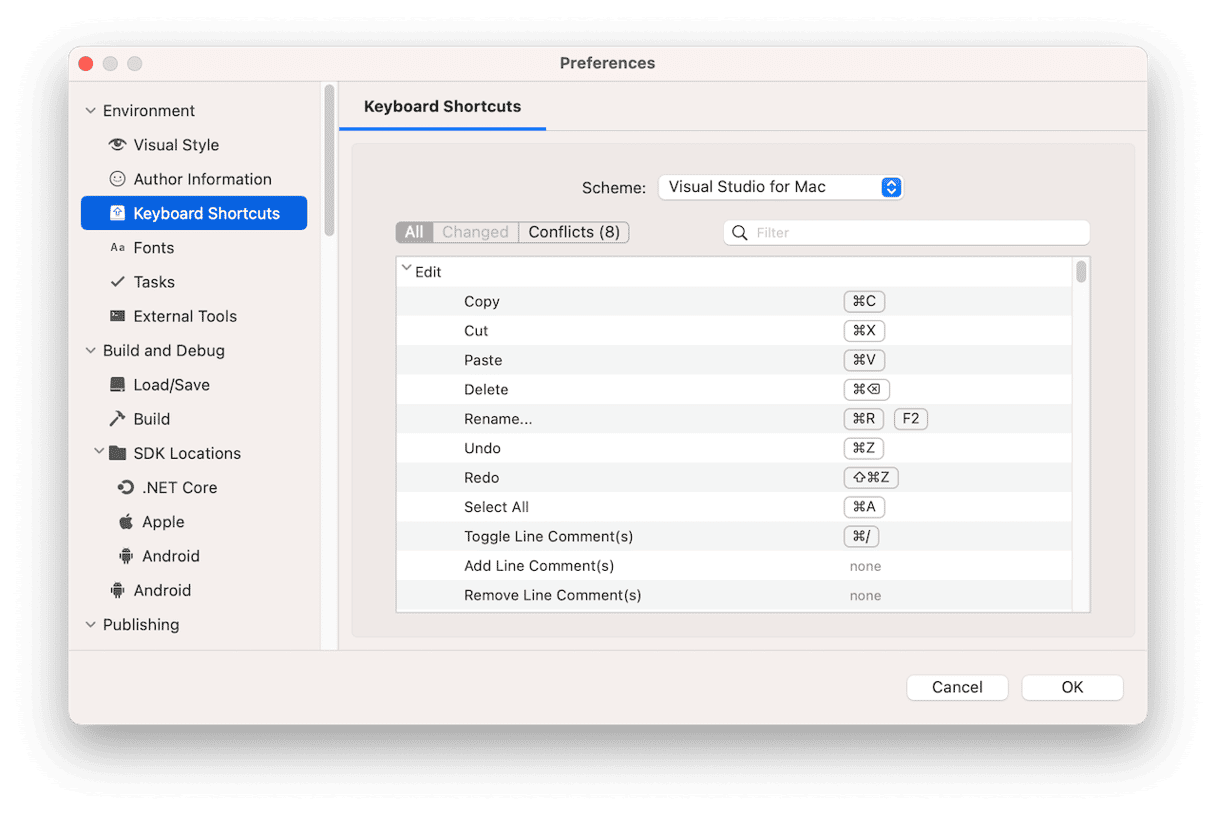
- When the installation is complete, sign in with your Microsoft account and follow the instructions to choose keyboard shortcuts and finish the setup.
Visual Studio is an integrated development environment that includes the Visual Studio Code source-code editor. They are hugely popular developer tools, in part because they work on Windows, Linux, and Mac and support the development of applications and websites on lots of different platforms. If you’ve installed either Visual Studio or Visual Studio Code and no longer use them, it’s a good idea to uninstall them to free up space on your Mac and prevent possible conflicts in the future. Follow the steps above to do that. If you change your mind, follow the instructions in the last section to reinstall them. And if they’re not working properly, try resetting them using CleanMyMac.


