Most of us never need to run any operating system other than macOS on our Mac. For those that do, there are several options, including Boot Camp on an Intel-based Mac and a compatibility layer, such as CrossOver. Perhaps the most common way of running an OS like Windows or Linux on a Mac, though, is to use virtualization software. There are several virtualization tools available for Mac, and they allow you to run Windows and Linux or just open and use Windows or Linux applications. If you have installed virtualization software on your Mac but no longer use it, it’s a good idea to uninstall it to free up space. In this article, we’ll show how to completely uninstall VMWare Fusion on Mac.
What is VMWare Fusion?
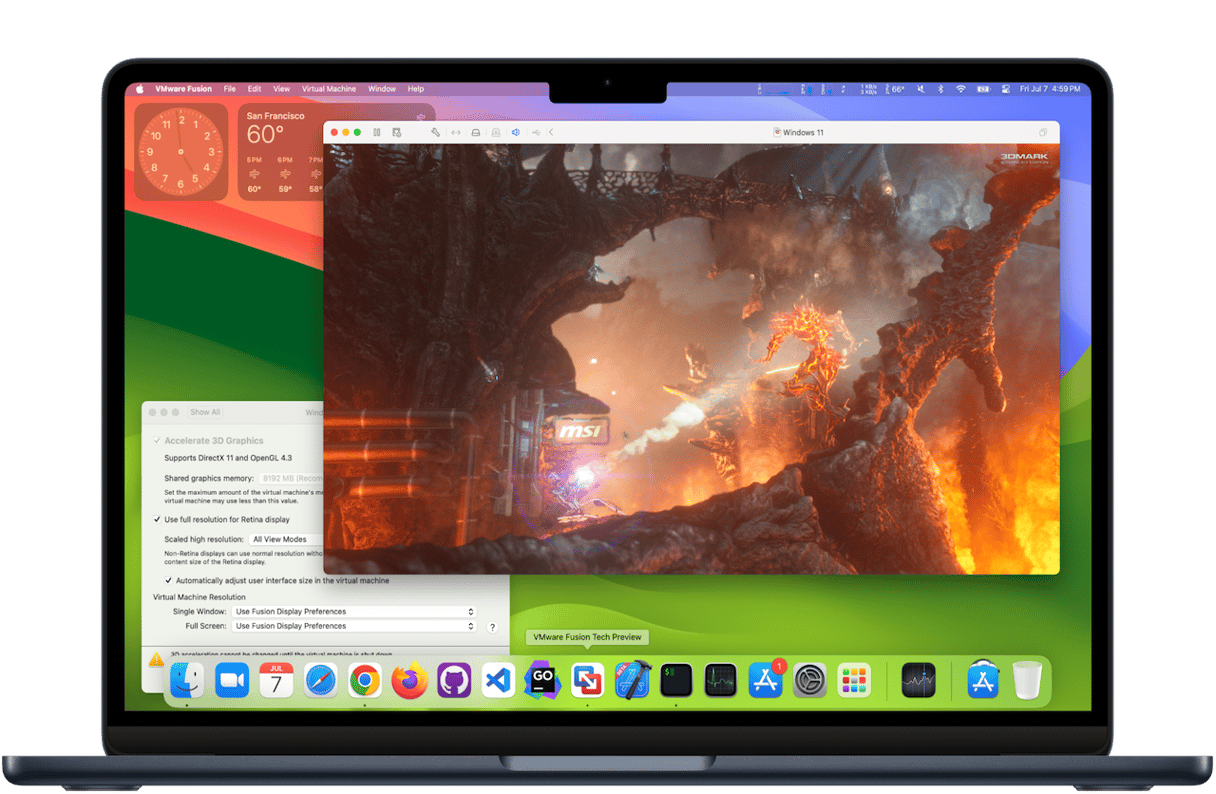
VMWare Fusion is a virtualization tool, also known as a hypervisor. Once installed, it allows you to create virtual machines on your Mac, and those virtual machines can run any operating system you choose, including Windows, Linux, and older versions of macOS. In fact, virtualization tools are often used as a way of testing the compatibility of applications with older versions of macOS. The most recent version of Fusion has support for DirectX 11 3D games and apps, including 64-bit games, and allows you to share a clipboard between Mac and Windows so you can copy and paste between the two. Once installed, it guides you through the process of downloading Windows for Arm (if you have a Mac with Apple silicon) and allows you to sign in to a Microsoft account during setup. VMWare Fusion Professional is free for personal use.

Why uninstall VMWare Fusion?
The main reason for uninstalling VMWare Fusion is that you don’t use it anymore and want to free up space on your Mac. The space taken by VMWare Fusion could be considerable given that it includes at least one virtual machine with Windows or another OS installed and whatever apps you have also installed. Uninstalling apps you don’t use is also good practice because it prevents potential conflicts with other files in the future. Besides, applications that are not used tend not to be updated, and that could also cause problems down the line because fake software updates are a common way of distributing malware.
How to uninstall VMWare Fusion on your Mac
There are a couple of different ways to uninstall VMWare Fusion on your Mac. There’s the manual method, which involves tracking down every file VMWare Fusion has placed on your Mac and dragging it to the Trash. And there is an easy way, which just needs a couple of clicks but which still removes every file associated with VMWare Fusion. We’ll show you both. The important thing to remember is that dragging the app from your Applications folder to the Trash isn’t enough to uninstall it.
How to uninstall VMWare Fusion the easy way
As you will see below, removing VMWare Fusion manually is a lot of work, but you’ll be pleased to know there is a much easier way. You can use a specialist uninstaller to track down all the files for you and put them in the Trash. Not only will that method save you time and effort, but it will also make sure you find every file associated with the application you want to uninstall.
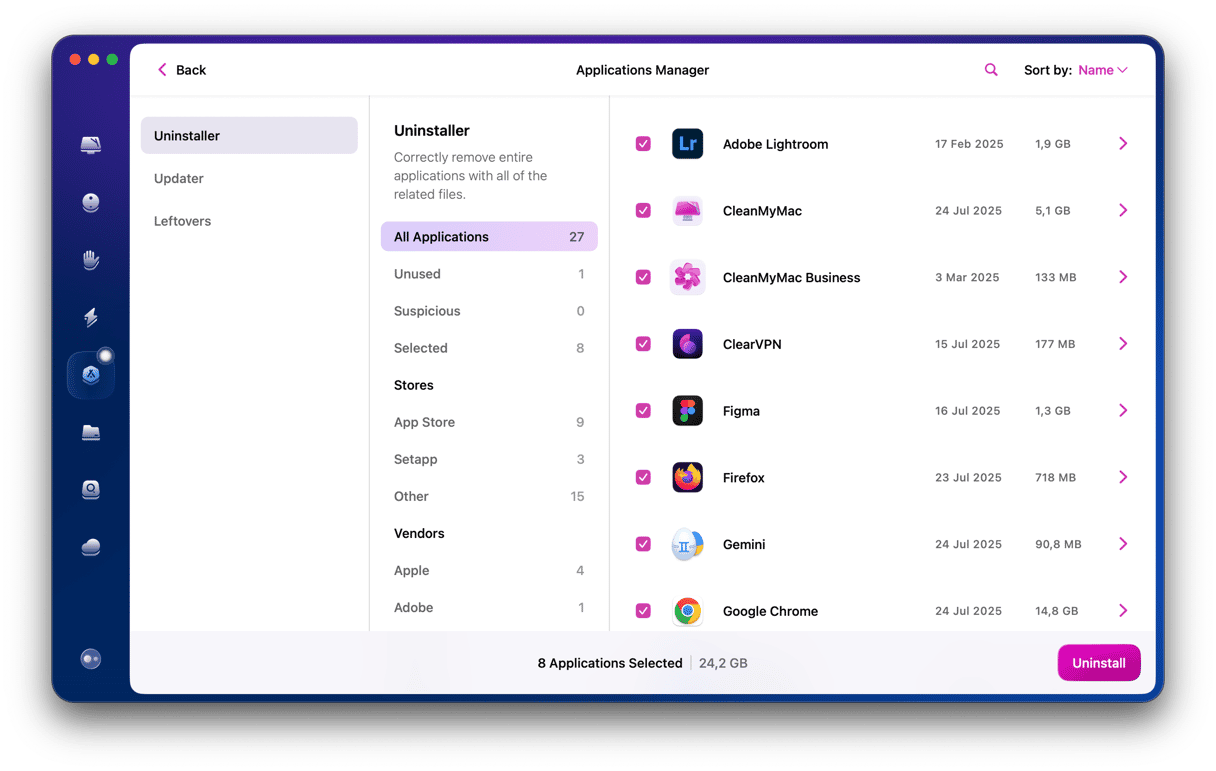
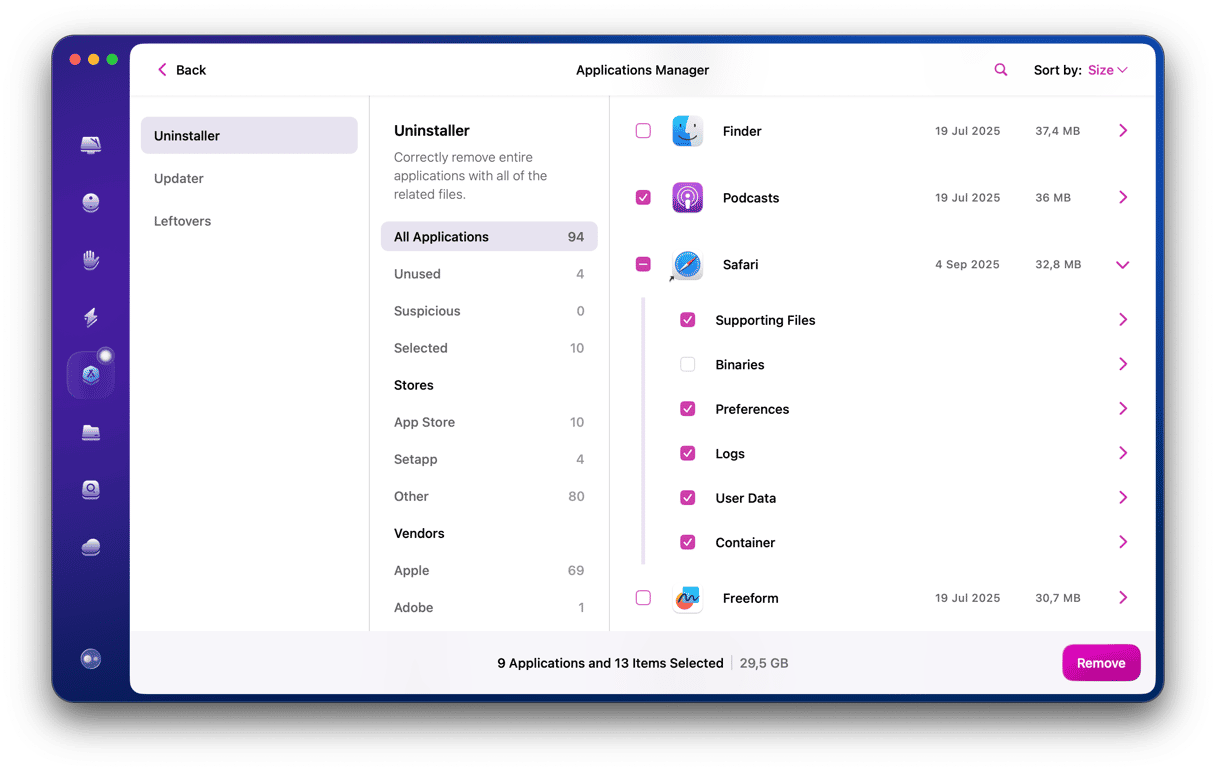
We recommend CleanMyMac. Its Uninstaller module can uninstall any app that wasn’t installed as part of macOS and it can uninstall multiple apps simultaneously. It can also fix problems with apps that are misbehaving by resetting them to the status of a newly installed app by removing settings and cache files. The application creates new versions of these files when it launches again. So, if the old files were causing problems, the issues will be fixed.
You can download CleanMyMac here. Once you’ve done that, follow the steps below to uninstall VMWare Fusion:
- Open CleanMyMac and choose Uninstaller in the sidebar.
- Locate VMWare Fusion in the list of apps or use the search tool to search for it.
- Select VMWare Fusion and click the Uninstall button.

If you want to uninstall other apps at the same time, select those after you select VMWare Fusion and before you click Uninstall.
How to uninstall VMWare Fusion manually
If third-party uninstallers are not for you, you can remove VMWare Fusion manually. Here’s what you need to do:
- Quit VMWare Fusion if it’s running.
- Go to your Applications folder, locate VMWare Fusion, and drag it to the Trash.
- Next, click the Finder icon in the Dock.
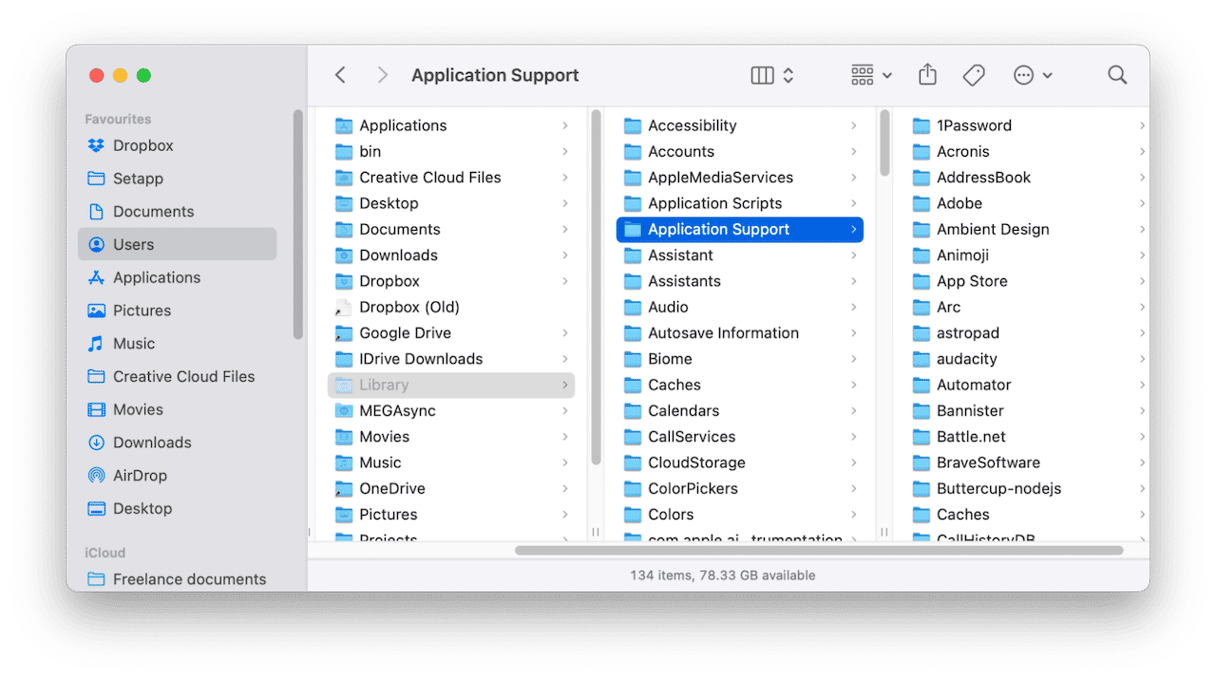
- Click the Go menu and choose Go to Folder.
- In the text box, type or paste each of the paths below followed by Return, one by one. At each location, look for files or folders with VMWare in their name and drag them to the Trash.
~/Library/Application Support
~/Library/Logs
~/Library/Preferences
~/Library/Saved Application State
/Library/Application Support
/Library/Preferences - Empty the Trash.

How to reset VMWare Fusion if it’s not working properly
If the reason you want to uninstall VMWare Fusion is that it’s not working properly, you can try resetting it first. If that doesn’t fix the problem, you can then uninstall it. Here’s how to reset VMWare Fusion using CleanMyMac:
- Choose Uninstaller in the sidebar.
- Locate VMWare Fusion in the list of all apps and select it.
- Click the dropdown menu next to VMWare Fusion and choose Reset.
- Click the Reset button.

VMWare Fusion is a virtualization tool, also known as a hypervisor, that allows you to install multiple virtual machines on your Mac. You can then use those virtual machines to run Windows or another operating system. By doing that, you can play Windows games or run Windows applications on your Mac. If you have installed VMWare Fusion on your Mac and now don’t use it, it’s a good idea to uninstall it to free up space. Follow the steps above to uninstall VMWare Fusion manually, or use the easier method.


