Keeping apps on your Mac up to date is important for several reasons. The most important is security — updates often contain patches for vulnerabilities, which, if not patched, could leave your Mac open to a malware attack. The other reasons include access to new features, improved performance, and support for the version of macOS you are running. For apps you downloaded from the App Store, keeping them updated is straightforward: you just go to the App Store Updates section. For apps you downloaded from elsewhere, it’s not always that easy. In this article, we’ll show you how to update Spotify app on Mac.
What is Spotify?
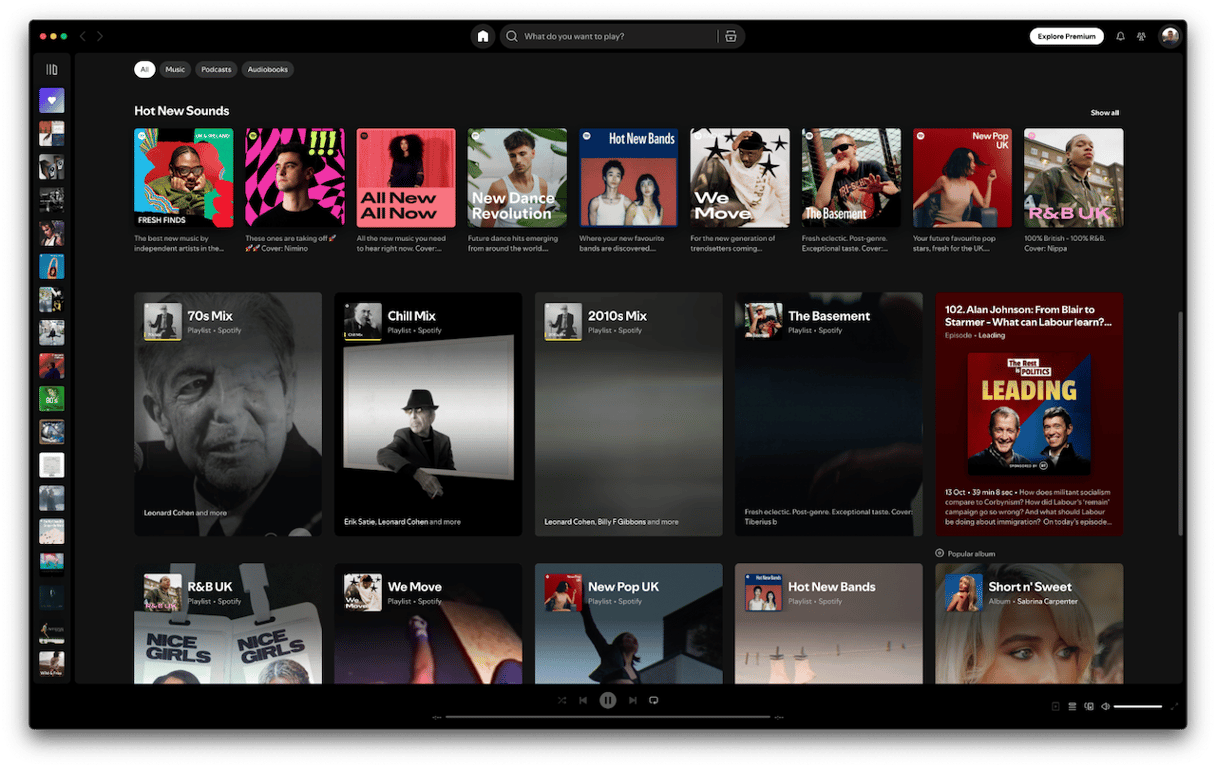
Spotify is a music and podcast streaming service that predates Apple Music, having been around since the mid-2000s. It was one of the first services to offer the ability to stream music, as opposed to downloading it, and now has millions of tracks from almost every musician you could imagine. It also now has a podcasts section that includes Spotify-exclusive podcasts, as well as those available on other platforms, such as Apple Music. Part of Spotify’s early popularity arose from the ability to access it on almost any device, including Mac, PC, iPhone, iPad, and Android devices, as well as limited free access to music and the ability to sync and share playlists. It also has social features, a bit like Apple Music. In Spotify’s case, you can connect it to your Facebook account and share playlists with friends as well as view your friends’ playlists and see what they have been listening to.
Why update Spotify?
Updating Spotify is important for the same reasons as updating other apps. Chiefly, security. Except for potential vulnerabilities going unpatched, there is another security risk associated with running old versions of apps — malware distributors often use fake updates to push malicious files onto computers. If you know you are already running the latest version of the app, you are much less likely to fall for a fake alert telling you that you need to update. Installing the latest update also gives you access to new features, compatibility with the latest version of macOS, and improved performance.
How to update Spotify on your Mac
There are a couple of different ways to update Spotify on your Mac. One can be used if you only want to update Spotify. The other if you want to update Spotify and the other apps on your Mac at the same time.
Method 1: Automatic update
The first option uses the Applications tool in CleanMyMac. You can use it to check for updates to all the applications on your Mac and update them all in one go. You can also use it to uninstall applications you don’t use anymore, reset misbehaving applications, and remove files left over when applications were deleted but not properly uninstalled. You can download it for free here. Once you’ve done that, follow the steps below to update Spotify:
- Open CleanMyMac and choose Applications in the sidebar.
- Click Scan.
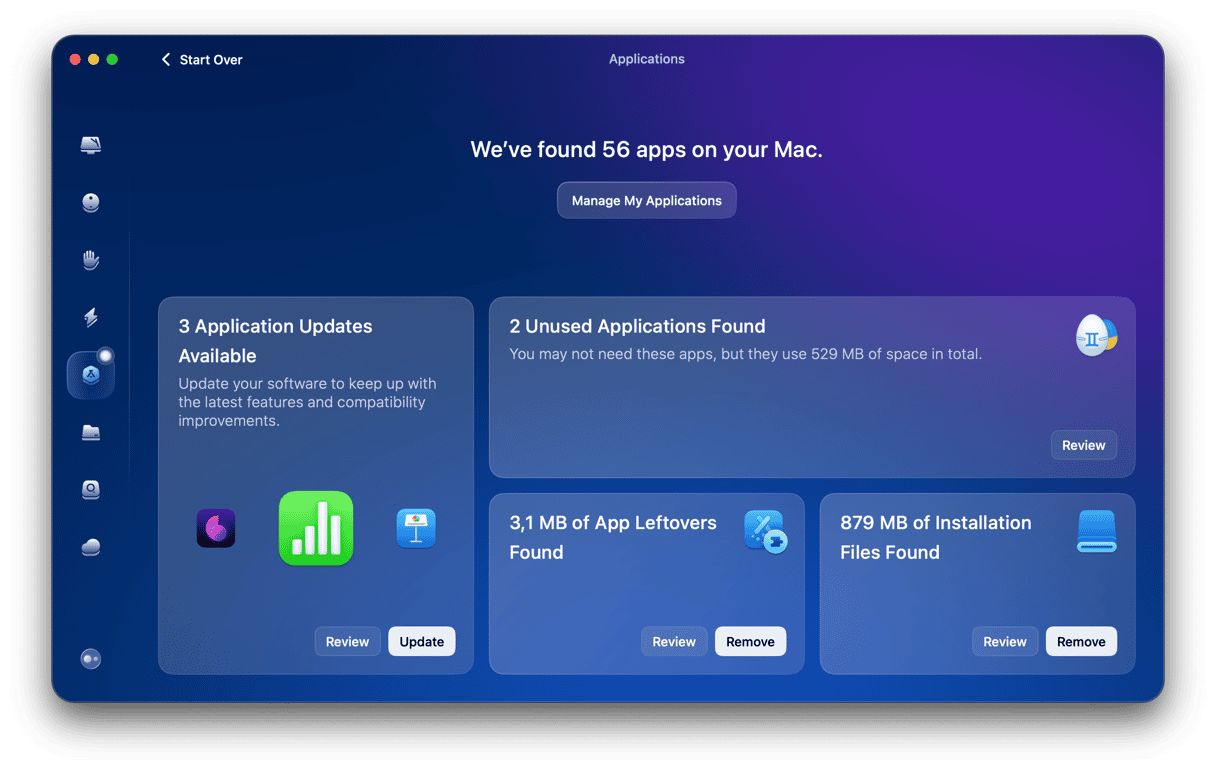
- When it has finished scanning, you will see several panels indicating the status of your apps.
- The Updates panel shows you how many updates are waiting to be installed. To install them all, click Update.
- If you want to review the available updates and choose for yourself what to install now, click Review.
- Select the apps you want to update and choose Update.
Method 2: Manual update
If you want to update Spotify manually, it is also possible. Here’s what you need to do:
- Open Spotify if it’s not already running.
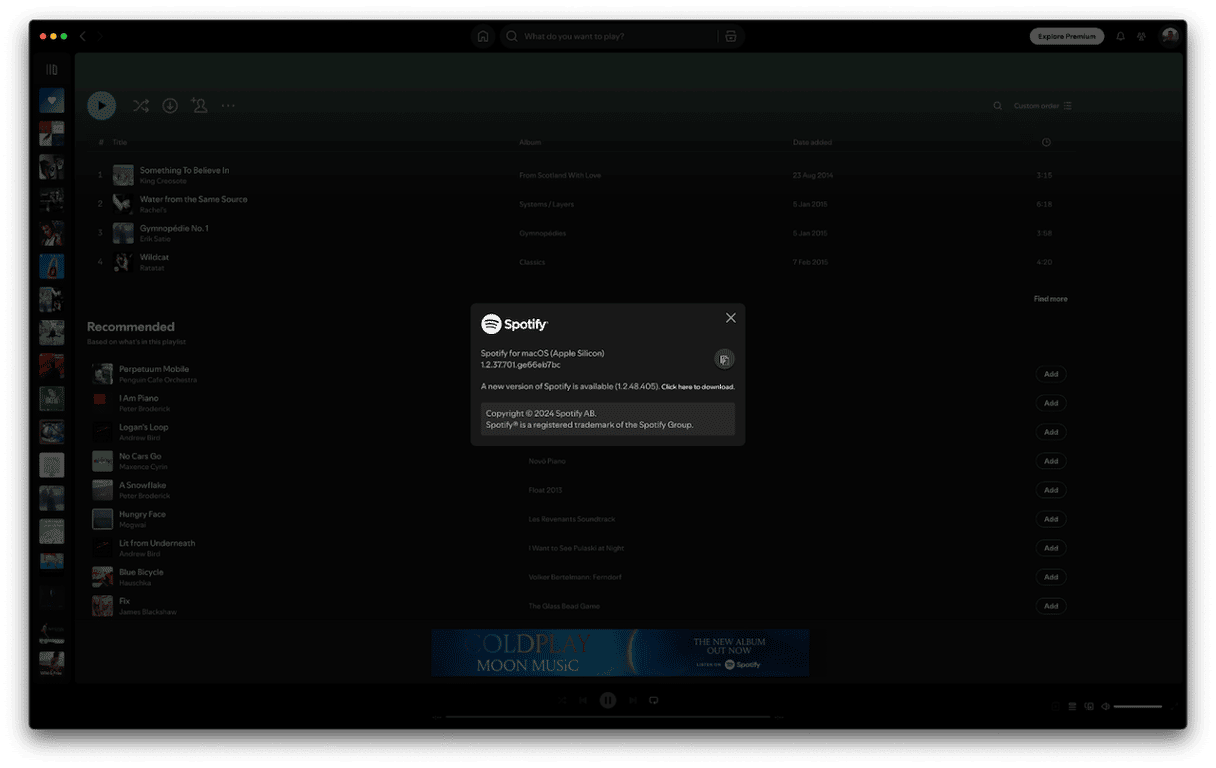
- Click the Spotify menu and choose About Spotify.
- A window will open and if there is an update available, you will see the words ‘A new version of Spotify is available. Click here to download.’
- Click the link to download the update. You will see a message telling you the update is being downloaded. When it’s finished, you will see another message that says ‘Click here to restart.’
- Click the link to restart Spotify.
In the most recent version of Spotify, there is no option to automatically install updates, so you will need to check manually on a regular basis if you want to stay up to date. Spotify says that a blue dot will appear next to your profile picture at the top right of the window and that you can also update by clicking that and choosing the option to update.
If updating Spotify doesn’t work, the next step is to uninstall it and reinstall it. You can use CleanMyMac to uninstall it.
- In the Applications feature, run a scan and choose Manage My Applications.
- Locate Spotify and select it.
- Choose Uninstall.
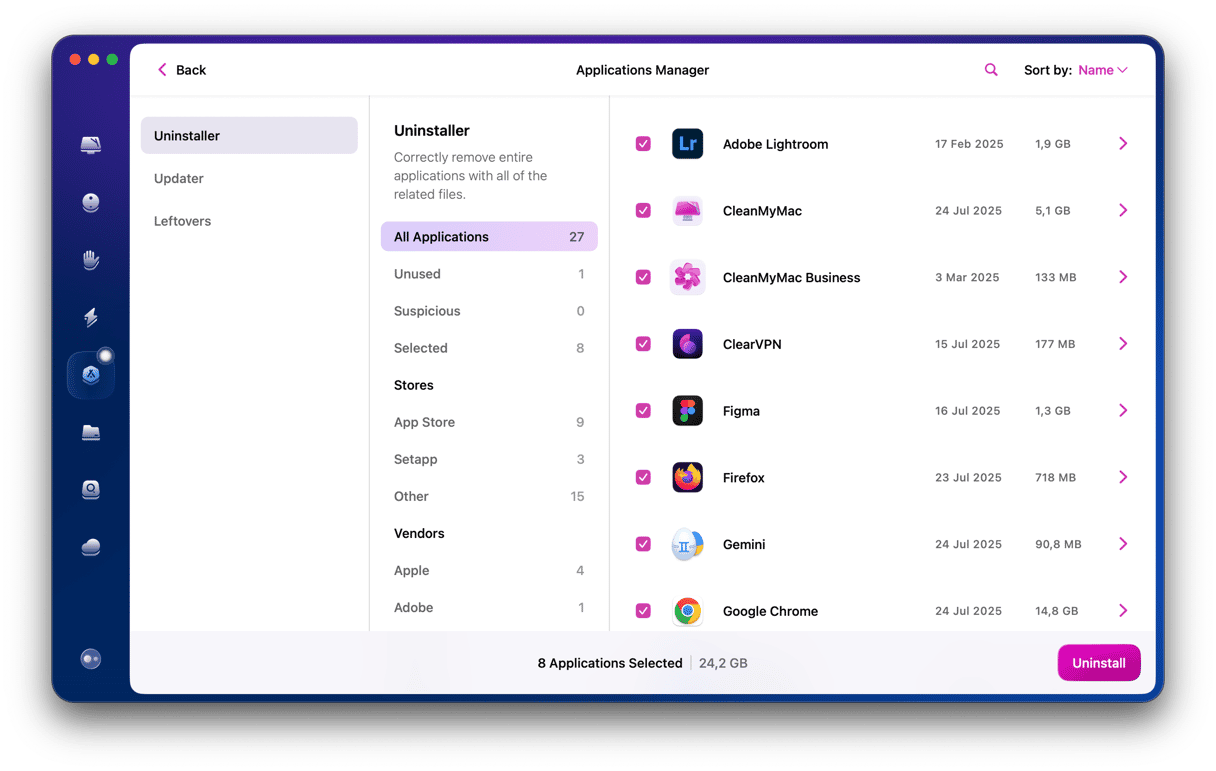
Once Spotify has been uninstalled, head to the Spotify website and download the latest version — there should be a button that says ‘install app’ next to your profile pic in the top right corner of the screen. Once it has downloaded, double-click the installer to install Spotify. Once it has finished, the latest version of Spotify will be installed on your Mac.
If the reason you want to update Spotify on your Mac is that it is not working properly, and it still doesn’t work after you update, you can try resetting it instead. Here’s how to do that in CleanMyMac:
- Choose Applications and click Scan.
- Click Manage My Applications.
- In the list of apps, locate Spotify and click the arrow to the right of its name.
- Select all the files except Application Binary and click Remove.
Spotify is a music and podcast streaming service that has been around for many years. It’s possible you downloaded the app a long time ago and haven’t used it for a while. If that’s the case, you should update it to keep your Mac safe and ensure compatibility with the latest macOS as well as access the latest features. Follow the steps above to update Spotify on your Mac.
FAQ
1. Why should I update Spotify?
It’s important to update all the apps installed on your Mac to patch potential vulnerabilities and improve performance.
2. How to update Spotify on my Mac?
You can update Spotify from within the app by clicking About Spotify or by using CleanMyMac’s Applications tool.
3. What if the update doesn’t work?
If it won’t update, you can reset Spotify or reinstall it.


