One of the best new features in recent versions of macOS is the ability to dictate text instead of typing it. Not very long ago, text-to-speech software was expensive and didn’t always work very well. Now, it’s built right into your Mac. In this article, we’ll show you how to do voice to text on Mac.
How to turn on dictation on Mac
If you want to enable speech to text on MacBook, here’s what you need to do:
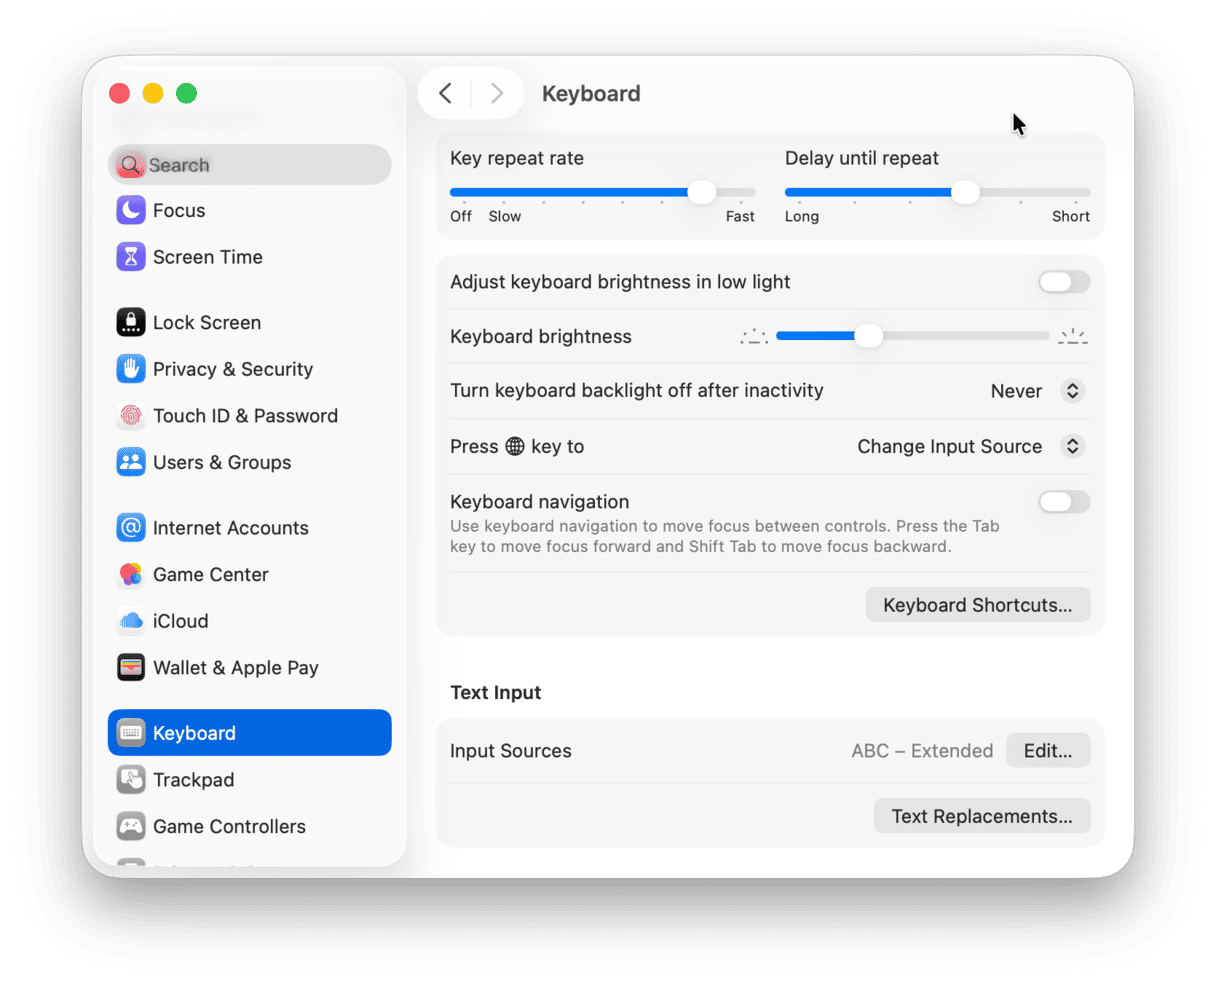
- Click the Apple menu and choose System Settings.
- Click Keyboard in the sidebar.
- Go to Dictation and toggle the switch opposite the microphone icon to On.
- Next to Microphone Source, choose the microphone you want to use for dictation if you have more than one.

Speech to text Mac shortcut is automatically set to use the microphone key in the media keys row to turn it on and off. You can set that to a different shortcut by clicking the menu next to Shortcut and choosing an option.
How to do speech to text on Mac
Using dictation on Mac is simple and straightforward:
- In any document where you want to input text, place the cursor at the point you want the text to start and press the microphone key (or whichever key you have set as the shortcut) — you will see a microphone symbol appear above the insertion point.
- Start speaking.
If you have a Mac with Apple silicon, you can type as well as dictate. The microphone symbol will disappear when you start typing and reappear when you stop.
Here are a few general points to consider:
- If you want to manually insert punctuation or an emoji, speak the name of the punctuation mark or the emoji. Note that if you have auto-punctuation turned on, macOS will attempt to add punctuation based on what it thinks you are saying.
- To start a new line, say ‘new line,’ and to start a new paragraph, say ‘new paragraph.’
- If macOS is not sure which word you meant to say, for example, if there are multiple words that sound the same, it will underline the word in blue. You can then click it and choose one of the options. Or you can type or dictate the correct word.
- Dictation will stop automatically if the microphone doesn’t hear you speaking for thirty seconds. To start it again, just press the microphone button or whichever shortcut you have enabled.
How to dictate on your Mac in different languages
You don’t have to dictate in the language your Mac is set up to use. You can choose any supported language:
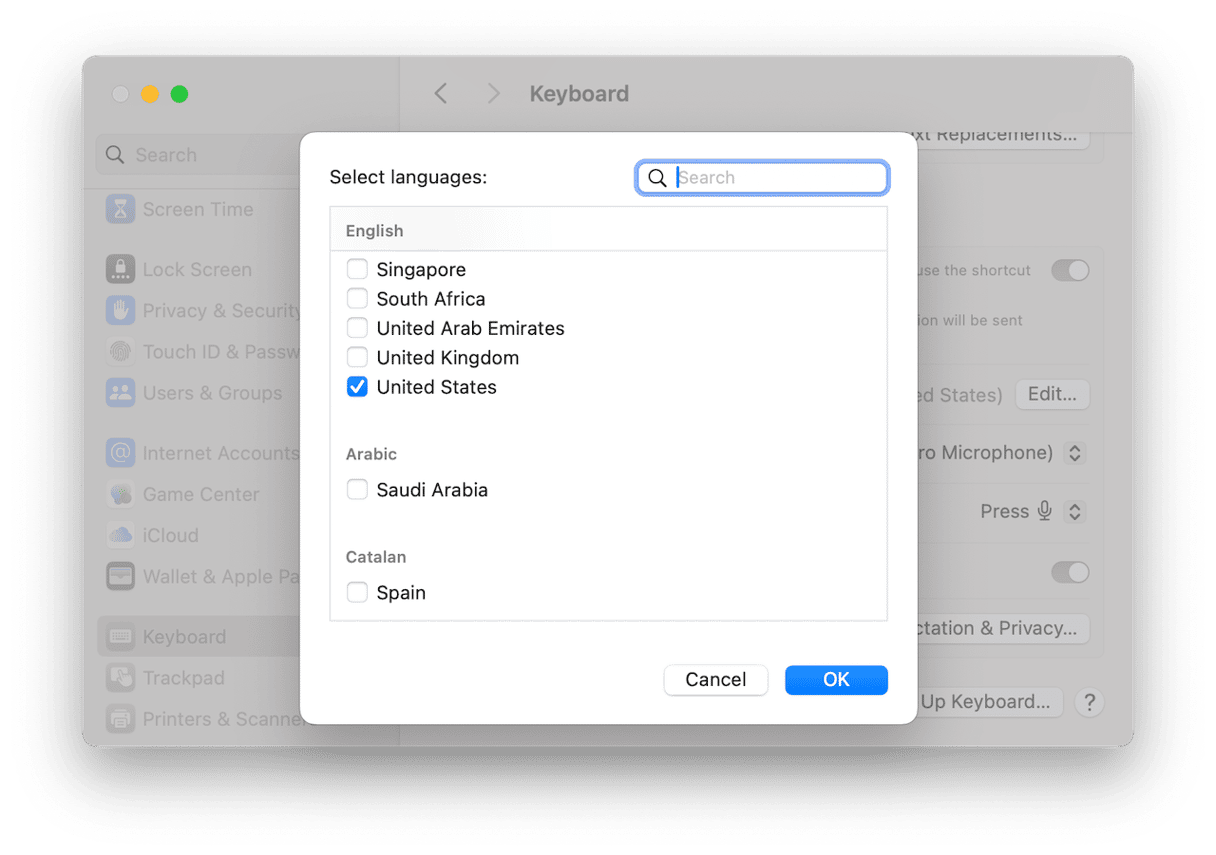
- Go to System Settings > Keyboard and then the Dictation section.
- Next to Languages, click Edit. Deselect the current language and choose the one you want to dictate in.
- Alternatively, select multiple languages. If you do that, when you press the dictation shortcut key to start dictating, you can choose which of the selected languages you want to use.

What to do if dictation doesn’t work properly
If you’re sure you pressed the correct shortcut key and that dictation is enabled in System Settings, try the steps below:
- If you’re using an external microphone, make sure it’s securely connected and that its input volume is high enough.
- If there is background noise, try moving somewhere less noisy.
- Make sure the microphone is not obstructed.
- Check your internet connection is working. Most of the processing for dictation is done on your Mac, but occasionally, it has to access an Apple server.
Other options for turning speech into text on your Mac
There are a couple of other ways to speak to your Mac and have it turn that into text. One uses Voice Memos. Just record a voice memo in the Voice Memos app, and when you’re finished, click the speech bubble in the toolbar to see the transcript. You can then copy that and paste it where you need it.
The other option is to use the new transcription feature in Notes. Create a new note and click the sound wave icon in the toolbar. Click Record and record your note. When you click Done, you will see the audio recording with a transcription below it.
The text-to-speech features in macOS are very useful if you have trouble typing or just don’t want to have to type. Hopefully, this article helped you learn how to voice type on MacBook Air and other Macs. Thank you for reading, and come back later for more tips and tricks.


