Mac users have always loved to customize the look and feel of their computers as well as the way it works. And while modern Macs don’t offer as much scope for customization as older pre-OS X Macs did (just ask anyone who changed their default system sounds to make their Mac sound like the Starship Enterprise or customized the Trash so that Oscar the Grouch appeared every time it was emptied), there are still plenty of things you can do to personalize your Mac and make it your own. All system-level customization, as well as adjusting things like accessibility preferences and security levels, is done in System Settings. In this article, we’ll show you how to get to System Settings on Mac and how to use the app.
What is System Settings on Mac?
System Settings, which used to be known as System Preferences is an app that manages all the system-level preferences and adjustments for your Mac. Each application you install also has its own settings, usually accessible by clicking the app name in the menu bar, for adjusting preferences within the application. But System Settings apply across every app. You can use it to change how your Mac looks by choosing a different wallpaper or screensaver, manage access privileges for applications, choose a default Wi-Fi network, and much more.
Where is System Settings on Mac?
Here’s where to find System Settings on Mac:
- Click the Apple menu and choose System Settings.
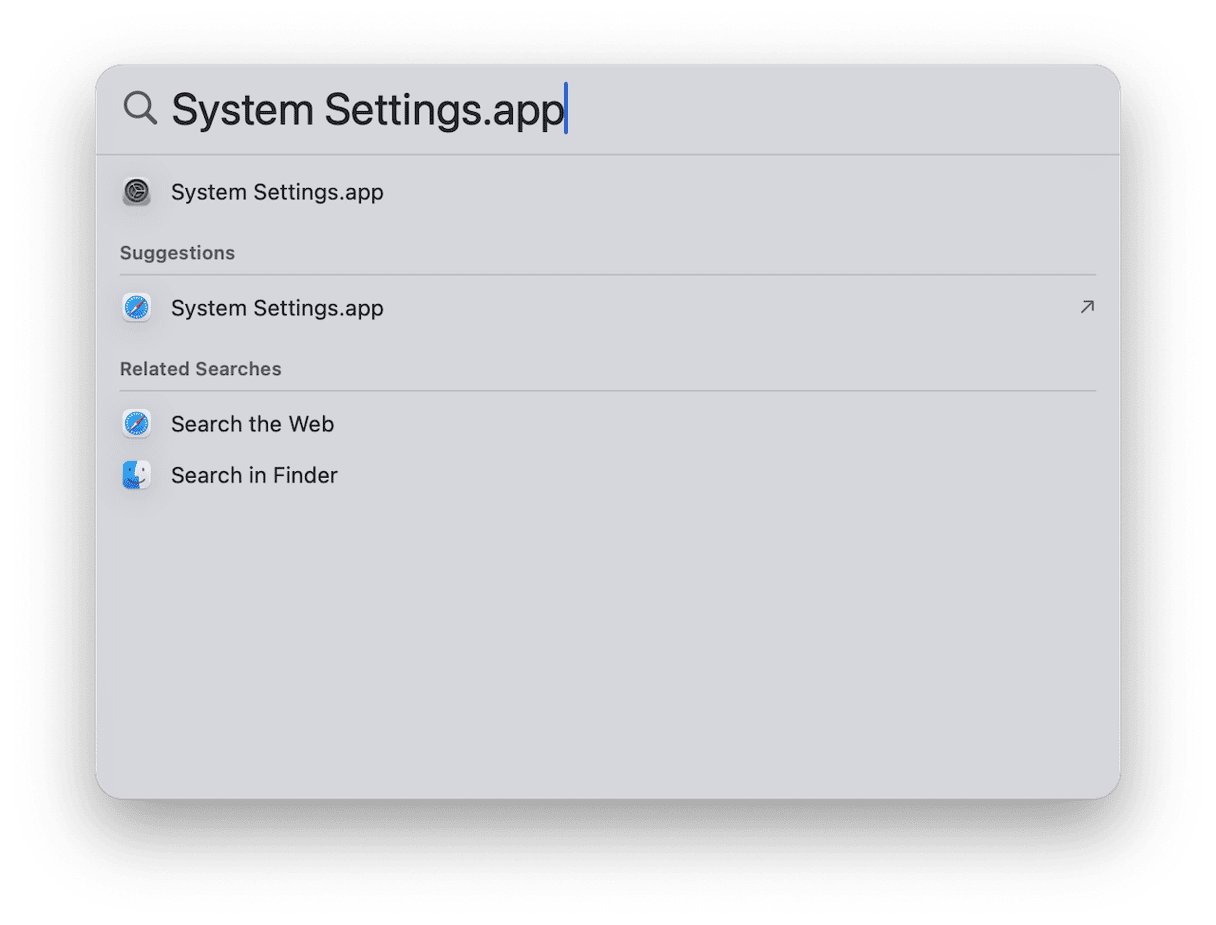
- Activate Spotlight by using its keyboard shortcut (Command-Spacebar is the default, but we’ll show you how to change that) or clicking the magnifying glass in the sidebar, then start to type ‘System Settings’ and hit Return when it appears below the search bar.
- Click Launchpad in the Dock or your Applications folder and choose System Settings.
- Go to your Applications folder and double-click System Settings.

You can also drag System Settings from your Applications folder to the Dock to keep it there and launch it from there when you need it. Now that you know how to find System Settings on Mac, let’s proceed with how to use the app.
How to change default settings on your Mac
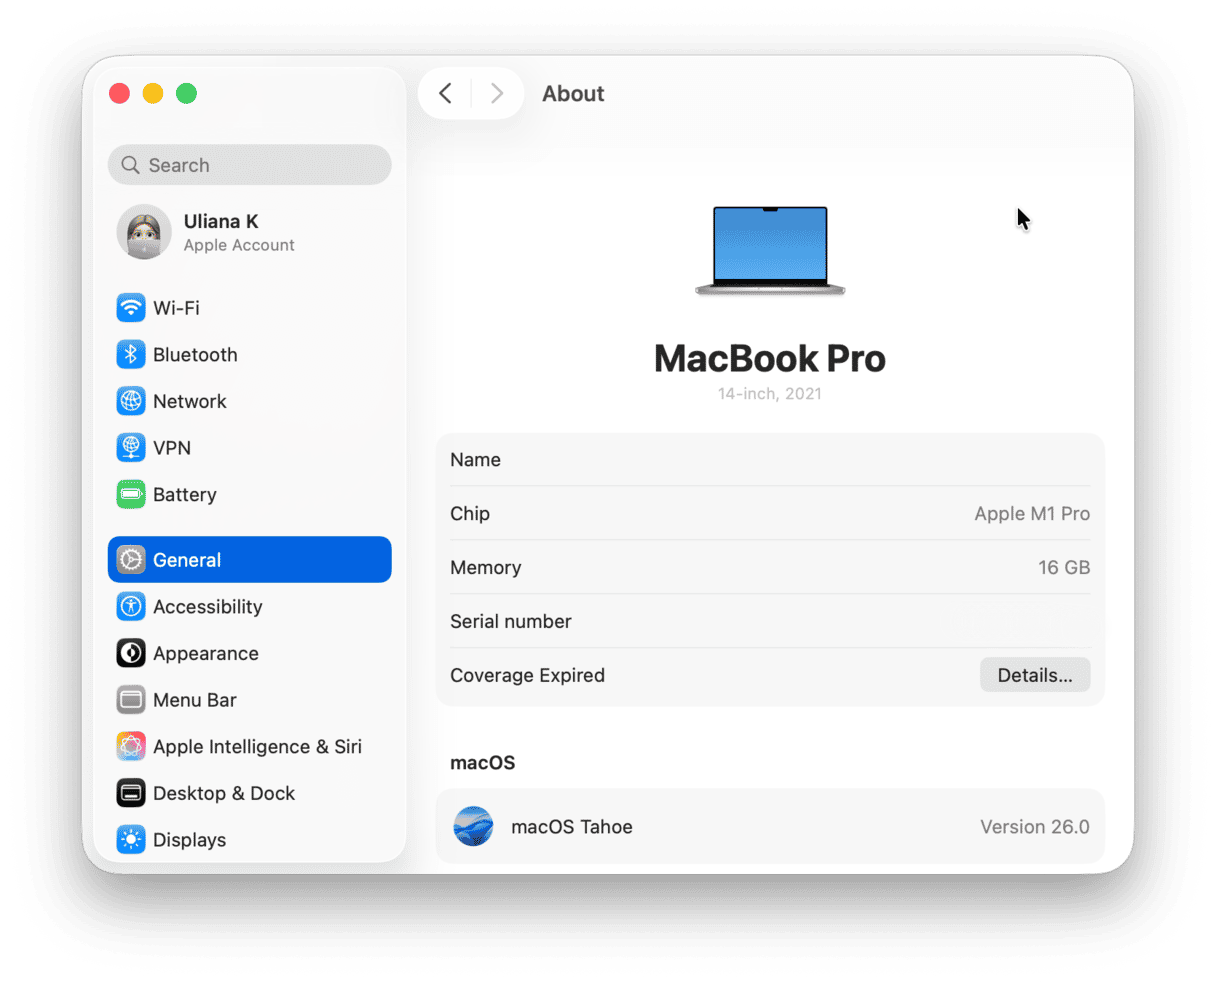
System Settings is split into different sections, denoted by the names and icons on the left of the window when you first open it. To change the default settings, you first need to choose the category. We’ll show you how to change common settings in each section, starting at the top and working down.

Network
- To change network settings, click Network in the sidebar in System Settings.
- Then, choose the type of network you are currently connected to. If you’re connected to Wi-Fi, you can also select Wi-Fi in the sidebar.
- Click Details next to the currently connected network.
- In the next window, you will see different sections. Choose the one you want (e.g., DNS).
- Make the changes you want, say by providing new DNS addresses, then click OK.
- If you want to turn the Firewall or a VPN on or off, choose either of those in Network and use the switch to toggle them.
Notifications
The Notifications settings allow you to change preferences for receiving notifications for every app you have installed.
- Click Notifications.
- The top section allows you to set how you want notifications to be displayed for the apps that you have allowed to send them. Choose from the menu and toggle options on or off.
- Click an app whose notification settings you want to change.
- Use the toggle switches, options, and menus to configure notifications for the app the way you want them.
Tip
If you ever need a specific setting but don’t know where to find it, type its name in the search bar top left of System Settings, and when it appears, click it to go straight to that section.
Sound
The sound section allows you to control how both sound output and sound input are configured, as well as choose an alert sound.
- Click Sound in System Settings.
- Choose an alert sound from the menu.
- Select which output you want the alert played through and how loud it should be.
- Choose Output and select an output device for all sound output.
- Set the volume and balance.
- Select Input and choose an input device.
- Set the input volume using the Input Level meter to check it.
Focus
macOS allows you to customize settings for specific activities or times of day so that you can concentrate on whatever you need to do. You can do that in the Focus section of System Settings:
- Go to System Settings and choose Focus.
- To customize an existing Focus, click that Focus.
- Configure each section by clicking on it and choosing options.
- Use the buttons to set a schedule, delete a focus, or specify which features of allowed apps are enabled.
- To create a new Focus, Click Add Focus and follow the instructions on the screen.
General
The General section is where Apple puts all the settings that don’t warrant their own section. It combines information about your Mac — About This Mac and AppleCare — with Software Update, options for freeing up storage space, and managing Login Items, to name but a few. The General section is now also home to settings that had their own section in System Preferences, like Time Machine, Sharing, and Startup Disk.
Appearance
Despite its name, Appearance only controls a few elements of macOS’ appearance. Other elements, such as wallpaper, have their own section in System Settings. In the Appearance section, you can choose between Dark and Light modes, set the accent color for windows, and control how and when scroll bars appear.
Accessibility
Depending on your needs, the Accessibility section may be the most important section of all or one you never use. However, even if you feel you fall into the latter category, it’s worth familiarizing yourself with Accessibility settings because there are several that may prove useful. For example, lots of people use the Reduce Motion setting in Accessibility > Display to alleviate motion sickness when they use their Mac.
Control Center
Control Center sits in the menu bar and has a default set of controls when you first install macOS. Most people leave it at that. However, you can customize the controls that appear there and can add some of the settings in Control Center to the menu bar so that you can access them directly. For example, you can add a Shazam button to Control Center or the menu bar. Go to System Settings > Control Center and use the dropdowns and toggle switches to make selections.
Privacy & Security
The Privacy & Security section in System Settings allows you to control which applications on your Mac have access to sensitive parts of macOS, like your Mac’s camera and microphone or the screen recording feature. It also allows you to control which apps can access folders on your Mac and data held by apps like Contacts and Reminders. You can specify where apps can be installed from, manage how accessories connect, and turn FileVault and Lockdown mode on or off. Go to System Settings > Privacy & Security and work through the sections to change permissions and adjust settings.
The rest
There are lots more default settings you can change in System Settings. You can change the desktop wallpaper in Wallpaper and your screen saver in Screen Saver. You can manage battery usage, create new user accounts, refine the way your mouse, keyboard, and trackpad work, and add cards to Apple Wallet.
You can also set limits on screen time for yourself and family members across all your Apple devices in the Screen Time section, and the Siri and Spotlight sections allow you to configure how those features work by, for example, allowing you to choose a voice for Siri and the folders and data that Spotlight can search and display in results.
Mac System Settings is the place to go to change default settings on your Mac. From the way the interface looks and sounds to how apps can interact with your data and how much time you spend in front of a screen each day, it’s all there and all waiting to be customized to suit you. And now you know how to open System Settings on Mac and make necessary tweaks.


