Video conferencing software has become a must-have on any device. But, if you’ve installed, let’s say, Zoom, you know it will need access to your Mac’s microphone and camera to make sure all meeting participants hear and see you.
The first time the app tries to get access to your microphone, you’ll see a prompt like this:
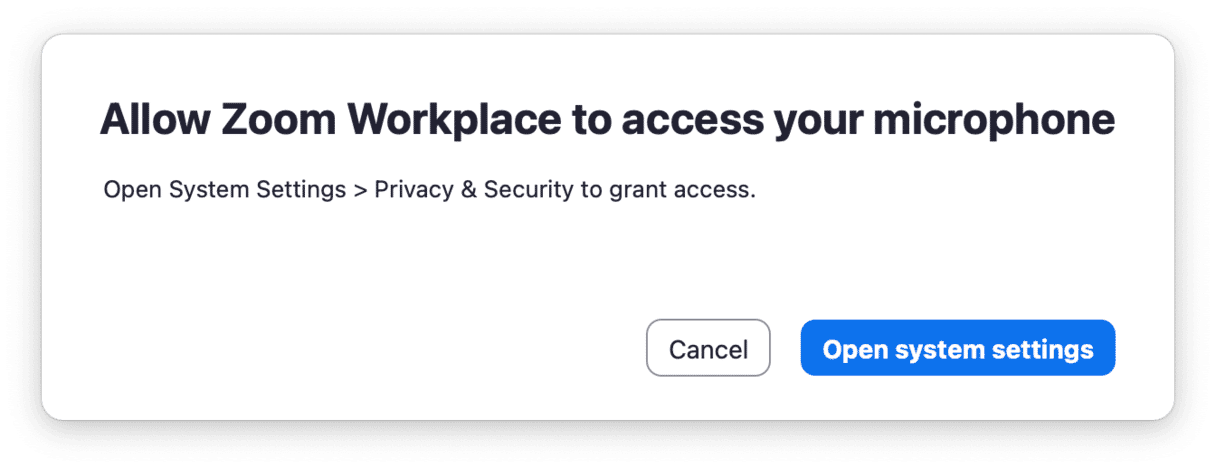
Even if you’ve clicked “Cancel,” you can change that later on your Mac. We’ll show you how to see what apps or websites can use your microphone to record audio and how you can adjust the settings.
How to allow microphone access on Mac
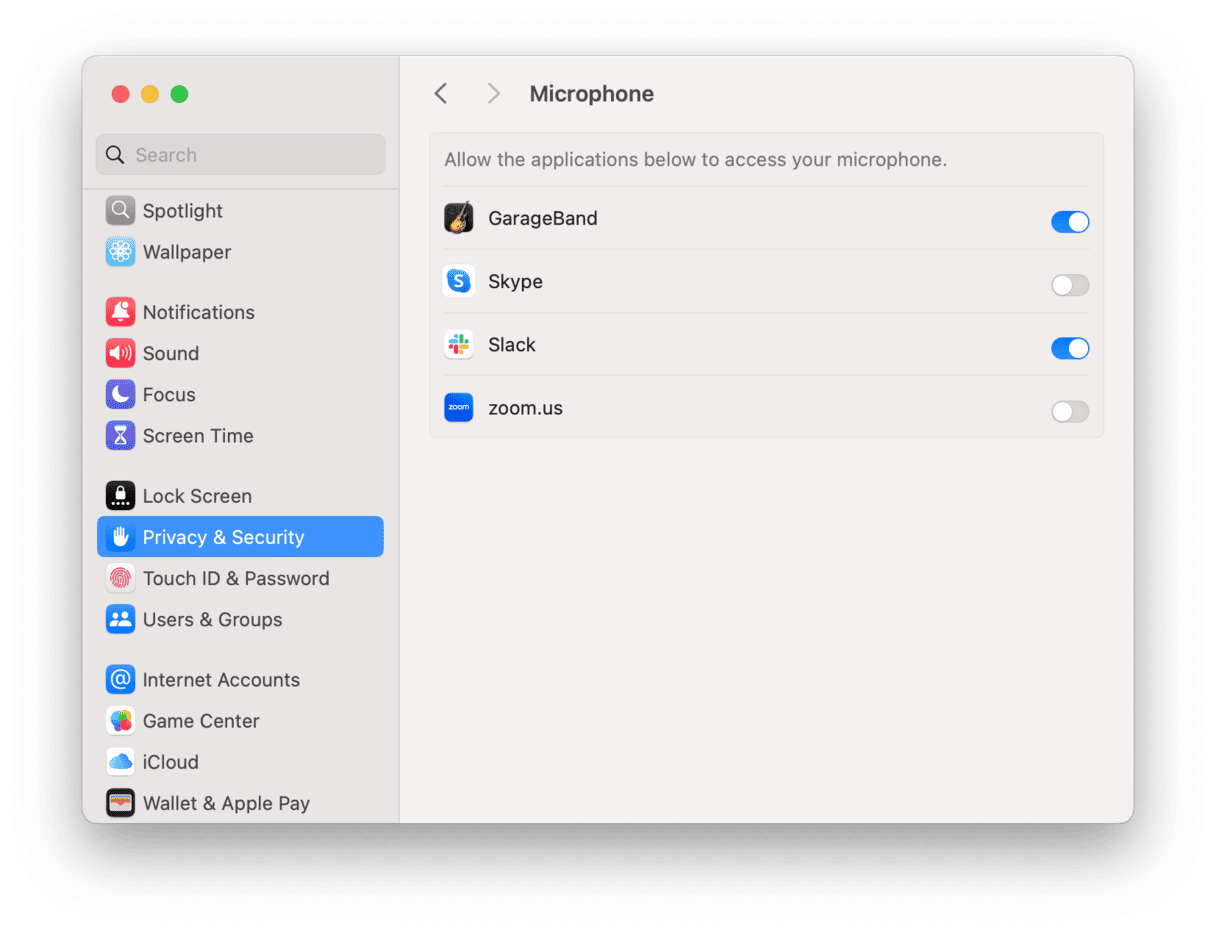
Follow these steps to allow the apps to access your microphone:
- On your Mac, choose Apple menu > System Settings.
- Click Privacy & Security.
- Select Microphone.
- Enable any app to allow it to access your microphone.
Please note that if you allow the apps to use your microphone, any information they receive and collect is governed by their privacy policy. We recommend you learn it to make sure that your personal data will be secure.
How to deny access to your microphone
If you want to block access to your microphone for some apps, you should follow similar steps:
- Go to the Apple menu.
- Click System Settings.
- Choose Privacy & Security.
- Select Microphone.
- Disable any app to turn off access for it.
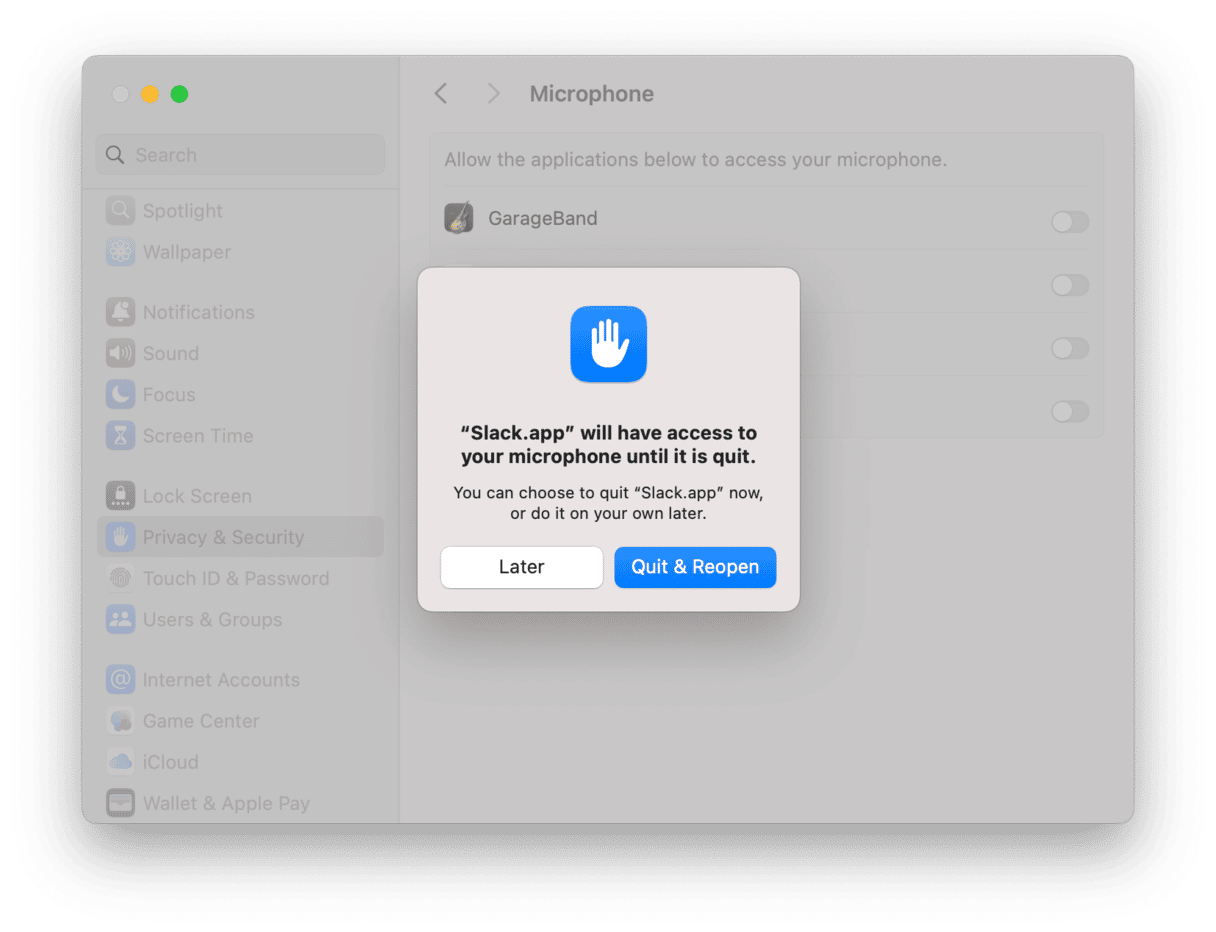
You might be asked to quit the app to limit its access to your microphone. You can click “Quit & Reopen,” and the program won’t be able to use your mic anymore.
How to control all permissions easily
You would be happy to learn about a cool way of managing all your apps permissions — with the help of an Apple-notarized software CleanMyMac. It has a great tool named Application Permissions that allows checking what data is used by different applications. You can see what programs have access to your camera, microphone, and other resources in just a few clicks and make changes.
Here’s how to try this amazing feature:
- Get started with a free CleanMyMac trial.
- Open the app and click Protection > Scan.
- Click Manage Privacy Items > Application Permissions > Microphone.
- Check the current permissions and make changes.
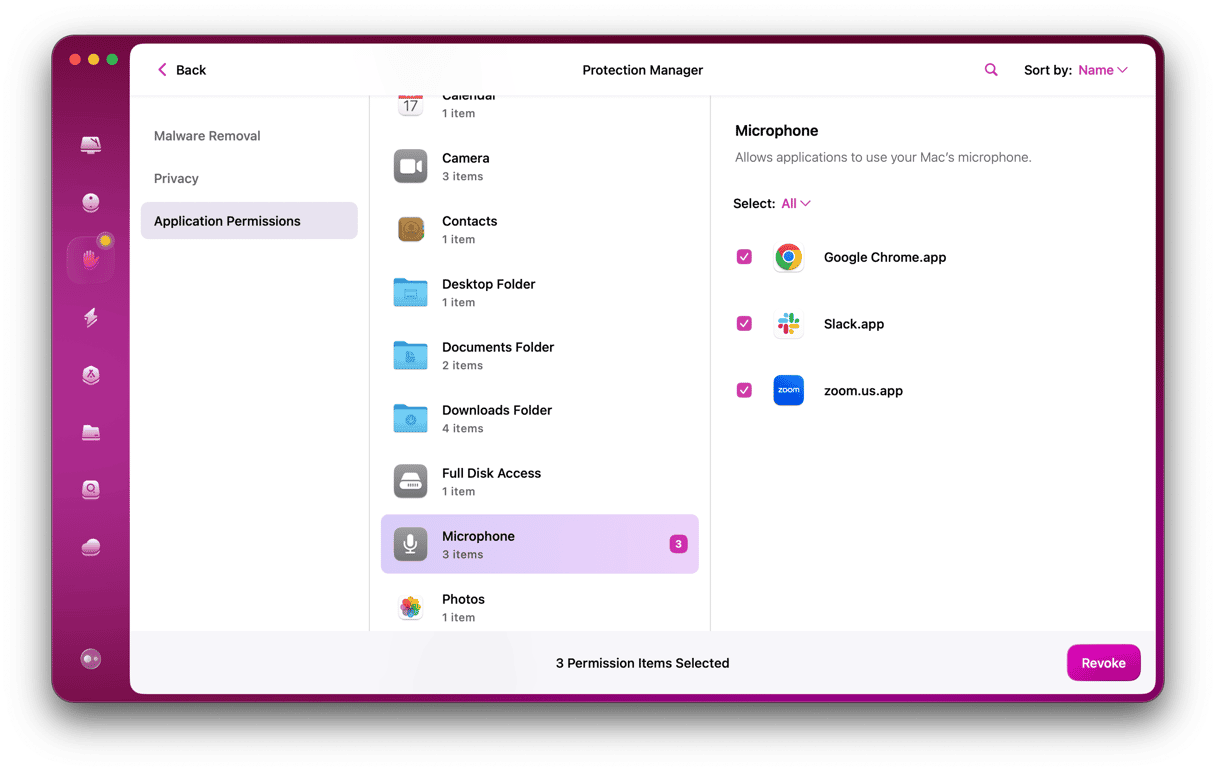
That’s it! All permissions are in one place and easy to view and manage.
Once you’ve checked your permissions, feel free to try other CleanMyMac features. It has a lot to offer: tools for speeding up the system, verifying your Mac for viruses and malware, finding space hoggers, and much more.
For example, run a Smart Care scan to clean, speed up, and check your Mac for malware in just a click.

We hope this article will be useful, and you’ll keep your private data safe and untouched.
Stay tuned!


