The Touch Bar puts access to your MacBook’s commands and controls right at your fingertips. It even adapts automatically, changing its available options based on the apps you’re using and what you’re doing. Pretty cool, right? But one of the most valued features of the Touch Bar is the fact that you can customize it, making frequent tasks and commands a breeze.
In this article, we’ll take a look at the Touch Bar feature on the MacBook Pro. We’ll walk you through the basic functions of the Touch Bar and how you can customize it for different apps and uses on your MacBook Pro.
What is the MacBook Pro Touch Bar?
The Touch Bar is a smart, multi-use touch-operated bar. The MacBook Pro was the first Mac to introduce the Touch Bar, which replaced the topmost row of physical keys on its keyboard.
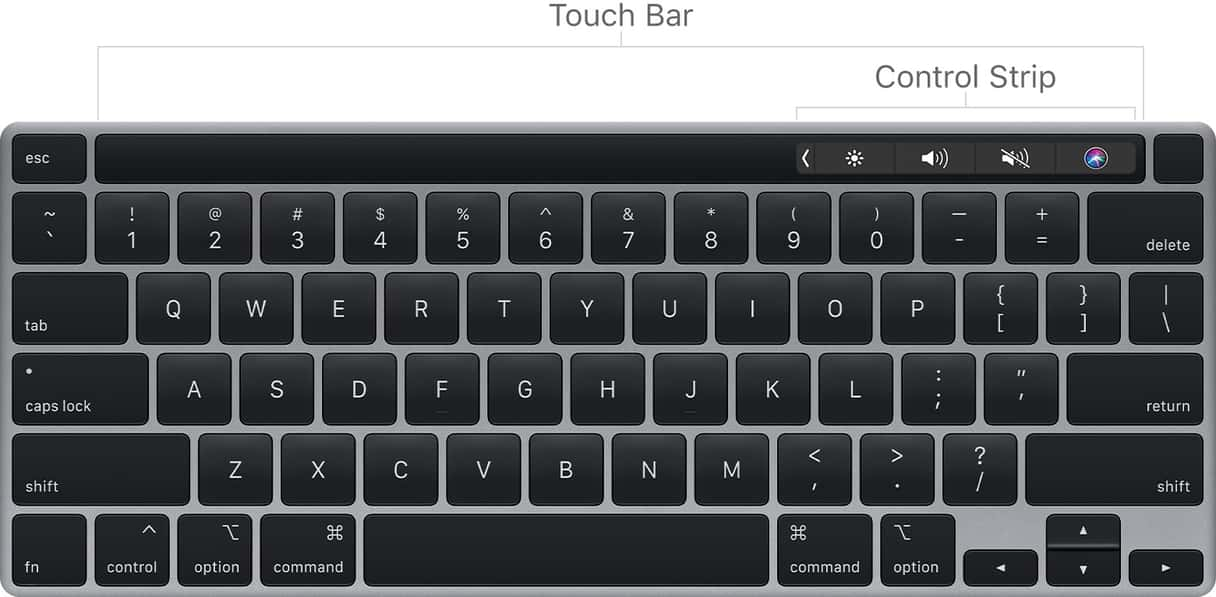
The Touch Bar has the same functionality as the standard keys it replaces (including volume, brightness, and Function keys). What’s more: in a feat of versatility, the Touch Bar can also change its available options according to the app you’re currently working in.
Located on the far right of your Touch Bar is the Control Strip. The Control Strip’s default settings include brightness, volume control, Siri, and much more.
Access classic functions
If you relied on the classic Function keys for a variety of uses, no need to worry! To use the typical F1–F12 keys on your MacBook Pro, press and hold the Function key (fn) on the bottom left corner of your keyboard. Holding the Function key will pull up each of the traditional Function keys across the Touch Bar.
How to customize your Mac’s Touch Bar
The Touch Bar allows you to customize its default functions. To change or rearrange these options, go to View in the menu bar (located at the top of the screen) and select Customize Touch Bar. This screen should appear:
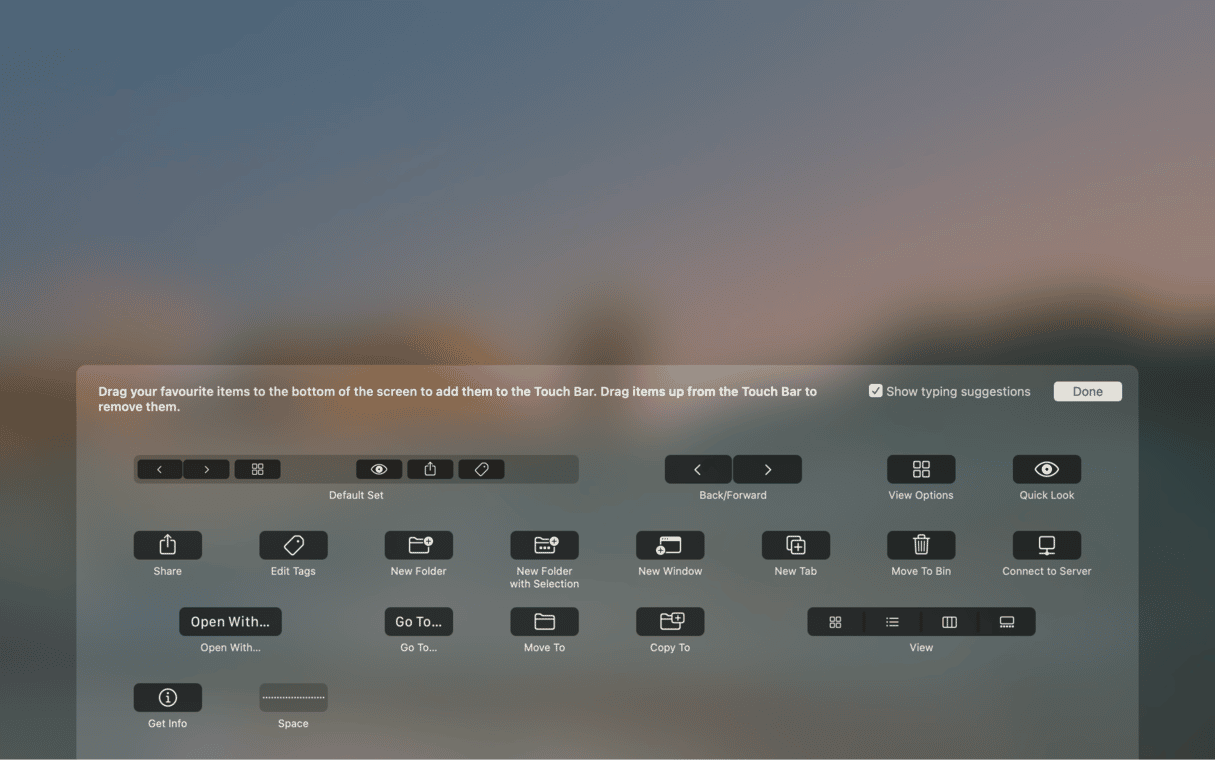
In the upper left of this menu, you’ll see the Default Set. This is the set of options that will appear when this application is running.
To customize these options, simply click and drag the icons to the bottom of your screen, and they will appear in the Touch Bar. You can also use your finger to select a command or function directly in the Touch Bar and move it to your new preferred location.
Customize the Control Strip
One of the best features of the Touch Bar is that you can customize it for each individual app you use.
Customize the default Touch Bar commands (like Siri)
If you are like me, who accidentally invokes Siri every time when reaching for Backspace, you can rearrange the Touch Bar icons.
Go to the System Preferences > Keyboard > Customize Control Strip... (at the bottom of the pane).
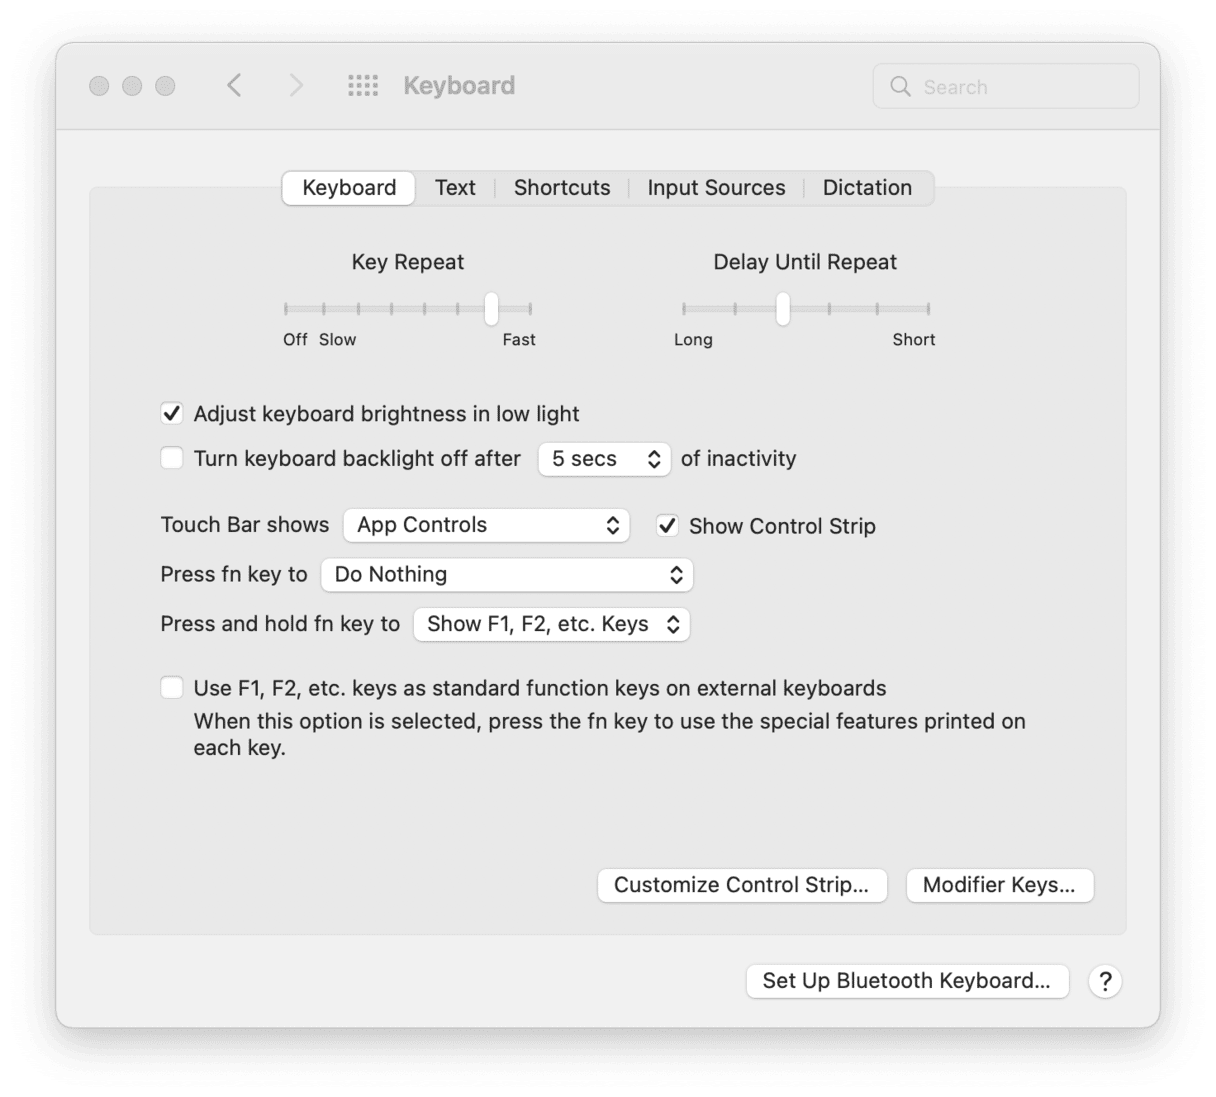
Tip: In older macOS versions, settings may be slightly different. To customize the Touch Bar, go to the System Preferences > Keyboard > Customize Touch Bar... (at the bottom of the pane).
From there, you can pick an item and drag it onto the Touch Bar.
If you want to customize the Touch Bar for a particular app, start by launching the desired application (it’ll need to be one that supports customization).
Customize the Touch Bar for Safari (or any other app)
For example, you can add Safari shortcuts to appear inside the control strip.
With the Safari app open, navigate to View in the Top Navigation Bar and select Customize Touch Bar. Next, touch the Touch Bar’s Control Strip area to switch over to Control Strip customization. This screen should appear:
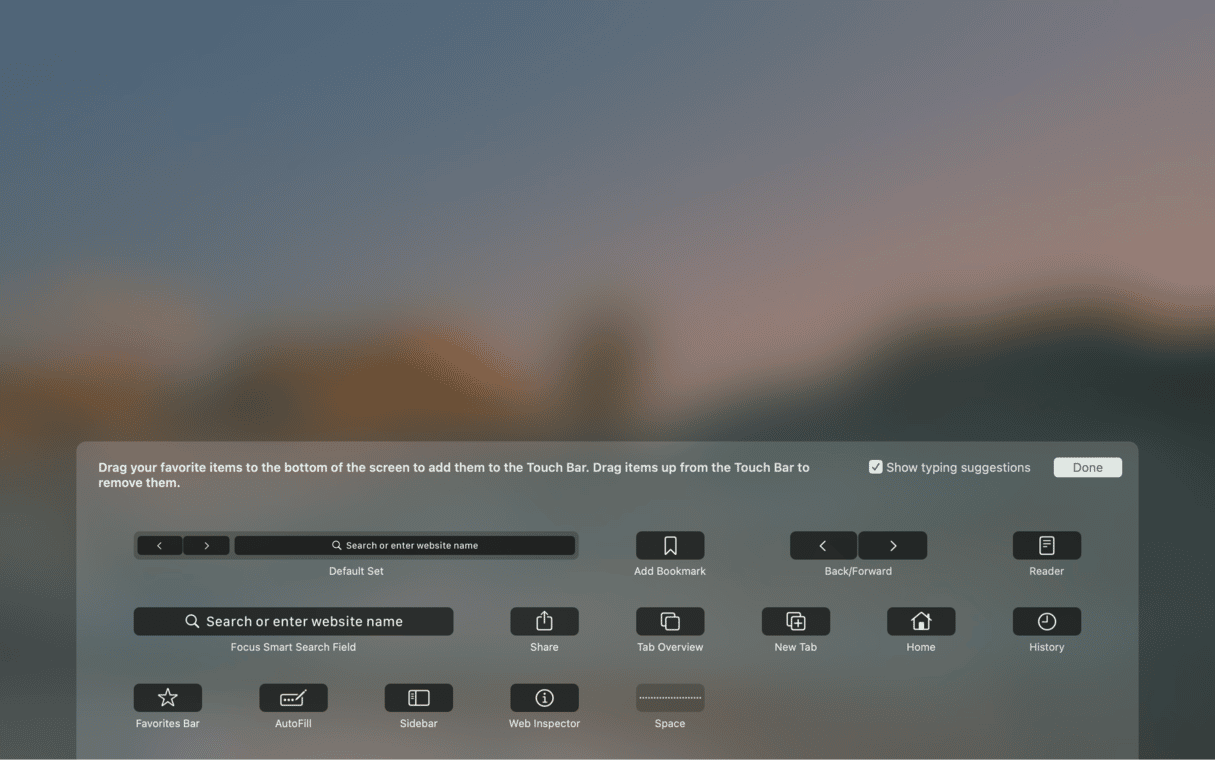
From here, you can customize your Control Strip to include AutoFill, Sidebar, History, New Tab, Tab Overview, and much more.
Using Touch Bar with native applications
The Touch Bar has a wide range of functionality within native (Apple) applications.
In the Messages app, for example, you can create a new message, access a variety of your frequently used emojis, and even use a few quick replies. In Apple Mail, you can use Touch Bar to easily compose, reply to, archive, mark as junk, and flag messages.
Using the Touch Bar with third-party applications
The Touch Bar also has some great functions in third-party applications. Spotify, in particular, lets you use the Touch Bar to search for music, control volume, play/pause, and rewind or fast forward through tracks.
Other ways to tune up your Mac (and boost its speed)
There are other small customizations you can try on your Mac. Did you know you can speed up your Mac’s startup? Or delete large hidden folders scattered around your drive? This is possible with a Mac tune-up app, CleanMyMac.
It’s notarized by Apple, so it’s perfectly legit to use on your Mac.
Tricks you can do with CleanMyMac:
- Find large hidden files and space wasters
- Disable Launch Agents and hidden background apps
- Tune your Mac for maximum speed
- Find long-lost and unused applications via Uninstaller
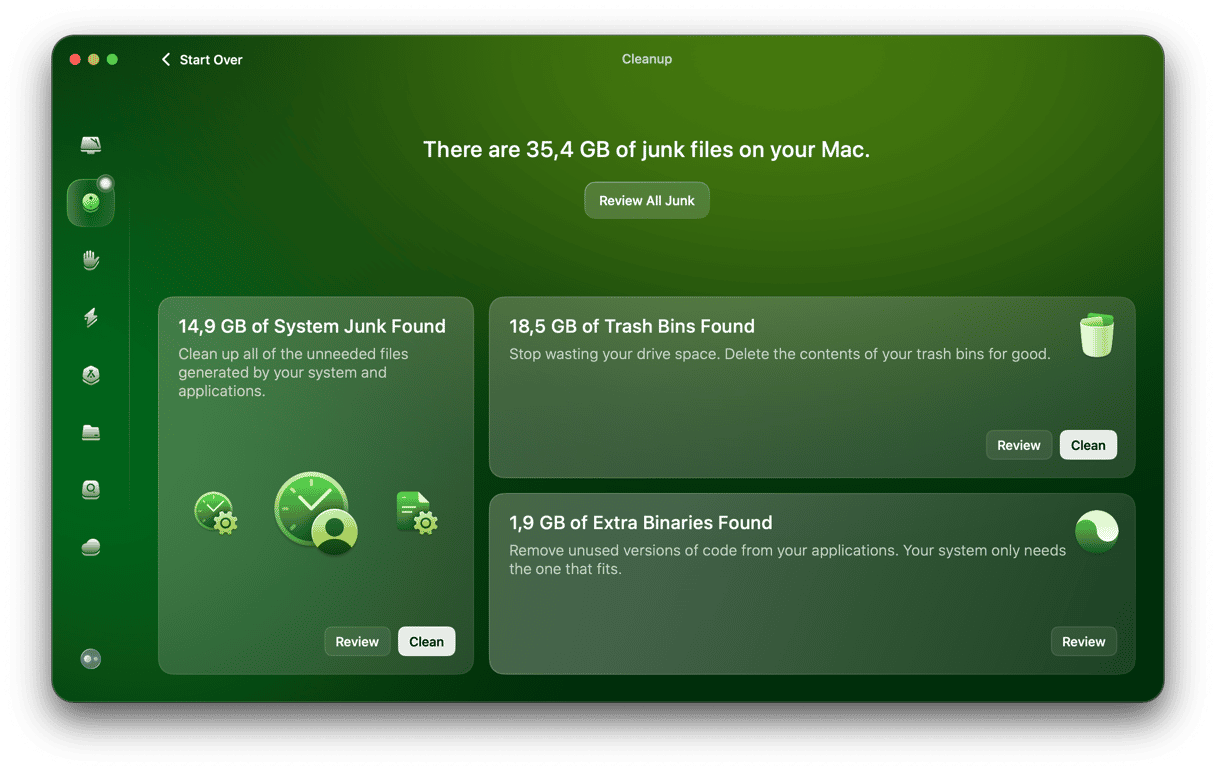
And lastly, with CleanMyMac’s System Junk tool, you can reclaim wasted space and clean up your Mac to achieve maximum performance.
You can run start with a free version of CleanMyMac. It’s available for free here.


