It’s a relatively common complaint: you’ve updated your Mac to a newer macOS, and suddenly Finder has started crashing. When this happens, you’ll receive an error report in the following pop-up:
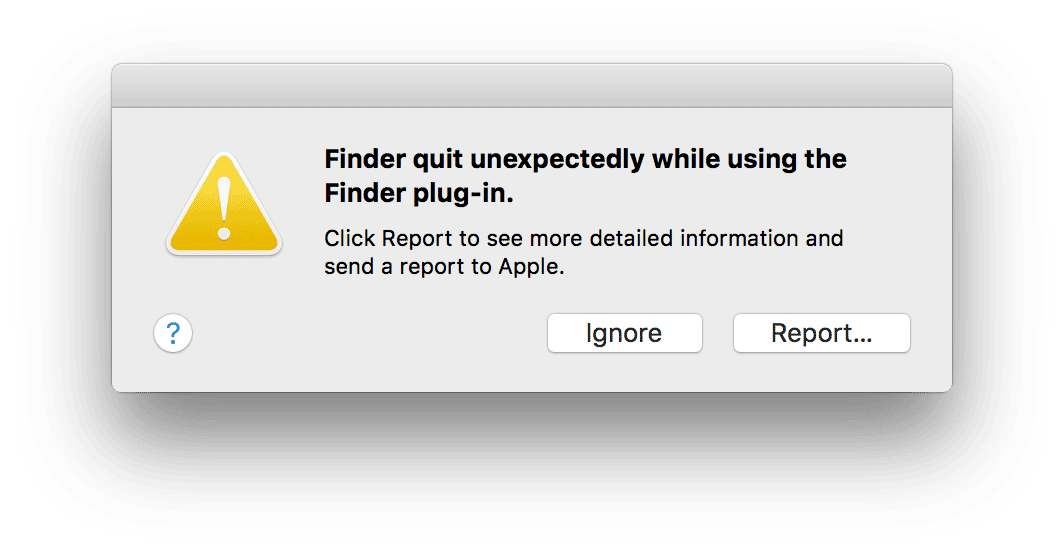
When an app quits unexpectedly, it’s frustrating, especially if you’re in the middle of something important. When your default file manager crashes, however, you may be left worried that something is really wrong.
What to do when Finder quits unexpectedly?
Not to worry. Here, we’ll let you know what’s going on when Finder keeps crashing and provide multiple solutions for fixing the issue.
Relaunch Finder
If Finder crashes or freezes, you should first try to force a relaunch. There are three ways of doing this:
- Go to Apple Menu and choose Force Quit… When the Force Quit window opens, locate Finder, and click Relaunch.
- In the Dock, right-click (Control-click) on Finder and select Relaunch. In newer macOS versions, you will need to right-click when pressing Alt+Option; otherwise, you will not see Relaunch on the list.
If this doesn’t work for some reason, try Option-Command-Esc, select Finder in the list, and click Relaunch.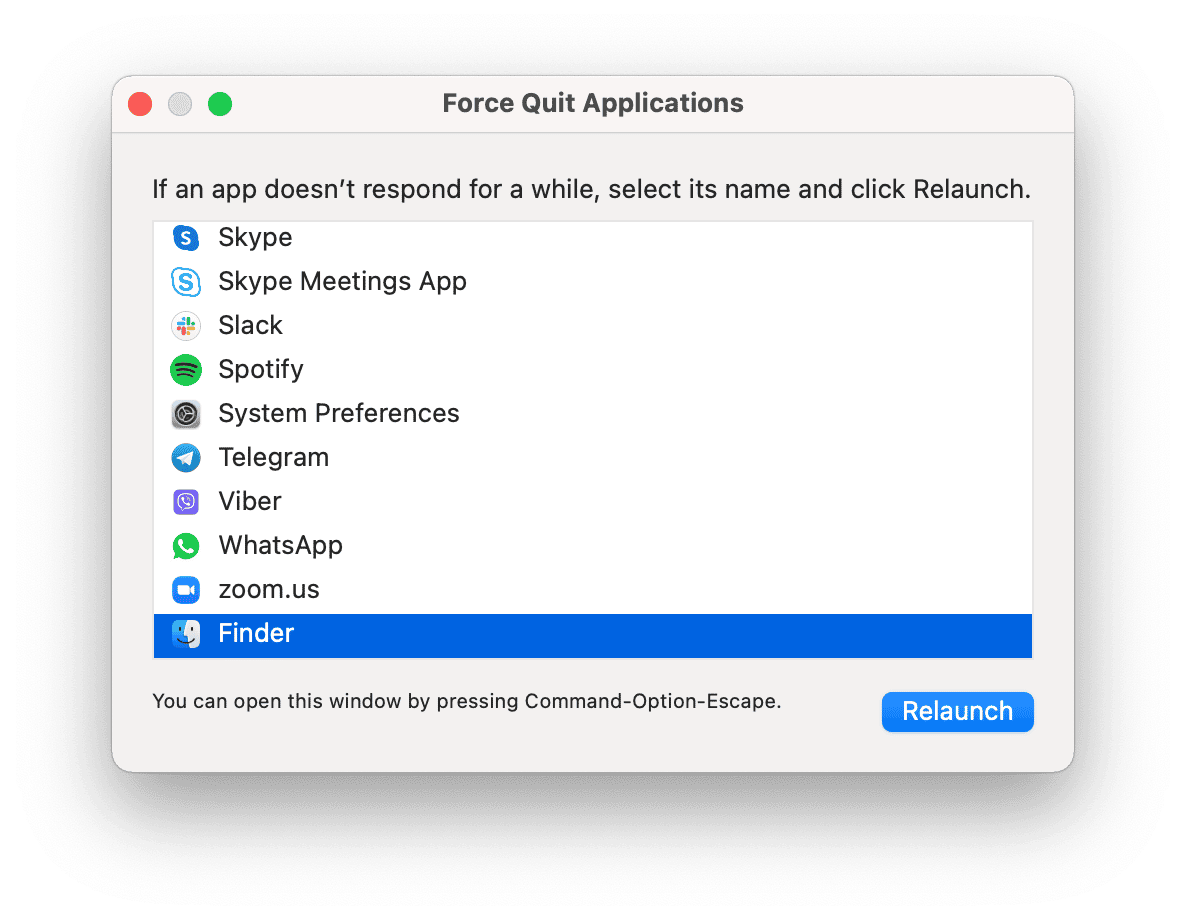
- Launch Activity Monitor (you can find it by using Spotlight Search with the keyboard shortcut Command-Space). In this window, select Finder and click Quit Process.
Relaunch Finder using any of these three ways and see if the problem has been solved.
Relaunch Finder using Terminal
If you have no fear of using Terminal, you can quit Finder using this utility. Here’s how:
- Go to Applications > Utilities and launch Terminal.
- Type
killall -KILL Finder - Press Enter.
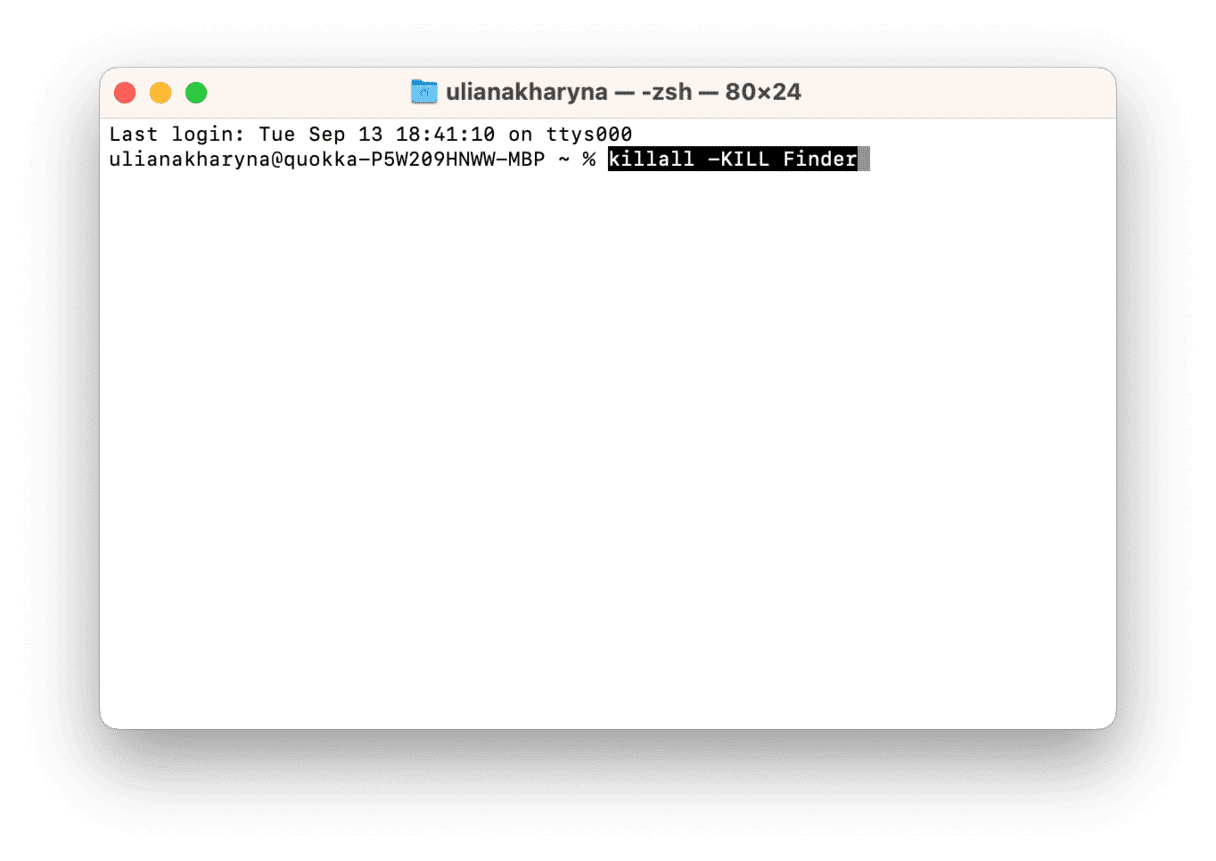
This command will relaunch Finder and may help to fix the crashing issue.
Restart your Mac in Safe Mode
If forcing Finder to relaunch doesn’t work, try restarting your Mac in Safe Mode.
Safe Mode prevents certain software and kernel extensions, such as login items and launch agents, from loading when your Mac starts up. It’s a handy tool to use when you’re having issues with your Mac that aren’t seemingly connected to a particular application.
To restart your Mac in Safe Mode, steps will differ for Apple silicon and Intel-based Mac computers.
For Mac with Apple silicon:
- Go to Apple menu > Shut Down.
- Once your Mac shuts down completely, press and hold the Power button. Do not release it until you see the Loading Startup Options window on the screen.
- Select a volume. Then, press and hold the Shift key and click Continue in Safe Mode.
- Your Mac should restart at this point, and you will see Safe Boot in the Menu bar once the login window appears.

For Intel-based Mac:
- Go to Apple menu and select Restart.
- Press and hold the Shift key immediately upon your Mac starting up.
- Let go of the Shift key when the login window appears. You should see the Safe Boot sign in the upper-righthand corner of your screen.
- Use your Mac as usual.
If you no longer experience any problems with Finder after restarting in Safe Mode, the issue is likely related to an application or software that loads automatically upon logging in or booting up.
To exit Safe Mode, simply restart your Mac by going to Apple menu > Restart...

Delete Finder preference file
One solution mentioned on Mac forums is to delete the Finder preference file. This will, hopefully, roll back Finder to its original state.
Open Finder > Go to folder...
Paste in ~/Library/Preferences
In the window that appears, find the file named “com.apple.finder.plist”
Move the file to the Bin and reboot your Mac.
Remove login items
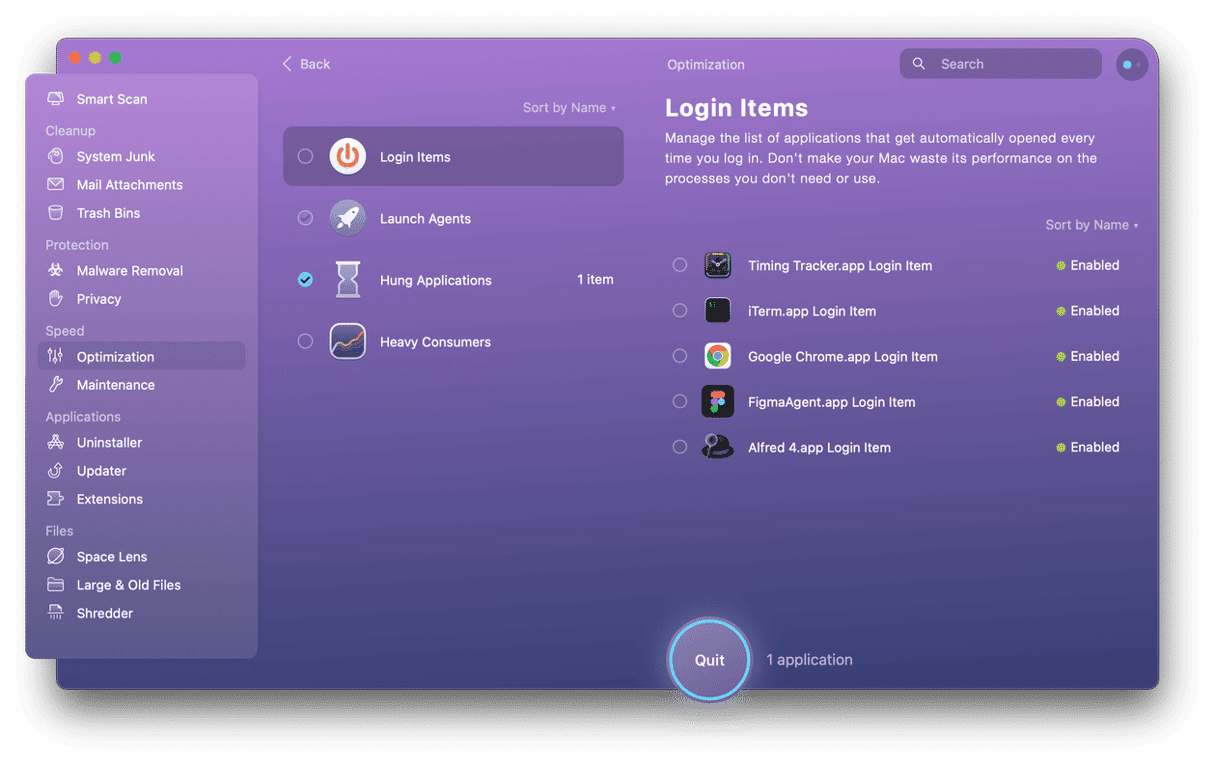
Some login items and launch agents can cause problems on your Mac. While you can manually disable them, I find it much easier to take an all-in-one approach and manage both at once.
For that purpose, I’ve found the CleanMyMac Optimization module to provide the easiest solution for getting rid of unnecessary login items. Once you download CleanMyMac, launch the app and go to the Optimization tab. From here, select Login items and choose the ones you’d like to prevent from opening when you log in. Press Remove to get it done.
If you want to try removing login items with CleanMyMac, download the app here. A risk-free trial is available.
Check and manage your Mac’s storage
A Mac that’s low on storage can cause occasional issues. To see how much storage you have left:
- Select About This Mac from the Apple menu.
- Go to the Storage tab. This will show a color-coded overview of how much storage you’re using (and how much of it is being taken up by different items, such as Apps, System Data, Messages, etc.).
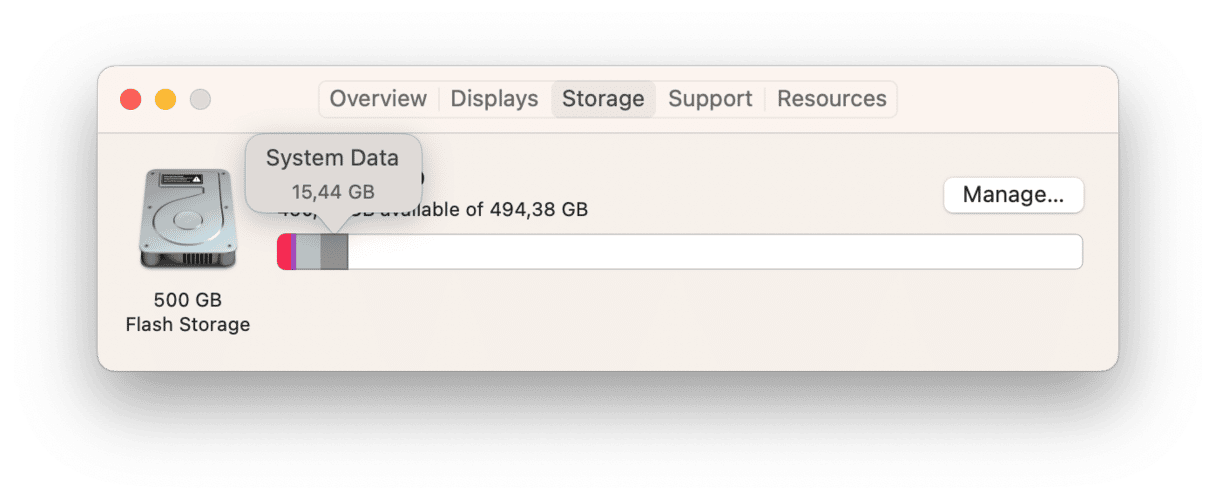
From here, you can select Manage. System Information will open in a new window, providing you with recommendations and tools for managing your storage.
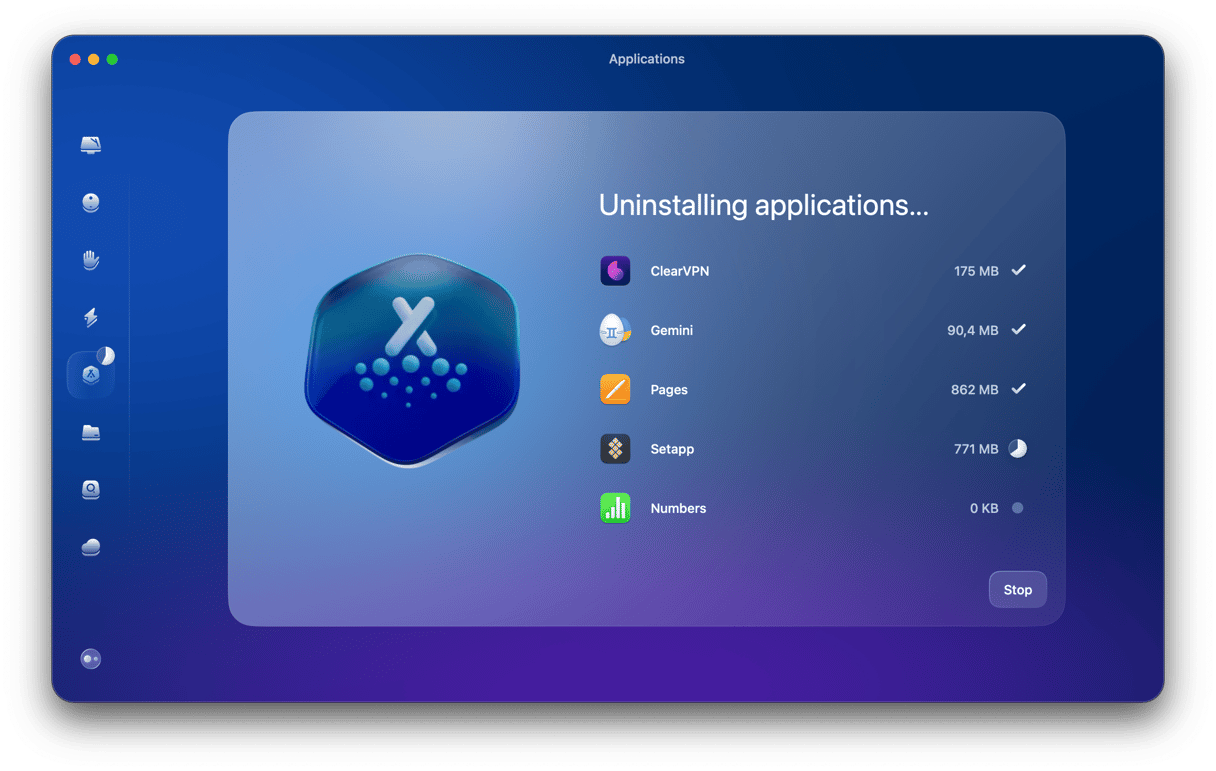
If you want to clean up your Mac and get rid of unnecessary files, CleanMyMac again provides an easy solution. I find its Uninstaller and Malware Removal modules to be the most useful for getting rid of unwanted (and, in some cases, malicious) files and apps that are taking up storage on my Mac.

Reinstall your macOS
If you’re having serious issues with Finder that aren’t resolved by any of the steps above, you may want to reinstall macOS entirely. Doing so won’t erase any of your Mac’s data — it will simply install the most recent version of macOS and replace your old, potentially malfunctioning file system.
Like with the Safe Mode, to reinstall macOS, you will follow different steps for Apple silicon and Intel-based Mac computers.
For Mac with Apple silicon:
- Go to Apple Menu > Shut down.
- Press and hold the Power button. Do not release it until you see the startup options window.
- Press Options and hit Continue. Follow on-screen instructions.
For Intel-based Mac:
- Restart your Mac (Apple menu > Restart).
- Press and hold Command-R as soon as your Mac starts up. Hold the keys down until the macOS Utilities window appears.
- Select the second option, “Reinstall macOS,” and follow the instructions to reinstall your operating system.
After reinstalling macOS, you shouldn’t have any problems with Finder.
Apps on Mac can crash for various reasons. Sometimes, a simple relaunch may help you out, while in other cases, reinstalling macOS may be necessary. I hope you managed to fix your Finder issue. Thanks for reading!


