If you’ve been reading about macOS Golden Gate and are keen to try it for yourself, the good news is the public beta is now available to download from Apple’s website. So, you don’t need to wait any longer before installing it and finding out for yourself whether it really is an improvement on macOS Tahoe. In this article, we’ll show you how to install the macOS Golden Gate beta on your Mac and, crucially, tell you what you should do first.
Important: you cannot install macOS Golden Gate on an Intel-based Mac; it is Apple silicon-only.
Before you install macOS Golden Gate beta
The first thing you should do before installing the Golden Gate beta is make sure your Mac is ready. That means:
- Checking the make and model of your Mac
- Comparing that against the list of Golden Gate supported Macs
- Making sure you have enough free space on your Mac
- Clearing out the junk
- Backing up your Mac
Here’s the step-by-step guide to doing all that.
First, go to the Apple menu > About This Mac and note the make and model of your Mac.
Check that against this list of supported models:
- MacBook Neo (2026)
- MacBook Air with Apple silicon (2020 and later)
- MacBook Pro with Apple silicon (2020 and later)
- iMac with Apple silicon (2021 and later)
- Mac mini with Apple silicon (2020 and later)
- Mac Studio with Apple silicon (2022 and later)
- Mac Pro with Apple silicon (2023 and later)
Now, open a Finder window and look at the status bar at the bottom to see how much free space is available on your Mac. If the status bar isn’t visible, press Cmd/ to see it. You will need around 16GB of free space.
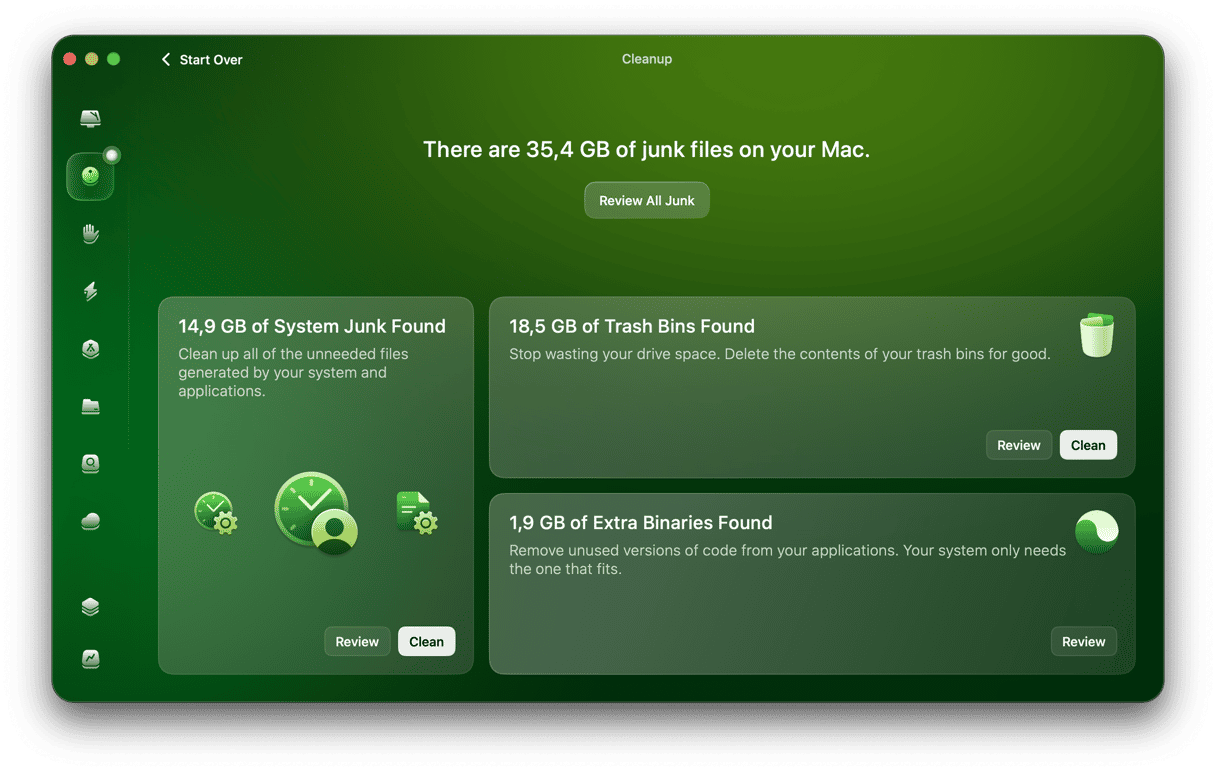
Before backing up your Mac, it’s a good idea to get rid of all the junk files and clutter that are taking up space. That will make the backup faster and smaller. It will also mean that when you come to install the Golden Gate beta, you’re doing it on a clean system. CleanMyMac’s Cleanup feature makes it easy.
- Get your free CleanMyMac trial — you can test it for 7 days.
- Open the app and click Cleanup > Scan.
- Review what it found and click Clean.
- You’re now ready to back up your Mac and install the beta.
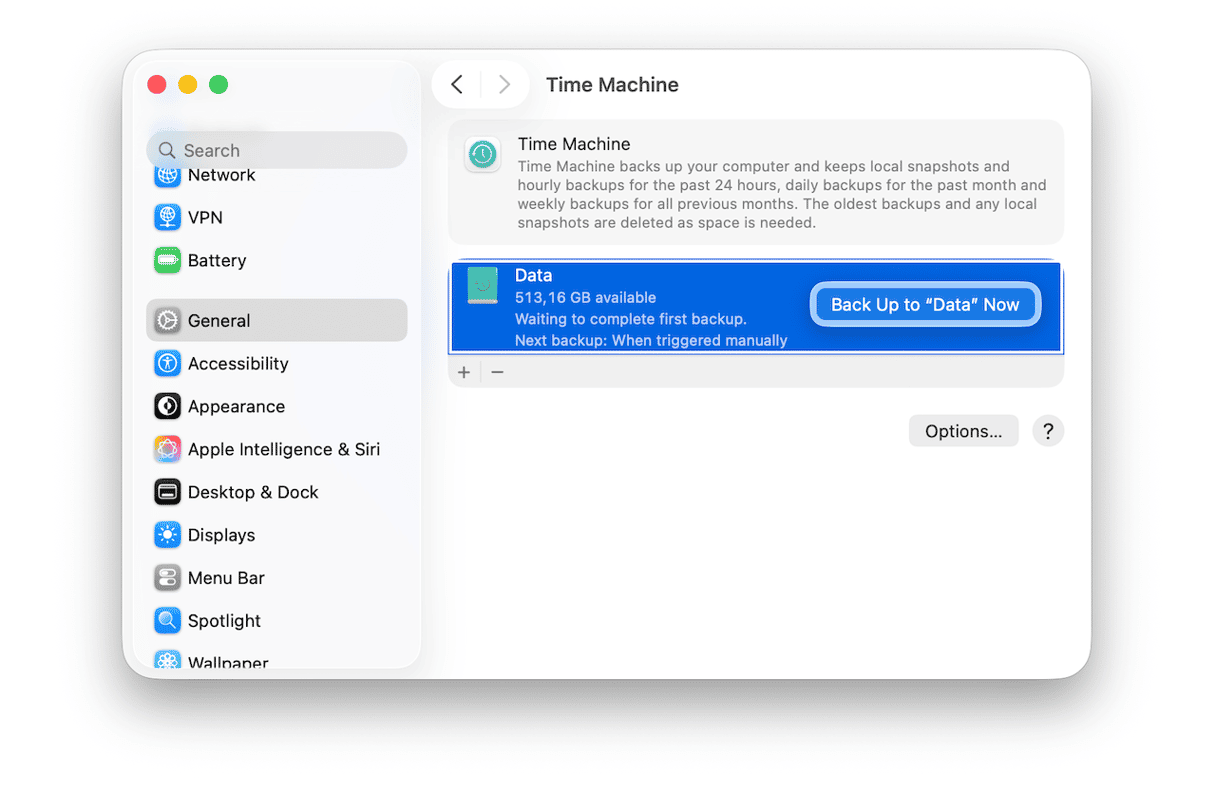
Now that you’ve removed junk files, back up your Mac with Time Machine.
- Choose an external disk with plenty of free space (Golden Gate doesn’t support backups to Time Capsule).
- Connect the disk to your Mac.
- Go to the main Apple menu, then System Settings > General > Time Machine.
- Right-click your external drive and click Back Up to [drive name] Now.
- Wait for the backup to complete, then unmount and disconnect the disk.
How to install macOS Golden Gate beta
- Go to Apple’s public beta website at beta.apple.com and sign up with your Apple ID (If you’ve signed up for previous betas, you may be able to skip this step).
- In System Settings > General > Software Update, look for Beta Updates.
- Click the ‘i’ next to it and click the dropdown menu next to Beta Updates, then choose macOS Golden Gate Public Beta.
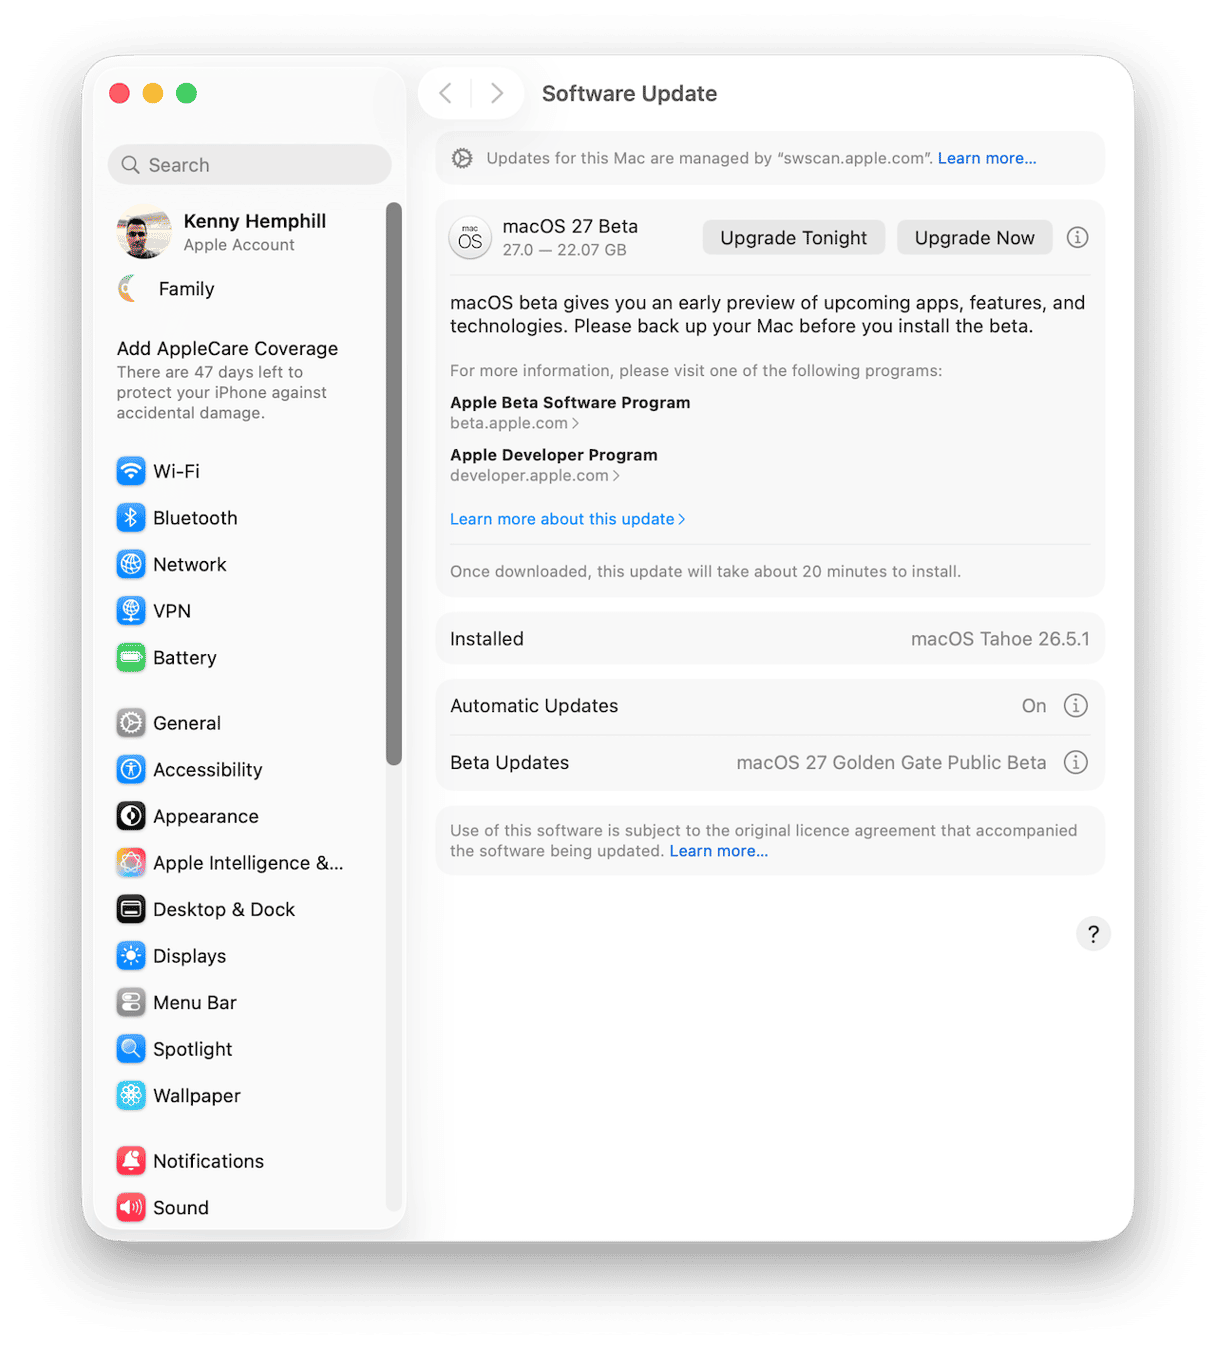
- Wait while it checks for updates, then choose Update Now.
Your Mac will download the latest Golden Gate beta and begin the installation. When it restarts, you will see the Golden Gate welcome screen and a few options, including a slider to adjust the intensity of the Liquid Glass interface.
How to install macOS Golden Gate beta on a separate volume
If you want to test out Golden Gate on your main Mac but also want to continue using Tahoe for day-to-day work, you can do that by installing it on an external disk or a new volume on your startup disk.
- Follow steps 1-3 above, but don’t choose Update Now.
- Quit System Settings.
- Launch Terminal from Applications > Utilities and paste this command, followed by Return: softwareupdate --list-full-installers
- You should see a list of available installers, with Golden Gate Public Beta at the top.
- Paste this command followed by Return: softwareupdate --fetch-full-installer --full-installer-version 27.0
- The installer will download. If it starts automatically when it has downloaded, press Command-Q to quit it.
To create a new volume on your startup disk:
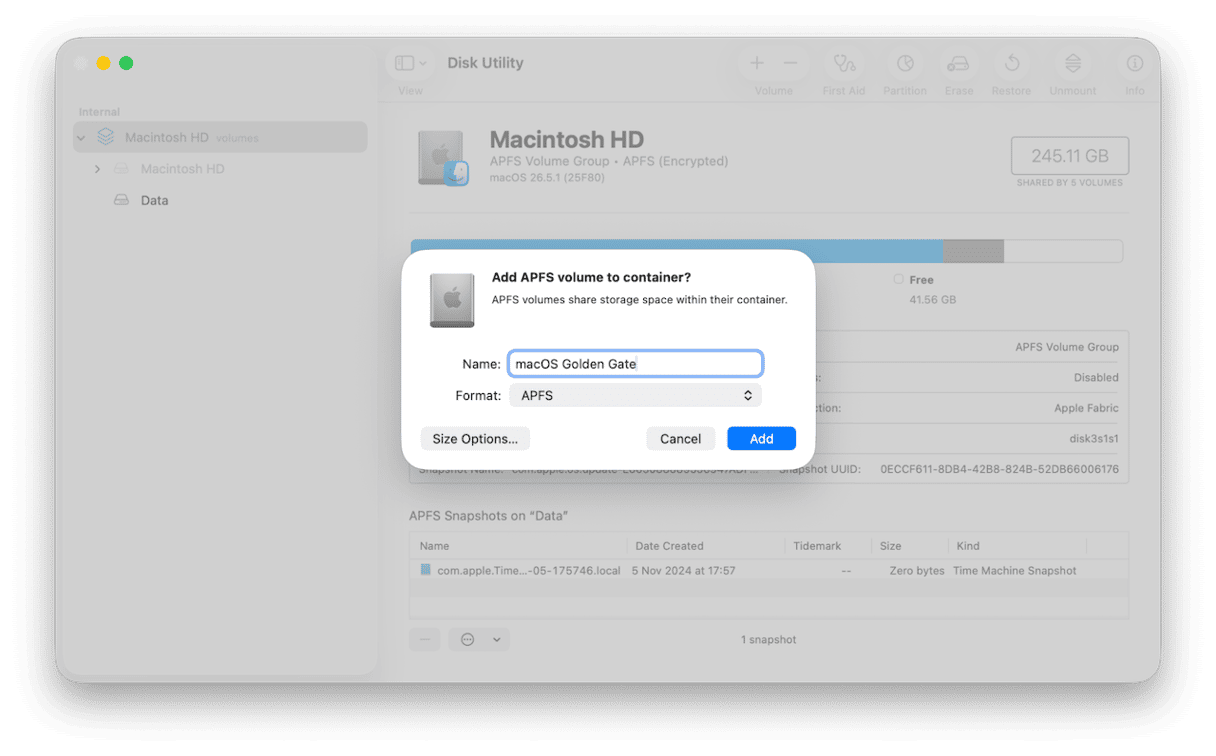
- Go to Applications > Utilities and launch Disk Utility.
- Click on ‘Macintosh HD Volume’ in the sidebar.
- In the toolbar, click ‘+’ in the Volumes section.
- Call the new volume Golden Gate and make sure it’s formatted as APFS, then click Add.
If you’d rather use an external disk, connect it to your Mac, launch Disk Utility, choose Erase and then follow step 4 above.
Once you’ve created a new volume or prepared an external disk, do the following:
- Double-click the Golden Gate installer in your Applications folder.
- Choose Continue, Agree > Agree. Then choose ’Show all disks.’
- Select the new volume or external disk, and click Continue.
- On the next screen, choose your user account, make sure ‘Copy account settings’ is selected, and click Continue.
- If you’re asked to type in your administrator password, do that and click Unlock.
Your Mac will restart and boot into Golden Gate. To switch between startup volumes, go to System Settings > General > Startup Disk.
How to revert to macOS Tahoe
If you decide you no longer want to use the Golden Gate beta and you installed it on a new volume, you can simply delete the volume. If you installed it on your Macintosh HD volume, connect the Time Machine backup disk, restart in recovery mode, and choose Restore from Time Machine Backup. Then choose the most recent backup before you installed Golden Gate. That’s why making a Time Machine backup before you start is so important.
Frequently asked questions
Is macOS Golden Gate beta free to install?
Yes. The public beta and developer betas are both free to install.
Can I install macOS Golden Gate beta on an Intel Mac?
No. Golden Gate will only install on M-series Macs. Intel-based Macs are not supported.
How much storage do I need for macOS Golden Gate beta?
You’ll need at least 15–17 GB for the installer. However, 30–50 GB is recommended for smooth operation.
Can I run macOS Tahoe and macOS Golden Gate at the same time?
Yes, by installing Golden Gate on a separate APFS volume. You can then switch between them at startup.
How do I revert to macOS Tahoe after installing the beta?
Restore from a Time Machine backup taken before the upgrade, or delete the Golden Gate APFS volume if you installed on a separate volume.