macOS Ventura was the main WWDC 2022 highlight: it introduced Safari Passkeys, Stage Manager, Continuity Camera, and lots of other exciting improvements. Many Apple fans are ready to install the macOS Ventura beta as soon as it’s available, while others want to wait and see when the first bugs will be fixed. No matter which team you belong to, we’ll show you how to install macOS Ventura developer and public beta. Follow along and get your Mac upgraded!
Before you install the macOS Ventura beta

Before diving into all the steps, let’s first rule out the most common macOS update issues. Installing a macOS beta, you’re always facing a risk of encountering bugs and performance problems. Users report lots of issues in the early days of the beta development, so unless you’re ready for them, don’t rush into upgrading.
If you do decide to try Ventura beta, back up your data to make sure your files will be safe if anything goes wrong. You can use Time Machine on your Mac or just copy your data to an external hard drive.
Another thing you should check is your free hard drive space. The macOS Ventura beta installer takes around 12GBs, but you should always have some extra free space for normal system functioning. So around 25GBs of available space is a necessity.
We rarely clean up our hard drives unless there’s a new macOS coming out, and we need that free space to upgrade our Mac computers. If you need to clean up a lot of space now, using CleanMyMac will make this task less tiresome. It has a System Junk feature that helps clear unneeded junk, incomplete downloads, and other useless files. To give your Mac a deep cleanup, download the app here.

How to install macOS Ventura developer beta
If you are an Apple Developer Program member, you’ll be among the first people who can try the new macOS. Here’s how to install macOS Ventura developer beta on your Mac:
- Go to developer.apple.com
- Click Account and sign in.
- If you are enrolled in the Developer Program, click Discover > macOS > Download and log in with your developer account if asked.
- Click Install Profile. The macOS 13 beta file will automatically download on your Mac.
- Go to your Downloads and open the macOSDeveloperBetaAccessUtility.dmg file.
- Now, double-click macOSDeveloperBetaAccessUtility.pkg to run the installer.
- When the installer is finished downloading, it will open Software Update with the macOS 13 beta available.
- Click Update Now to download and install the developer beta version.
Follow the on-screen instructions to continue with the installation and update your Mac to macOS Ventura beta.
How to install macOS Ventura public beta
macOS Ventura public beta went live on July 11, 2022, and it’s available for all users. So if you don’t have an Apple Developer account, follow the steps below to install the macOS Ventura public beta:
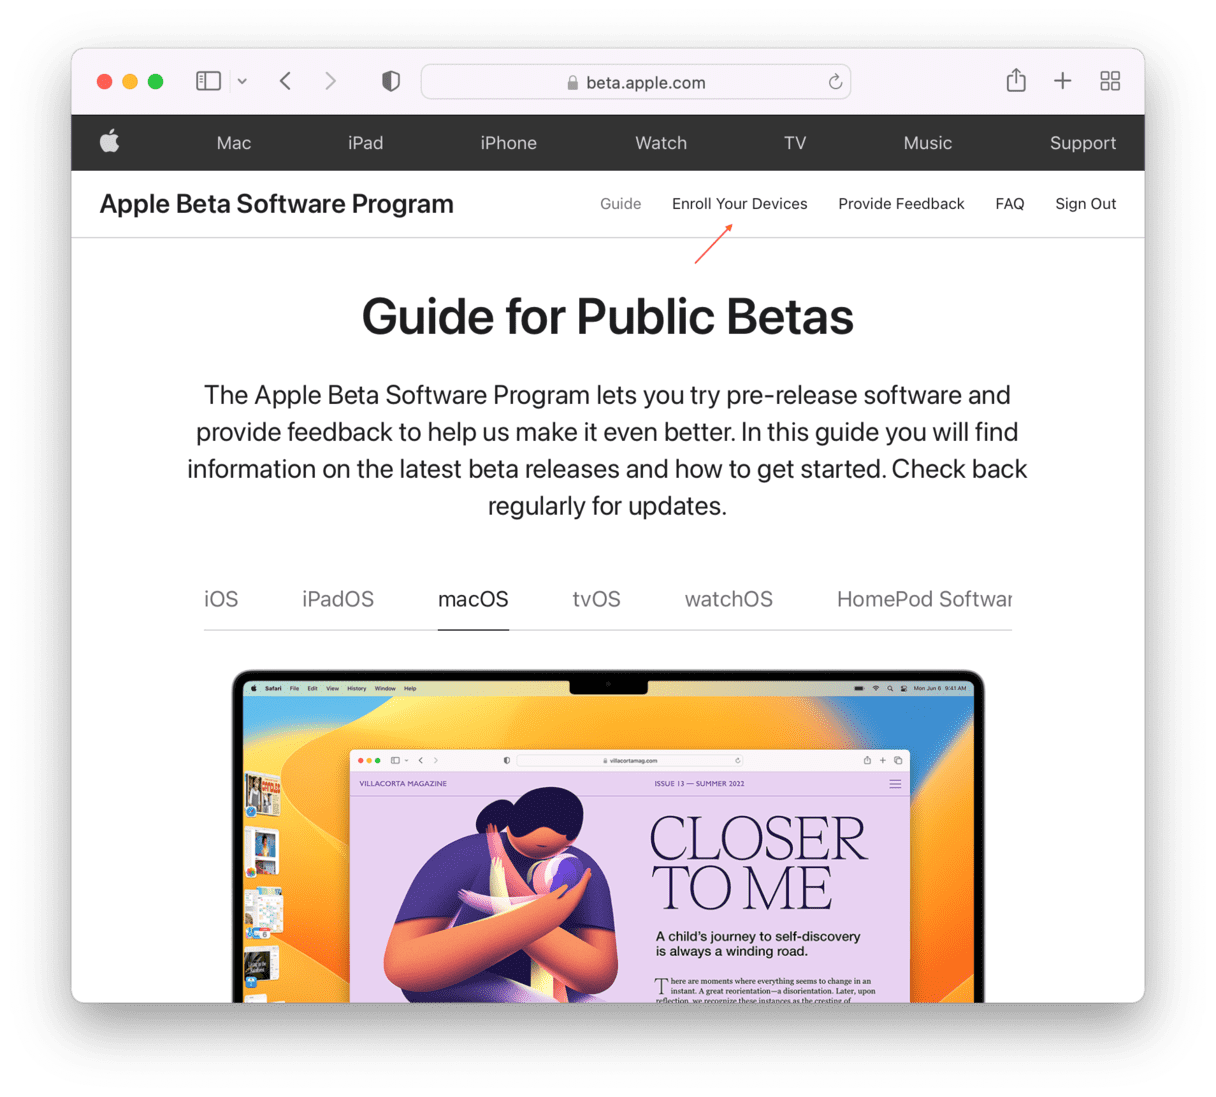
- Go to Apple’s beta software site.
- Click Sign In to log in to your Apple account.
- Once logged in, read and accept the Agreement.
- Click Enroll Your Devices.
- Scroll down and click “Download the macOS Public Beta Access Utility.”
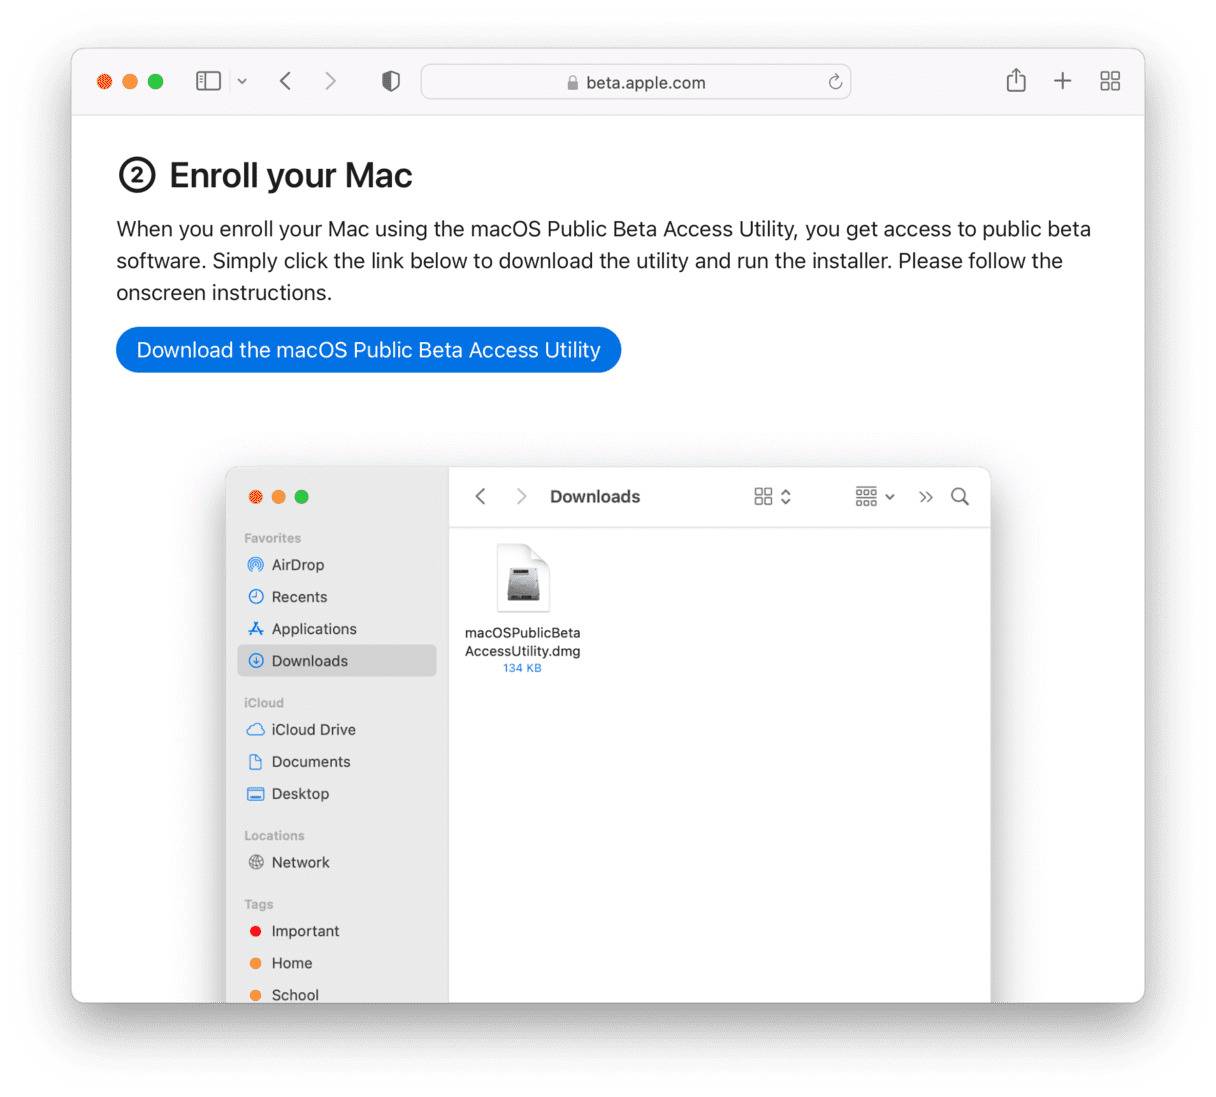
- Go to your Downloads folder and open the macOSPublicBetaAccessUtility.dmg file.
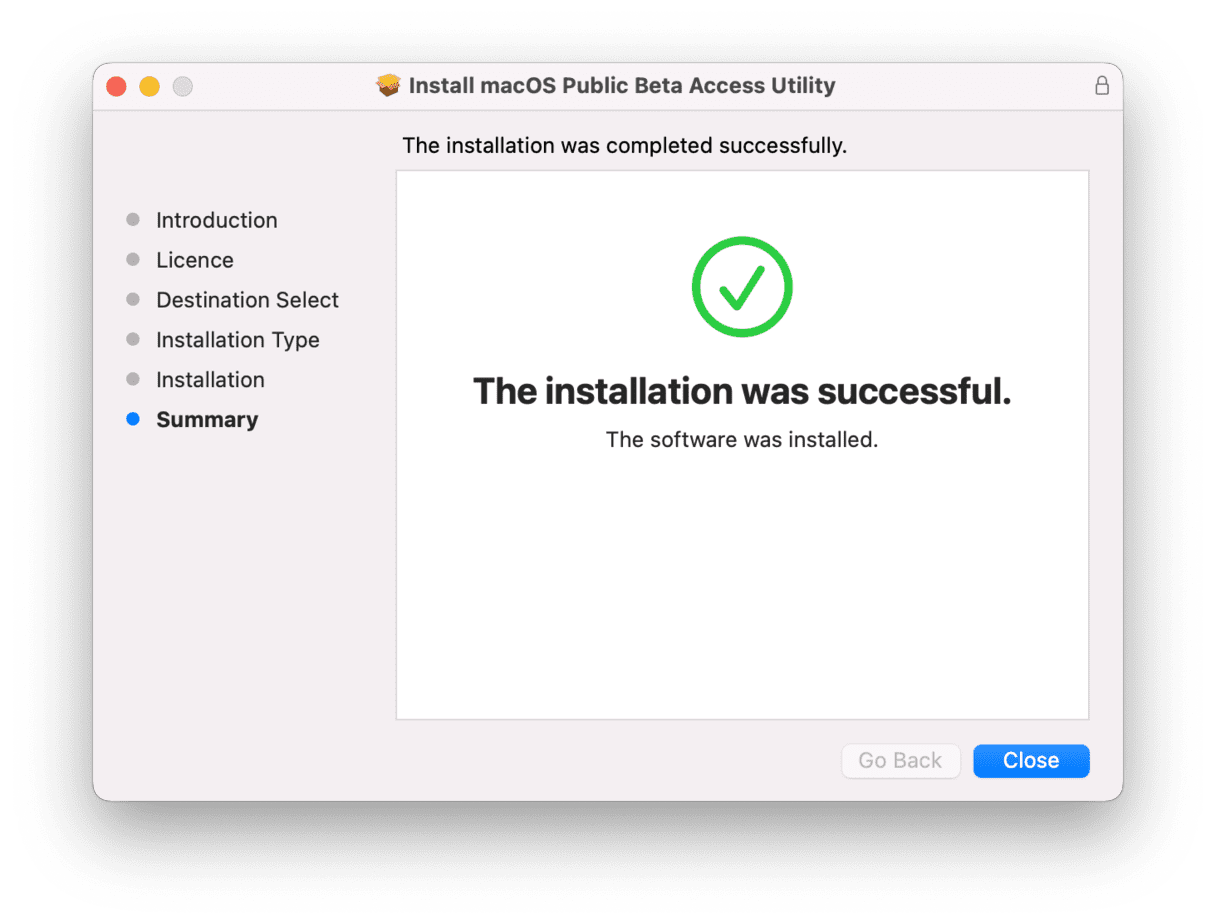
- Double-click macOSPublicBetaAccessUtility.pkg — this will launch the installer.

- Once the macOS Public Beta Access Utility is installed, the Software Update window will open. If it didn’t, go to About This Mac > Software Update.
- If you’ve successfully enrolled in the beta program, you should see the “This Mac is enrolled in the Apple Beta Software Programme” message under the icon on the left side of the window.
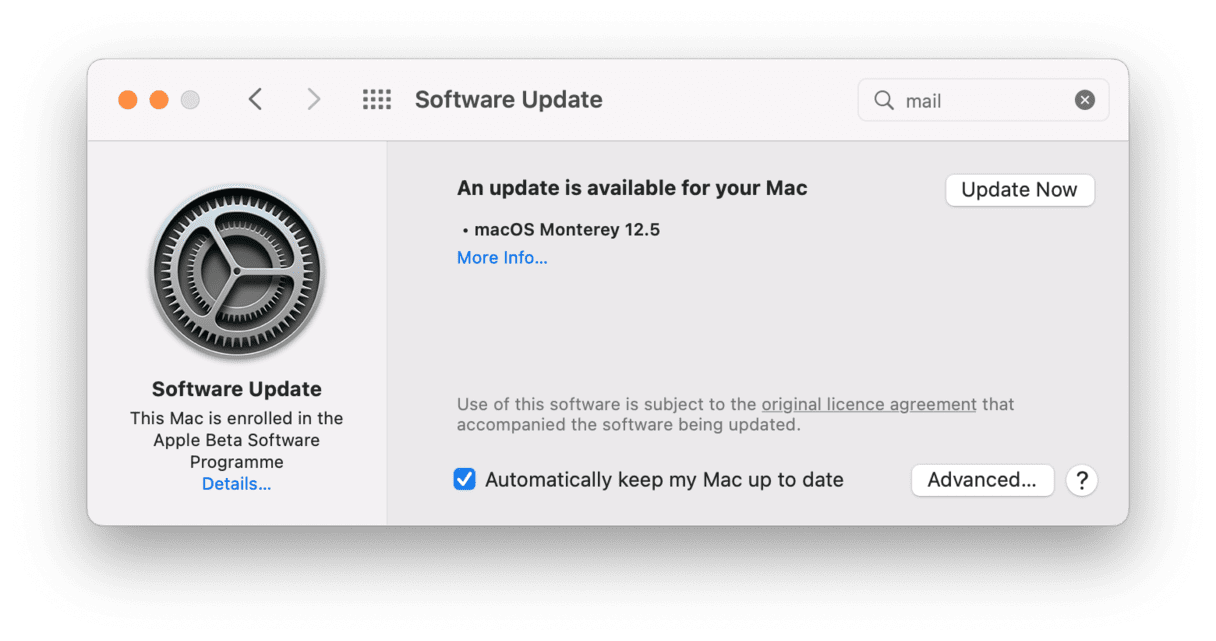

The beta download might not be available immediately. You’ll get a notification once it is. If you already have it, click Download and then follow the prompts to install the beta version.
How to roll back to macOS Monterey
You’ve installed the macOS Ventura beta, and things didn’t go as expected? Beta versions of any software can be unstable and unreliable. If you’re experiencing problems or bugs, you can roll back to macOS Monterey or clean install the official version of macOS Ventura — it’s available since October 24, 2022.
To downgrade from macOS Ventura beta, you’ll need:
- A Time Machine backup made before you’ve installed macOS Ventura beta — this will help restore your macOS.
- A stable internet connection.
Here are the steps:
- Restart your Mac and enter Recovery mode:
- Once you’ve entered Recovery mode, select Select Restore from Time Machine Backup from the Utilities menu and click Continue.
- Choose the latest macOS Monterey backup.
- Click Restore to revert your Mac to macOS Monterey.
For a Mac with Apple silicon: press the Power button and keep holding it until you see the boot options. Then, choose Options and click Continue.
For an Intel-based Mac: hold down the Command-R keys until your Mac starts in Recovery.
Hopefully, your Mac is back to smooth performance now.
How to fix macOS Ventura problems without downgrading
If you don’t want the trouble of rolling back to Monterey, you can try solving your performance issues with CleanMyMac. This Apple-notarized app helps run maintenance and optimization routines to reindex Spotlight, fix freezing and laggy apps, and speed up your Mac.
- Download CleanMyMac.
- Install and launch the app.
- Go to Maintenance.
- Select Maintenance tasks you’d like to perform and click Run.

These tasks will optimize your Mac’s system and solve existing bugs!
From what we’ve seen at WWDC, macOS Ventura promises impressive new features. If you’re ready to try them on your Mac, follow the steps we’ve outlined to install the macOS Ventura beta. But, if you only have one Mac and use it actively, don’t rush into installing the beta version — it may slow down your machine and cause other issues. So be cautious and happy Venturing!