If you’re not backing up your pictures or storing them someplace else, you run the risk of losing all of your irreplaceable memories if anything happens to your computer. Sure, you could keep your pictures on an external hard drive. But, perhaps the easier solution is to use cloud-based storage like Google Photos.
Google Photos is easily one of the more popular services, and for a good reason, but you’ll read more about that later. You’ll also read about setting up Google Photos to automatically backup your Mac or how to upload from Photos and iPhoto manually.
Before you upload to Google Photos
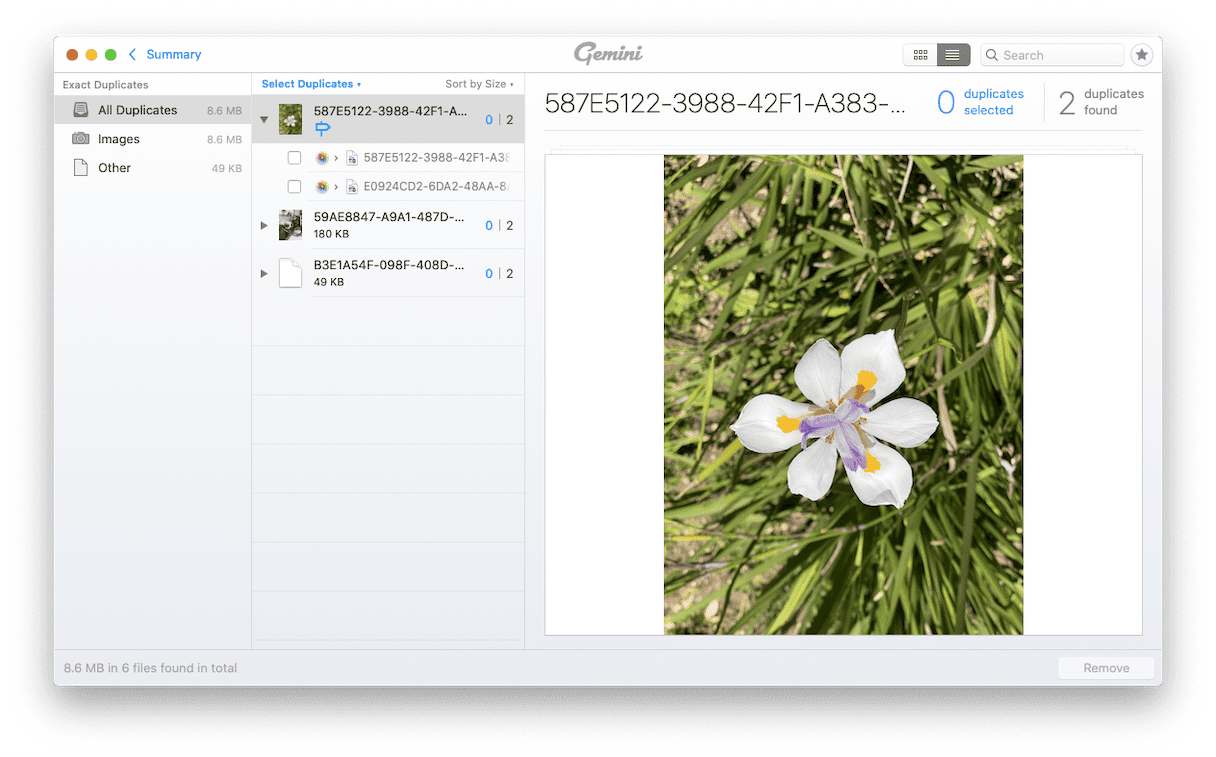
Whenever you’re setting up a new service like Google Photos, the last thing you want to do is import a bunch of garbage you don’t want. The good news is you can use the app Gemini 2 to help scan your picture library and quickly remove duplicate and similar-looking images. And the best part is you can download and try Gemini 2 for free!

How to upload photos to Google Photos from Mac
Google Photos is arguably one of the most popular photo cloud services because of the fact they offer every member 15 GB of free storage. While that might not be enough space for your entire library, they do have pretty reasonable upgrade pricing.
But deciding how you’re going to upload your pictures to Google’s cloud will also help you determine how much space you’ll need. The two methods for moving your images include automatically backing them up from your Mac or manually uploading them. You can read about both ways below.
Backup your Mac photos to Google Photos
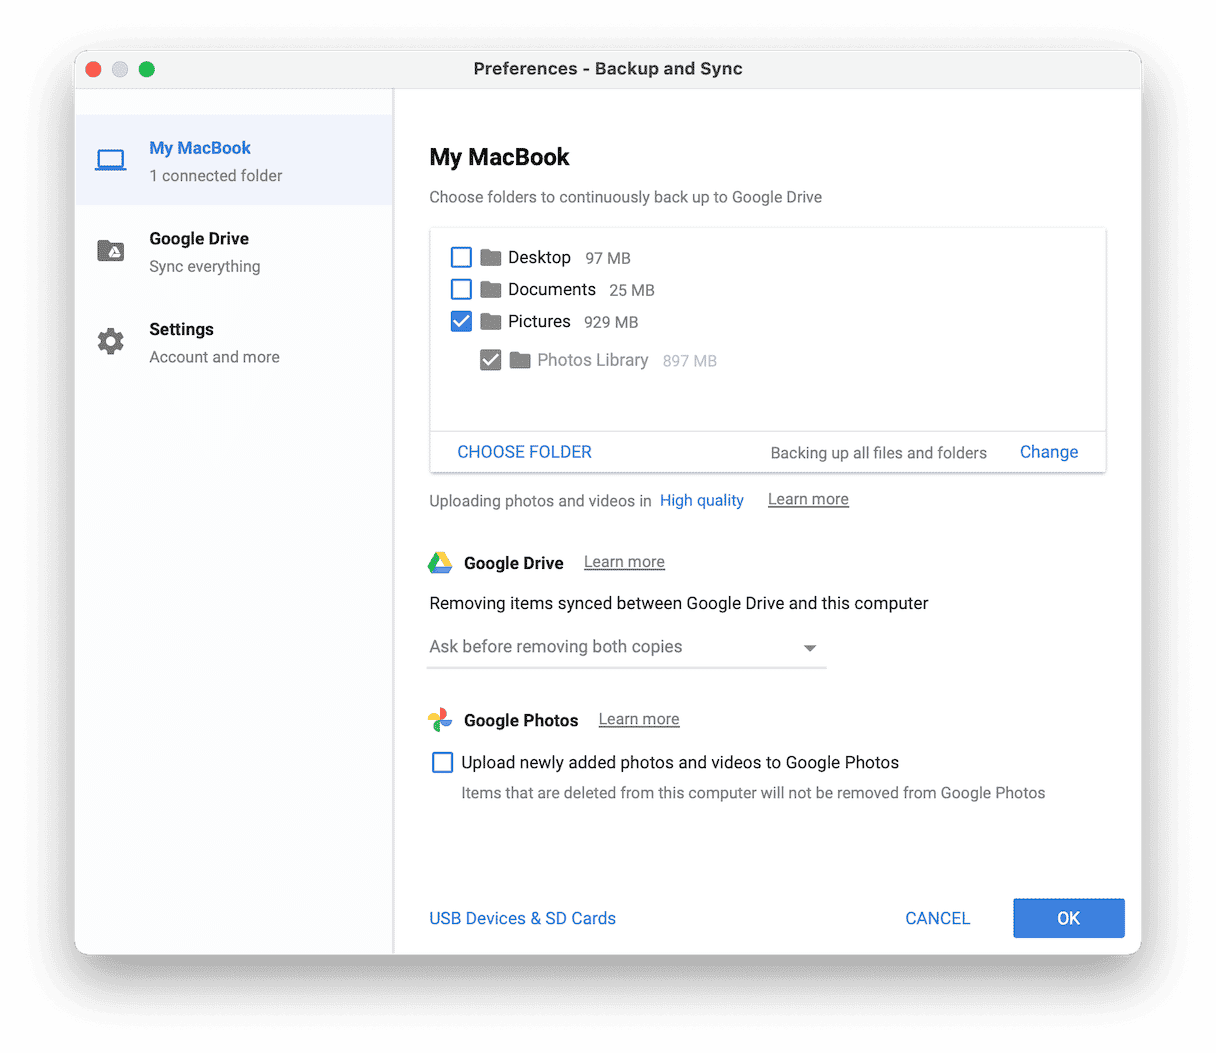
If you want to use Google Photos as a complete backup for your library, the first thing you’ll need to do is download the app Backup and Sync on your Mac. Once you have that downloaded and copied into your Applications folder, follow these steps to set it up:
- Open Backup and Sync.
- Sign in to your Google account.
- Check the box next to your Photos and/or iPhoto Library.
- Set the quality level for your pictures.
- Then, check Upload newly added photos and videos to Google Photos.
- Click Next.

That’s it! That’s all you have to do. This is why it’s so important for you to clean up your library with Gemini 2 before setting this up because it will automatically back everything up.
Upload from Photos or iPhoto to Google Photos
Maybe you don’t want to backup your entire library, but just a select few. The steps below will show you how to save pictures onto Google Photos manually. If your photographs already live in folders within Finder, then you can skip down to Step 4.
- Open iPhoto or Photos.
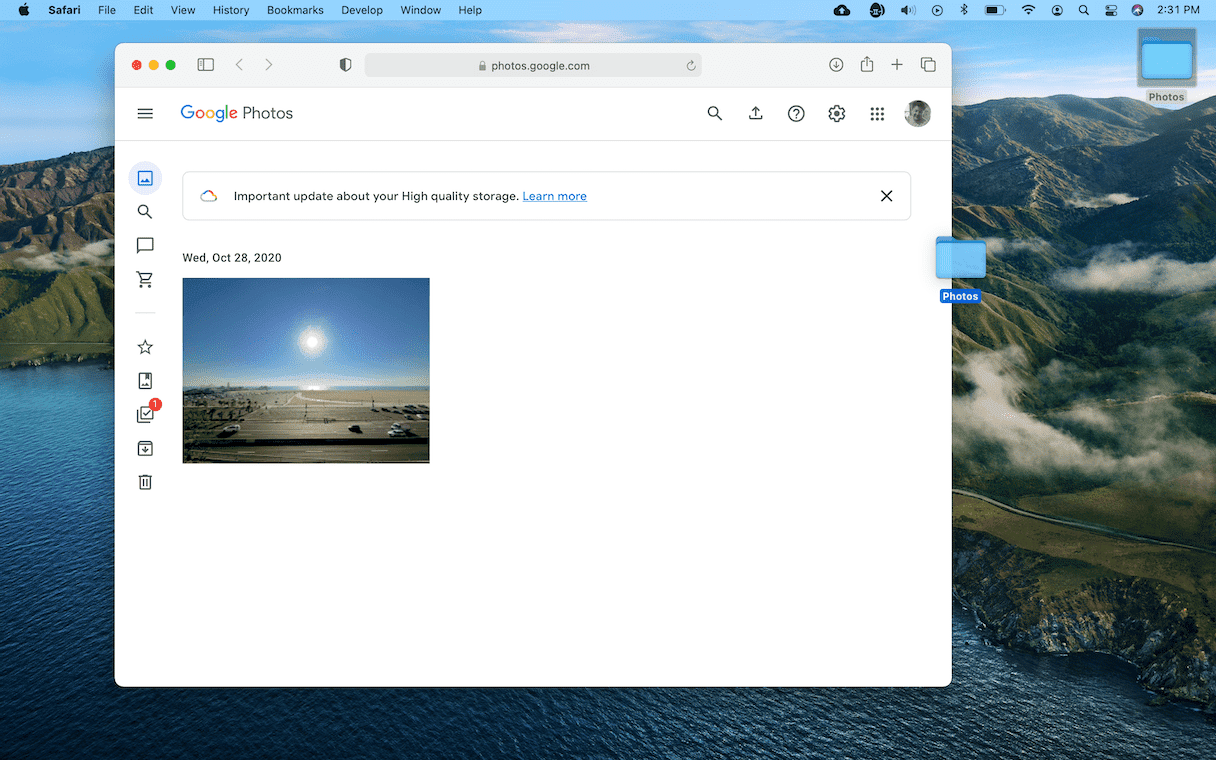
- Create a folder on your desktop.
- Select the pictures you want to upload. Then, drag-and-drop them into that folder.
- In your browser, go to photos.google.com.
- Drag-and-drop that same folder into your browser.

Hopefully, this article has shown you just how easy it is to keep Google Photos in sync with your Mac. It’s a great idea to at least keep your pictures somewhere else. That way, if anything happens to your computer, all of your memories are still saved forever.


