Most of the time, a Mac — whether you have a MacBook Air, MacBook Pro, or another device — is reliable. But at times, a Mac can act out in unexpected ways, such as getting stuck on the loading screen.
If this happens, you don't need to worry. There are ways to fix it, as this article explains. One of the reasons a Mac can get stuck on a loading screen is following a macOS update, which means there are many solutions. I have covered some of the most common fixes in this article.
How to fix a Mac stuck on the loading screen?
1. Reset NVRAM
This quick trick can help fix issues related to your selected startup disk, speaker volume, screen resolution, or time zone selection.
- Shut the Mac down, usually by pressing the power button.
- Now, press and hold the Command-Option-P-R keys for at least 20 seconds (sometimes 30 might produce better results).

Your Mac should restart automatically, and if it gets past the loading screen, the problem is solved. It's still worth repairing disk permissions and conducting some extra maintenance to make sure it's working as you need it.
If that doesn't work, we recommend repairing disk permissions.
2. Repair disk permissions
Sometimes, permissions go corrupt on a Mac, causing errors and issues. If you've managed to start up your Mac after it's been stuck on a loading screen, it's worth running some maintenance to prevent that from happening. I like using CleanMyMac to optimize and maintain my Mac: it has a bunch of tools that help clean storage space, remove unneeded junk, and fix performance problems on Mac. Here's how to use to repair disk permissions:
- Get your free CleanMyMac trial.
- Click Performance > Scan > View All Tasks.
- Select Repair Disk Permissions.
- Hit Run.
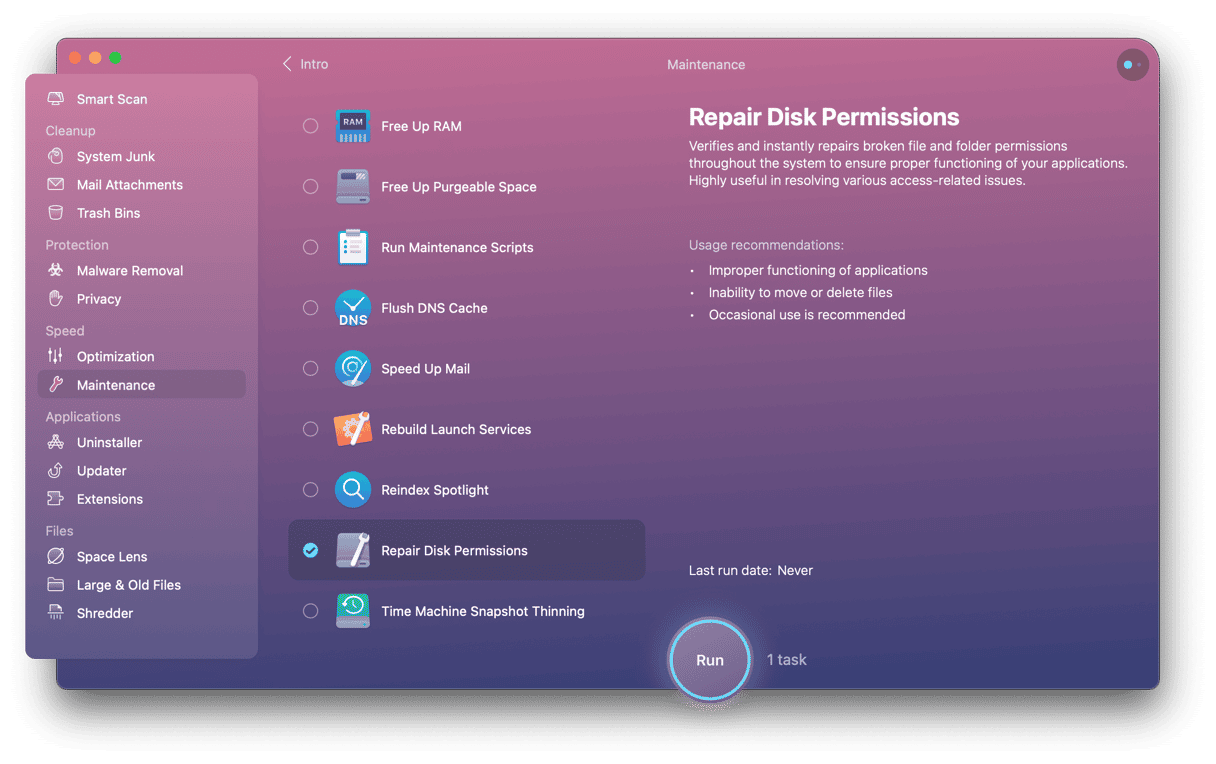
CleanMyMac will do the same heavy lifting of Disk Utility without you needing to manually attempt to search through every disk permission and fix the ones that are broken and not working as they should. It will automatically detect which are broken and fix them.
Once that scan is complete, it's worth closing your Mac down and starting it up again. Everything should be running as expected and as good as new.
3. Reset the SMC
Another solution to this problem is to reset your Mac's SMC (System Management Controller). If your MacBook is stuck on the loading screen, this should hopefully solve the problem.
If your MacBook has a T2 chip, follow these steps to reset its SMC:
- Shut the Mac down, usually by pressing the power button.
- Now, press and hold the Shift-Control-Option keys at the same time.
- Then while still pressing those keys, press and hold the power button at the same time for 7 seconds.
- Finally, release all of the keys at the same time and then press the power button again to start the Mac for a second time.
4. Start up in recovery mode
Another solution for this problem is to use recovery mode. Follow the steps below for your Mac.
Intel-based Mac
- Press the power button to switch your Mac on.
- Straight away, press the Command and R keys
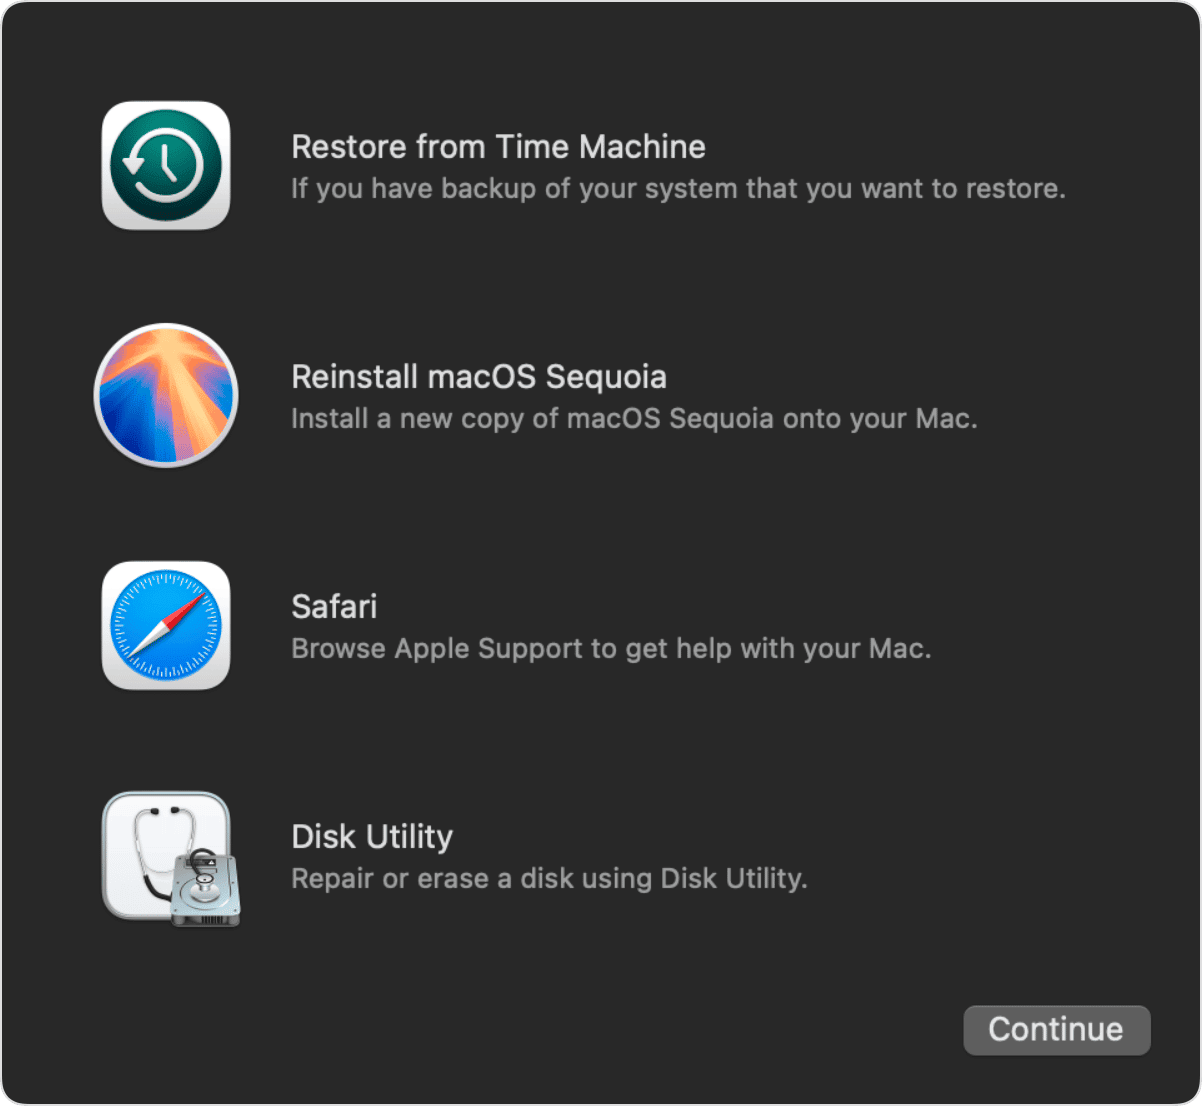
- The Apple logo or a spinning globe should show up. A macOS Utilities window should appear automatically.
Apple silicon
- Shut down your Mac.
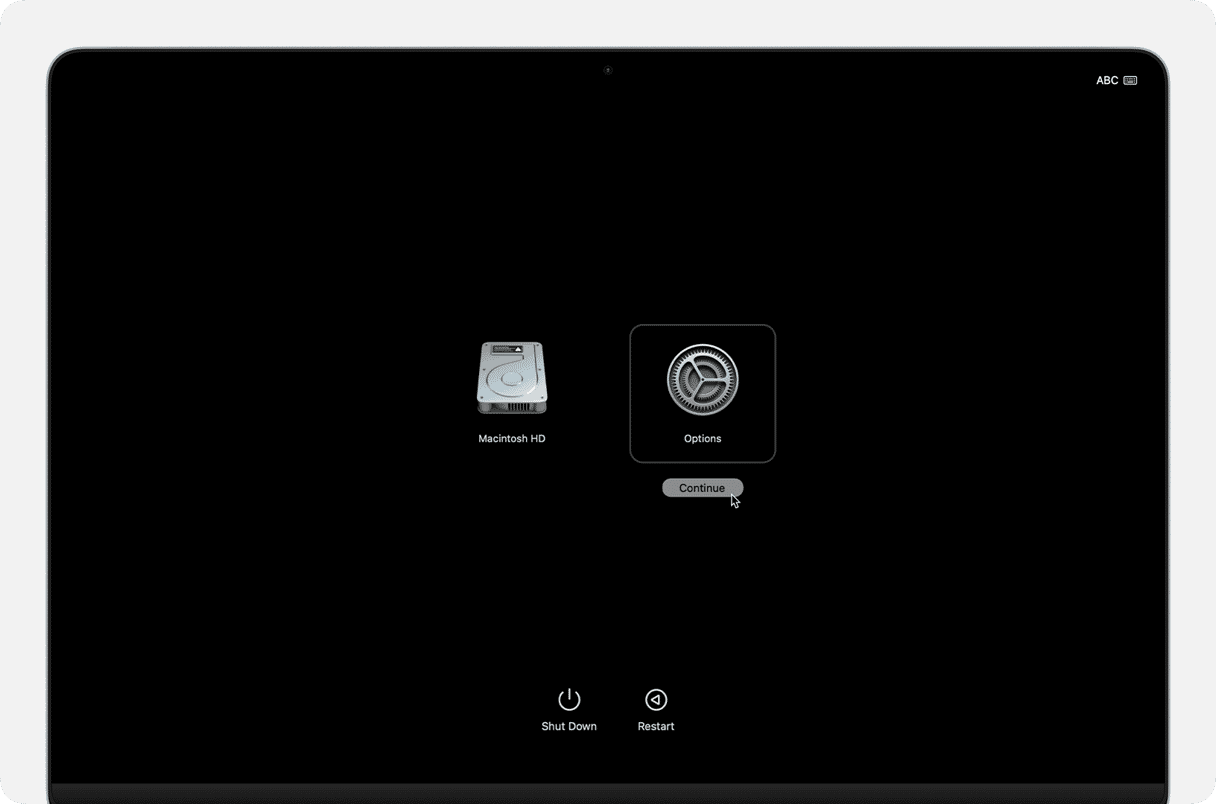
- Press and hold the power button — do not release it until you see Options on the screen.
- Click Options > Continue.
- You may also need to select a volume to recover and enter your admin password.
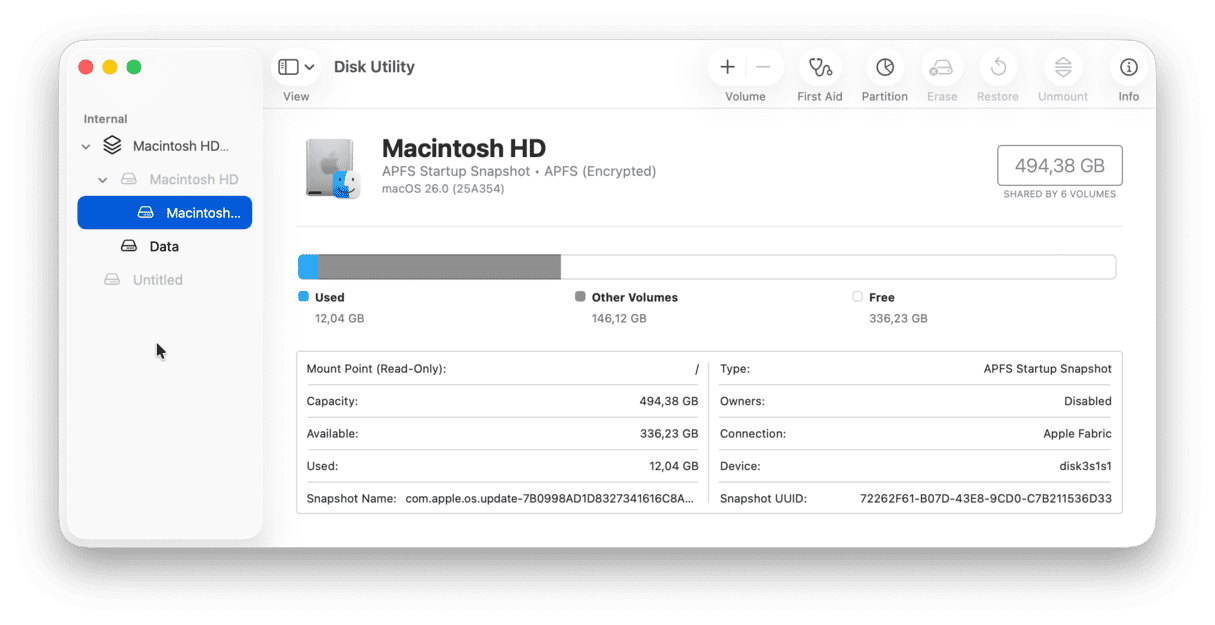
Once in recovery mode, open Disk Utility, select your startup disk, and click First Aid.
Assuming one of the above solutions has worked, wonderful! You should be able to log in to your Mac and start seeing how to ensure this doesn't happen again and tidy anything up that is causing your Mac to slow down.
Delete system junk
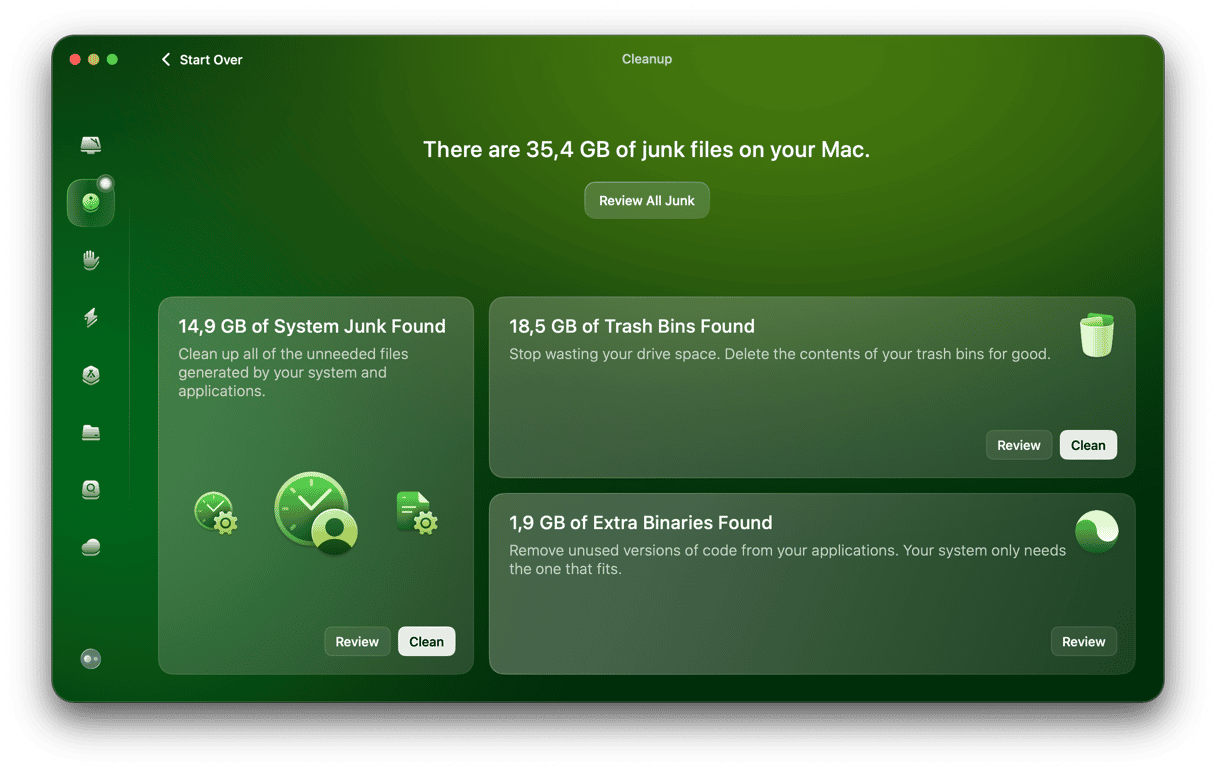
One way to unfreeze your Mac is to clear out system junk that's causing system glitches. Follow these steps to get it fixed:
- Get started with a free CleanMyMac trial.
- Click Cleanup > Scan.
- Once your systems have been scanned, you can safely delete anything taking up space and slowing your Mac down by clicking Clean.
Your Mac is an essential piece of kit. With the right tools to look after it, you can be confident that it will keep working at peak performance for as long as possible.


