macOS Catalina is slightly outdated due to the release of macOS Big Sur in November of 2020. Nevertheless, many users prefer to stick with it because it's much more familiar visually. Not to mention those who cannot upgrade to newer macOS versions because their devices are not compatible. And it offers a bunch of expanded features, such as a screen extension with an iPad or the new Apple Podcasts app.
The problem is that it might not always work as intended. Glitches in macOS Catalina are commonplace: in fact, all existing operating systems like Mojave or High Sierra and newer ones, such as Monterey, could freeze and crash from time to time. No software is immune.
But what do you do in this case? The surefire way to deal with jaded performance is to reinstall macOS Catalina altogether. Read through our guide below to learn how.
How to reinstall macOS Catalina
It’s important to note that when you reinstall macOS Catalina, the process simply updates the operating system and doesn’t affect any files on your hard drive or user files, or even settings. That makes reinstalling principally different from performing a clean install, which erases everything.
Here are the proper steps to follow to reinstall mac OS Catalina.

1. Back up your Mac first
By default, the best thing you could do before making any significant changes to how your Mac works is back it up. Backups are just like saves before encountering challenges in video games — they represent the point you can always come back to.
There are lots of great backup solutions on the market to suit every need. If you don’t have the time to search for something specific, your Mac features a decent native option — Time Machine.
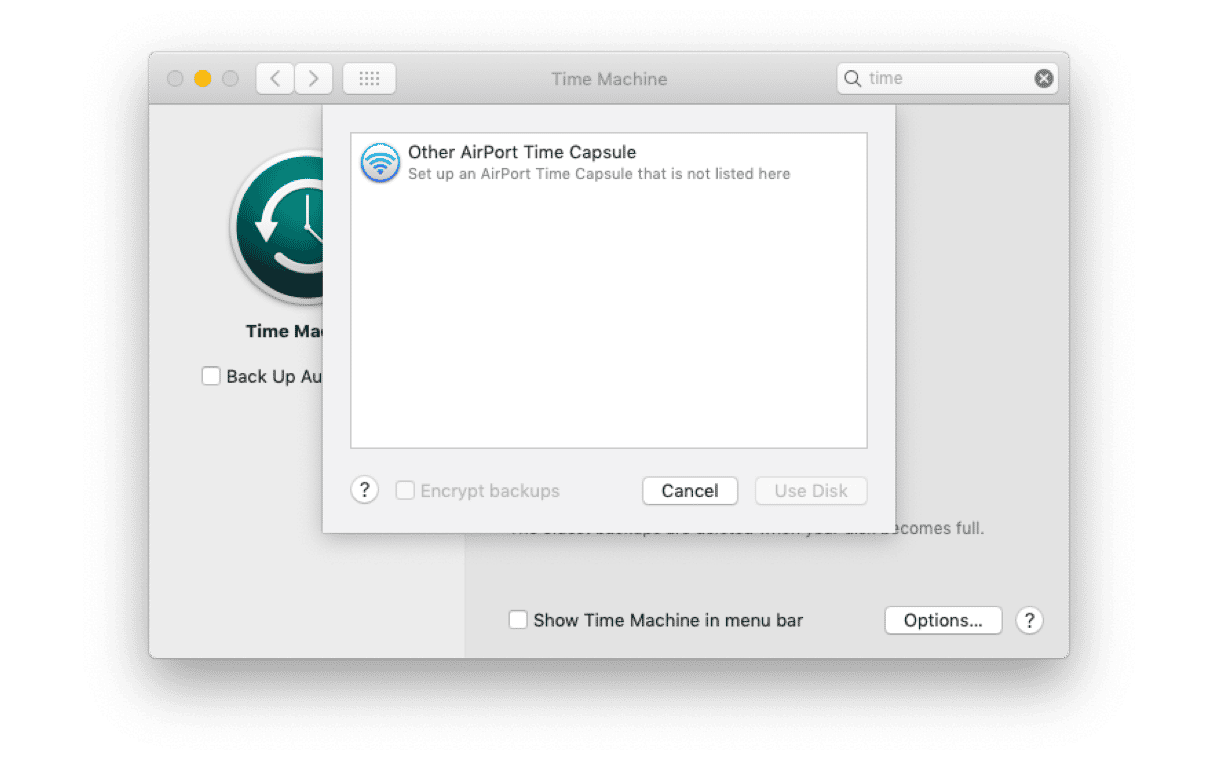
To get Time Machine started:
- Connect an external USB or WiFi hard drive to your Mac
- Go System Preferences > Time Machine.
- Click on Select Backup Disk…
- Press Use Disk.

2. Delete junk off your Mac to speed it up
There’s nothing better than the feeling of a brand new Mac with a brand new macOS. If only the latter is new, the experience could be subpar. Trying to get the most out of macOS Catalina on your older machine might be a challenge. But don’t hurry to your local Apple Store just yet — not all is lost.
Just like the dust behind your couch or on the top of your kitchen cupboards, small bits of system files, caches, and hidden libraries tend to aggregate over the years and never get deleted, eventually slowing down everyday processes. While it’s possible to clear out some of them manually, others require specific technical knowledge and lots of time.
Luckily, there’s a professional automatic solution available — CleanMyMac. Optimizing behind-the-curtain processes on your Mac with CleanMyMac is no more difficult than clicking a single button:
- Get your free CleanMyMac trial.
- Open the app and navigate to Cleanup in the left-side panel.
- Click Scan and wait for the process to complete.
- When done, press Review All Junk.
- Check everything you’d like to remove and click Clean Up.

Now, your Mac is free of all the pointless log files, user caches, language files, old updates, and more. Which directly translates into improved processing power, memory usage, and response time. At last, your Mac is ready to take full advantage of macOS Catalina.
3. Reinstall macOS Catalina in Recovery Mode
With your Mac in top shape, it’s time to get that macOS Catalina download link. Surprisingly, you won’t find it in Software Update or even App Store (where it used to be in macOS High Sierra).

The correct way to reinstall macOS Catalina is to use your Mac’s Recovery Mode:
- Restart your Mac and then hold down ⌘ + R to activate Recovery Mode.
- In the first window, select Reinstall macOS > Continue.
- Agree to the Terms & Conditions.
- Select the hard drive you’d like to reinstall mac OS Catalina to and click Install.
Automatically update all your software for Catalina
The reinstallation process will start shortly and take roughly 30 minutes. When complete, your Mac will start up as usual. No files should be lost, but it’s always a good idea to check CleanMyMac’s Applications Updater to see if you can improve the compatibility of the new macOS with any of your existing apps:
- Launch CleanMyMac.
- In the left-side panel, navigate to Applications.
- Click Scan.
- View any available updates and click Update.
The Applications feature in CleanMyMac searches for the latest available versions of all your apps and lets you manage them: remove, reset, and update all your applications in one place.

Trust in your backup
Finally, in case you notice any files or apps missing or settings misconfigured, you could open up Time Machine to restore a specific folder or the whole backup from step one:
- Launch Time Machine from Applications.
- Simply scroll all backup versions to find the file you’re looking for.
- Click Restore.
If you decide to restore the whole backup, make sure to then repeat the whole process to optimize your Mac and reinstall macOS Catalina as detailed above. The good thing is that, more often than not, the reinstallation works wonders right from the first time.


