Before the days when virtually every computer on the planet was connected to the internet, the most common way to spread a virus was to infect removable storage media like a floppy disk. Those disks may have long since gone, but there’s one type of removable storage that is still prone to malware — flash storage, most commonly the SD card.
Mostly used in digital cameras and for additional storage on smartphones, SD cards are also connected to Macs and PCs to download photos or share other types of files. Sadly, it’s possible to share viruses this way, too. And if you find a virus on an SD card that has precious photos on it, the last thing you want to have to do is reformat it and lose your photos. So, here’s how to remove a virus from an SD card without formatting it.
Can SD cards carry malware?
Just like USB sticks, SD cards can carry malware in many forms. After all, an SD card is basically a mini hard drive that can carry infected files. These can include Word documents with infected macros, scripts, infected PDFs, and many more.
Add to that the fact that SD cards can potentially get passed around to lots of people, and you’ve got an ideal method of transport for malware.
SD cards are highly portable, and they can be “accidentally” left in public places for potential victims to find. Curiosity will do the rest. However, it’s worth pointing out that if you enter the card into your computer and do nothing, nothing will happen. SD card malware will only be triggered if you actually click on something. So, if you enter an SD card into your MacBook and see suspicious-looking files, don’t click any of them.
Another point to make is that MacBooks are miles ahead of Windows when it comes to infected SD cards. For a start, SD cards now require a special adaptor. Second, MacBooks have no autorun feature, so malware can’t start up on its own.
Plus, you also have MacBook features like sandboxing, System Integrity Protection, and Gatekeeper. This makes it much harder for malware to gain a foothold. But this doesn’t mean you can relax and depend solely on Apple’s security features to protect you.
How does malware get onto an SD card?
There are multiple ways that malware can get onto an SD card:
- A hacker can put malware-infected files on an SD card. It could be hidden in a Word document, a PDF file, or a script.
- If an SD card is being shared among lots of people, it only takes 1 unwitting person with an infected file to infect the others.
- Supply chain attacks occur when the SD cards are intercepted by hackers (or unscrupulous manufacturers or distributors), and malware is put onto the cards before they go on sale.
- A hacker can reformat the SD card to include malware-infected firmware. Among many things, it can hide malware partitions from the MacBook.
- Then there’s the simple method of malware being installed via physical access to a victim’s SD cards. If an SD card is left out in the open, a bad actor can place malware on it.
Will formatting an SD card get rid of a virus?
Yes, formatting an SD will remove a virus or other malware. But there are a couple of big caveats you should also bear in mind.
Doing a “quick format” is practically useless. You’re only skimming over the top of any potential malware problems. Therefore, you need to do a full format of the SD card. This wipes everything on the card — including the malware — and sets it back to default settings.
Keep in mind that deleting a virus on your SD card will only work if it’s in the file system of the card. If the malware is in the firmware, even full formatting will not remove it. It is extremely difficult to know if the firmware is the problem, but if you suspect the firmware to be the culprit, destroy the card.
Symptoms of a virus on an SD card
There are several ways to tell whether your SD card is infected with a virus. Some of the most common are:
- Files may turn into Windows shortcut links.
- Files may become hidden.
- Files may be corrupted or have been erased.
- The SD card may start to become slow, and it will take longer to copy files to and from the card, or your camera or phone may seem to slow down.
- Files are missing.
- You get an error message when you try to use the card.
- You can’t access the card at all.
- You see a pop-up prompt asking you to reformat the card when you plug it into your computer.
All of the above are signs that your card may have a virus. So, before you use it again, you should remove it.
How to manually remove virus from an SD card
If you’re a Mac user, you’ll need to persuade someone who has access to a Windows PC to help you or let you use their computer since this method relies on using the Windows “cmd” command to launch the command-line interface.
- Put the SD card in the SD slot on the PC or if it doesn’t have one, use a USB card reader.
- Note the drive letter for the SD card — in this example, we’re going to assume it’s “F,” so wherever you see “F” below, replace it with the drive letter for your SD card.
- Click on Start.
- Choose Run, then type “cmd” and press Enter.
- You should see a new command interface window open.
- Type the following, remembering to replace “F” with the drive letter for your SD card:
attrib -h -r -s /s /d f:\*.* - Press Enter.
Once the command has run, it should have removed the virus from the SD card. However, it doesn’t work in all cases. Fortunately, there is one more thing you can try before resorting to reformatting the card.
Another option for removing a virus from an SD card
If the manual method described doesn’t work, there are a couple of other options. The first is to manually copy as many of your photos and other files from the SD card as you can. Once you’ve done that, you can reformat the card. Here’s how to do that on a Mac:
- Go to Applications, then Utilities, and double-click Disk Utility to launch it.
- Click on the SD card (not the volume underneath) in the sidebar.
- Choose the Erase tab.
- Type in a name for the card.
- Choose “Mac OS Extended (Journaled)” as the format. If you want the SD card to be compatible with Windows, choose “FAT” for flash drives of less than 32 GB or “ExFAT” for larger ones.
- Choose GUID Partition Map as the scheme.
- Press Erase.

To reformat an SD card on a Windows PC, do the following:
- Click on the Start menu and then choose the folder icon (above the cog on the left side of the screen) to open File Explorer.
- Choose This PC.
- Click on the name of your SD card.
- Select the Manage tab at the top of the window.
- Press Format.
- Click on the menu under “File System” and choose exFAT.
- Type a name into the “Volume label” box.
- Press Start and then Ok.
The SD card will now be erased and reformatted. The virus will be gone, but so will all your data. So, if there’s anything you weren’t able to copy to your computer before you reformatted, you’ll need to try and recover it.
The best way to recover data from an SD card is to use specialist recovery software. There are many tools available, including some that are specifically designed to recover photos from an SD card. Research which is the best one for your needs and find out whether you can try it for free to see if it finds any recoverable data before you pay for the software, so you can recover it.
Scan your Mac after using a malware-infected SD card
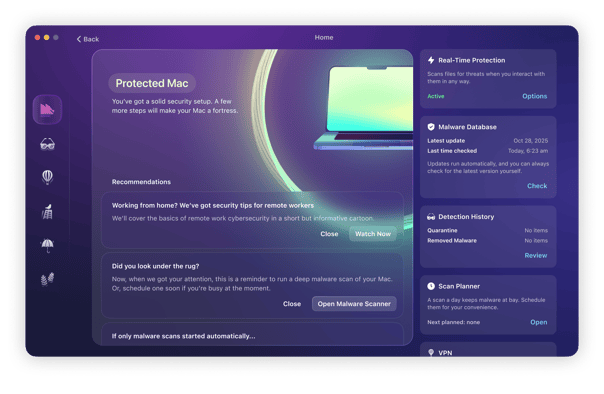
If you suspect that you clicked on a malware-infected file on an SD card, you need to scan the MacBook for malware and viruses with a malware detection tool. There are lots of options out there, but if you’re looking for the best choice, check out Moonlock.

Moonlock is a lightweight Mac protection and antivirus app. It comes with a free trial for all new customers, so you can see for yourself how it protects your MacBook from digital threats. It can scan an SD card for a virus and remove it if it’s a file-based virus.
Get started with a free Moonlock trial, open it up on your device and do the following:
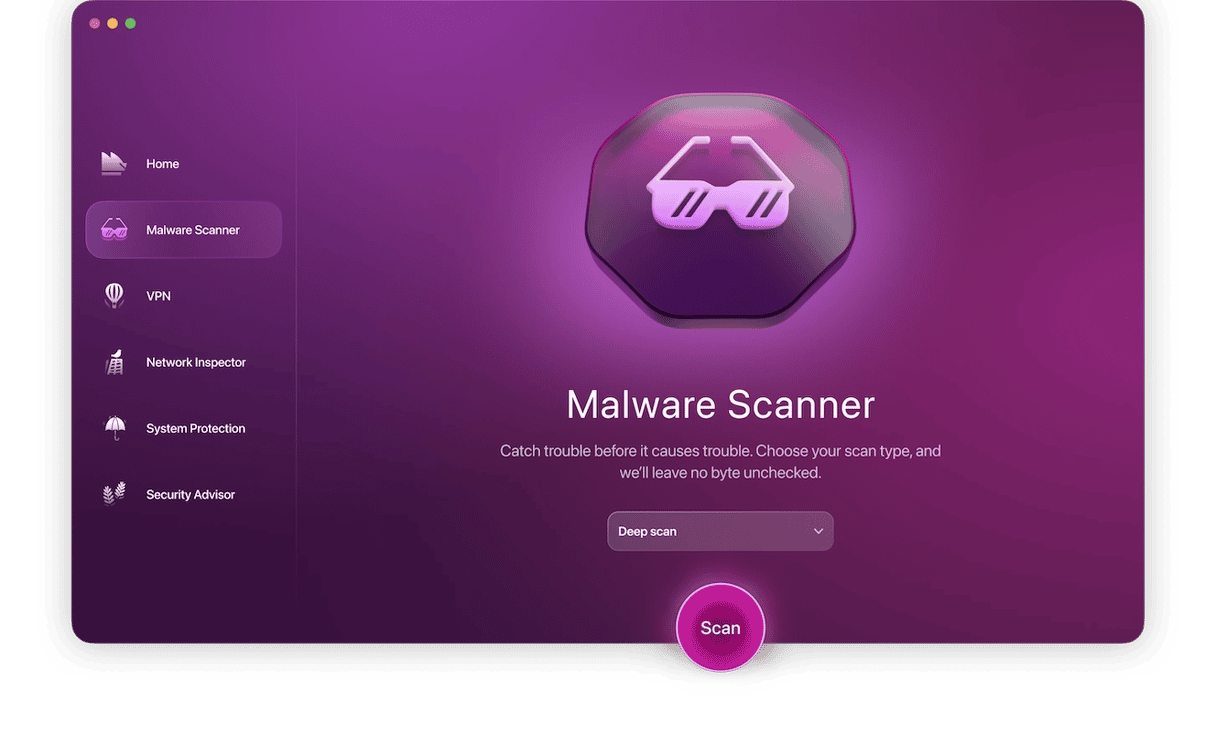
- Select Malware Scanner in the left-hand sidebar.
- Choose the Deep scan type in the dropdown menu. External drives and SD cards are scanned only in this mode.
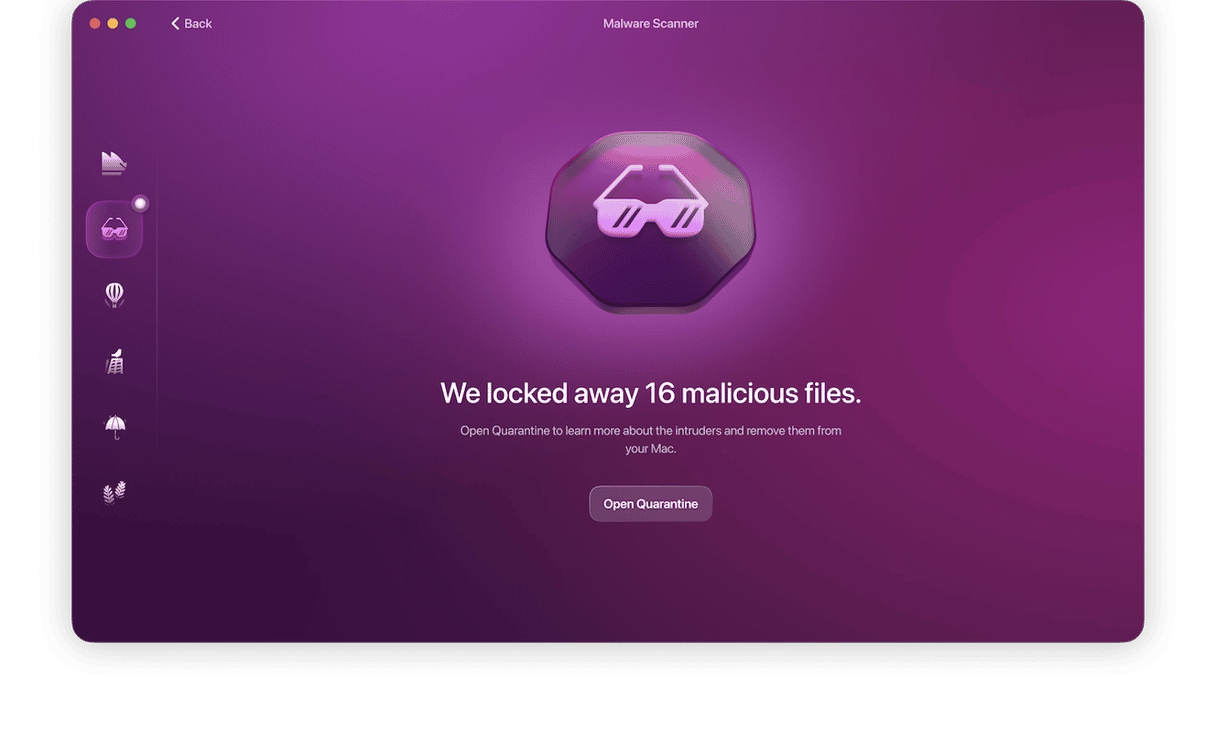
- Click the Scan button to begin the SD card malware removal process. Moonlock will scan your Mac for infected files and bundle them up into a quarantined area.
- When the scan is finished, open Quarantine to see all the infected files that it’s found. Select them all and click Remove.

Finding a virus on an SD card doesn’t necessarily mean that you have to reformat it — though you should copy your most precious photos from it as a precaution. It is possible to remove the virus without reformatting it. However, if you do have to wipe the SD card completely to get rid of the virus, running a data recovery tool specially designed for flash storage media might allow you to recover your data.


