Anyone who uses a Mac every day knows that while most of the time they never run into problems, occasionally, something happens that means you need to get under the hood and investigate. There are a number of different ways to do that. In recent years, recovery mode has become the most common. However, it has limitations, so some Mac users who have been using Mac for a decade or more prefer the single-user mode.
In this article, we’ll explain what single-user mode is, how to boot in it, and what else you can do to fix problems on your Mac.
What is the single-user mode on Mac?
When your Mac boots in single-user mode, instead of loading all the services and extensions you need to use it and then displaying a graphical user interface, it loads the bare minimum needed to run and presents you with a command line.
That can be quite daunting if you’ve never used a command-line interface or aren’t comfortable using one. And if that’s the case for you, the single-user mode is best avoided. However, particularly on older Mac models with hard drives rather than Fusion drives or SSDs, it can be a useful way to run repairs on your boot disk. This is usually done by running the ‘fsck’ command after booting in safe mode.
How to boot in single-user mode
The way you boot your Mac in single-user mode differs depending on what kind of Mac you own. There are three categories:
- Older Mac models without a T2 security chip
- Mac computers with a T2 security chip and Intel CPU
- Mac computers with Apple silicon
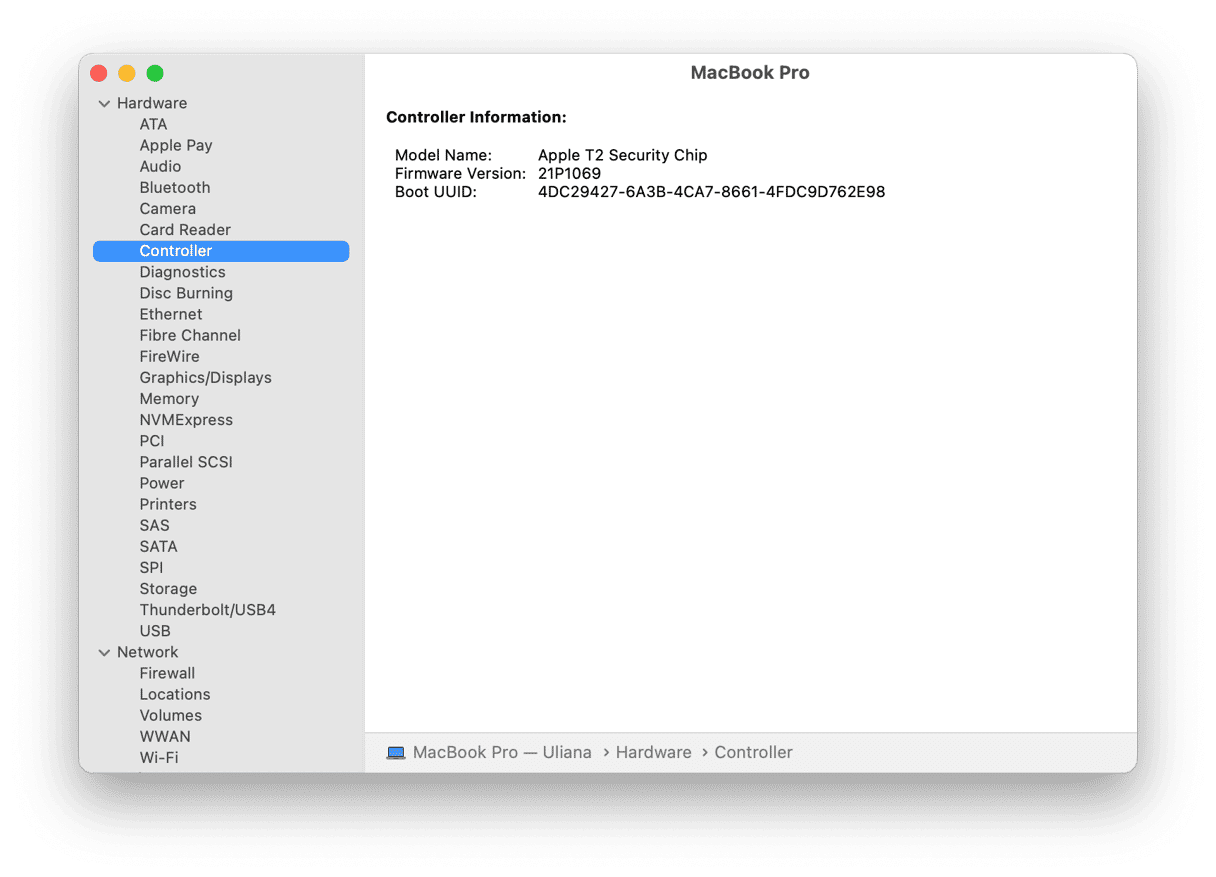
Apple introduced the T2 security chip in 2018 when it launched new MacBook Pros, MacBook Airs, and Mac minis. Every Intel-based Mac made since then has it. If you have an Intel-based Mac and aren’t sure whether or not it has the T2 chip, the simplest way to check is System Report:
- Click the Apple menu.
- Choose About This Mac > More Info (skip the last step if you’re still running macOS Monterey or older).
- Select System Report > Controller. Look for a reference to T2 Security.

Single-user mode on older Mac computers without T2
- Shut down your Mac.
- Press the power button, then hold Command-S.
- When you see a black background with white text, release Command-S.
- Type in your password if asked.
Single-user mode on Intel-based Mac with T2
Mac models with T2 chips have limitations on how they boot, what they can boot from, and the operating systems they can boot into. This includes preventing the single-user mode from working. These settings are controlled in the Startup Security Utility which is accessed in recovery mode. However, Apple recommends rather than changing those settings, you use Terminal in recovery mode.
- Turn off your Mac.
- Power up your Mac and hold down Command-R.
- Wait for the Apple logo or a spinning globe to appear. Type in your password if requested.
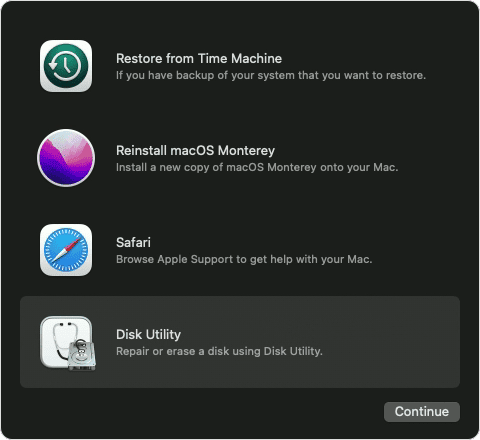
- Open Disk Utility from the macOS Utilities menu.
- Click your startup volume in the sidebar. Click Mount
- Type in your password if asked. Quit Disk Utility.
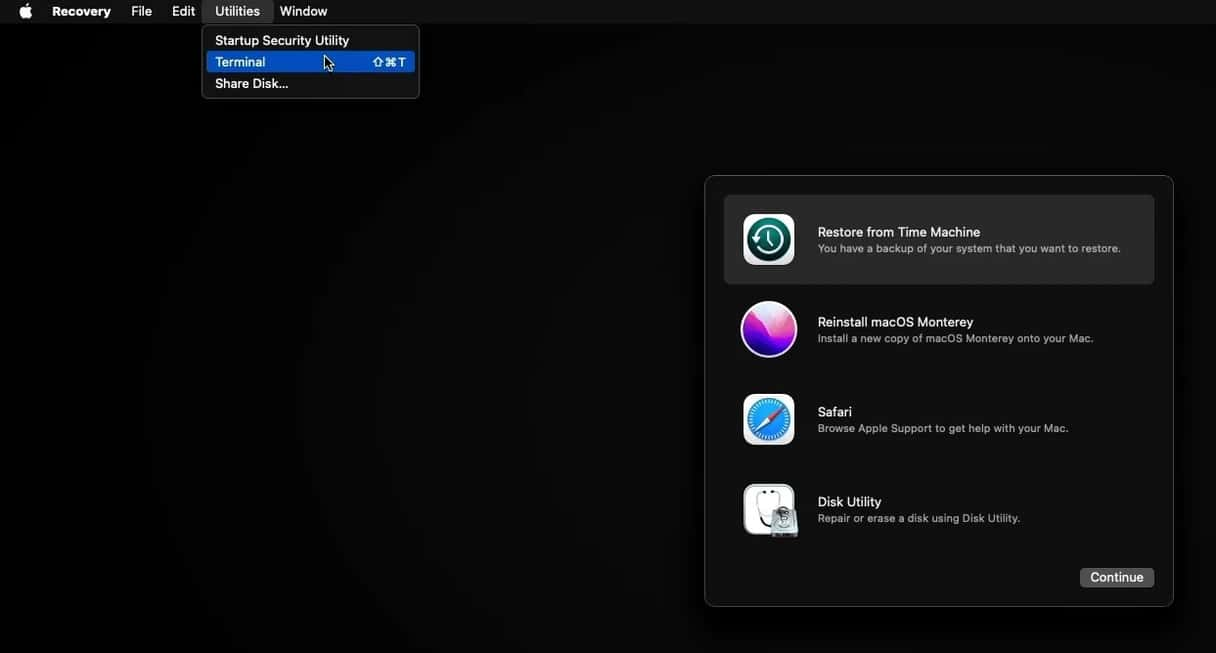
- In the menu bar, click Utilities and choose Terminal.


Single-user mode on Mac computers with Apple silicon
If you have a Mac with Apple silicon, not an Intel-based Mac, the process is similar to the one we described for Intel-based Mac computers with the T2 security chip. You need to boot into recovery mode and use Terminal from there. The difference is in the way you boot into recovery mode.
- Shut down your Mac.
- Press and hold the power button.
- Wait until you see the Apple logo or a spinning globe.
- Release the power button.
- Follow steps 5-10 above to access Terminal in macOS Utilities.
What’s the difference between single-user and verbose modes?
Verbose mode is very similar to single-user modes in that it boots your Mac into a command line rather than a graphical user interface (GUI). However, in verbose mode, everything your Mac does as it boots is listed on the screen. Once it has been booted, you can use the command line to execute processes like fsck.
What about safe mode?
Safe mode is different from single-user and verbose modes. It doesn’t load a command-line interface; it boots into the Mac’s usual GUI. However, it only loads the extensions and services necessary to make your Mac run. That way, you can identify whether, say, a third-party extension is causing your Mac to crash.
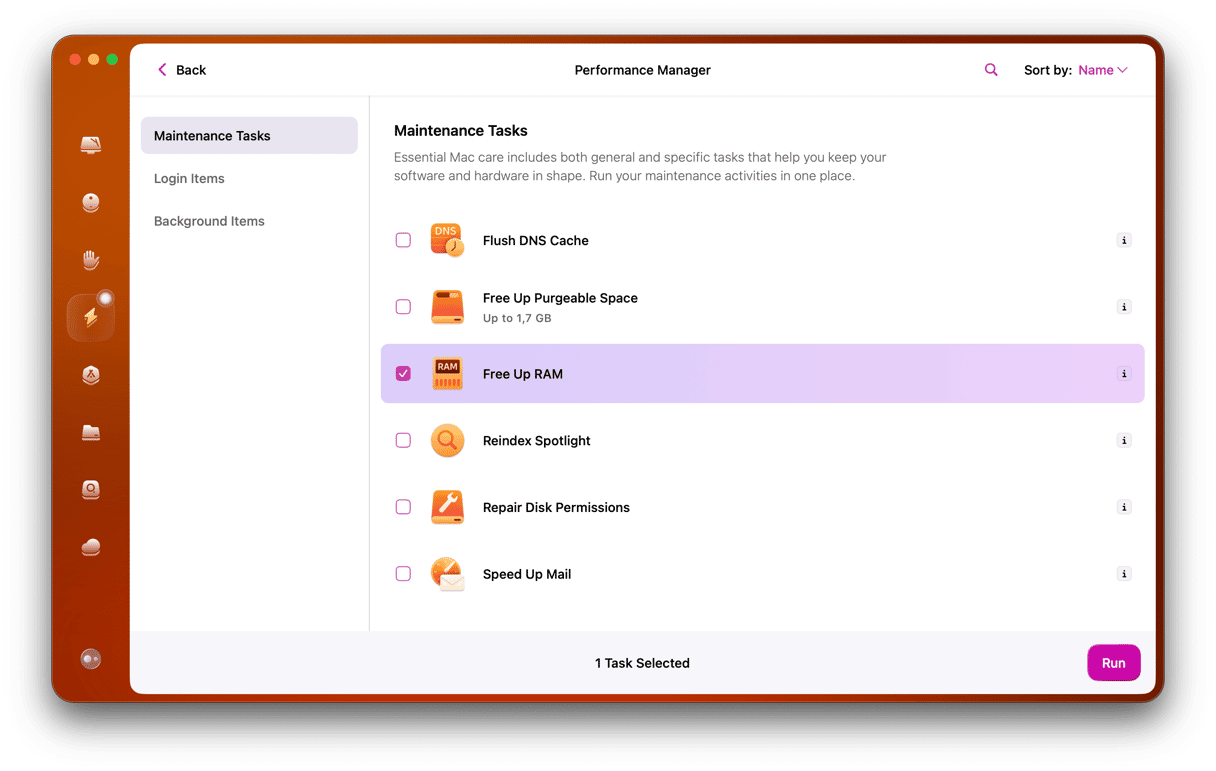
The single-user mode was once a very useful way to troubleshoot or fix problems on your Mac, as it booted into a command-line interface and allowed access to deep parts of the system. Since Apple added the T2 security chip and secure boot to Mac computers, however, it’s less useful and less easy to access. If you have an older Mac and want to use it, however, follow the instructions above. Alternatively, give CleanMyMac’s Maintenance module a go. It may be all you need to fix the problems you’re having.


