Notifications. Some of us love them, others hate them. For some apps in some circumstances, notifications are genuinely useful. Want to remind yourself to go to the store and buy dinner later this afternoon? Set a Reminder with a notification. Need to make sure you leave the house on time for that dentist appointment? Set a notification in the Calendar entry. Safari notifications, though, are a different matter. Does anyone really want notifications from a website?
Frustration and inconvenience are just one impact of Safari notifications; the real problem starts when rogue actors who want to spread malware use notifications in Safari as a tool to help them. Some people call these virus notifications. In this article, we’ll show you how to stop fake virus notifications on Mac.
What are virus notifications?
So-called virus notifications on Mac are browser notifications that attempt to lead you to download malware onto your Mac. The notifications themselves are not a virus, but if you interact with them, you might end up trying to stop fake virus pop-ups.
Why do virus notifications appear?
Safari allows any website you visit to send you a request to accept push notifications. You’ve probably seen lots of them. These are dialog boxes that appear on the screen just below Safari’s toolbar and ask you to accept notifications from the site. If you agree — and it’s all too easy to click the wrong button when you’re distracted by something else — that website can send you notifications using Apple’s push notification system, even when Safari isn’t running.
Most websites use notifications to keep you up to date with new content or offers, but they can also be used to carry out more sinister activity. The notifications contain an icon, so you can easily identify the website they come from and text that says whatever the sender wants it to say. When you click the notification, it takes you to the sender’s website. So, all a malicious actor has to do is create a notification that tells you, for example, that you’ve been hacked and need to take urgent action by clicking the notification and includes an icon that makes it look like it has come from a legitimate source. And when you click it, malware is downloaded.
What are the signs of a fake virus notification on a Mac?
First, let’s find out how to recognize these malicious messages, so you know when it’s time to remove fake virus notifications on your Mac.
Notifications appear without your consent
If you suddenly get bombarded with browser notifications from unknown sources, you might have malware lurking. Have a close look at the sender and check your browser settings for a list of websites that are allowed to send you notifications. If this sender is not in the list, that might be a nefarious pop-up.
Notifications try to scare you
Legitimate notifications often come from websites you’ve agreed to hear from, like a brand announcing a new product, a news outlet sharing recent stories, or your favorite blog posting a new entry. Malicious pop-ups, however, come out of the blue, create an extreme sense of urgency, and are basically digital jump scares.
Notifications have weird URLs
When a notification comes from a legitimate source, its destination URL would be something that you might be able to read and recognize. Scammers don’t really put effort into these details. They also keep their websites temporary since security researchers often expose and shut them down.
If the destination URL is a gobbledygook of numbers and letters, don’t rush into clicking the pop-up. Better get ready to remove fake virus notifications on your Mac.
Notifications are poorly designed
Just like with URLs, bad actors have to cut corners on graphic design and readability of fake notifications. They look bad, have poor grammar, often full of exclamation marks and dramatic messages.
How to stop virus notifications on your Mac
The simplest way to stop virus notifications on your Mac is to not agree to receive any notifications from any website ever. But that’s easier said than done if you’re presented with several requests every day, and there may be some websites from which you want notifications. So, the answer is to be vigilant. Don’t agree to receive any website notifications unless you are absolutely sure where they have come from.
If you don’t want to even see requests for notifications, follow the steps below.
- Open Safari.
- Click the Safari menu and choose Settings.
- Go to the Websites tab and choose Notifications.
- At the bottom of the window, you will see a checkbox labeled ‘Allow websites to ask for permission to send notifications’. Deselect it.
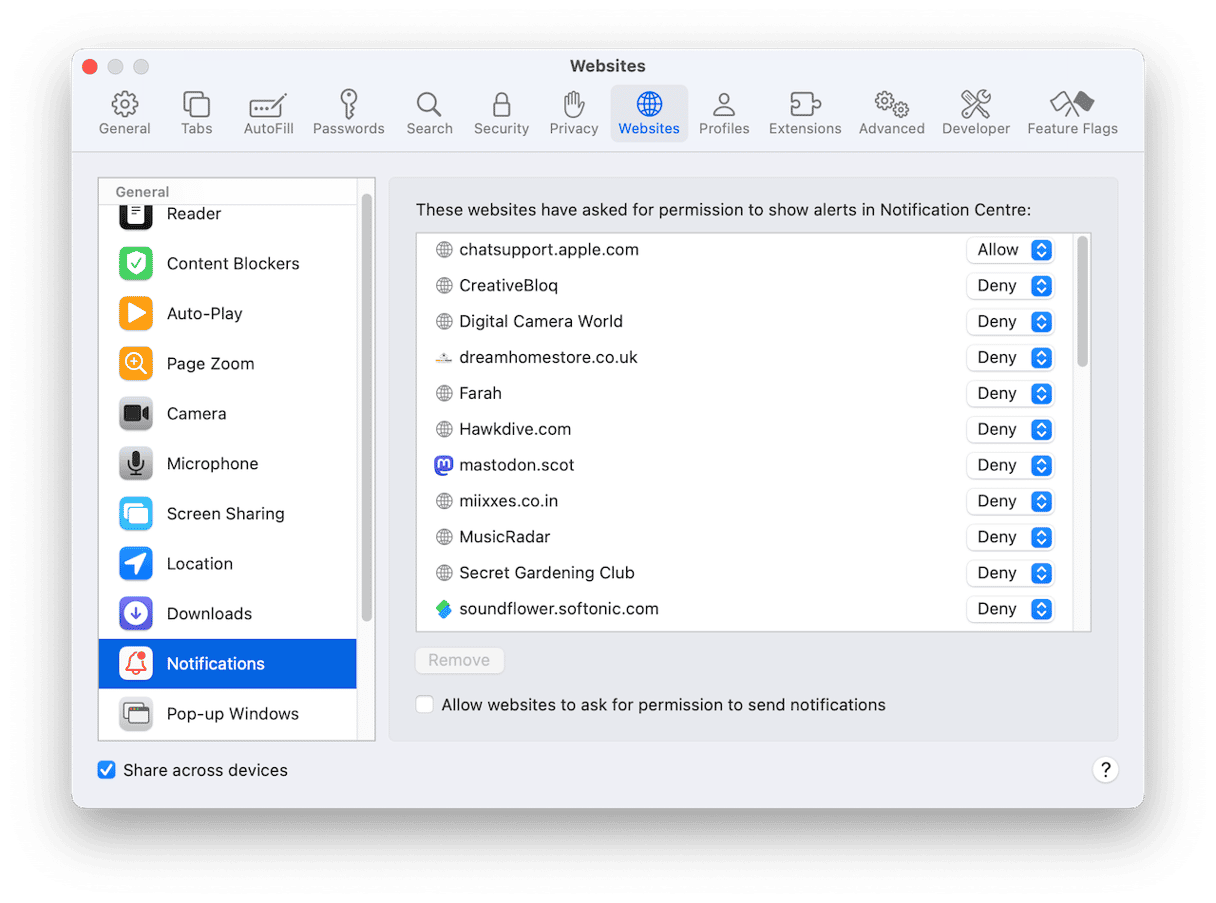
While you’re in Notifications Settings in Safari, look through the list of websites that have requested permission to send you notifications. Look for a website that looks like it may be responsible for sending you the virus notifications. If you find it, select it and choose Remove. That way, even if you decide to re-enable website notifications in Safari at a later date, you won’t be able to inadvertently change Deny to Allow for that website.
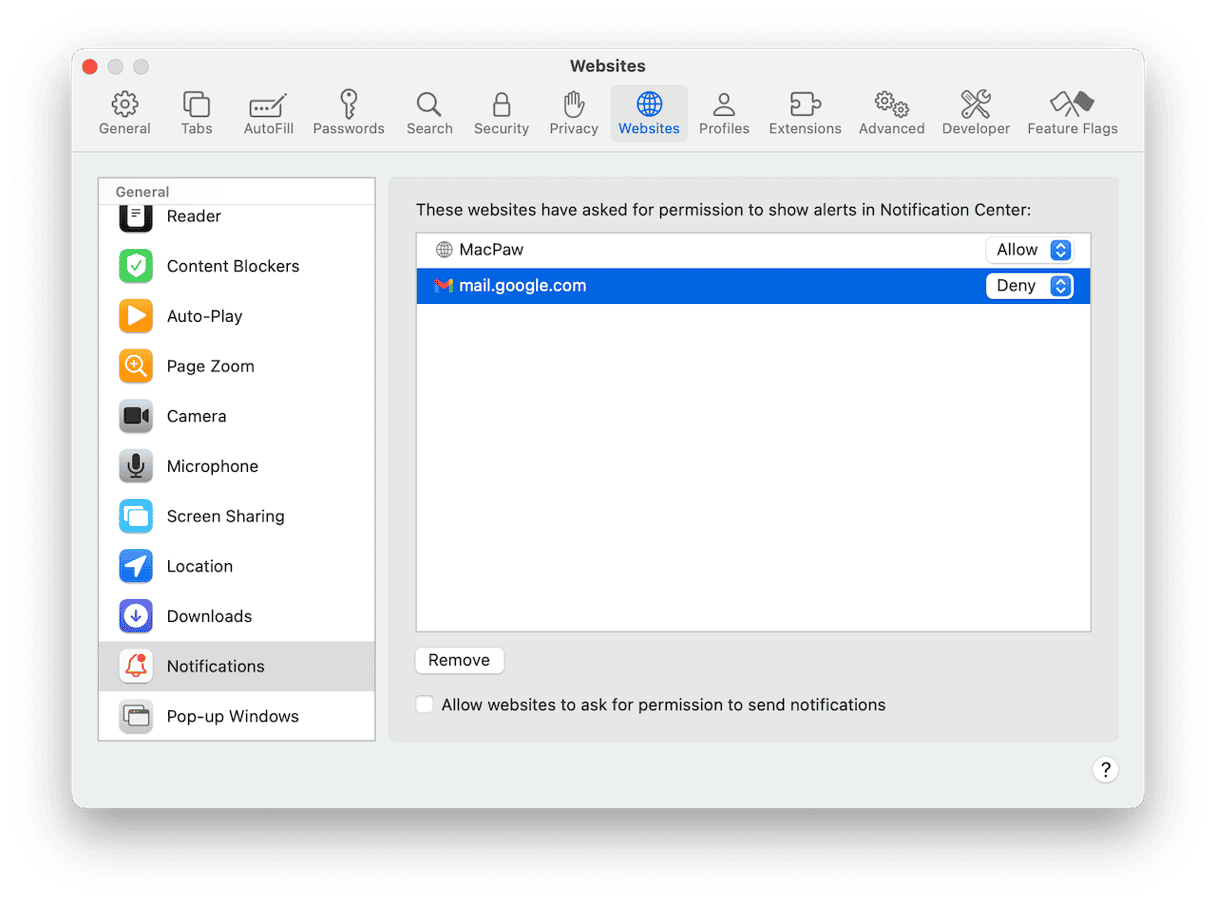
If you don’t see the website that sent the virus notifications in the list in Safari settings, follow the steps below.
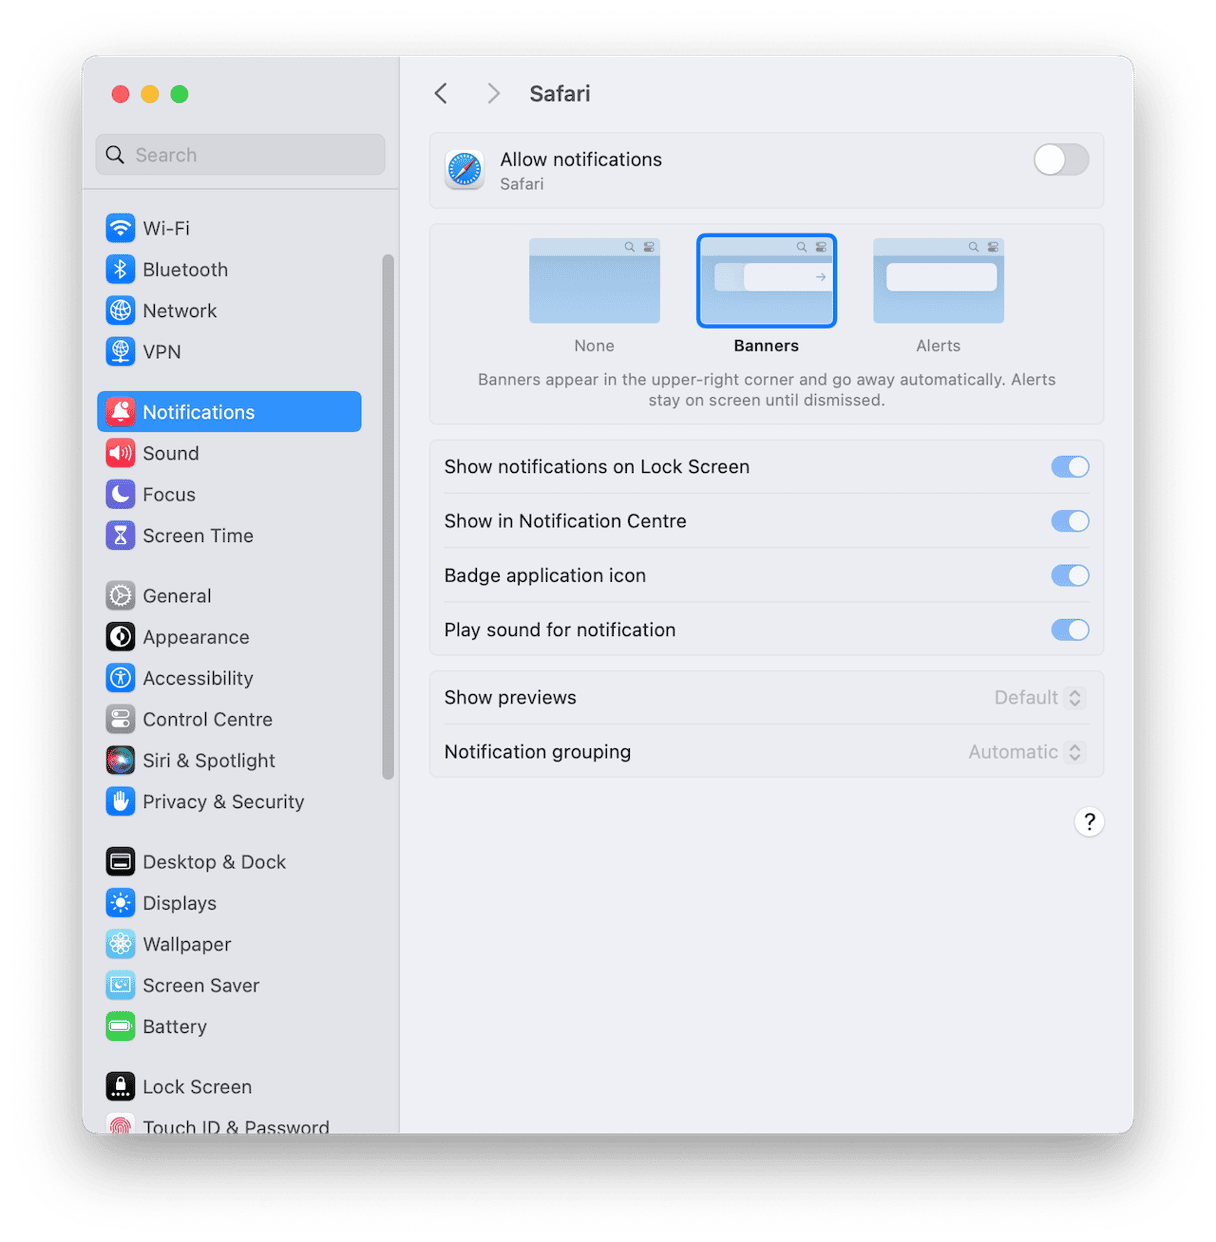
- Click the Apple menu and choose Settings.
- Select Notifications.
- Look under Application Notifications for anything that resembles the name or address of a website.
- If you see something that looks like it may be the site responsible for sending virus notifications, select it and toggle Allow notifications to off.
If you want to make absolutely certain that you never get notifications in Safari, go to System Settings > Notifications and click Safari. Then, set its notification permissions to off.
How to check your Mac for malware
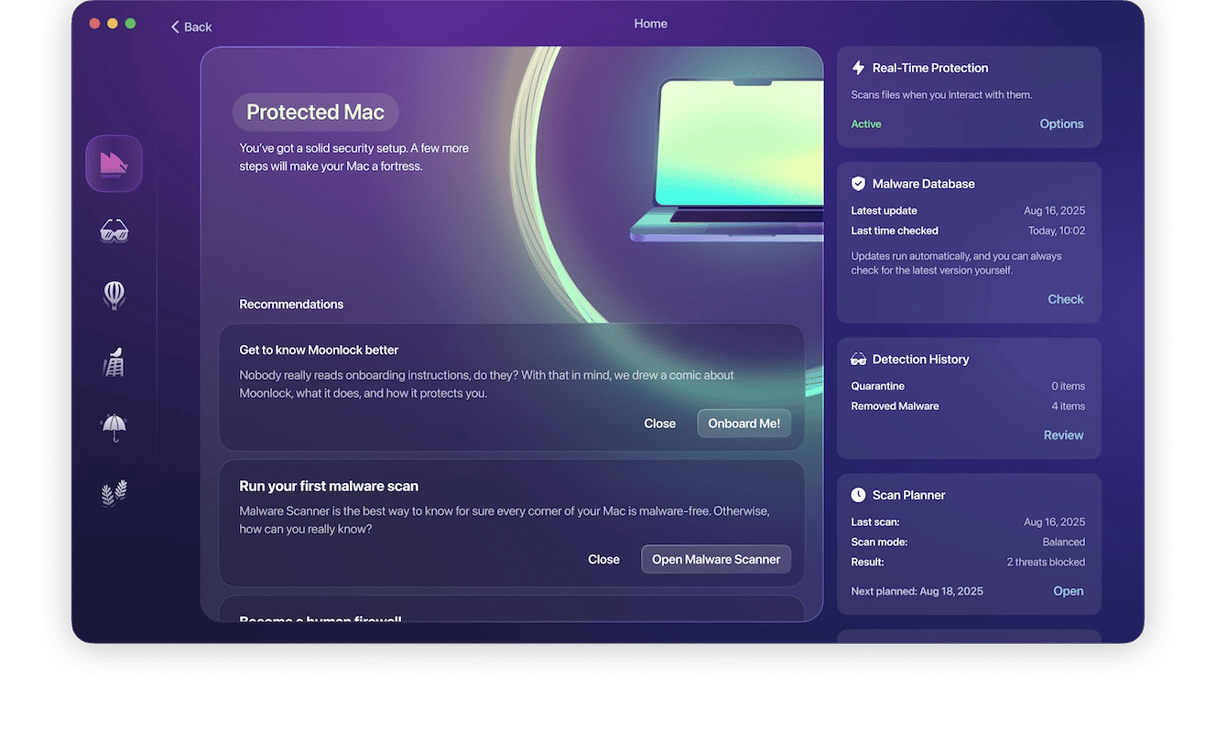
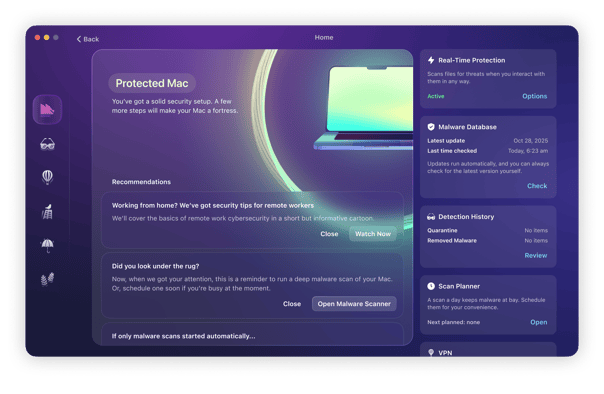
If you’d like to stop virus notifications, you should use a specialist tool to run a Mac virus scan. Moonlock’s Malware Scanner feature can do it. It scans your Mac looking for adware, ransomware, cryptocurrency miners, and other malware and compares what it finds with a database of known malware.
It then makes it easy for you to remove it if it finds anything. You can run scans on an ad-hoc basis or schedule them for your convenience and check automatically.
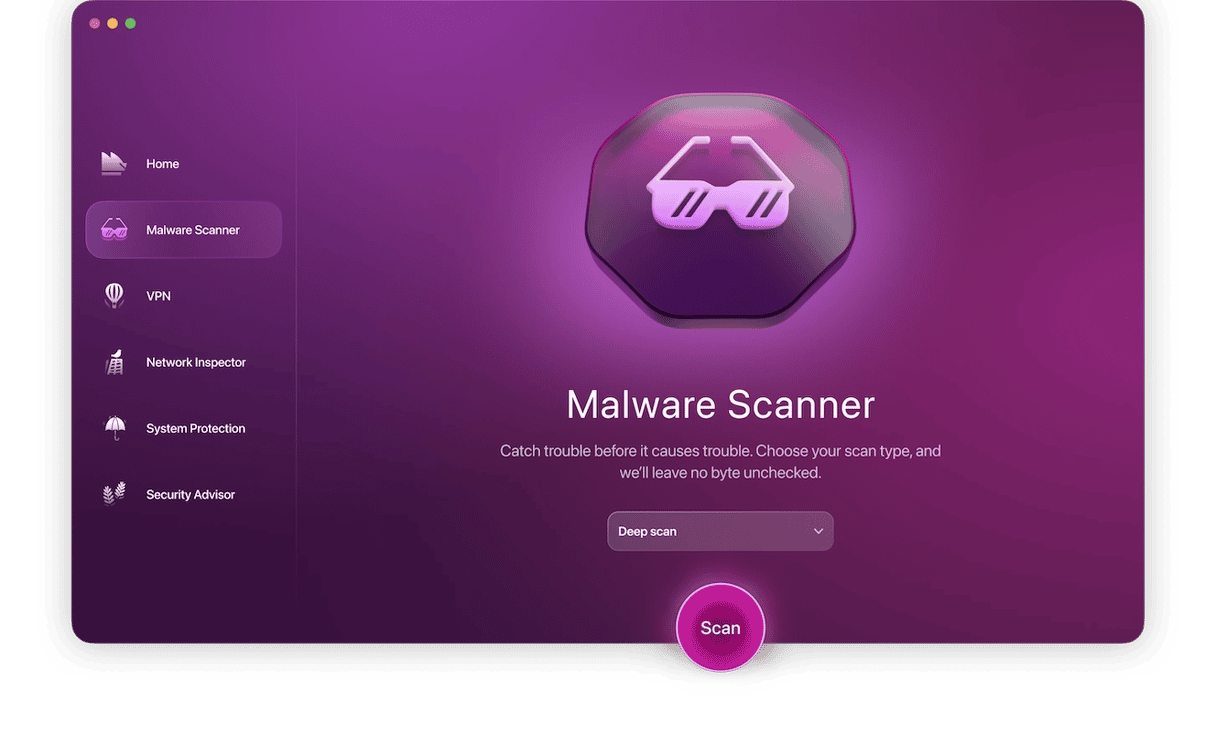
Here’s how to use Moonlock to check for malware causing virus notifications:
- Open Moonlock (get your free trial here) and choose Malware Scanner.
- Choose the Deep scan type and click Scan.
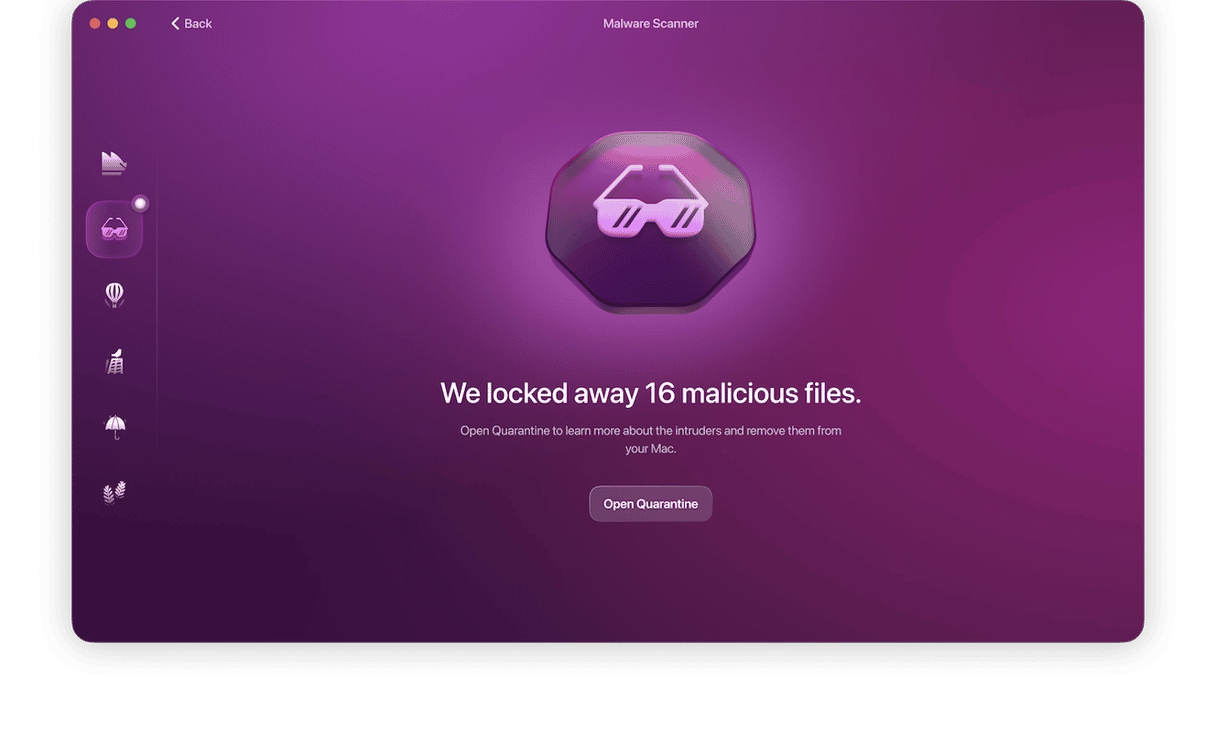
- If Moonlock finds anything, it will lock away all intruders in Quarantine. It will also recommend you to review and remove them when you’re ready. While the risky files are in Quarantine they can’t bother you with virus notifications on Mac.
- After selecting the items to delete, click Remove.
If you’re plagued by unwanted messages on your desktop, follow the steps above to stop virus notifications on your Mac.


