Crashplan is an online tool that backs up your data to the cloud every few minutes and allows you to recover files whenever you need to. But if you’ve stopped using Crashplan and want to uninstall it, we’ll tell you how.
How to uninstall Crashplan on your Mac
This will only remove the Code24 app from your Mac. It leaves the leftover files, including an identity file, on your drive. If you want to completely remove both the app and its files, move on to the next section of the article.
- Click on Go in the upper menu.
- Choose Go to Folder.
- If Crashplan is only installed for your user account, type:
~/Library/Application Support/CrashPlan/Uninstall.app - If Crashplan is installed for all users on your Mac, type:
/Library/Application Support/CrashPlan/Uninstall.app - Double-click the Uninstall app to run it.
How to remove Crashplan and its data from your Mac
In some instances, running the uninstaller might not work. If it doesn’t, you’ll have to remove Crashplan’s files and backups from your Mac manually.
- Navigate to Go to Folder in the Finder again.
- If Crashplan is only installed for your user account, type:
~/Library/Application Support/CrashPlan/Uninstall.app - If Crashplan is installed for all users on your Mac, type:
/Library/Application Support/CrashPlan/Uninstall.app - Drag the Crashplan folder to the Trash.
How to uninstall Crashplan from your Mac using Terminal
If you couldn’t remove Crashplan following the steps above, you’d need to unlock the installation file first. The steps for this one differ depending on whether Crashplan is installed for all the users on your Mac or just your user account. Choose the steps that fit your situation.
Installed for all users
- Go to Applications > Utilities and double-click Terminal to launch it.
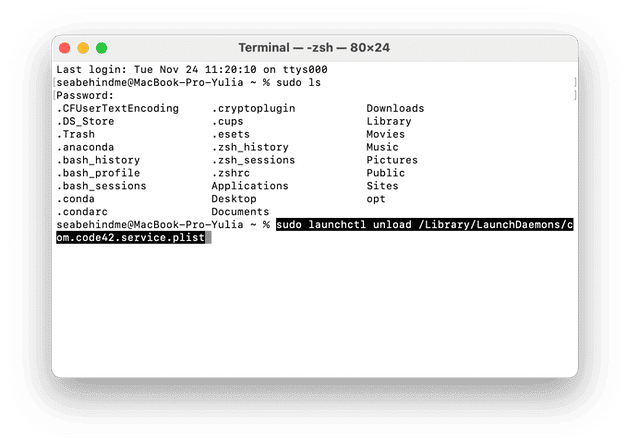
- Type the following command: sudo ls
- Type in your admin password and press Return.
If you’re using version 8.2 or later, type or paste the following lines in Terminal, pressing Return at the end of each line:
sudo launchctl unload /Library/LaunchDaemons/com.code42.service.plist
sudo chflags noschg /Applications/Code42.app
sudo chmod -R 755 "/Library/Application Support/CrashPlan/"
You can now close the Terminal. Use the Finder’s Go to Folder to navigate to the following folders and drag them to the Trash.
- /Library/LaunchDaemons/com.code42.service.plist
- /Applications/Code42/
- /Library/Caches/CrashPlan/
- /Library/Application Support/CrashPlan/
If you’re using version 8.0 or earlier, use these commands instead:
sudo launchctl unload /Library/LaunchDaemons/com.crashplan.engine.plist
sudo chflags noschg /Applications/CrashPlan.app
sudo chmod -R 755 "/Library/Application Support/CrashPlan/"
You can now close the Terminal. Use the Finder’s Go to Folder to navigate to the following folders and drag them to the Trash.
- /Library/LaunchDaemons/com.crashplan.engine.plist
- /Applications/CrashPlan/
- /Library/Caches/CrashPlan/
- /Library/Application Support/CrashPlan/

Installed for one user account
- Go to Applications > Utilities and double-click Terminal to launch it.
- Type the following command:
sudo ls - Type in your admin password and press Return.
Again, the next steps in the process are different depending on which version of Crashplan you have installed.
Version 8.2 or later
Launch Terminal and type the following commands:
sudo launchctl unload ~/Library/LaunchAgents/com.code42.service.plist
sudo chflags noschg ~/Applications/Code42.app
sudo chmod -R 755 "~/Library/Application Support/CrashPlan/"
Version 8.0 or earlier
In Terminal, type the following commands:
sudo launchctl unload ~/Library/LaunchAgents/com.crashplan.engine.plist
sudo chflags noschg ~/Applications/CrashPlan.app
sudo chmod -R 755 "~/Library/Application Support/CrashPlan/"
Use the Finder’s Go to Folder to navigate to the following folder and drag it to the Trash.
~/Library/Application Support/CrashPlan/
As you can see from the steps above, the process of removing Crashplan from your Mac is a long one. That’s because Crashplan, like most applications, doesn’t just install one file in your Applications folder. It stores files and backups in lots of different folders on your Mac.
How to remove all app leftover files at once
It’s a good idea to give your Mac a regular “spring clean” to remove the leftover files that may remain on your Mac after you delete applications. Many files build up over time, including temporary files, cache files, language files, and lots of browsing data and email attachments.
CleanMyMac can help get rid of those files and save you gigabytes of space, and ensure your Mac performance is smooth like butter.
- Launch CleanMyMac (download the app here).
- Choose Smart Care and press Scan.
- When the scan has been completed, press Run to follow the recommendations, or press Review to find out more.

Back up your Mac regularly
Crashplan is a tool for backing up your Mac. If you uninstall it, you should switch to another backup tool, Apple's native Time Machine app is a good one. Regular backups don’t just protect your data from being mistakenly deleted. They can help you recover files if you are hit by ransomware or other malware attacks.
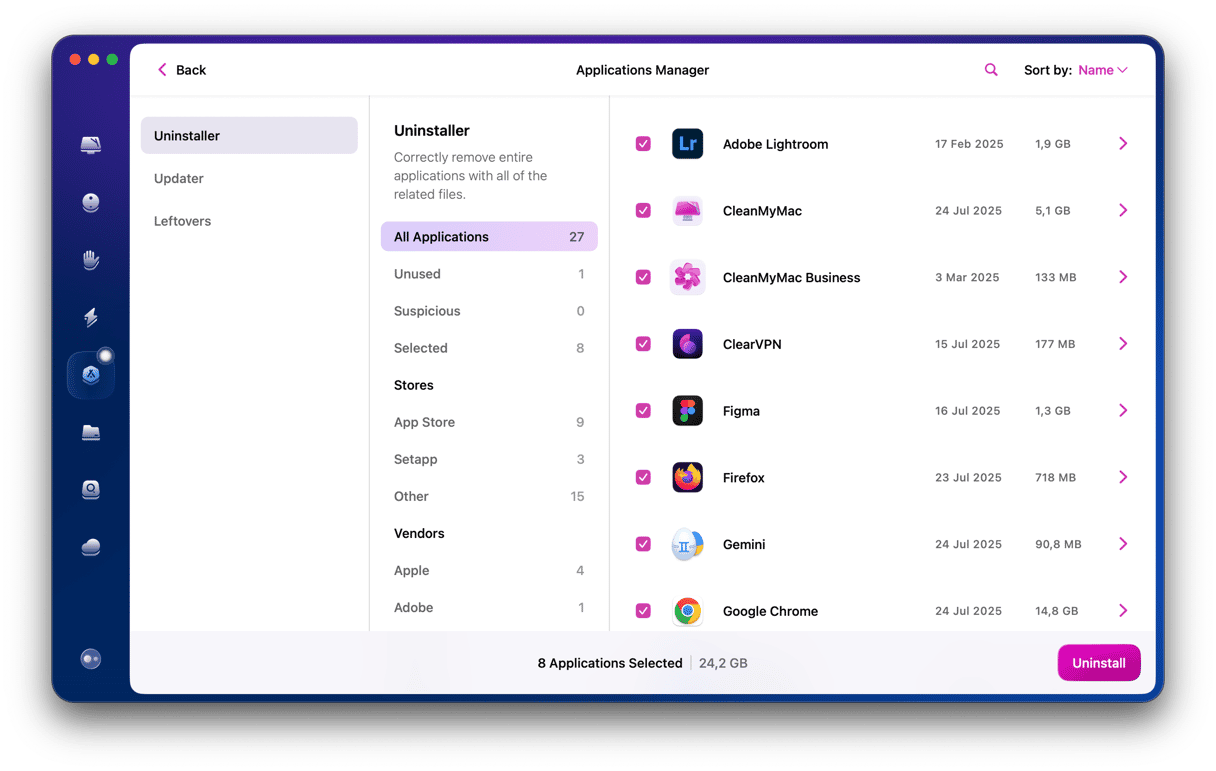
Removing Crashplan from your Mac is not as simple as just dragging the application file from your Applications folder to the Trash. There are lots of associated files you need to remove as well. You have two options: get rid of it manually by following the steps above, or use CleanMyMac's Uninstaller tool to remove Crashplan and its files in a couple of clicks.


