TeamViewer is one of those applications that proved incredibly useful because it allows you to remotely log into and control any device from your Mac. It can also be used to create remote classrooms and for video conferencing. If you installed it to use on your Mac while you couldn’t travel into the office and now no longer need it, you should uninstall it to free up space. We’ll show you how to do that in this article.
What is TeamViewer?
TeamViewer has several different functions. At its heart, it’s a tool for accessing and controlling a remote computer or device as if you were sitting in front of it. You can run apps, move files around, and even copy files between the remote device and your local computer. It also has features that allow you to use it in remote learning environments and for conferences and meetings.
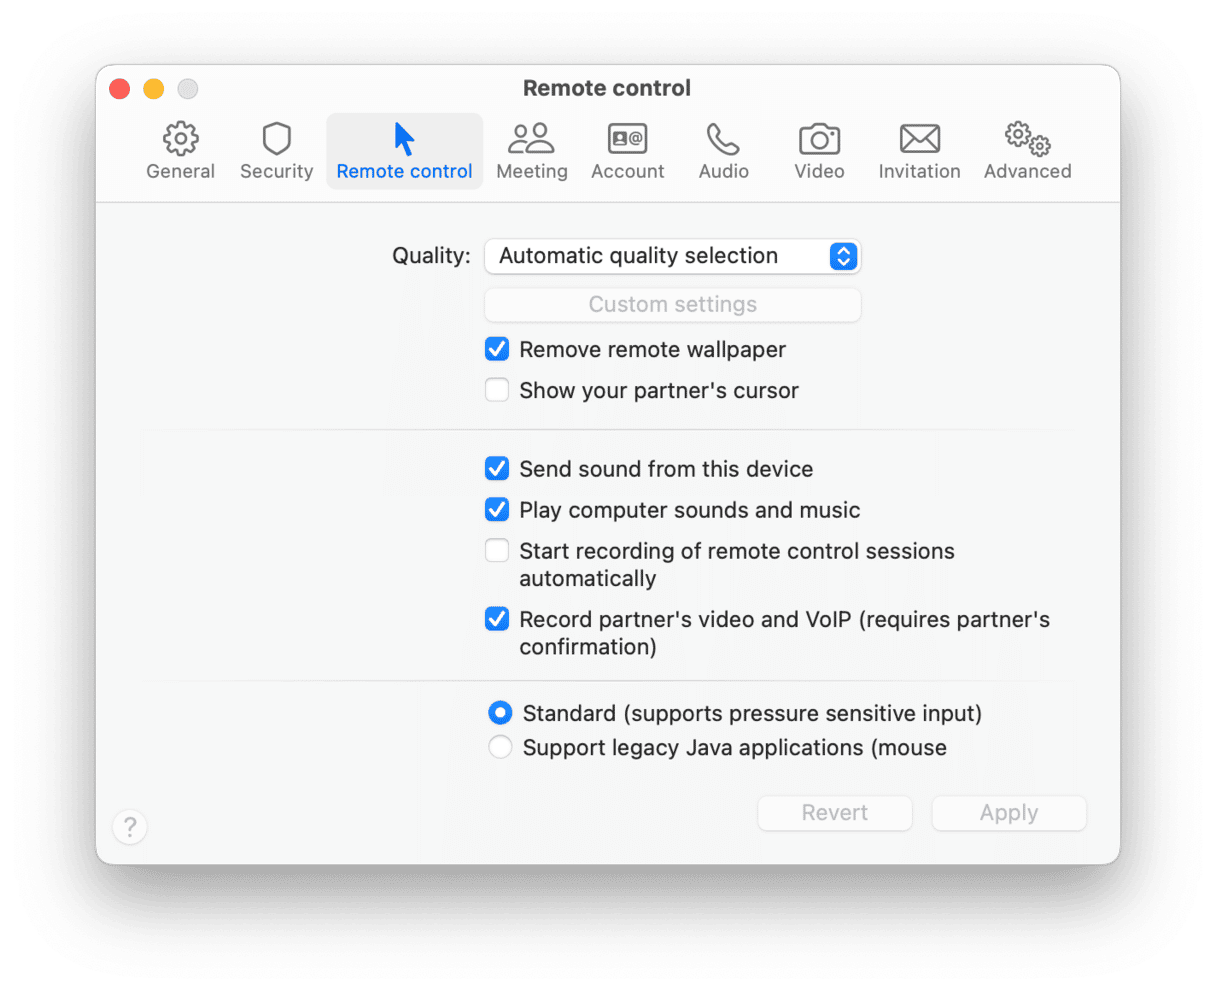
How to remove TeamViewer on Mac
There are several ways to uninstall TeamViewer. The easiest, and the one you should try first, is the application’s own uninstaller. However, if that’s unavailable or doesn’t work, you can also uninstall it from Terminal or the Finder. We’ll also show you a great tip for uninstalling it easily without resorting to Terminal or the Finder if the uninstaller doesn’t work.
How to uninstall TeamViewer using its uninstaller
- Open TeamViewer.
- Click the TeamViewer menu and choose Settings.
- Choose the Advanced tab.
- Under Uninstall at the bottom of the window, select the checkbox next to Also delete configuration files.
- Click Uninstall and confirm the deletion.
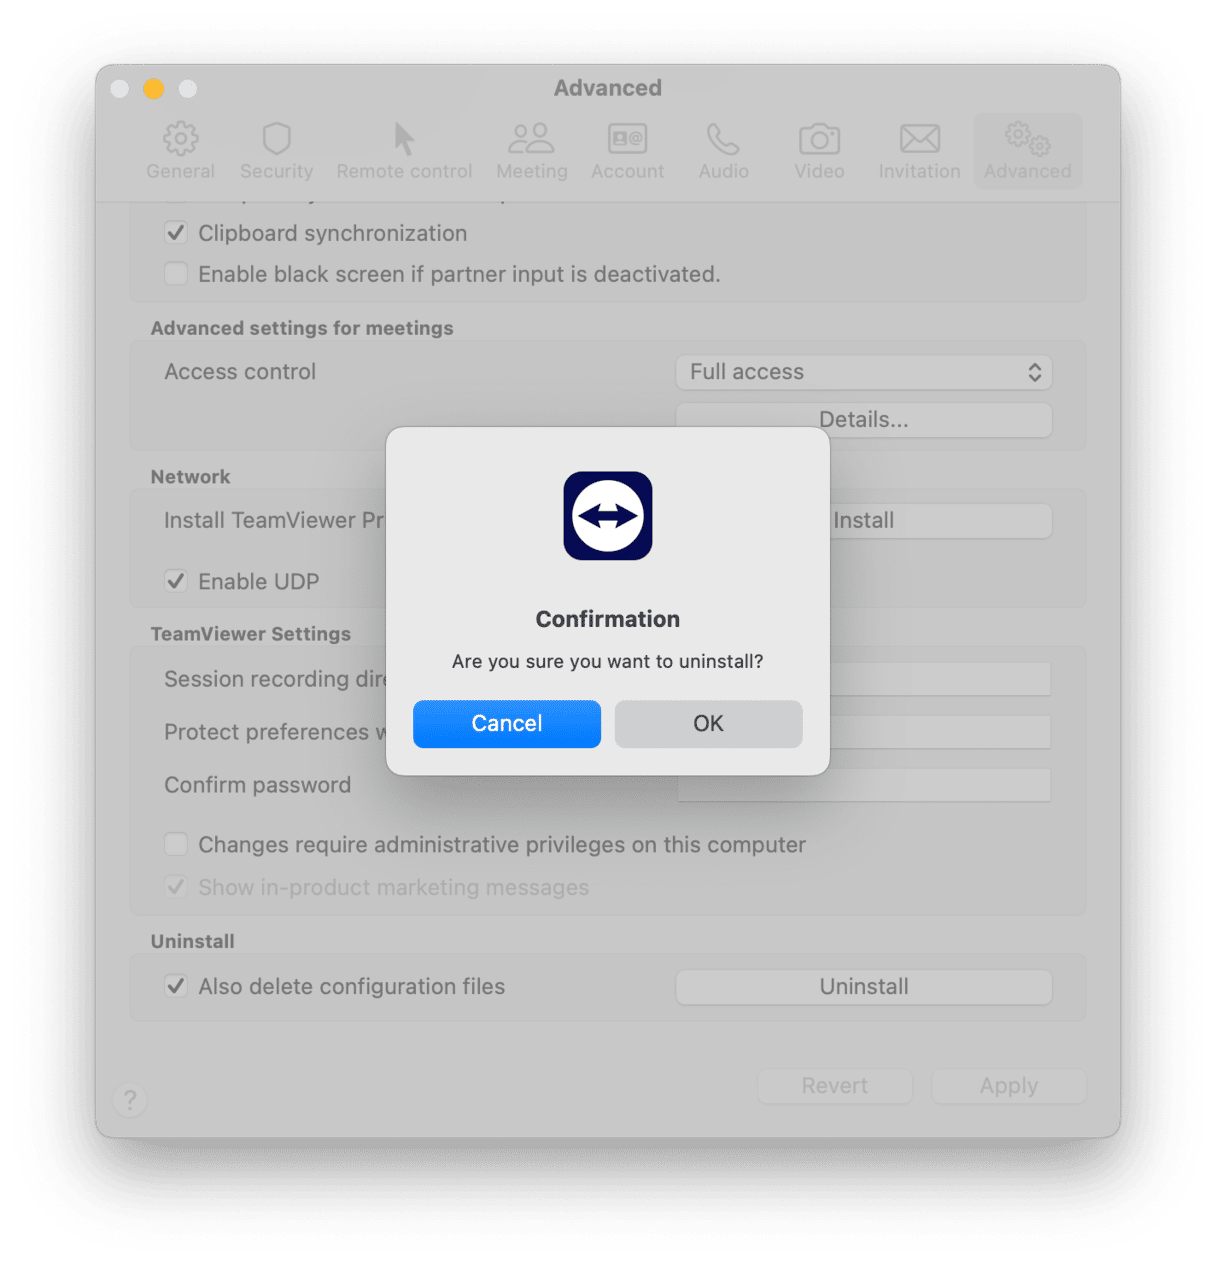
You should see a message telling you that TeamViewer is uninstalling.
How to remove TeamViewer using Terminal
If the uninstaller doesn’t work, you can also use Terminal.
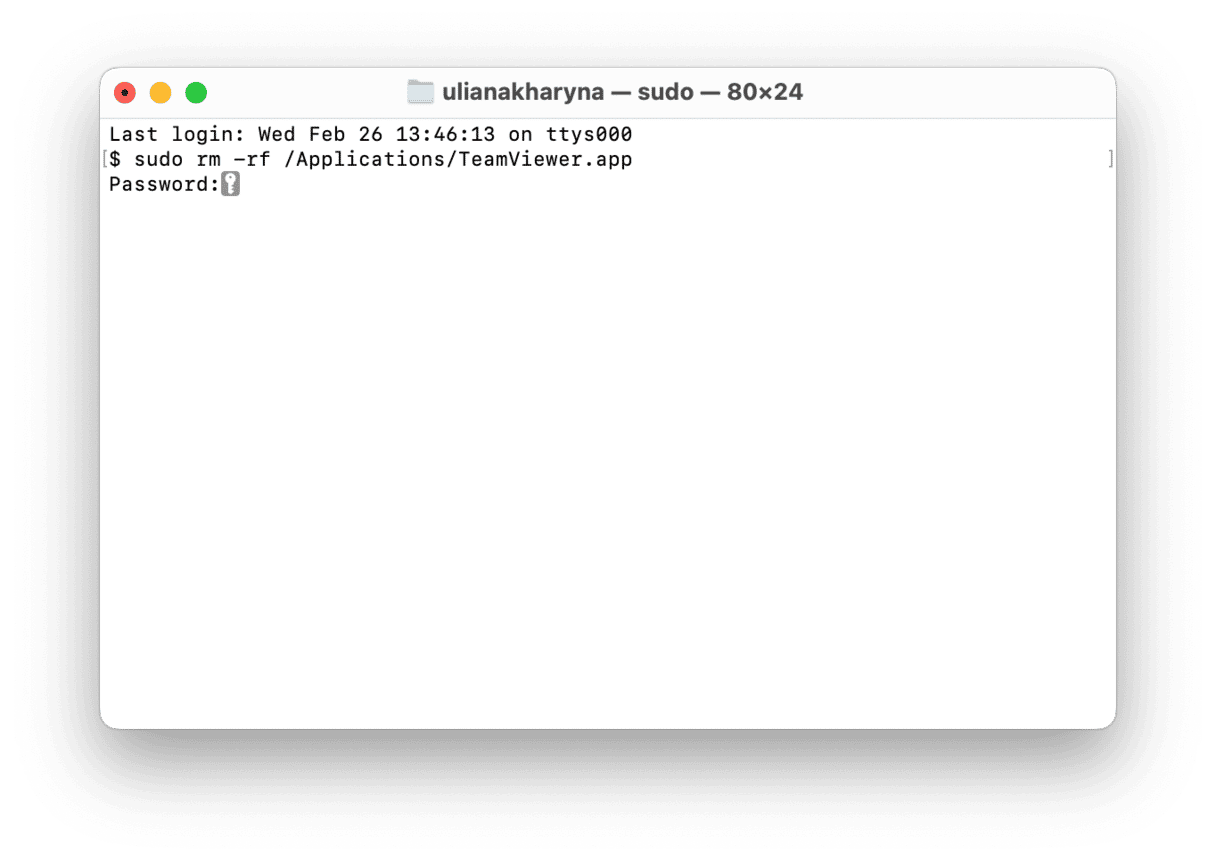
- Open Terminal from Applications > Utilities.
- Type
sudo rm -rf /Applications/TeamViewer.app - Press Return.
- Type in your admin password and press Return once again.
How to uninstall TeamViewer using the Finder
If you don’t want to use Terminal, you can also uninstall TeamViewer manually by locating files in the Finder and dragging them to the Trash. You’ll need to look in several different places to find all the files that’s scattered on your disk.
First, send the TeamViewer app to the Trash.
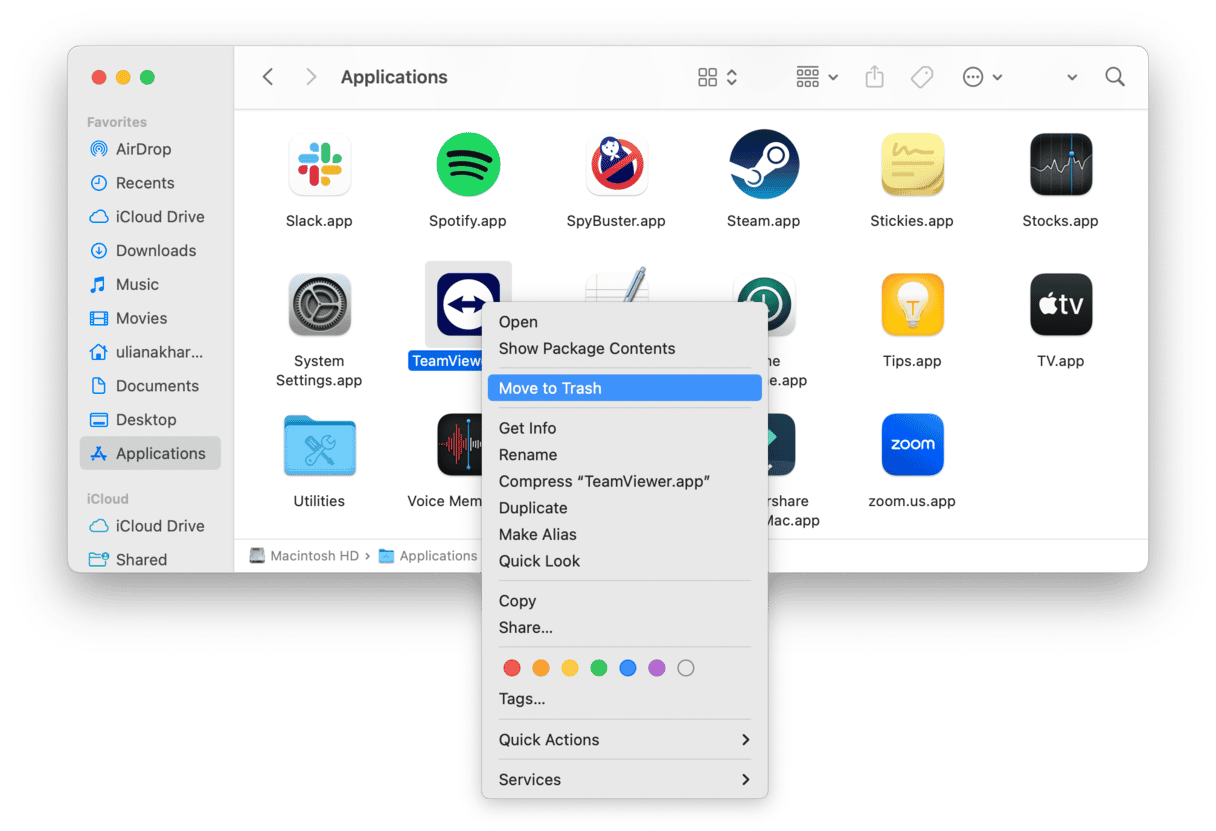
Next, find and remove its leftover files:
- Click the Finder in the Dock.
- Select the Go menu and choose Go to Folder from the menu bar.
- In the text box, type each of these paths, hitting Return after each one, to take you to the folder. Then look for files with TeamViewer in their name and drag them to the Trash:
/Library/StartupItems/
/System/Library/Extensions/
/Library/Receipts/
~/Library/Preferences/
~/Library/Application Support
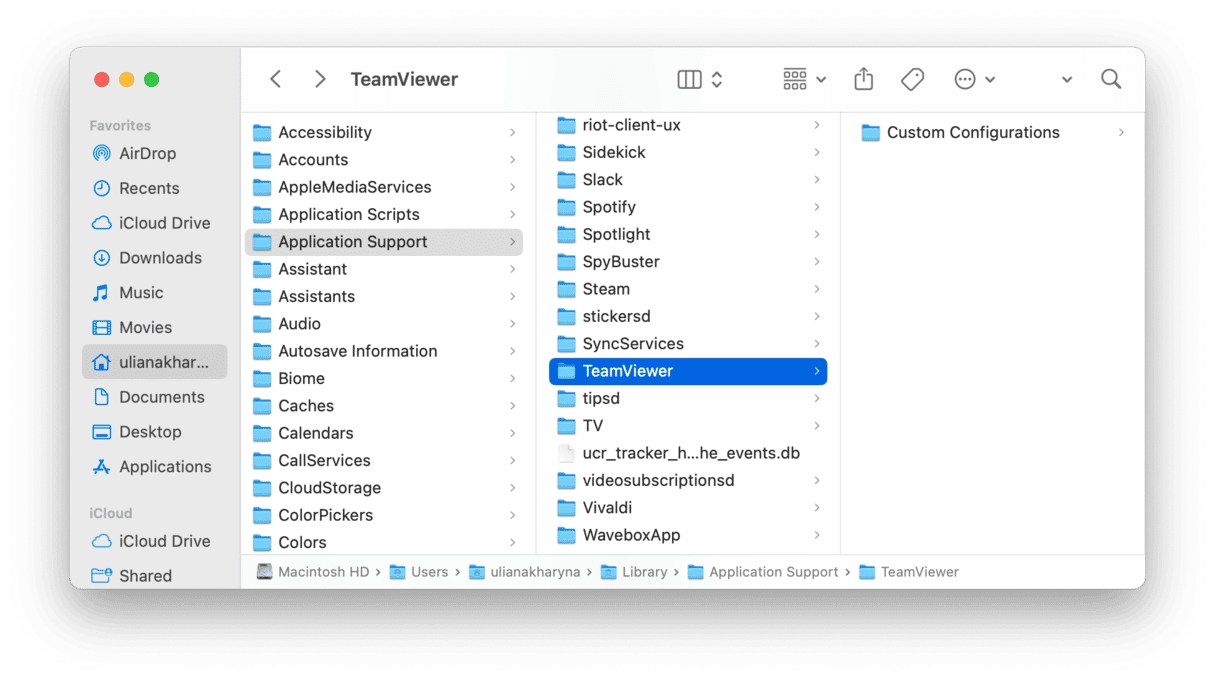
Don’t forget to Empty the Trash.
How to easily remove TeamViewer (or any other app)
If the TeamViewer uninstaller doesn’t work and you’re not comfortable using Terminal or hunting down app files in the Finder, there is a (much) easier way to remove any app. If you use a dedicated uninstaller, you can remove any program altogether.
CleanMyMac has just such an uninstaller and many other tools to help keep your Mac clean of clutter and running as fast and efficiently as possible. CleanMyMac can be used to uninstall an app completely or reset it to its original state.
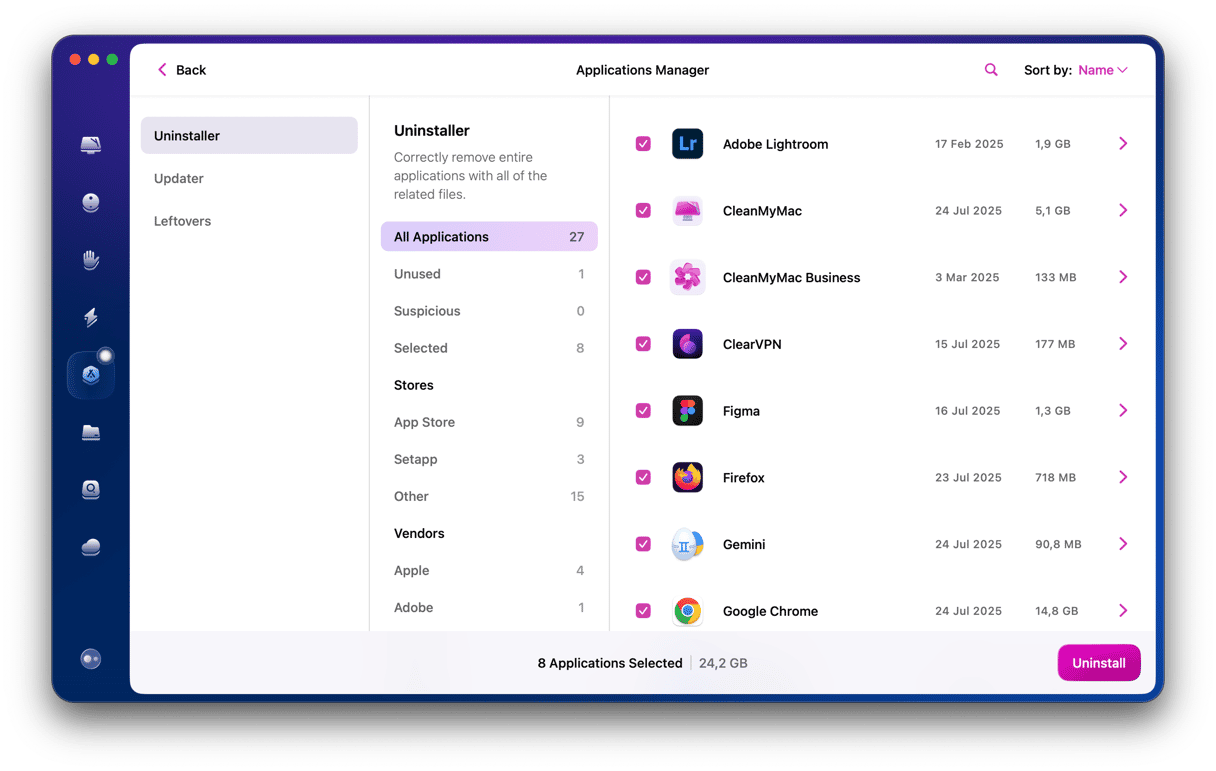
Get started with a free CleanMyMac trial. Now, follow these steps to remove TeamViewer:
- Open CleanMyMac and choose Applications in the sidebar.
- Run a scan and click Manage My Applications > Uninstaller.
- Scroll through the list of apps to locate TeamViewer and select it.
- Click Uninstall.
Easy! If you need to uninstall other apps, select them as well — CleanMyMac allows to remove apps in bulk.
TeamViewer is a tool for remotely controlling any computer or device as if you were sitting in front of it and can also be used for remote learning and video conferencing. If you no longer use it, follow the instructions above to uninstall it and keep your Mac free from clutter.


