If you use JavaScript to write server-side scripts or command line tools, you probably have used Node.js at some point. Maybe you still use it every day, or maybe you have moved on to another runtime environment. Whatever your situation, if it is installed on your Mac, you should update Node.js to the latest version to keep your Mac secure.
What is Node.js?
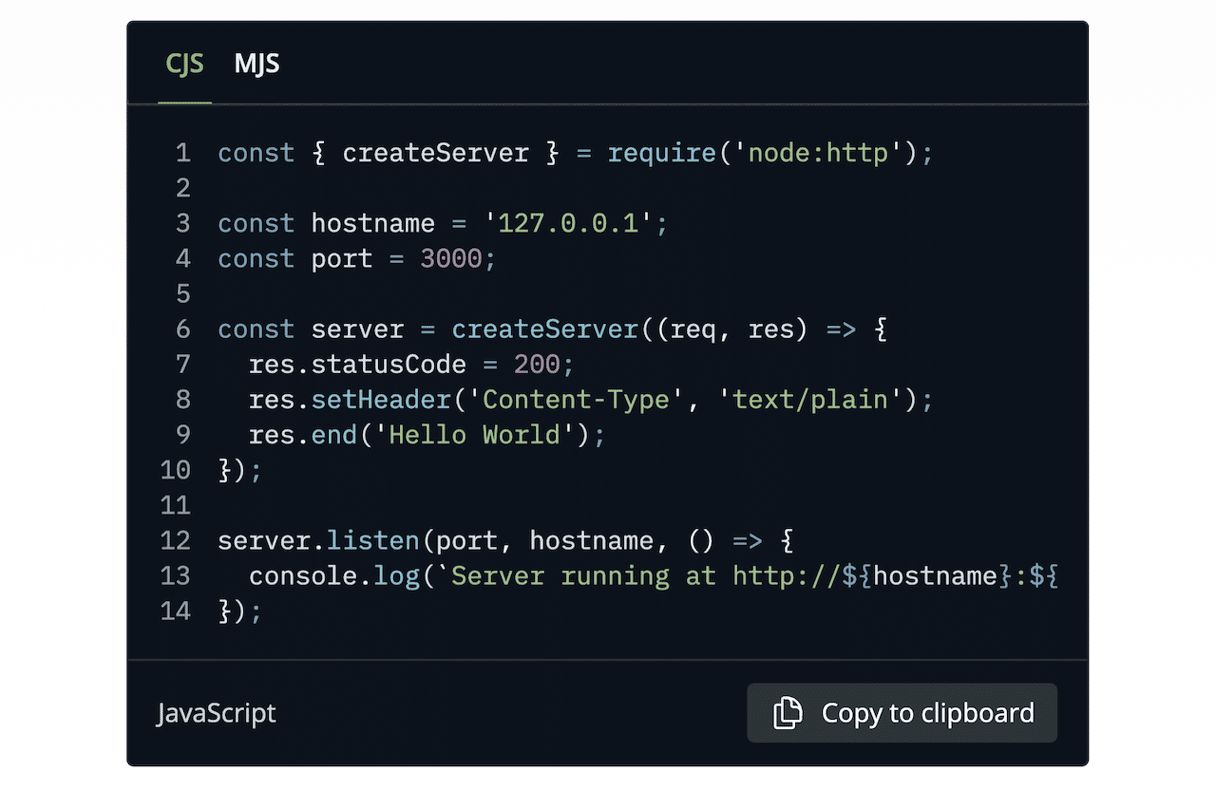
Node.js is a JavaScript runtime environment that is used to write JavaScript that will be executed outside a web browser. It’s often used, for example, to write server-side JavaScript code that’s used to generate dynamic web content before the page is sent to the user’s web browser. One feature of Node.js is that it has an event-driven architecture. It optimizes throughput and scalability in web applications and is often used to write real-time communication tools and browser games.
Why update Node.js?
Like any application or runtime environment, Node.js is frequently updated to fix bugs, release new features, and combat security flaws. If you use it and don’t keep it updated, you may run into bugs that have been patched in recent versions and won’t benefit from performance improvements. If you don’t use it and don’t keep it updated, you may leave your Mac vulnerable to unpatched security flaws.
How to update Node.js on your Mac
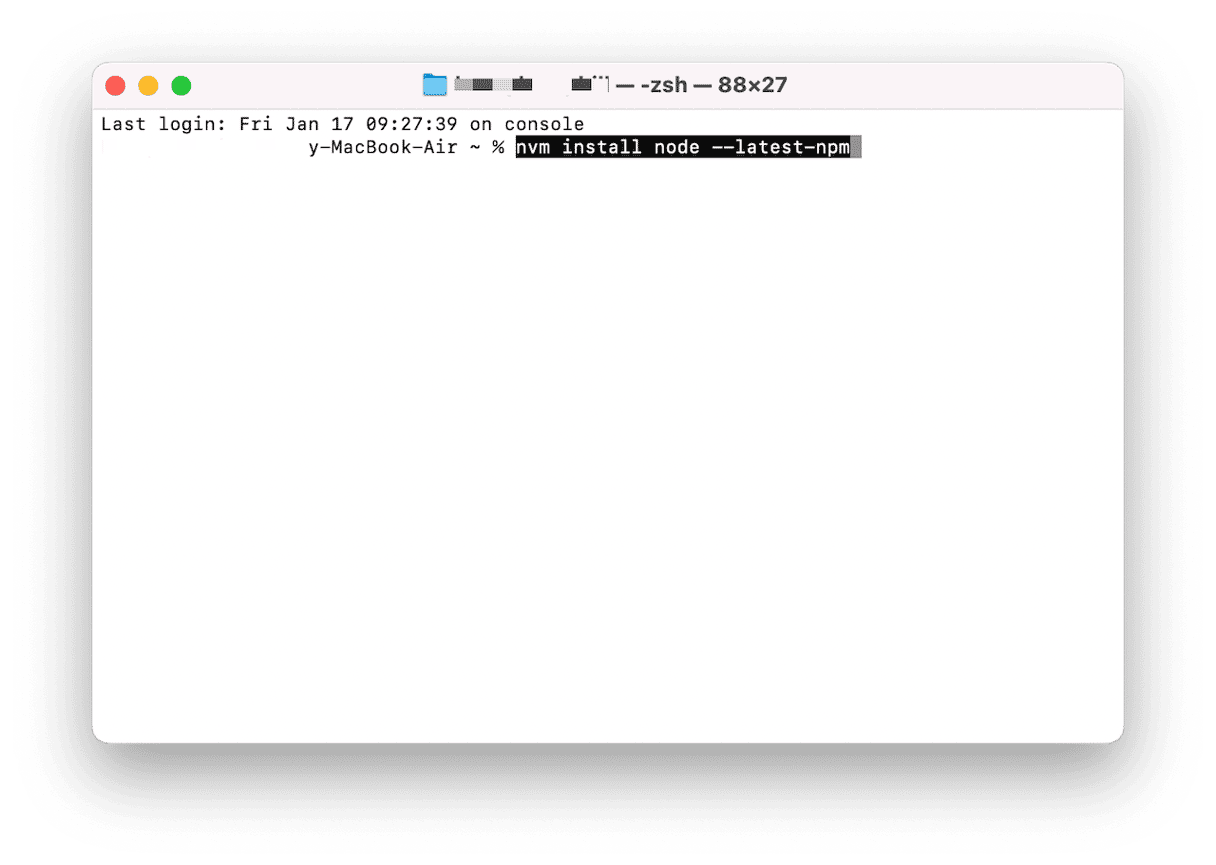
There are a few options for updating Node.js on your Mac. If you have the Node version manager (nvm) installed, you can use that. If you don’t have nvm installed, you can either install it and then use it to update Node.js, or you can update Node.js manually.
Use nvm
- Go to Applications > Utilities and open Terminal.
- Check which version of Node.js is currently installed by using this command followed by Return:
nvm ls - To install the latest versions of both nvm and Node.js, type the following command and press Return:
nvm install node --latest-npm - Set the default version of Node.js using this command:
nvm alias default node - Finally, check that Node.js has been installed by using the command:
node -v
Manual update
- In a web browser, go to the node.js website.
- Click Download and choose macOS Installer.
- When the package installer has downloaded, double-click it to begin the installation.
- Click Continue and follow the instructions on the screen to complete the installation.
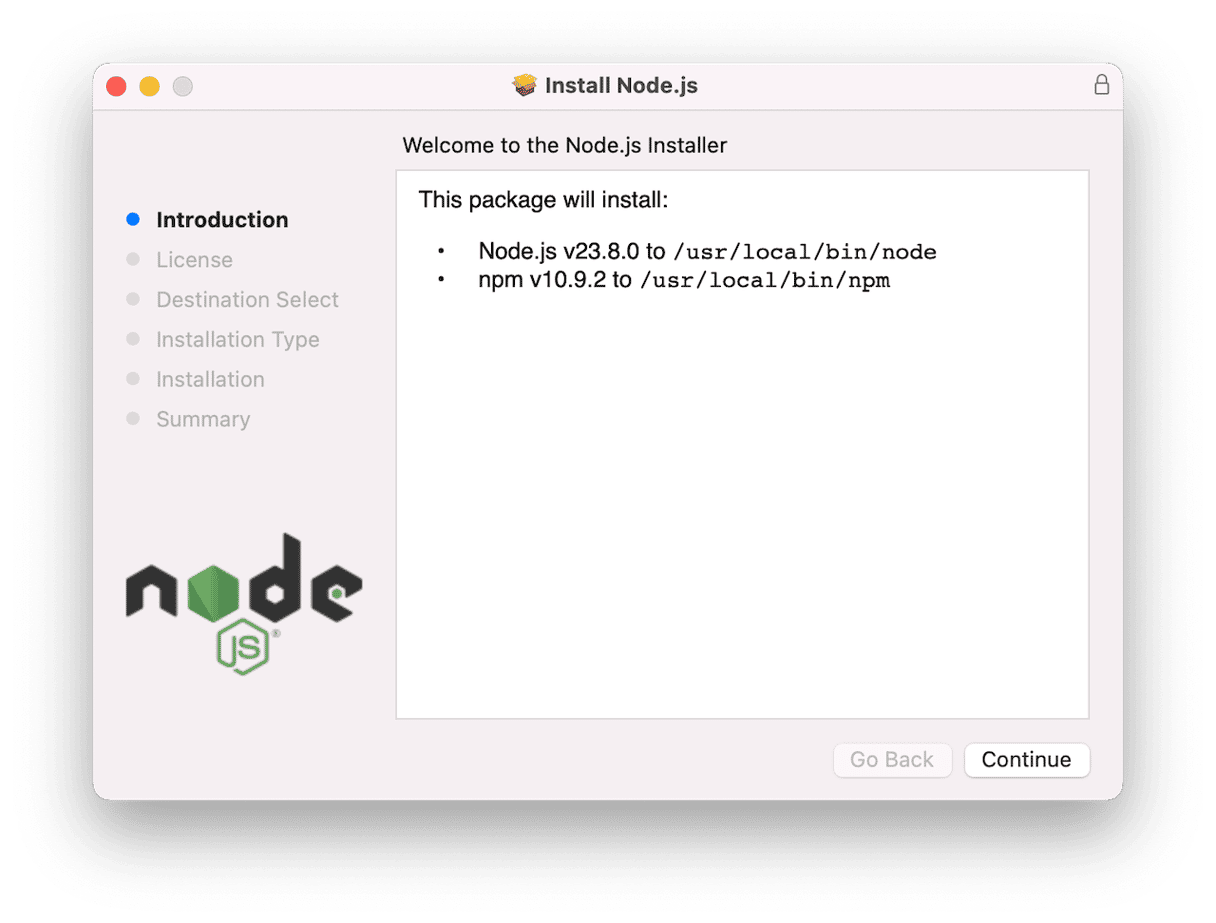
Note that when you click Download on the Node.js website’s main page, the version downloaded will be the most recent with long-term support (LTS). However, you can install an even more recent version by clicking the link after ‘Want new features sooner?’ While this version will be the most recent version, there won’t be as much help available if you run into problems.
Bonus tip: How to install nvm
If you don’t have a version manager installed to handle updates to Node.js, you can install one and use that to update Node.js to the most recent version. There are three version managers recommended on the Node.js website: nvm, fnm, and Docker. And these can be used with one of three package managers: npm, Yarn, or pnpm. In addition, there is a community-created version of node.js for Brew.
One other benefit of using a version manager is that you can then install multiple versions of Node.js for testing. The easiest way to install nvm on your Mac is to use Homebrew. If you don’t already have Homebrew installed, you’ll need to do that first. Before you do, check that you have Command Line Tools installed. Follow the steps below to do that and then install Homebrew and nvm.
- Open Terminal and type:
xcode-select -vfollowed by Return. If you see a response with ‘xcode-select version’, it’s already installed. If not, type xcode-select --install and press Return to install it. - To install Homebrew, paste this command and press Return:
/bin/bash -c "$(curl -fsSL https://raw.githubusercontent.com/Homebrew/install/HEAD/install.sh)" - Once Homebrew has been installed, you can install nvm by typing:
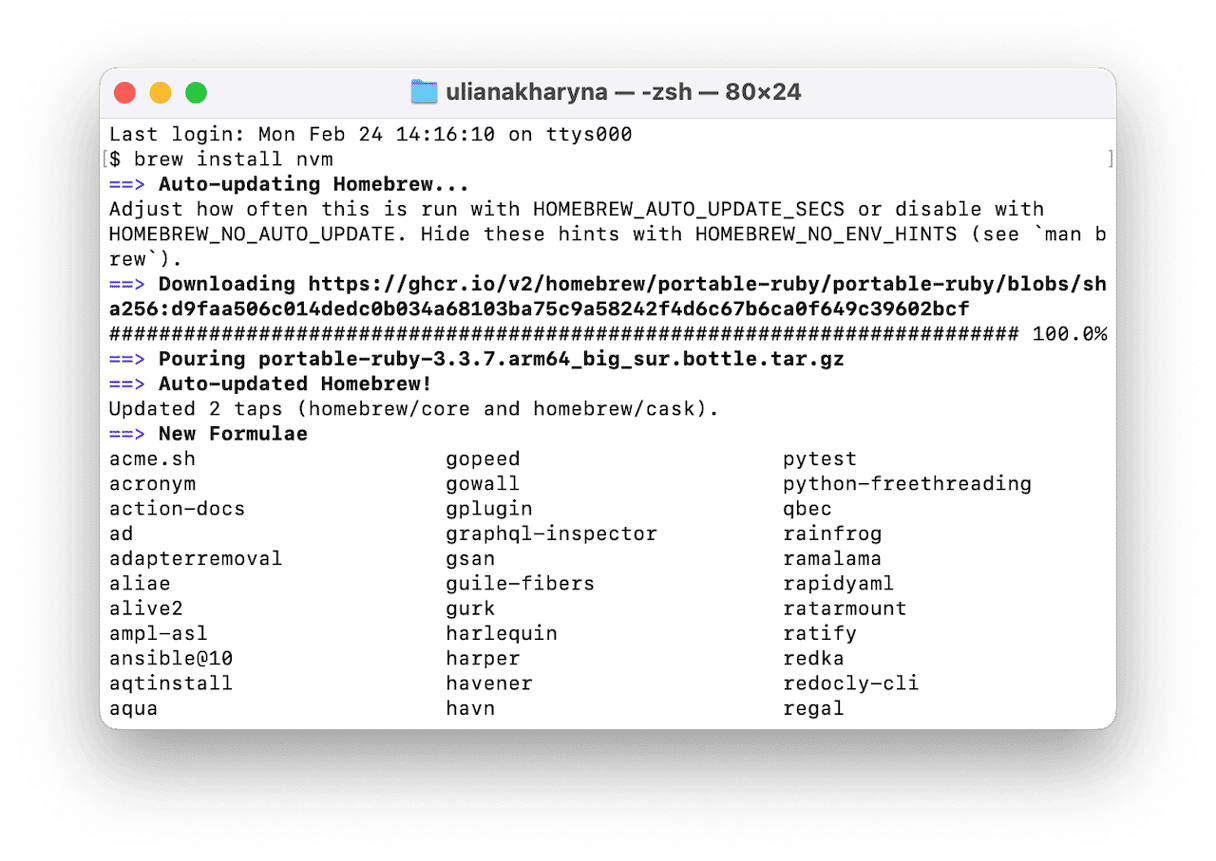
brew install nvm - Next, you need to make nvm available every time you open a Terminal window. Open a new Terminal window and type:
source $(brew --prefix nvm)/nvm.sh
How to quickly update multiple applications on your Mac
You probably already know that you should keep all the applications installed on your Mac up to date for the same reasons you need to update Node.js: security, fixing bugs, and making new features available. Keeping track of all those updates can be tricky, though, especially for applications you don’t use very often. You would need to open every non-App Store app and use its check for updates features as well as go to the Updates section of the App Store to update those apps you downloaded from there. The easiest way to update all your apps at once is to use the Applications Manager in CleanMyMac.
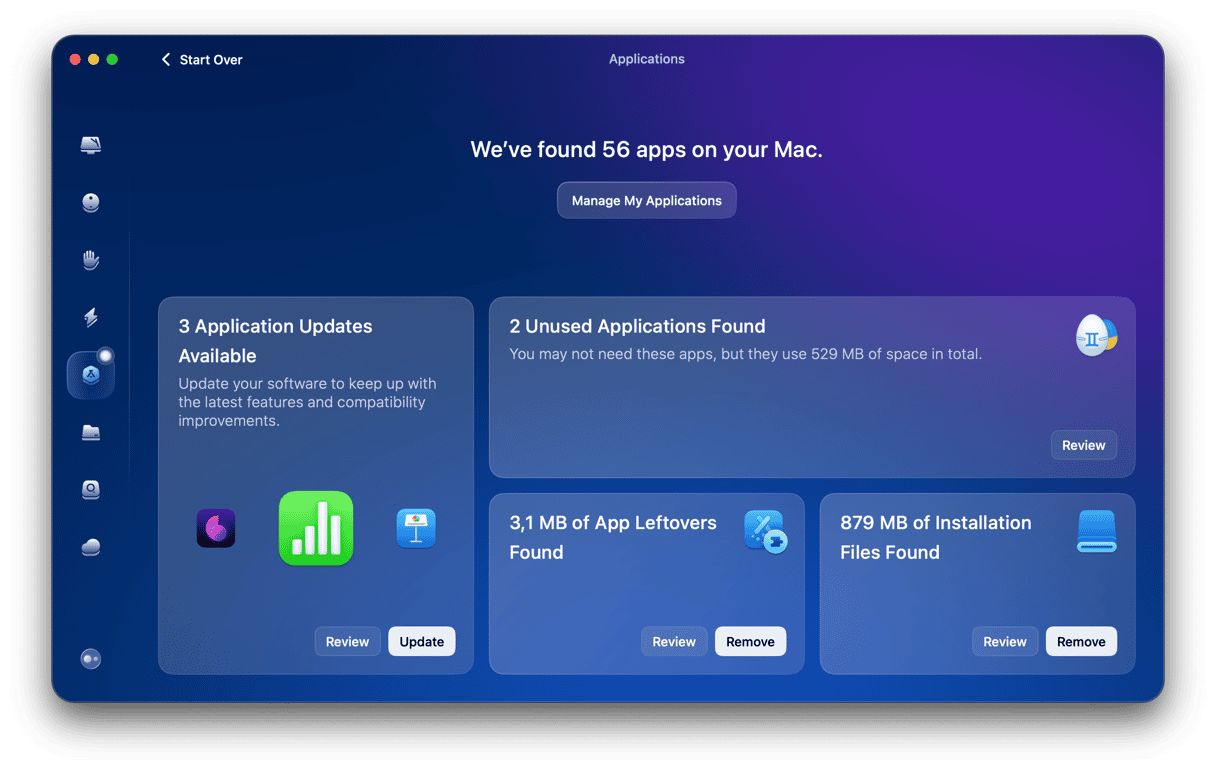
It scans your Mac, collects information on the apps you have installed, and then searches for updates. When it’s done, it shows you how many apps on your Mac have updates available and allows you to install them with a click. Get your free CleanMyMac trial. Once you’ve done that, follow the steps below to update your apps:
- Open CleanMyMac and choose Applications in the sidebar.
- Click Scan.
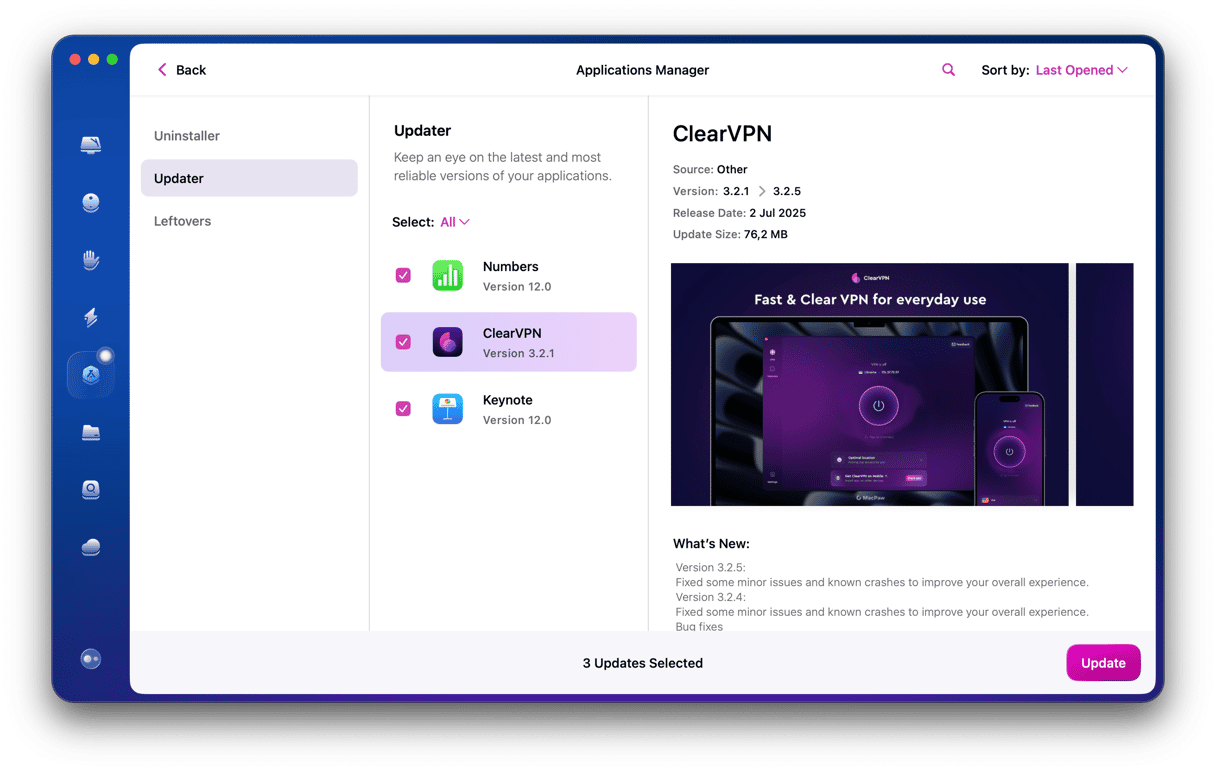
- In the panel that opens, you will see how many application updates are available. Click Update to install them all. Or click Manage My Applications > Updater to select what to update.
Node.js is a JavaScript environment that is used to write JavaScript that will be executed outside of a web browser — say, on a web server. It’s used for making browser games and dynamic content. It’s important to update it to the most recent version so that you can benefit from new features, bug fixes, and security patches. Follow the steps above to update Node.js to the latest version on your Mac.


