Wireless internet connections felt like magic when they first became popular two decades ago. Now, though, they’re not just the norm, they are essential for using your Mac. Almost everything we do on our Macs involves connecting to the internet at some point. So if your Wi-Fi is connected, but you have no internet on your Mac, it can be a real headache. After all, what’s the point of being connected to a Wi-Fi network if all you can do is access a printer or another computer on the same Wi-Fi network? In this article, we’ll show you how to fix it if your MacBook is connected to Wi-Fi but has no internet.
Why, if Wi-Fi is connected, is there no internet on my Mac?
First, it’s important to distinguish between connecting to Wi-Fi and connecting to the internet. Many people think they are the same thing and use ‘Wi-Fi’ to mean internet access. But all that being connected to Wi-Fi means is that your MacBook is connected to your broadband router (or in an office or public space to the main network). That router, or network, must also be connected to the internet for you to access it from your Mac. There are a few steps in that process, and if any of them goes wrong, you could lose internet access, even if you’re still connected to Wi-Fi.
How do I know if my Mac is connected?
The simplest way to check if your Mac is connected to Wi-Fi is to look at the Wi-Fi icon in the menu bar. If it’s dark gray, your Mac is connected. If you click on it, the network you’re connected to should have a Wi-Fi symbol highlighted in blue next to it.
Why won’t my Mac connect to the internet?
That’s a trickier question because there are many possibilities and ways to deal with them. We’ll start with the most likely and easiest to fix and then, step-by-step, go through the other possibilities.
1. Check other devices
Are there other devices nearby, such as smartphones, tablets, or computers? Do they have internet access? If not, the problem is not with your Mac, so we need to look elsewhere.
2. Restart your router
Check the status lights on your router. Are they the color they should be when everything is working properly? If not, restart your router and wait for it to cycle through its startup, then try and connect to the internet from your Mac. If that doesn’t work, there may be a problem with your broadband connection. You will need to contact your broadband provider for help.
If other devices connected to the router can connect to the internet, then the problem is with your Mac. Follow the steps below to identify the problem and fix it.
3. Move your Mac closer to your router
Even if your Mac is connected to the router, if the connection is poor, you may not be able to get online. Move closer to the router (or further away if you’re right next to it) to see if that helps.
4. Move your router
If moving your Mac is not possible, try moving your router. Wireless routeкs work best when there is empty space around them and less well when they are close to walls, the floor, or the ceiling. If you can, experiment with different positions.
5. Quit mDNSResponder
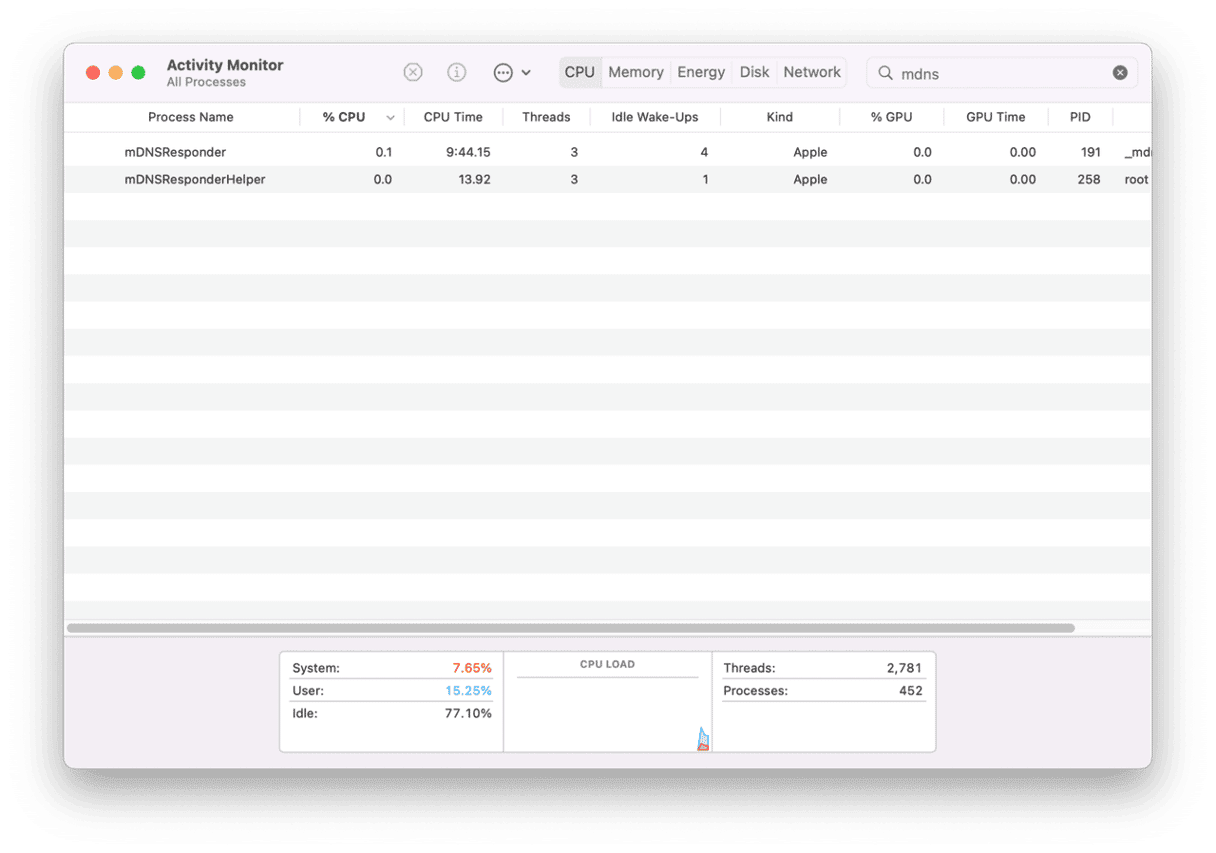
mDNSResponder is a macOS process that handles DNS requests for services that need online access. Some users have reported running into problems with it and, as quitting it is easy and won’t cause any harm (because it will restart automatically), it’s worth a try.
- Go to Applications > Utilities and launch Activity Monitor.
- Search for mDNSResponder.
- Select it.
- Click Quit in the toolbar.
6. Clear DNS cache
Your Mac caches DNS entries so that it doesn’t have to look them up every time you access a site. Sometimes, that cache can become corrupted. The solution is to clear it. The easiest way to do that is to use an application designed for the job. CleanMyMac is one such application. CleanMyMac is a convenient tool with lots of different modules that clear clutter from your Mac, optimize it so it runs more quickly and more smoothly, and keep it safe from malware. One of those modules, Maintenance, has a bunch of tools for solving problems like being connected to Wi-Fi but with no internet. And one of those tools clears the DNS cache.
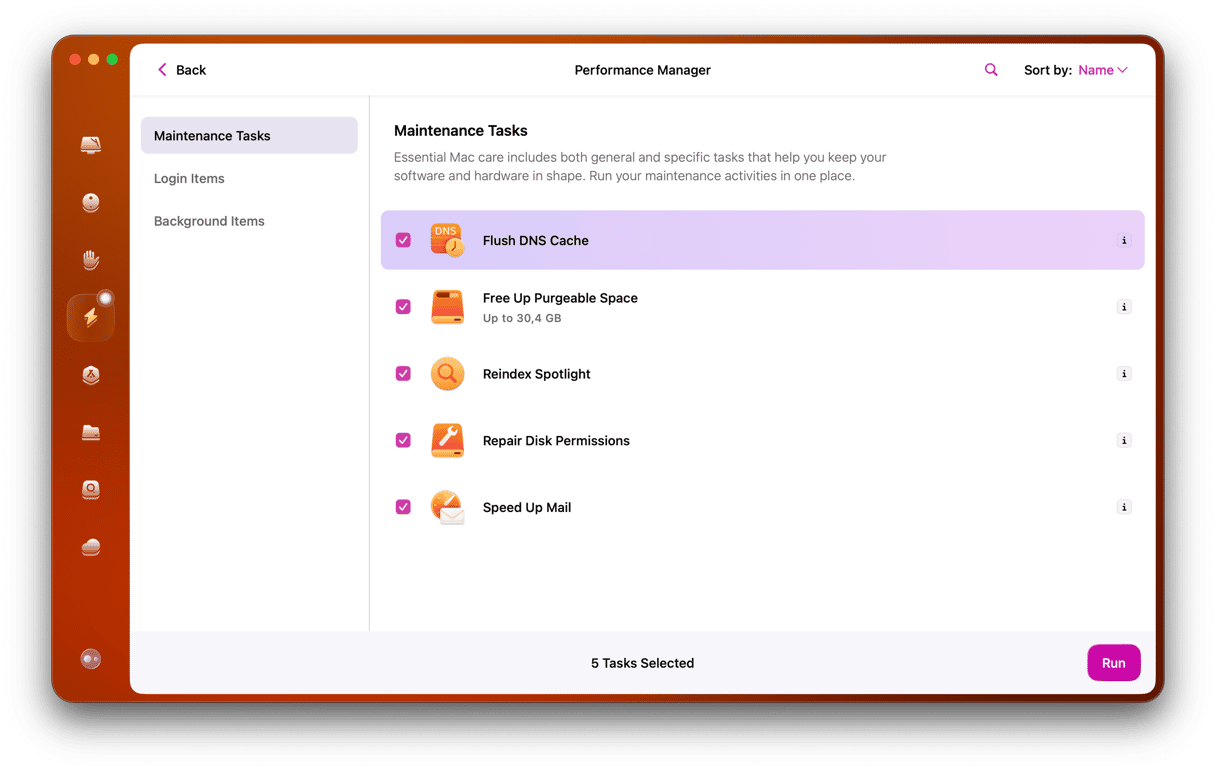
You can download the free version of CleanMyMac here. This is how it works:
- Launch CleanMyMac and select the Maintenance module.
- Click the circle next to Flush DNS cache.
- Press Run.
The DNS cache on your Mac will now be cleared. You might notice that it takes a second or two to connect to some websites, but any problems the DNS cache was causing will be solved.
7. Run Wireless Diagnostics
The Mac has a built-in tool to identify problems with wireless connections, called Wireless Diagnostics.
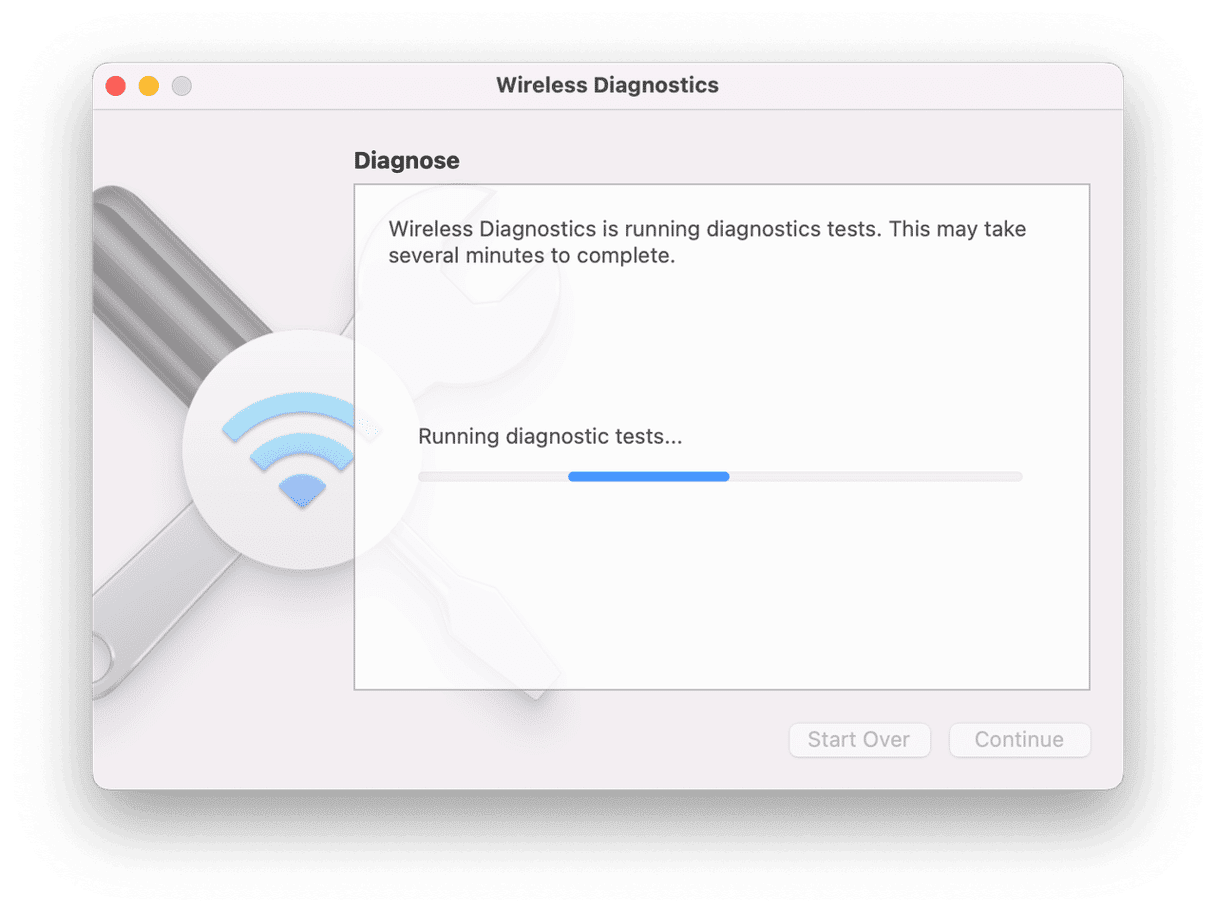
- Hold down the Option (Alt) key and click the Wi-Fi icon in the menu bar.
- Click Open Wireless Diagnostics.
- Read the text on screen and click Continue.
- Follow the instructions on screen to complete the test.
8. Change DNS settings
DNS servers are where your Mac goes to look up a URL and find out the IP address of the server so it can connect to it. That means if there is a problem with the DNS server you’re using, it could prevent you from accessing the internet.
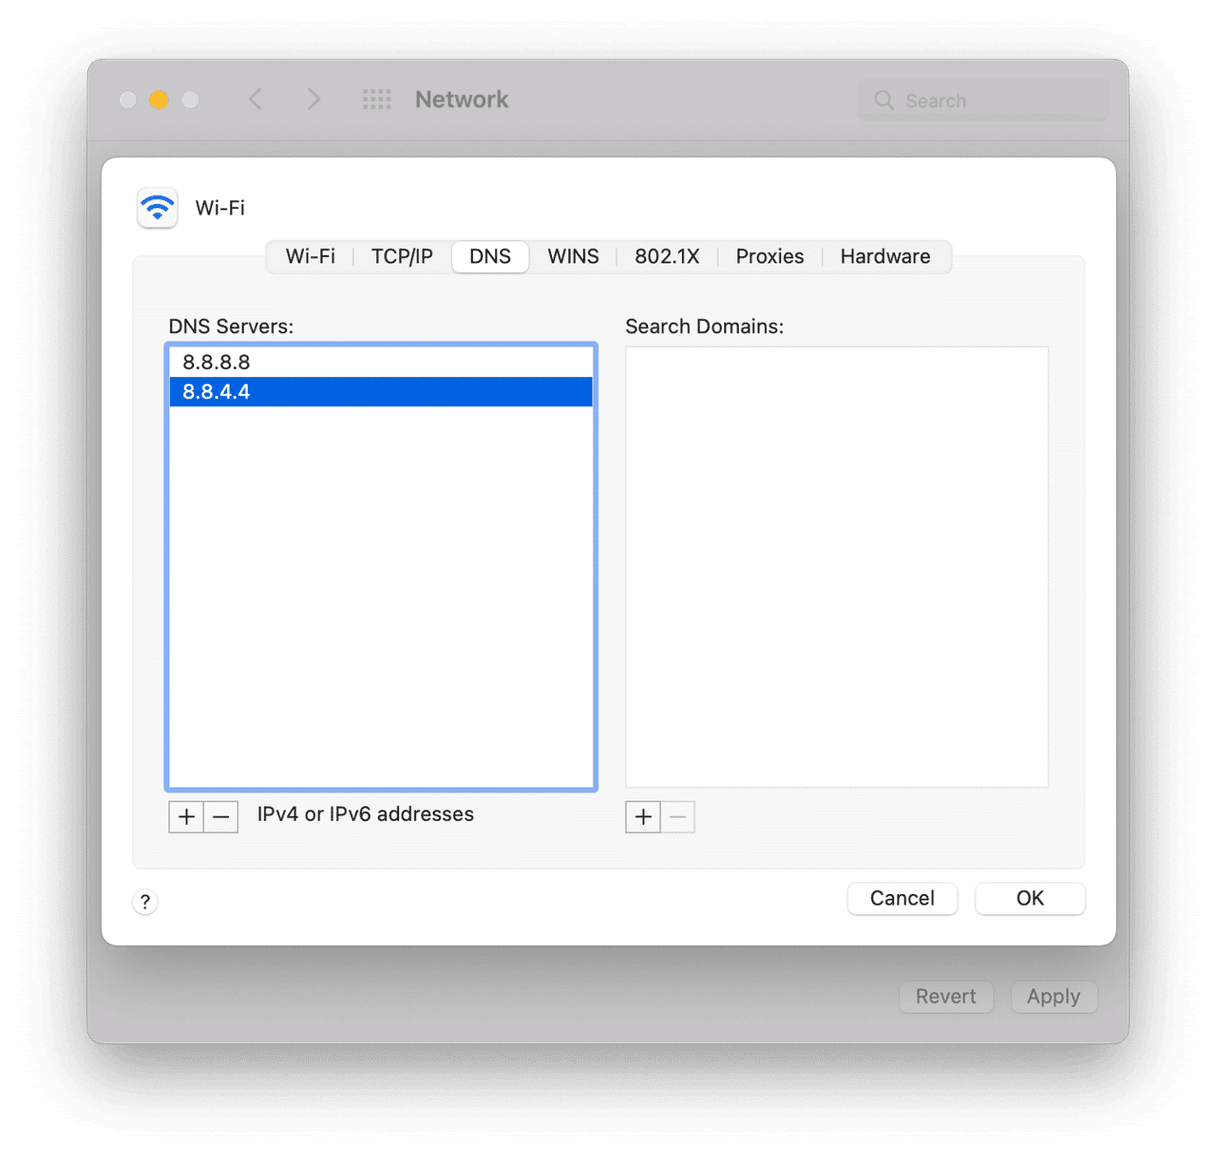
To change servers…
- Click the Apple menu and choose System Preferences.
- Choose Network, then click Advanced.
- Select the DNS tab.
- Under the left hand table, click ‘+’ and type ‘8.8.8.8’ (Google’s public DNS).
- Repeat step d and this time, type ‘8.8.4.4’ (Another Google public DNS).
- Click Ok.
There are many reasons your Mac may be able to connect to Wi-Fi but not the internet. If you follow the steps above, you should be able to identify the problem and fix it quickly. You’ll be back surfing online in no time!


