Before Wi-Fi became the most popular and easiest way to connect to the internet, every Mac and computer used to connect using an Ethernet cable. It was a standard feature of the ports a Mac had available.
How to connect Mac to Ethernet?
If your Mac has an Ethernet port, then you need an Ethernet cable:
- Plug the cable into an internet port at one end (this could be in a wall or a floor-mounted connection).
- Make sure the internet is switched on.
- Now, connect the wire to the Ethernet port in your Mac.
Open a browser and test the connection. You should have fully functioning wired internet plugged straight into your Mac.
What if I don’t have an Ethernet port?
Most modern Macs don’t. As more people switched to Wi-Fi, having an Ethernet port became less useful. They also take up a lot of hardware space. It is the same reason fewer Macs than ever still have USB ports. It is easier for people to store what they need in the cloud and download as needed than carry things around on USB devices.
However, you still might find it useful, or more secure, to connect to the internet using an Ethernet port. Thankfully, there is a way around having a Mac that no longer has an Ethernet port. You can still get a hard-wired connection.
Firstly, check what ports your Mac does have. It should either have a USB port, a Thunderbolt port, or both. Depending on what you have will determine what you need to buy.
Either purchase a:
- Belkin USB-C to Gigabit Ethernet Adapter, or
- An Apple Thunderbolt to Gigabit Ethernet Adapter
There are other models, but these are the ones that Apple recommends to make this work.

Here are the steps to take to make this hard-wired connection, even without an Ethernet port:
- Connect whichever Apple Ethernet adapter you’ve bought either to the USB port or Thunderbolt port.
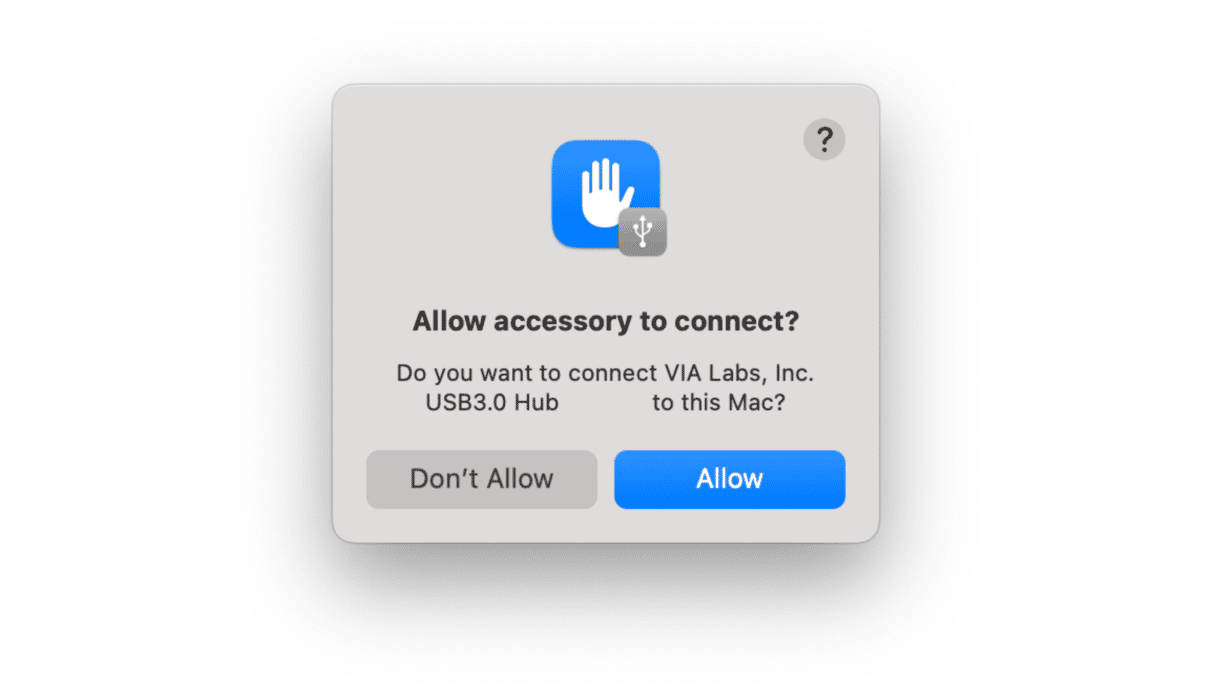
- Now, plug the Ethernet cable into the internet connection at its source and the Mac Ethernet adapter at the other end. Click Allow if asked.
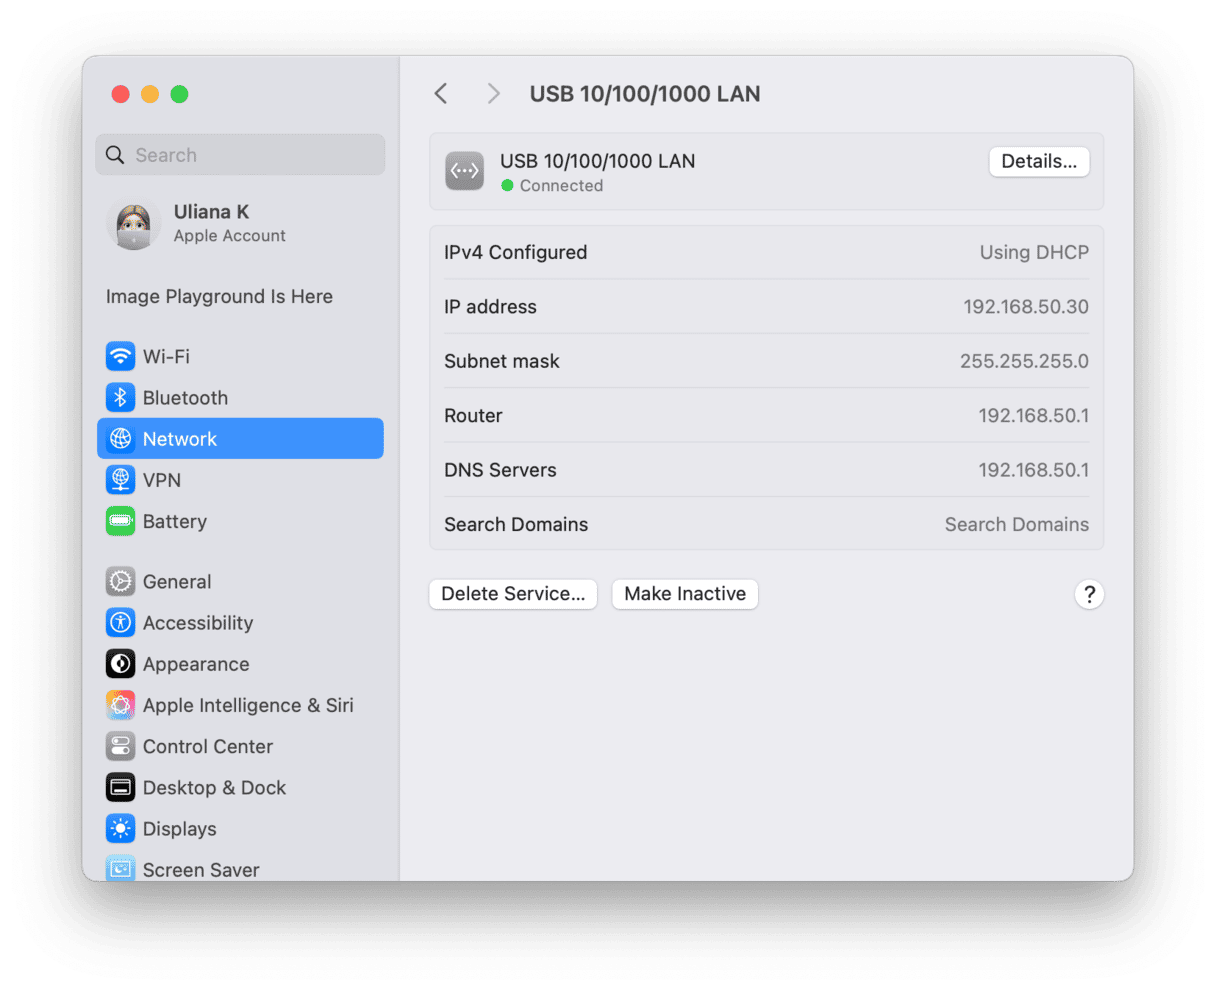
- Next, go to Apple Menu > System Settings > Network. A message may appear: New Interface Detected. If it does, click OK. Now, click Apply to save this setting and remember this network connection.
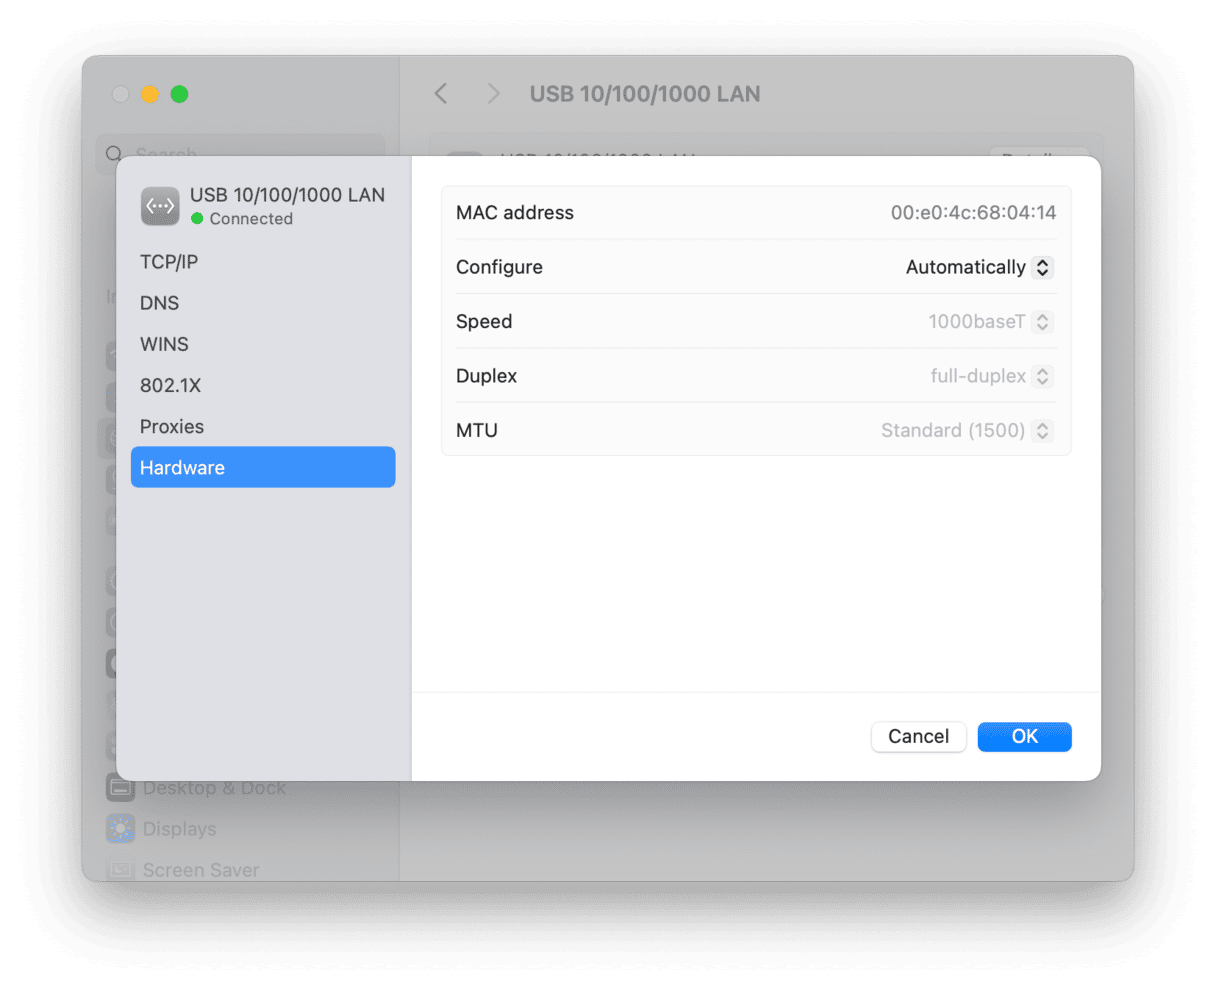
- To make this connection more secure, click Details next to Thunderbolt Ethernet interface (note that it can be named differently; look for the name next to the
<...>symbol stating Connected):
Here, you can change a range of settings, such as whether the connection is automatic, speed, and other changes that can be made.
Now, you should be all set up. Using the internet should be quick whether or not you are connected using Wi-Fi or Ethernet.
What happens if I’ve got a slow Ethernet connection?
Assuming this isn’t a problem with the internet where you live or work, it’s worth looking at what could be making your Mac run slowly.
Thankfully, we have a solution for a Mac that is running slow.
- Run the CleanMyMac app — get your free trial here.
- Click Performance > Scan > View All Tasks.
- Here, you can try various tune-ups to speed up your Mac.
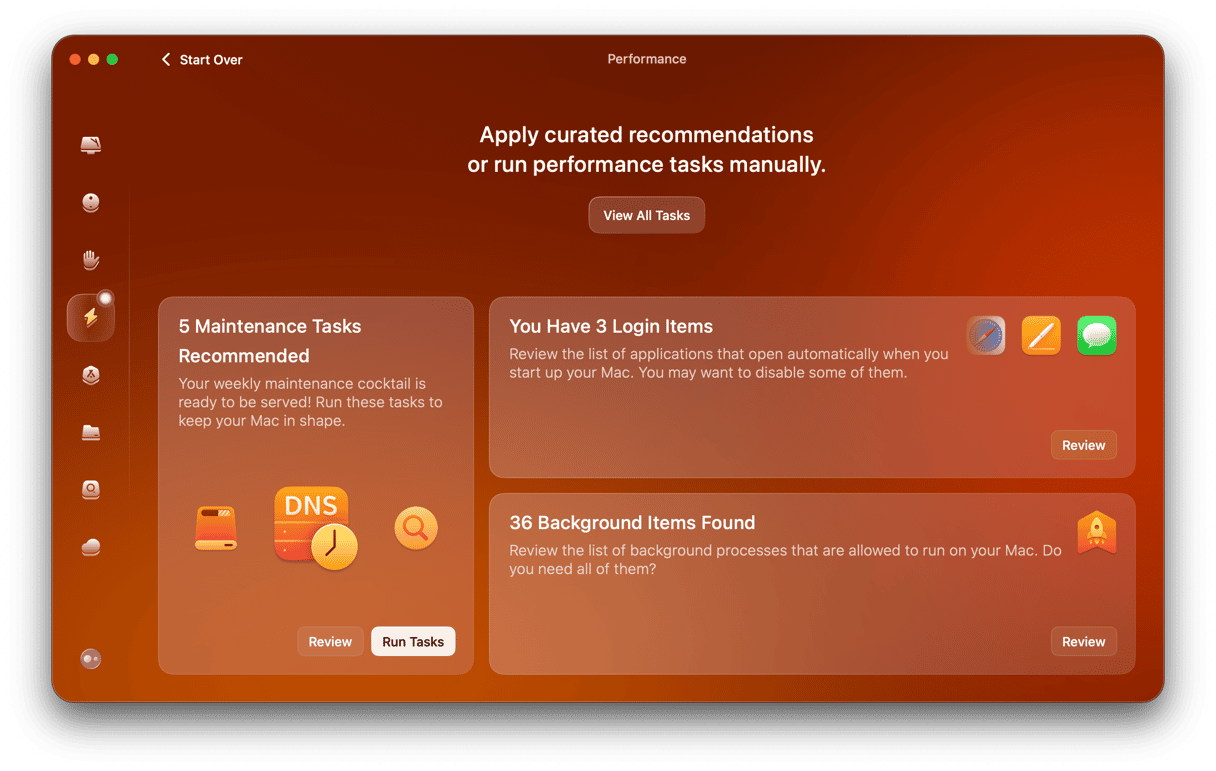
The tool that directly translates into speeding up your internet connection if it slows down without reason is Flush DNS Cache.
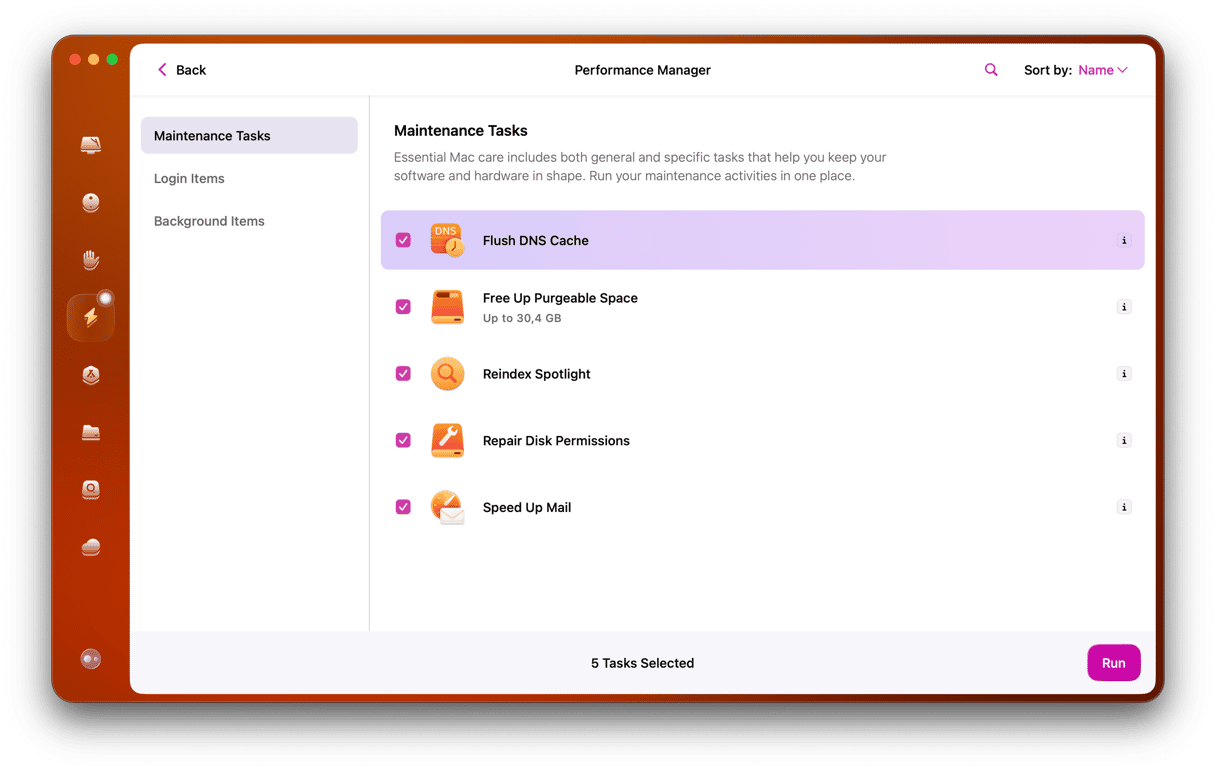
With CleanMyMac, there is a whole suite of tools you can use that will restore a Mac to how it worked when new. Give your Mac the tune-up it needs, making it run faster, easier to use, and with improved performance.


