There are a number of reasons why you might want to unmount a disk on your Mac. And you know that before you pull the plug, you should eject or unmount it. If you disconnect your USB stick or external hard drive without first ejecting it, you’ll see an error message. Sometimes, when you try to do the right thing and eject it first, you’ll also see an error message telling you it couldn’t be ejected. However, while ejecting does the same as unmounting, the error message that includes the words ‘couldn’t unmount disk’ applies to something else. That message means that a process running on your Mac has attempted to unmount your regular boot disk and has failed. In this article, we’ll look at both those situations and how to resolve them.
What does ‘couldn’t unmount disk’ mean?
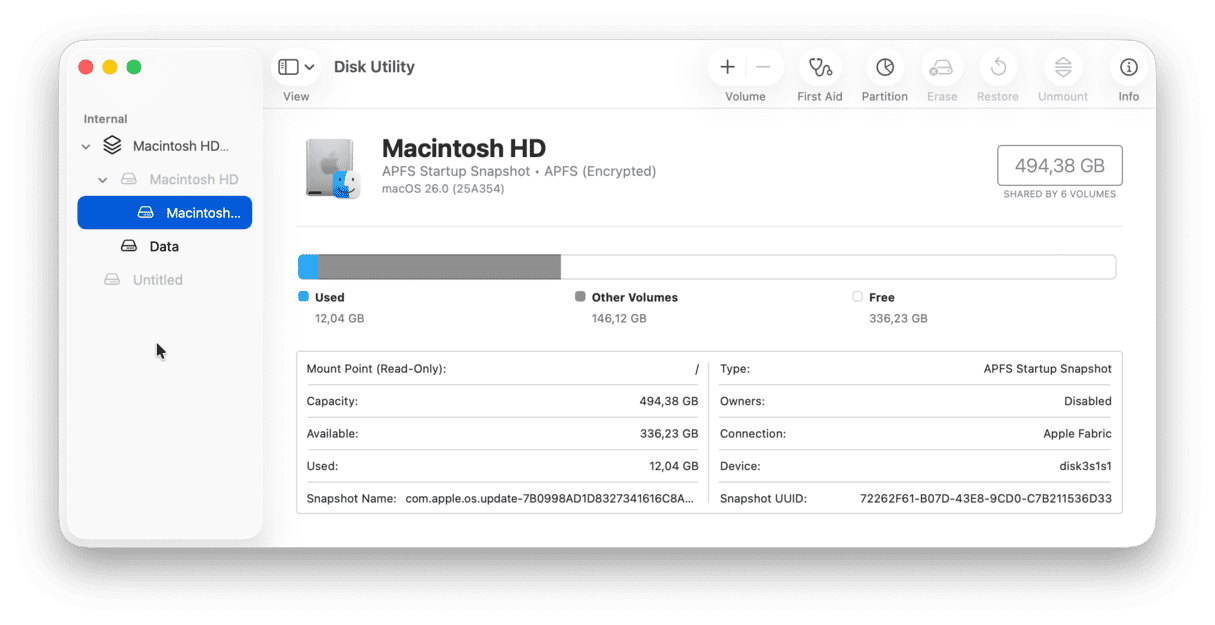
If you see an error message telling you that macOS couldn’t unmount a disk, it usually means that a process on your Mac is trying to modify your boot disk and can’t because macOS won’t allow the disk that it has booted from to be unmounted. For example, if you try to erase or partition your boot disk in Disk Utility, you won’t be able to because macOS won’t unmount the disk. Essentially, the erase process has failed on your Mac.
How to fix ‘couldn’t unmount disk’ error
Before you try to fix any problem with a disk, including one that can’t be unmounted, you should back it up. There is always a risk of losing data, and making a full backup is the only way to protect your data.
The only solution is to boot from a different volume than the one you’re trying to modify. On older Macs, that means booting from an external disk or USB stick. However, on Macs with T2 security chips (effectively any Intel Mac from the 2018 MacBook Airs, MacBook Pros, and Mac minis onwards) and Macs with Apple silicon, it’s not that simple. These Macs have secure boot enabled by default, which prevents them from booting from an external disk. You can turn it off using Startup Security Utility, but that’s beyond the scope of this article. So, on those Macs, you should boot from the recovery partition by doing the following:
Intel Mac
- Shut down your Mac.
- Hold down Command-R and power your Mac on.
- Release Command-R when you see the Apple logo.

Apple silicon
- Shut down your Mac.
- Power on your Mac and keep holding the power button until you see ‘loading startup options.’
- Choose Options, then Continue.
- Type in your username and password if asked.
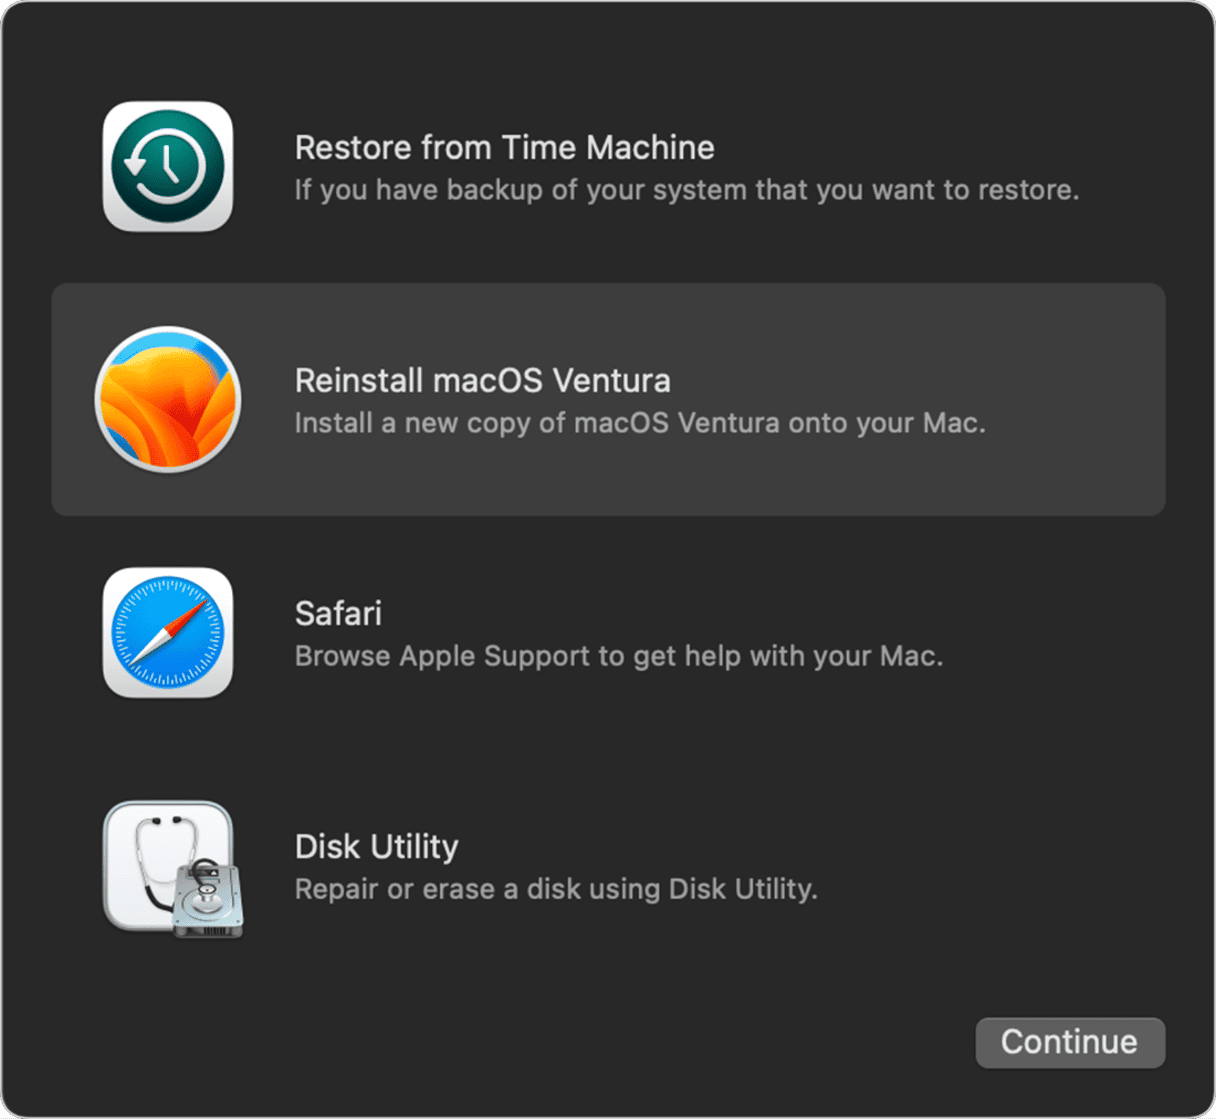
You should now see macOS Utilities, from where you can choose Disk Utility and then unmount the volume from there.

Older Macs
On older Macs that don’t have a T2 security chip, boot from an external disk like this:
- Plug in a disk with a bootable install of macOS on it.
- Click on the Apple menu and choose System Preferences.
- Select Startup Disk.
- Click the padlock and type in your admin username and password.
- Select the disk you’ve just connected.
- Quit System Preferences and restart your Mac.
- When your Mac restarts, launch Disk Utility and try whatever you were trying to do again.
How to fix it when an external disk won’t unmount
Normally, when you see the error message that an external disk can’t be ejected, there is an explanation for why. Usually, there is an application running that uses the volume that you’re trying to eject. You have two options:
- Click on Force Eject. This will override the error and eject the disk, but it may also damage the data on it.
- Identify which application is using the disk and quit it, then try and eject the disk again.
How to unmount a disk in Terminal
If nothing else works, you can use Terminal to unmount a disk. You still won’t be able to unmount a volume that you have booted from, but you can use it to unmount an external disk or from кecovery mode to unmount your main boot disk.
- Go to Applications > Utilities and open Terminal, or choose it from the Utilities menu in macOS Utilities in recovery mode.
- Type:
diskutil list - Press Return.
- Note the identifier for the disk you want to unmount. For example, ‘disks1’
- Type:
sudo diskutil unmountDisk /dev/disks1[replace ‘disks1’ with the identifier you noted in Step 4.] - Press Return and type in your admin password if you’re asked for it.
Being unable to unmount a disk on your Mac can seem like a terrifying and challenging problem to solve. However, it usually means that you’re trying to unmount your boot disk, which macOS, rightly, won’t allow you to do. Follow the steps above, and you’ll fix the problem quickly and be able to get on with your day.


