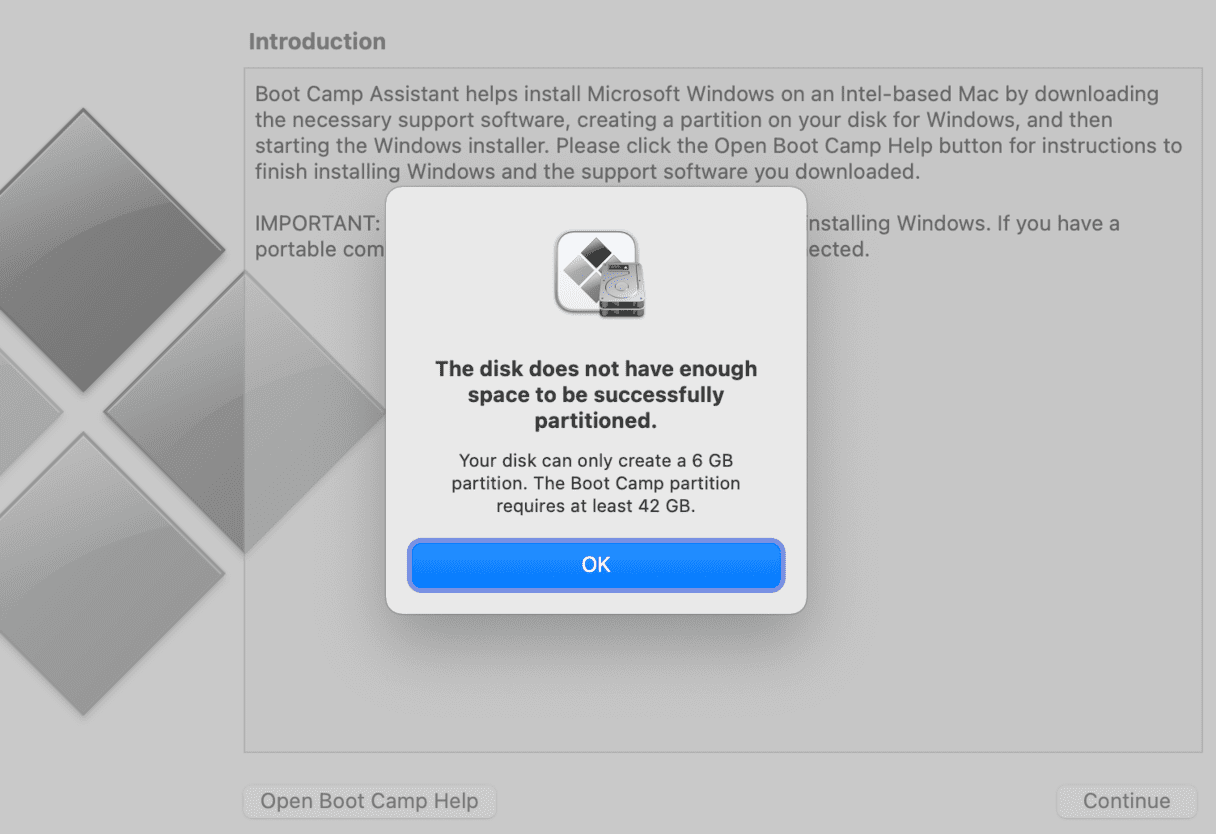
Like most things in macOS, Boot Camp usually just works. However, when issues do arise, they can be particularly frustrating. Boot Camp Assistant does what it’s supposed to do and either creates or removes a partition so that you can install Windows or restore your Mac to running only macOS. However, occasionally, it goes wrong. In this article, we’ll show you what to do when you see the message ‘The startup disk cannot be partitioned or restored to a single partition’ in Boot Camp Assistant.
What is Boot Camp Assistant?
Boot Camp Assistant is a built-in tool in macOS that allows you to create or remove a partition on your boot disk so that you can install Windows or restore your Mac and remove Windows. It has been a part of macOS since the first Intel-based Macs and works on every recent version of macOS. It's important to note that Apple-silicon Macs — those with ‘M’ chips — don’t support Boot Camp, which means this tool is unavailable for newer Mac models.
How does Boot Camp Assistant work?
It partitions your boot disk, placing all the files you need to run macOS on one partition and installing the firmware necessary to run Windows on the other partition. It then walks you through the process of installing Windows. Always back up your Mac before starting Boot Camp Assistant, even though the process is generally safe, in case anything goes wrong.
What does the error message mean?
If you see ‘The startup disk cannot be partitioned or restored to a single partition’ or ‘the disk does not have enough space to successfully partitioned,’ it means that Boot Camp Assistant is having trouble partitioning or restoring your boot disk to a single partition. Luckily, there are several troubleshooting steps you can try to resolve this issue.
How to fix problems in Boot Camp Assistant
1. Free up space on your startup disk
One of the most common reasons for problems with Boot Camp Assistant is the startup disk does not have enough space to be partitioned. If you plan to install Windows 11, Apple recommends having at least 64GB of free space and 128GB for an optimal experience. If you have an iMac Pro or Mac Pro with 128GB RAM, you will need at least that much free space.
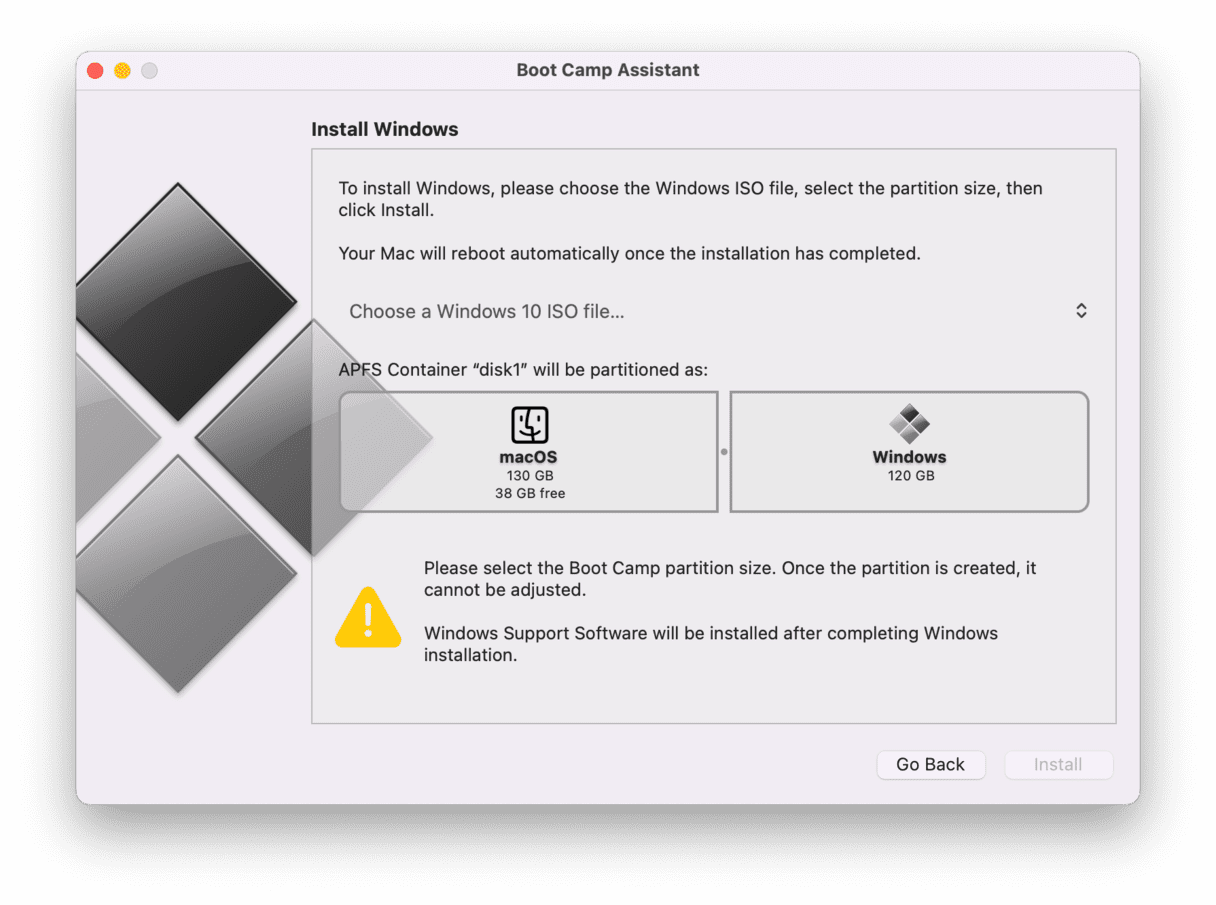
If you have less than 64GB free, you will need to clear space. You can do that by using macOS’ built-in storage optimization or an app designed to free up space on your Mac like CleanMyMac.
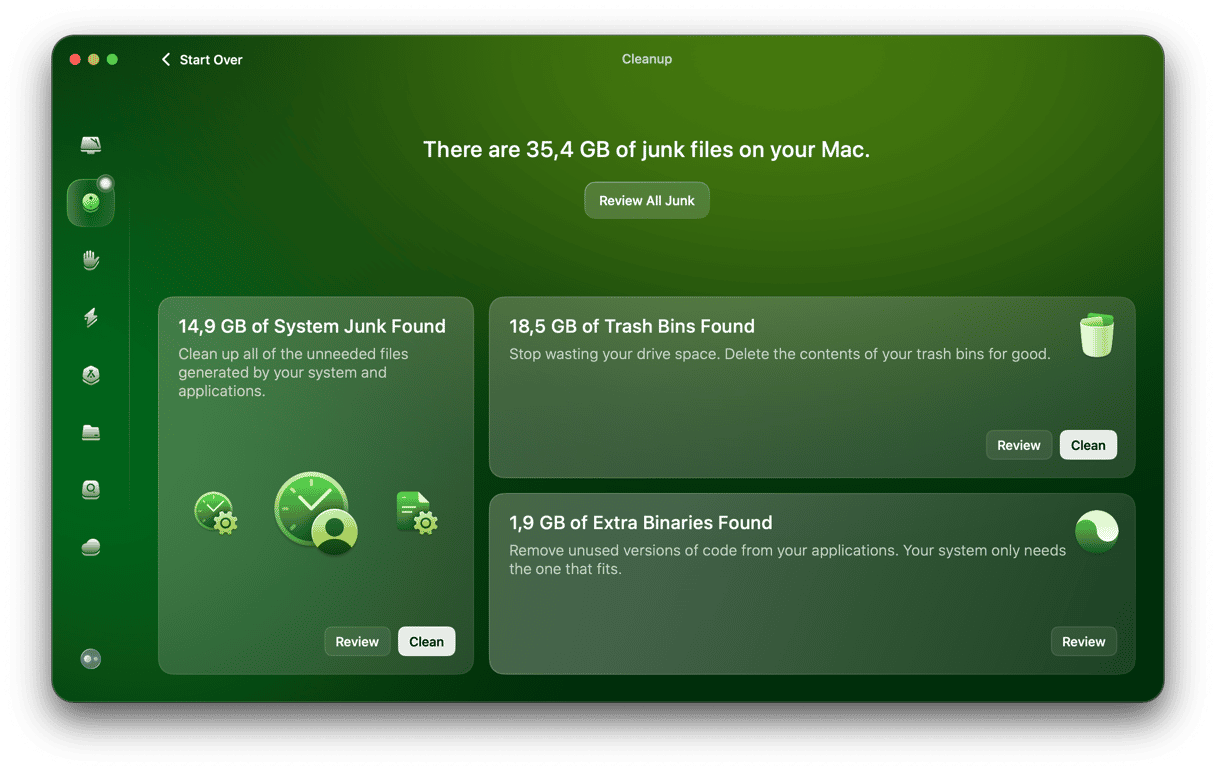
CleanMyMac has a Cleanup feature that eliminates all the junk files sitting on your boot disk. These include temporary files that weren’t deleted, cache files, and language support files for languages you don’t use. Here’s how to use it:
- Start your free CleanMyMac trial.
- Choose Cleanup from the sidebar and click Scan. You can now review what the app has selected for deletion.
- Click Clean. Worry not; only files that can be safely removed will be deleted.
2. Check if your Mac is running an up-to-date version of macOS
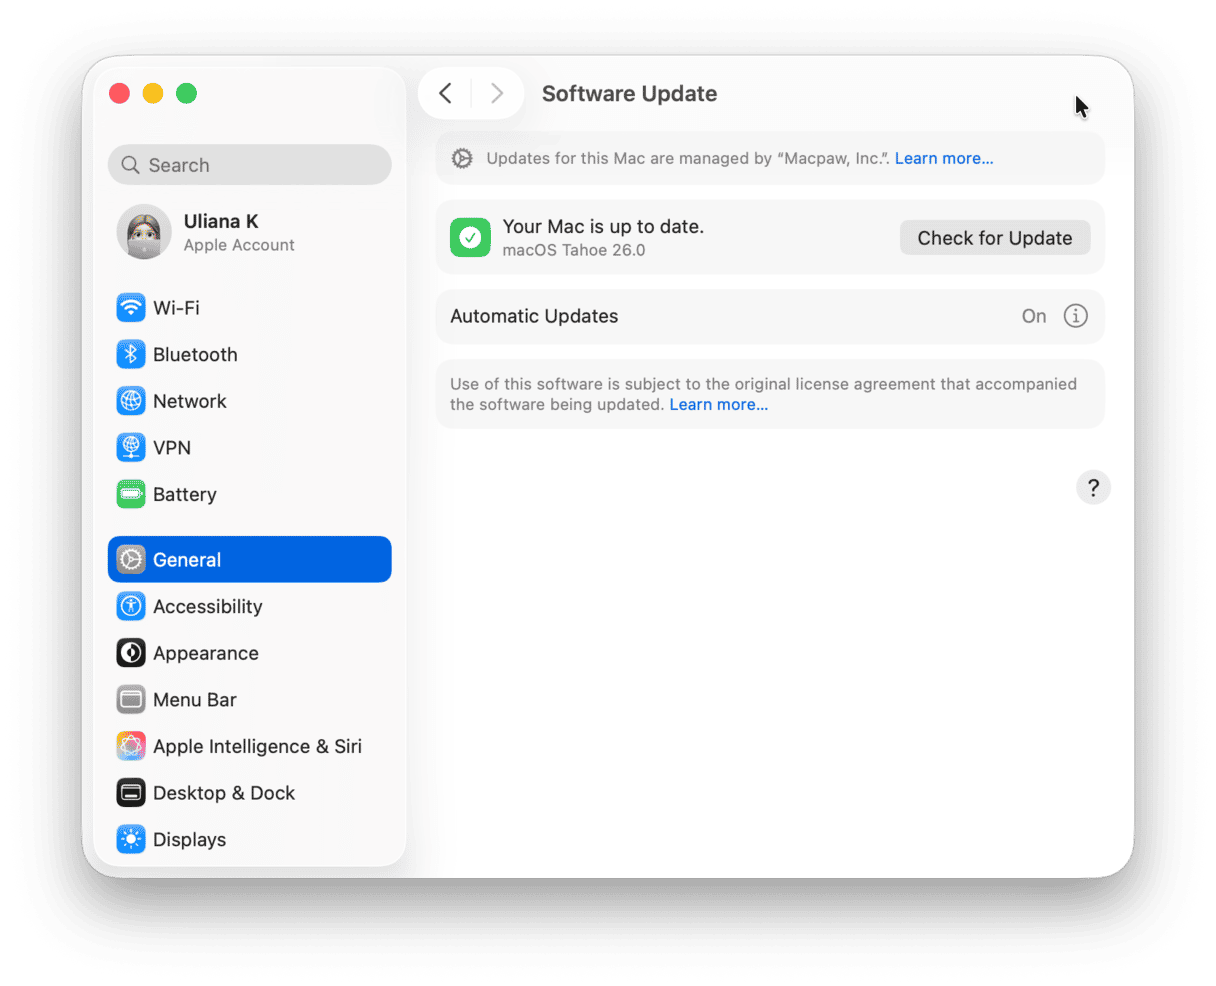
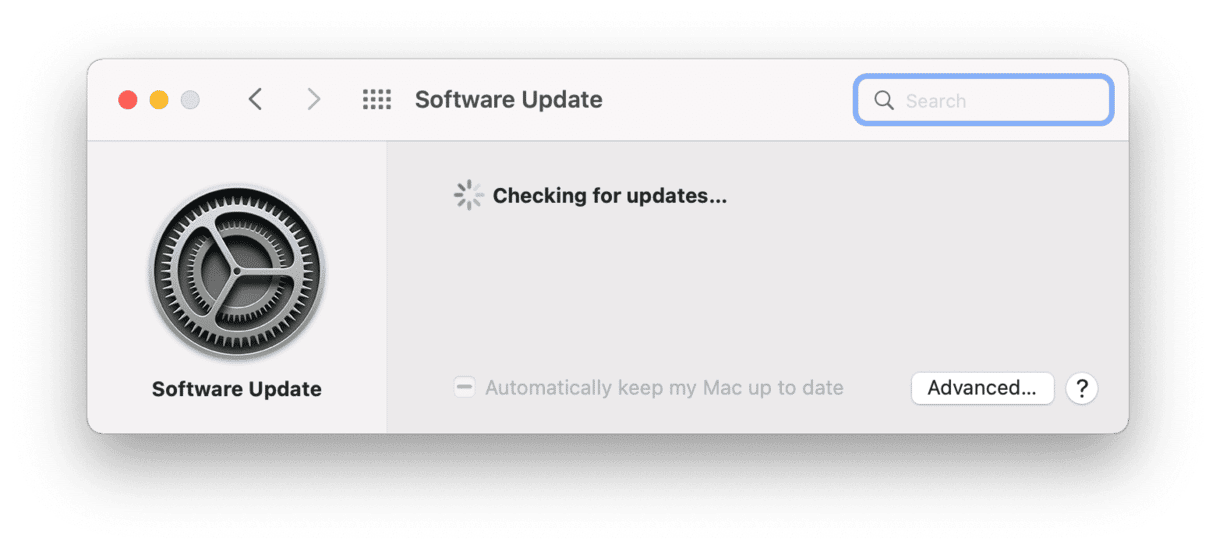
Sometimes, an upgrade can fix the problems with the Boot Camp Assistant. To check for macOS updates, do the following.
For macOS versions newer than Ventura:
- Go to System Settings > General > Software Update.
- Click Update Now or Restart Now if there is one available.
For older macOS versions:
- Go to the main Apple menu and choose About this Mac.
- Click Software Update.
- If there is an update available, install it.
3. Repair your boot disk with Disk Utility
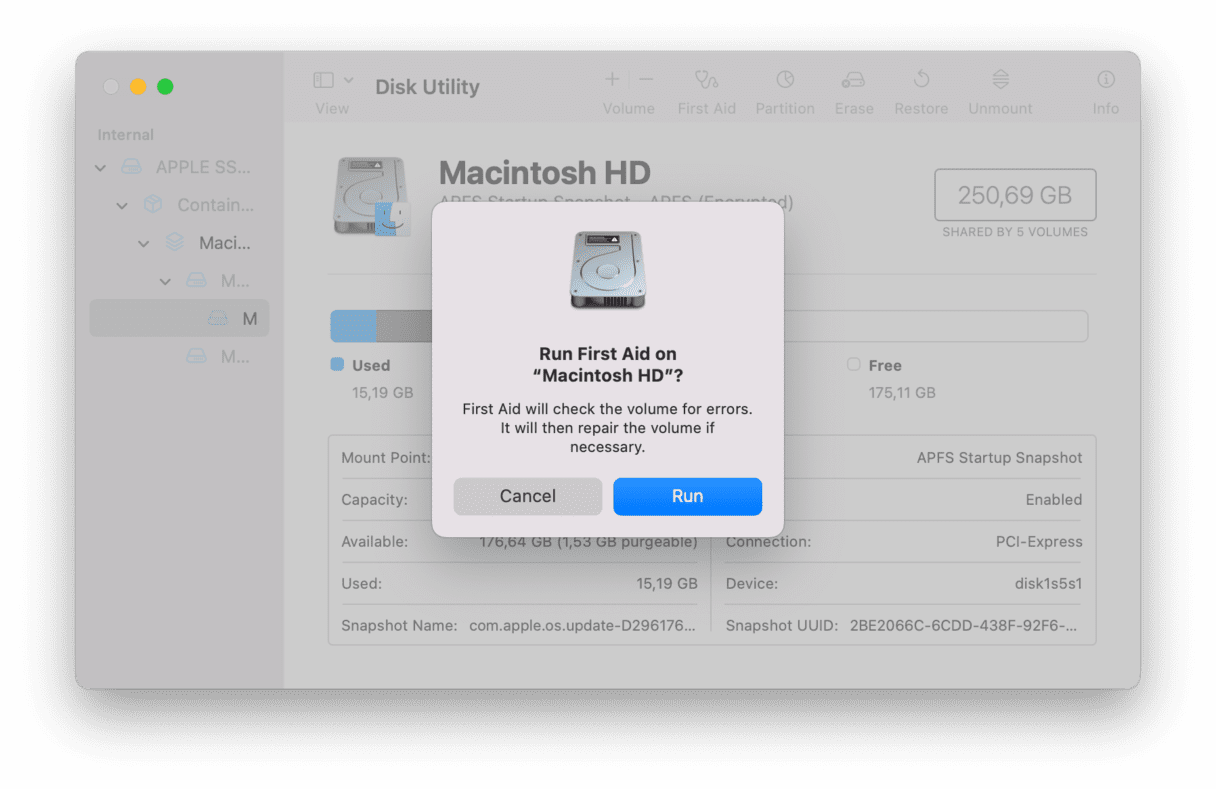
If you’re having trouble partitioning the disk, try running First Aid from within Disk Utility to check for errors:
- Navigate to Applications > Utilities and double-click Disk Utility to open it.
- Select your boot disk at the top of the list on the left sidebar.
- Click First Aid in the toolbar.
- Click Run.
Then, run Boot Camp Assistant again. If it doesn’t work and you still get the error message, try the steps below.
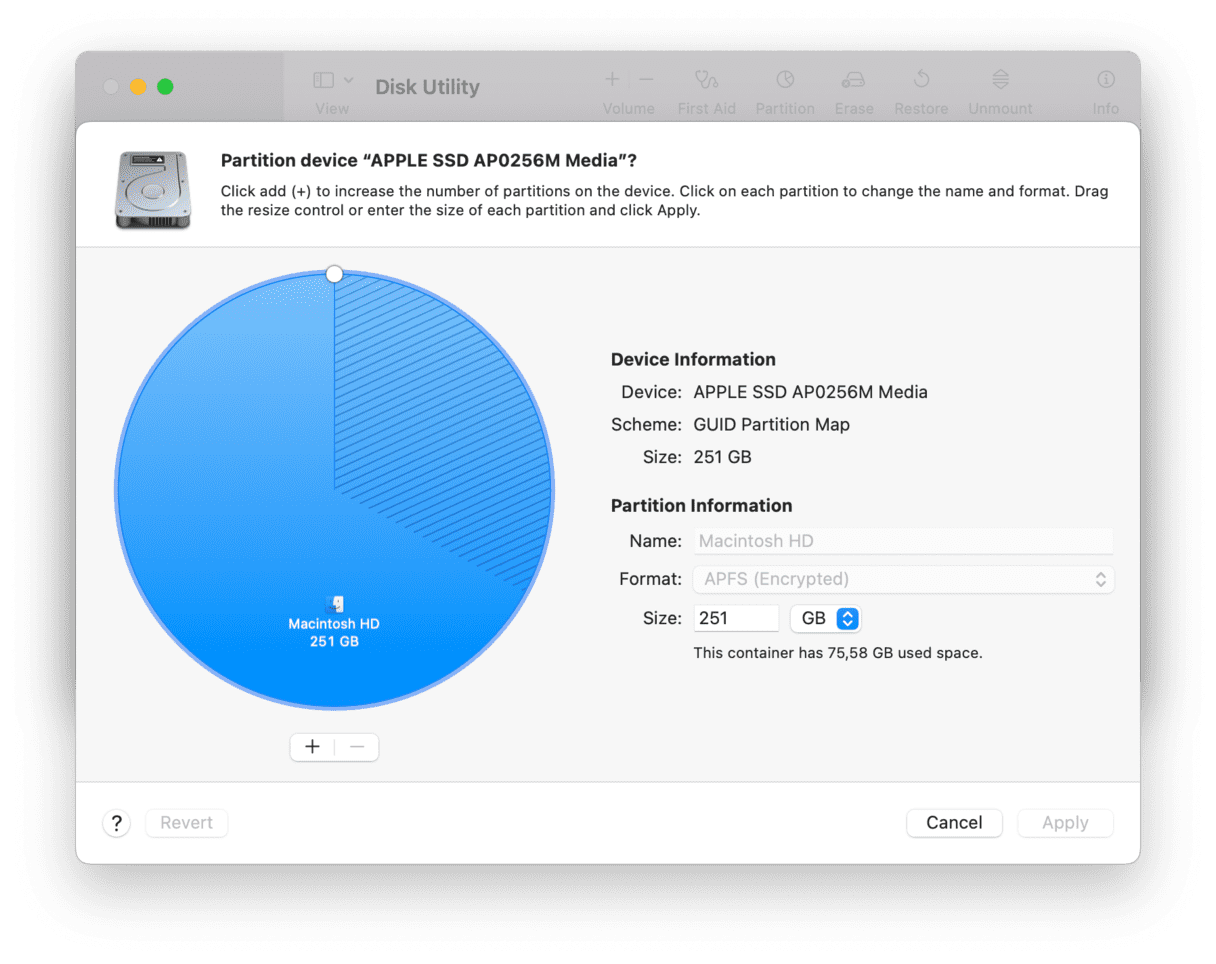
4. Check for unallocated free space
- Open Disk Utility.
- In the sidebar, select Macintosh HD or your boot disk.
- Select Partition in the toolbar.
- If you see a message about Apple File System sharing space, click Partition to confirm you want to partition.
- If the pie chart has a section called Free Space, select it.
- Press the ‘-’ button to remove the unallocated free space and make it available for use.
- Click Apply and quit Disk Utility.
- Try running Boot Camp Assistant again.
If you still get a message saying your disk could not be partitioned, try turning off Time Machine backups. In macOS Ventura and newer macOS versions, it is in System Settings > General. Time Machine is a separate pane in System Preferences in older macOS versions.
There are several reasons why you may encounter problems when trying to run Boot Camp Assistant. One of the most common is that there is not enough space on your boot disk or that there is unallocated free space. If you follow the steps above, you will fix those problems and should be able to use Boot Camp successfully to partition your startup disk.


