Whenever you view an image or a PDF on your Mac, Preview is the default app to open it. It’s a great, simple application that packs a robust set of features like markups, virtual signatures, and photo editing.
Surprisingly, for a small image-viewing app, Preview has a stunningly poor performance record. As the go-to utility for viewing PDF and image files, it can be frustrating when you have to deal with slow Preview response times that make it difficult to load or read your files.
But fear not, you can speed up Preview with a few tricks and start viewing images and PDF files without the hassles of sluggish performance.
Why is Preview slow?
You may have noticed that simple tasks, such as zooming in and out within a file or opening multiple photos at once, may be painfully slow when using the Preview app.
Luckily, there are a few things you can do to combat slow Preview performance: you can update to a current version, close resource-heavy applications, delete cache files, or re-save your PDF file.
1. Check for updates
Running the most recent version of this native application is the most effective way to eliminate issues that cause slow Preview performance.
As Preview and macOS updates are bundled together, you need to check for the general macOS updates to improve the speed of Preview:
- Choose System Settings from the Apple menu.
- Click General > Software Update to see if there are any new versions available.
- Click Update Now to download and install current updates.

2. Close all resource-heavy applications
Applications that run in the background may be making Mac Preview slow, as they consume lots of RAM. You may not even know that these applications are taking up precious resources. To find out what is using all the bandwidth and system resources on your Mac, check Activity Monitor and manually micromanage any application that is too hungry for bandwidth while running in the background:
- In the Finder menu, click Go and select Utilities.
- Click Activity Monitor to open it.
Activity Monitor will let you see the applications that drain your computer’s energy and battery life. Inspect the programs revving up your CPU through Activity Monitor and quit all unneeded processes, some of which you may not have even known about, by selecting them and clicking [x] from the toolbar.

3. Delete cache files
Cleaning cache folders is another way to help speed up Preview by removing files that use storage space on your computer. Pages you load on the internet and various apps store temporary files to ensure that next time you visit a certain website, you won’t have to re-download the images. This allows a webpage or app to load faster. Over time, these cached files can take up a significant amount of storage on your hard drive and make Preview slow.
It’s a good practice to remove cached files regularly:
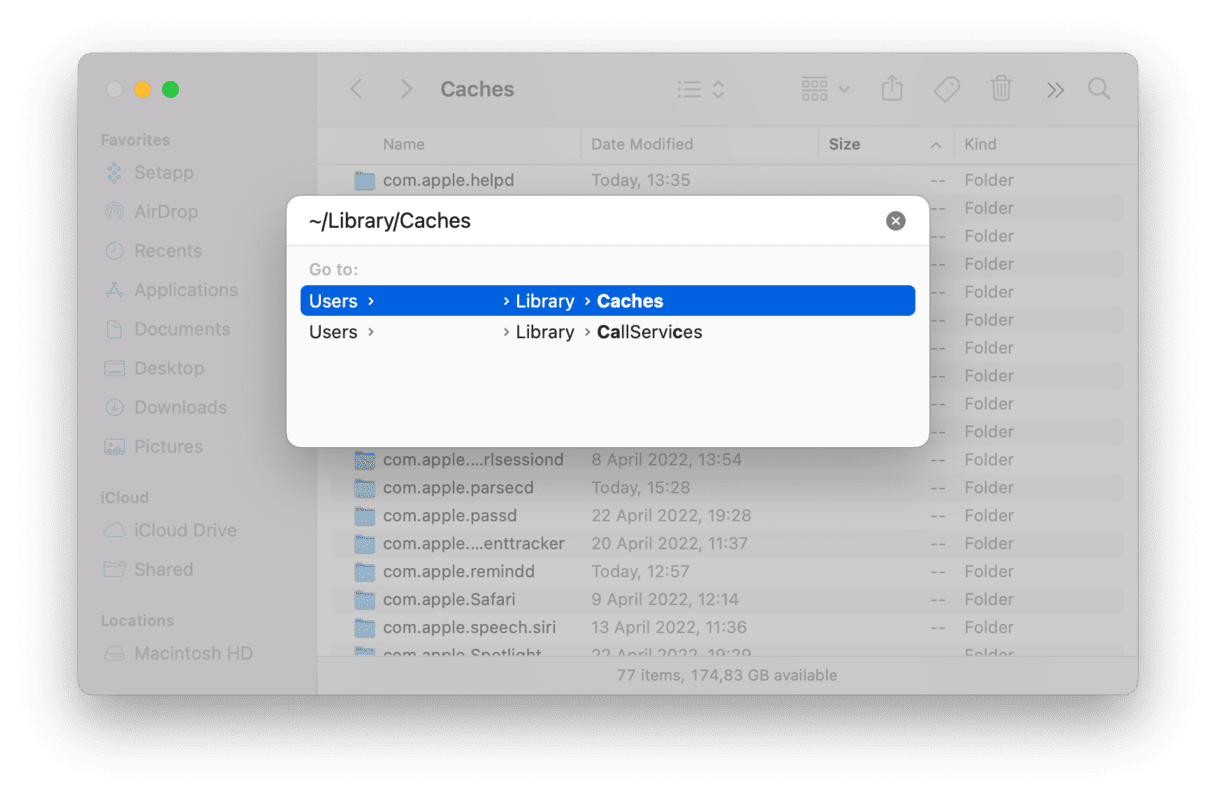
- In the Finder menu, click Go > Go to Folder.
- Enter
~/Library/Cachesand in the field and press Return. - Right-click the folders you wish to clear and select Move to Trash.
4. Re-save your PDF files
If you’re trying to run a PDF that isn’t responding quickly enough, you can try re-saving the file under a new name. When re-saving happens, macOS reprocesses the file and makes the PDF more usable. It sounds like magic, but it actually works:
- In the Preview menu, select File.
- Click Export.
- Save the PDF under a new name.
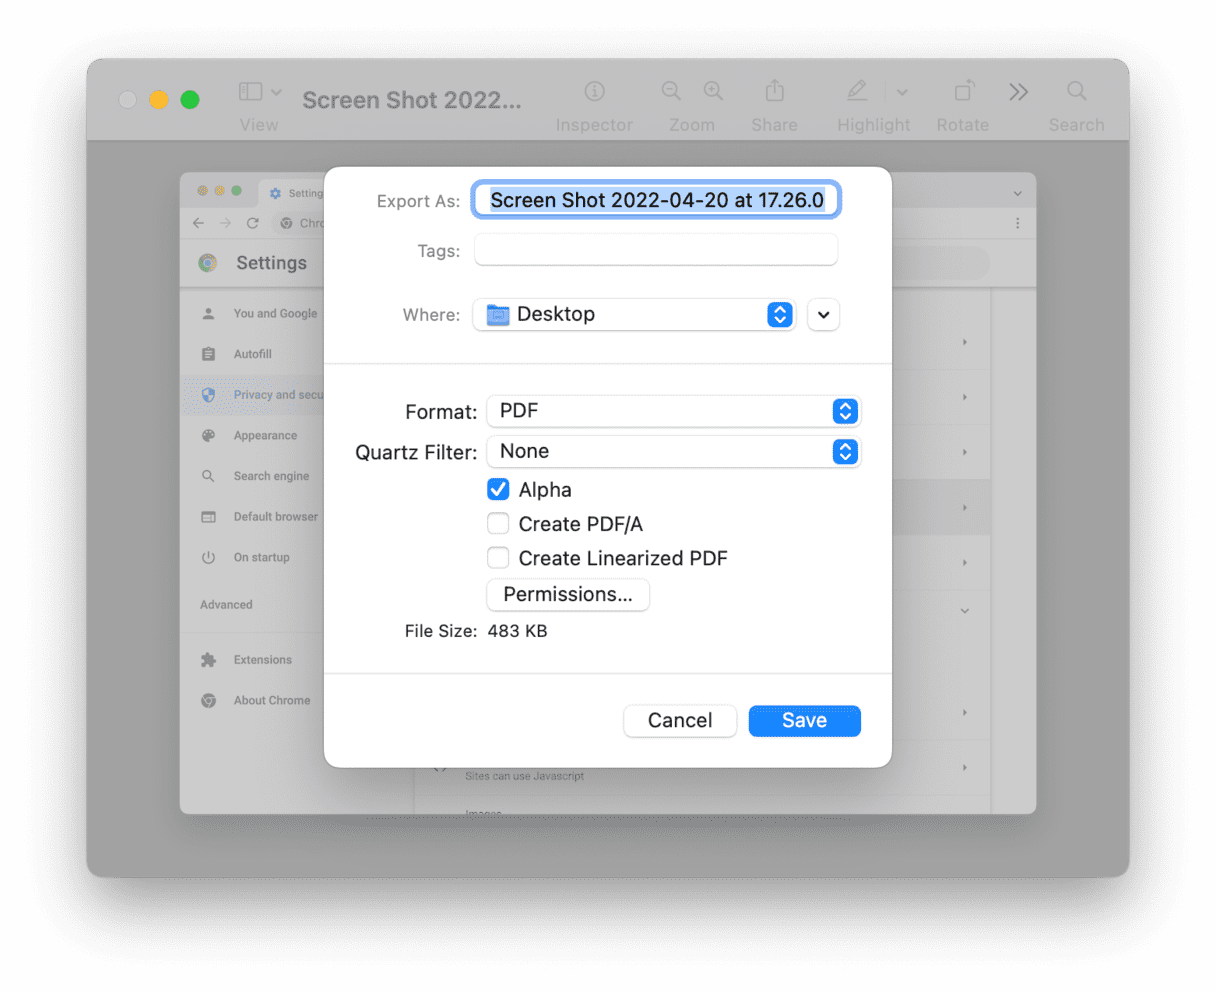
Once your PDF file is re-saved, the file size may get larger, but you may notice that the performance of this re-saved version is better on Preview than before.
5. Speed up Preview by cleaning your Mac
Tips mentioned above will help you speed up Preview performance on your Mac and take up a large chunk of your time. You’ll also need to remember to repeat these workflows regularly to ensure Mac Preview’s slow functionality doesn’t come back.
Fortunately, there’s a better way to keep your computer running at optimal performance. An optimization app like CleanMyMac provides a simple way to automate all the cleaning processes by running a few scans:
- Download CleanMyMac for free.
- Click Cleanup > Scan.
- When the scan is complete, click Clean.

To keep your Mac running smoothly, just use CleanMyMac once a month to free up space quickly and remove unnecessary files that clog up your system. If you regularly repeat the one-click optimization process with CleanMyMac, you’ll be able to run Preview and other native apps without an issue.


