⚠️ Before you read this article, please note that since April 19, 2023, MacPaw no longer sells, updates, or develops CleanMyMac 3. You may still use CleanMyMac 3 if you have a license; all details are in this article.
We recommend upgrading CleanMyMac 3 to CleanMyMac X at a 50% discount; learn how to upgrade.
If you’ve decided to activate your copy of CleanMyMac 3, please be sure you have the Activation Number nearby. If you don't have it, you can purchase the CleanMyMac 3 license at the MacPaw store and the number will be sent to your email immediately after purchase.
When you attempt to activate CleanMyMac 3 with your Activation Number, CleanMyMac 3 will establish a connection with the MacPaw server, which then checks whether the entered Activation Number is valid or not.
However, if you have the built-in, OS X firewall enabled, CleanMyMac 3 will be unable to establish this connection. Below is a set of short instructions on how to disable the firewall for CleanMyMac 3 Activation.
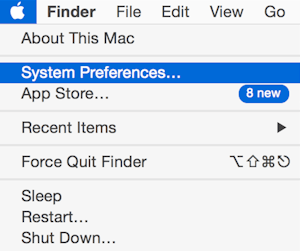
1. Open System Preferences.

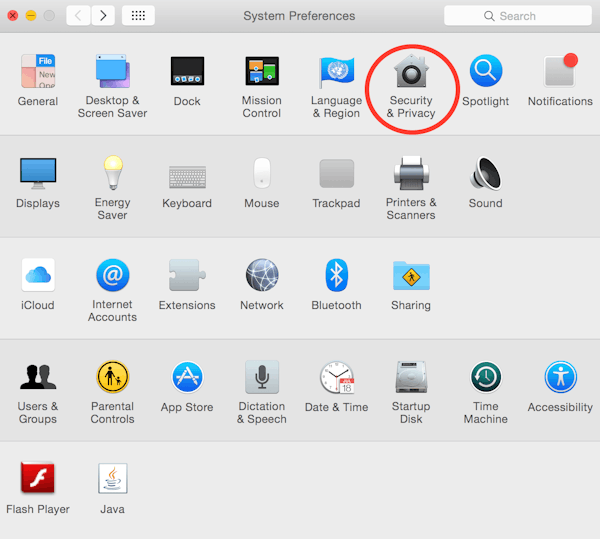
2. Click on the Security & Privacy icon in the Personal section.

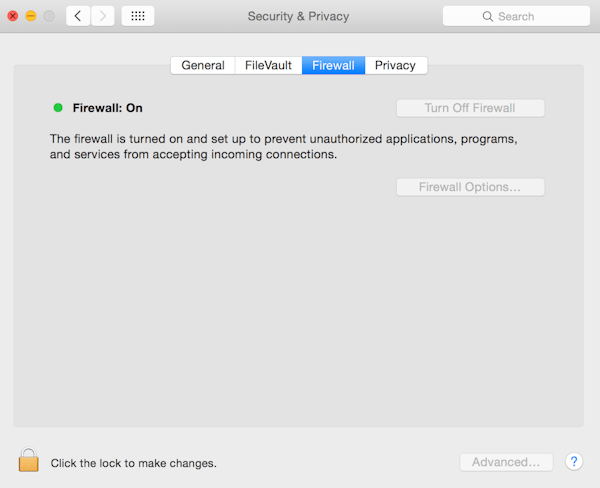
3. Open the Firewall tab.
4. Click Turn Off Firewall in the newly opened window to disable the firewall.
Note: You may be required to
click the lock icon and type in your password to enable this feature.

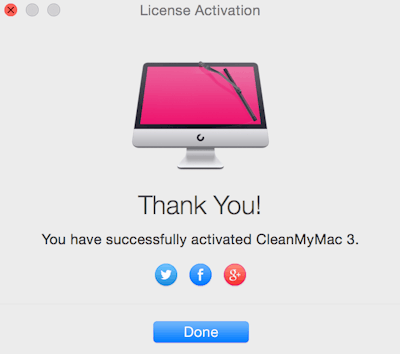
5. Open CleanMyMac 3 and re-enter your Activation Number.
6. After successfully activating CleanMyMac 3, go back to the Security window and click Turn On Firewall.

That's all there is to it!
