From work to entertainment and communication, we need an internet connection for virtually everything we do on our Macs. So it’s very frustrating when it won’t connect to Wi-Fi, especially when other devices will. It can happen for different reasons, and whatever causes the issue in your case, we’ll tell you how to fix it.
Why won’t my MacBook connect to Wi-Fi but other devices will?
If other devices in your home or office are connected to the internet, then you know that your broadband connection is working. So, the possible causes of your Mac not connecting are that there is a problem with either connection between your Mac and the router or your Mac. If it’s a problem with your Mac, it’s likely to be software and, therefore, probably straightforward to fix. However, the only way to find out is through trial and error, ruling out possible causes one by one.
How to fix it when your Mac won’t connect to internet
1. Turn Wi-Fi off and then on again
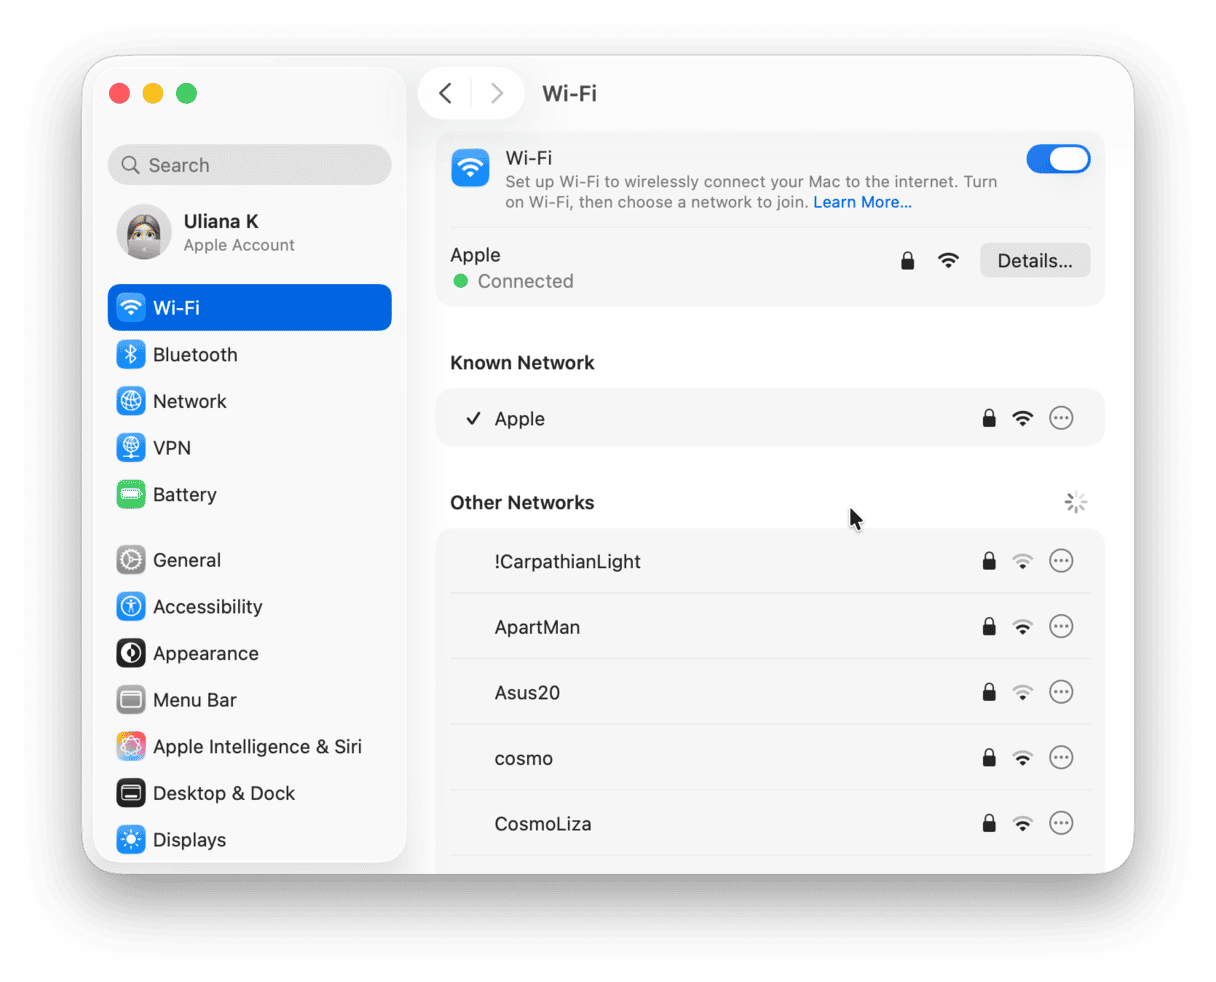
Sometimes, it really is as easy as that to fix Wi-Fi and internet connection problems. Click the Wi-Fi icon in the menu bar, or click the Control Center icon and select Wi-Fi, then toggle the switch to the off position. Wait for a few seconds and then switch it on again.
2. Restart your Mac
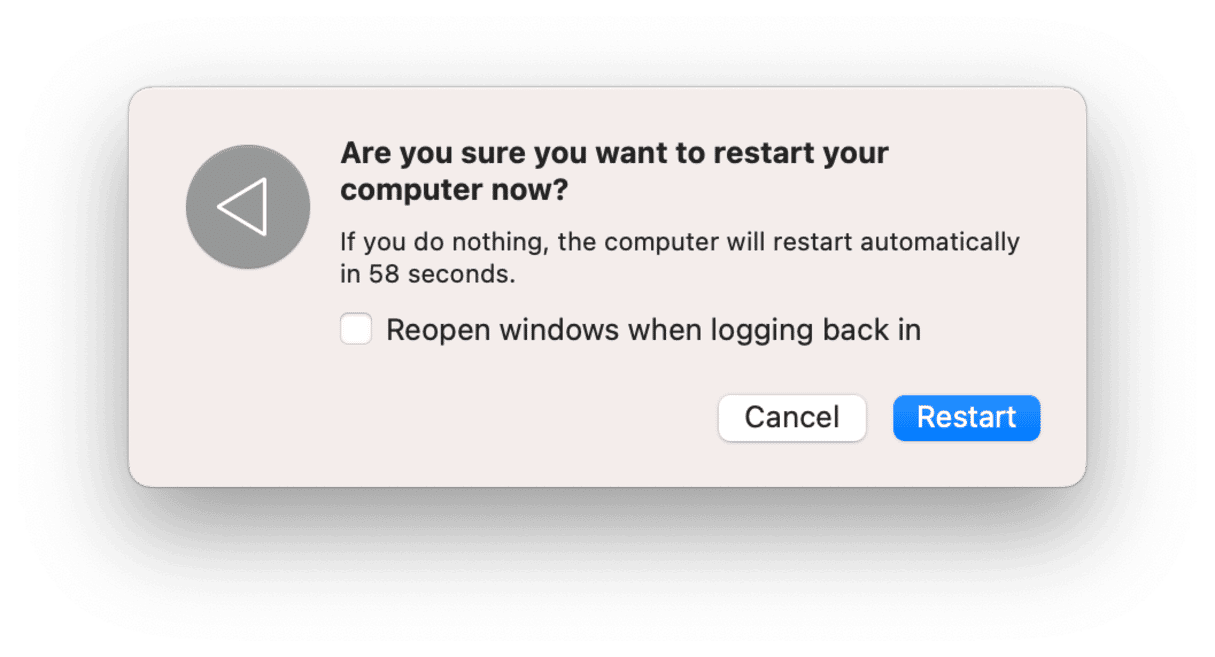
Before you do anything else, try restarting your Mac. That will clear out temporary files and restart the app you were using when you tried to connect. That could be enough on its own to fix the problem.
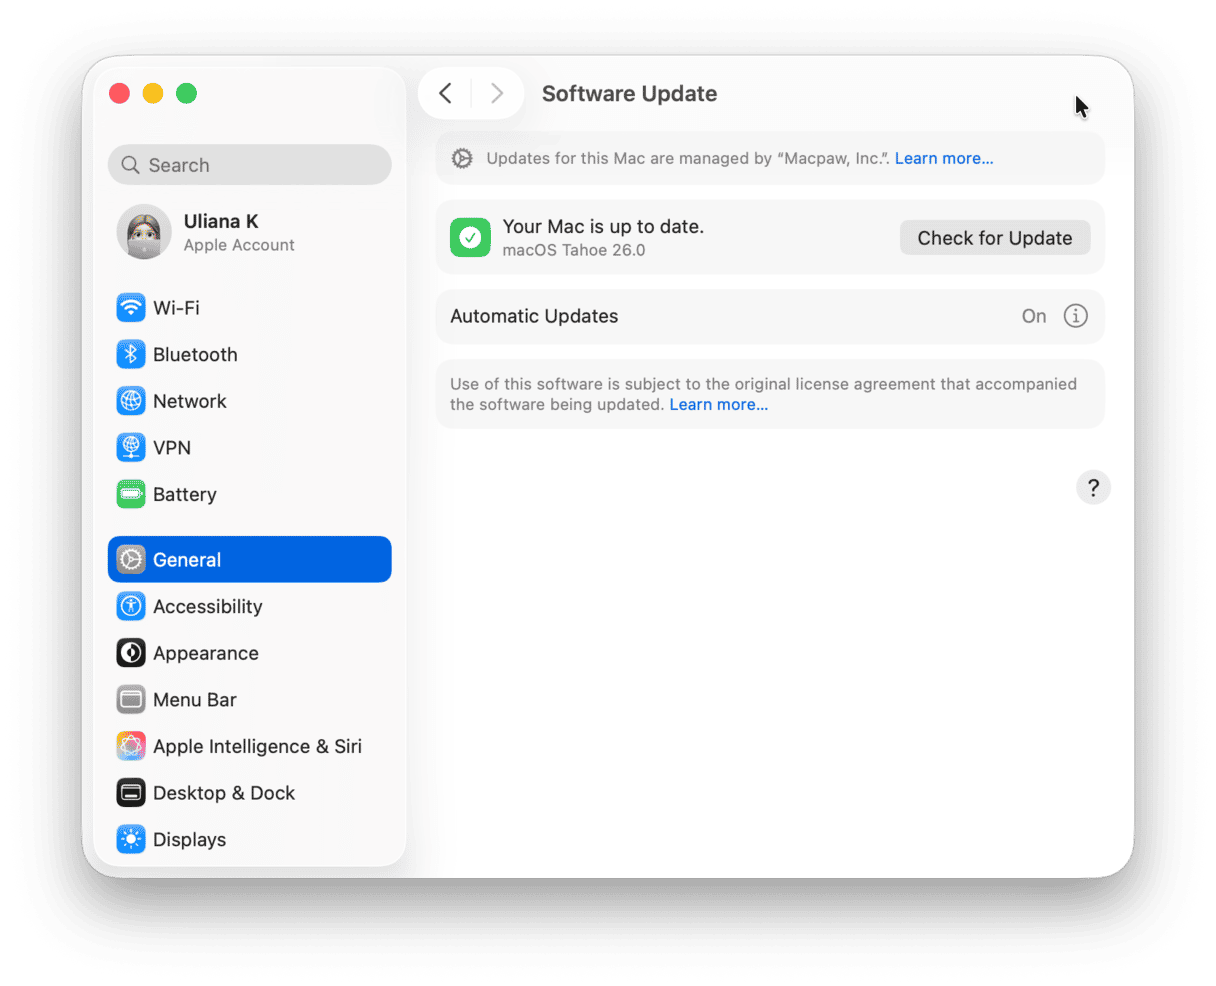
At this stage, you should also check for macOS updates in System Settings > General > Software Update or Apple menu > About This Mac > Software Update on pre-macOS Ventura systems.
3. Reconnect to your Wi-Fi network
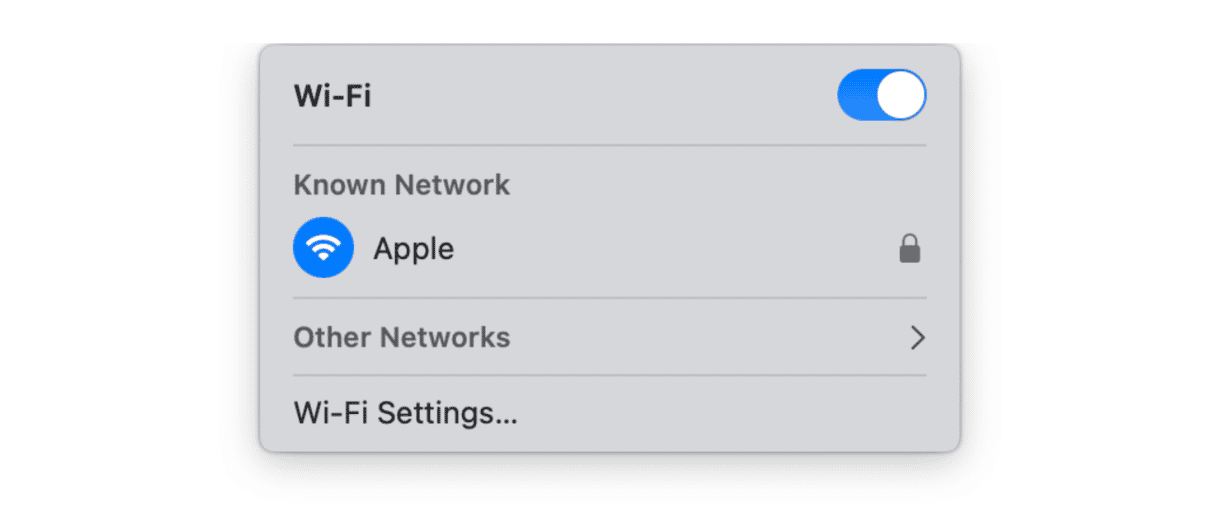
If your MacBook Air won’t connect to Wi-Fi but other devices will, the next thing to try is to make your Mac forget the network. That way, you’ll have to reenter your Wi-Fi password, and the connection will be renewed completely. Click the Wi-Fi icon in the menu bar and select Wi-Fi Settings. Click Details next to the network name, then click Forget this Network. Now, click the Wi-Fi icon in the menu bar again and click the dropdown arrow next to Other Networks. Choose your Wi-Fi network and type in your username and password. Just like other solutions we list, this tip works for any Mac model.
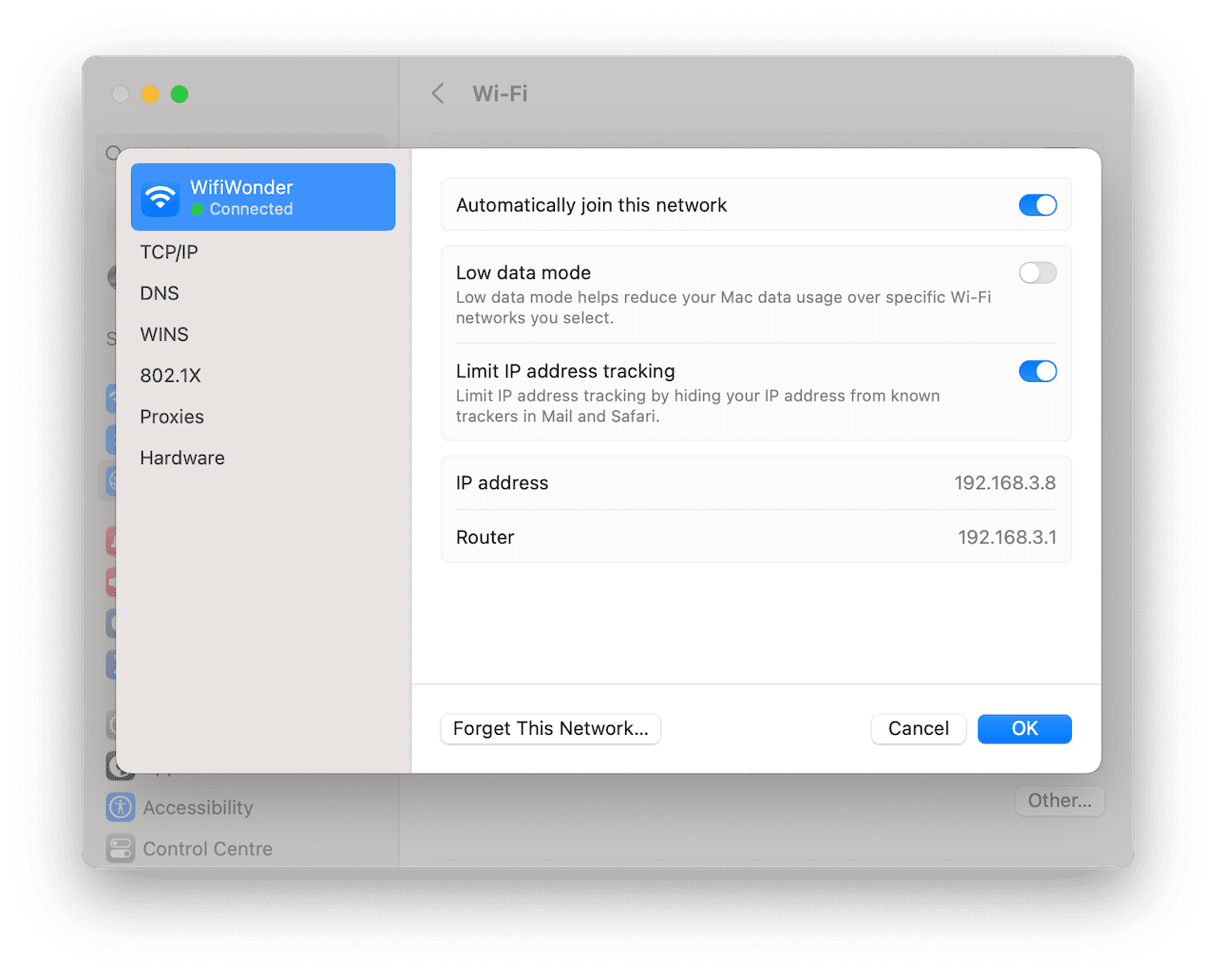
4. Check you’re connected to the correct Wi-Fi network
Your Mac should connect automatically to the network with the strongest signal, but sometimes it doesn’t. If it connects to a network that’s further away, that could make it seem like you’re not connected at all because websites fail to load. Click the Wi-Fi menu and check which network is highlighted in blue. If it’s the wrong one, click the correct one.
5. Move closer to your router
If you’re using a MacBook Air or MacBook Pro and can move closer to your wireless router, try that. Wi-Fi signals get weaker the further away you are from the router. Even if the menu bar icon is showing a strong signal, your Mac may still be having problems maintaining a stable connection. You could also try moving your router, if possible. Wireless routers should be away from walls wherever possible and definitely away from other devices that may cause interferences, such as microwave ovens.
6. Restart your router
Even if other devices connected to the router can connect to the internet, the fault may lie with the router. For example, it may have failed to allocate your Mac an IP address for some reason. To fix that, restart the router.
7. Change your DNS settings
When you navigate to a website on your Mac, the web browser you’re using matches the URL of the page you want with an IP address. It does that by cross-checking against a domain name system (DNS) server. Usually, that DNS server is one set by your internet service provider. If there’s an issue with that server, your Mac won’t connect to any websites. To fix that, you can change the DNS settings on your Mac so that they use Google’s DNS, which is fast and stable.
- Click the Apple menu and open System Settings.
- Go to Network and then click Details next to the Wi-Fi network you’re connected to.
- Click DNS in the sidebar and then the ‘+’ under DNS Servers.
- Type: 8.8.8.8
- Click OK.
- Quit System Settings
Now, when your Mac tries to reach a web address, it will check Google’s DNS server instead of the one set by your service provider.
If your MacBook Pro won’t connect to Wi-Fi when other devices will, it means that the problem isn’t your broadband connection. It could be a problem with the communication between your Mac and your Wi-Fi router or an issue with the Mac. Whichever it is, it’s probably straightforward to fix. Follow the steps above to identify the problem and fix it not only on MacBook Pro but on any other Mac model.


