Most of the time, when you use your Mac, everything runs just as it should. However, after you’ve been using it for a few months or years, things can start to slow down, or your Mac may behave erratically. Sometimes, things can go so wrong that the best solution is to ‘roll back’ your Mac to the point in time when problems show up. In this article, we’ll give you a simple guide on how you can do it.
What does it mean to restore your Mac to a previous date?
Before we start, it’s worth explaining what we mean by restoring your Mac to an earlier date. In fact, it is exactly as it sounds — you recover your Mac to the state it was in at the given date and time. All modifications made after the chosen date and time are removed, and all files and system settings are reversed to the dated version.
Why restore your computer to an earlier date?
The primary reason is that you’ve made changes to your Mac that significantly affected performance, and now you wish to remove them. If you don’t know what the changes were, the simplest solution is to recover your Mac back to the state it was in the last time it worked properly. Other possible reasons to do that:
- You have deleted files and want to retrieve them.
- You have made lots of changes to a bunch of files and want to undo them.
- You have updated macOS or some apps and want to revert back to the older versions.
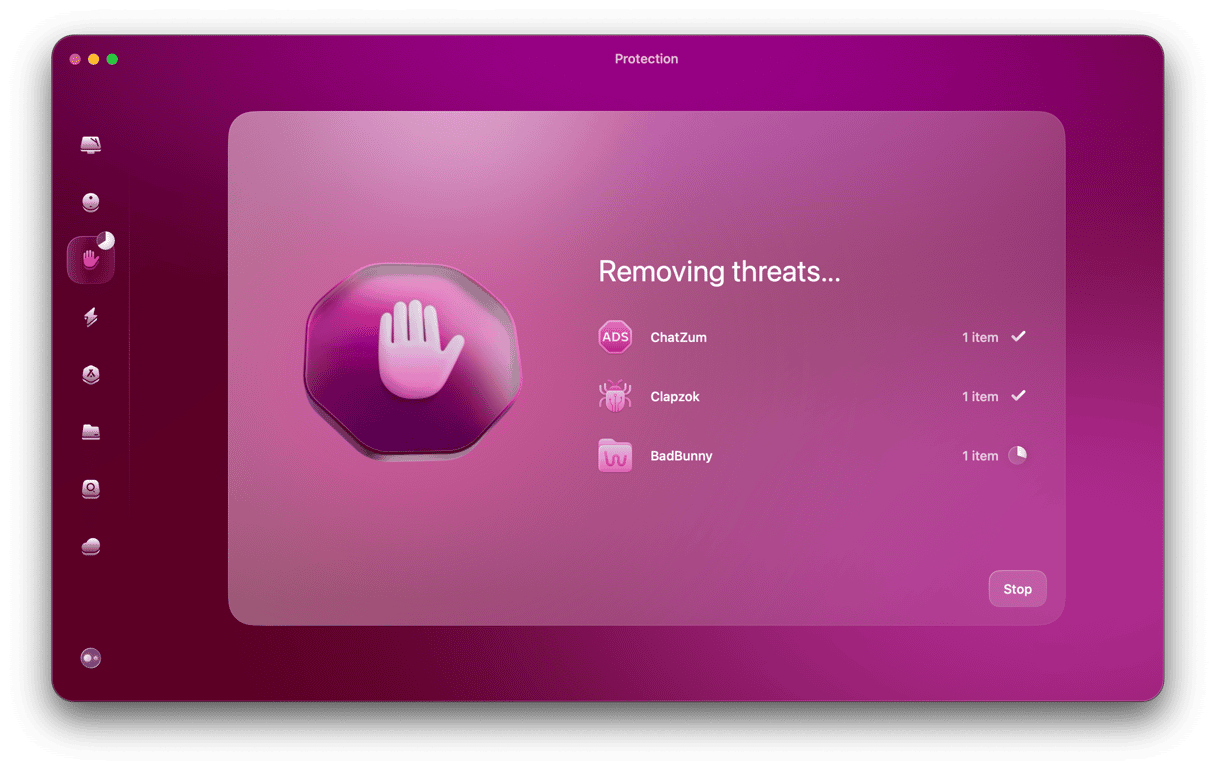
- You have downloaded malware and want to remove it to save your Mac.
How to restore your Mac to an earlier date
The first thing to say about restoring your Mac to an earlier date is that it’s only possible if you have been running regular backups. We restore to an earlier date by using an old backup. Time Machine is perfect for this.
So, if you’re not already backing up your Mac regularly, start now. It will be too late when you realize that it’s time to restore your Mac.
Time Machine isn’t the only option, though. There are other backup tools available that you can use to restore your Mac to an earlier date, but we’ll use the first one as an example here.
- Copy to an external disk any files you’ve created or modified after the date you want to restore to. If you don’t, you’ll lose those files or changes during the restoring process.
- Make sure your Time Machine disk is connected to your Mac.
- Shut Down your Mac.
The rest of the process differs, depending on whether you have an Intel-based Mac or a Mac with Apple silicon.
Intel-based Mac
- Press the power button and hold down Command-R.
- Release Command-R when you see the Apple logo or a spinning globe.
- Type in your admin username and password.
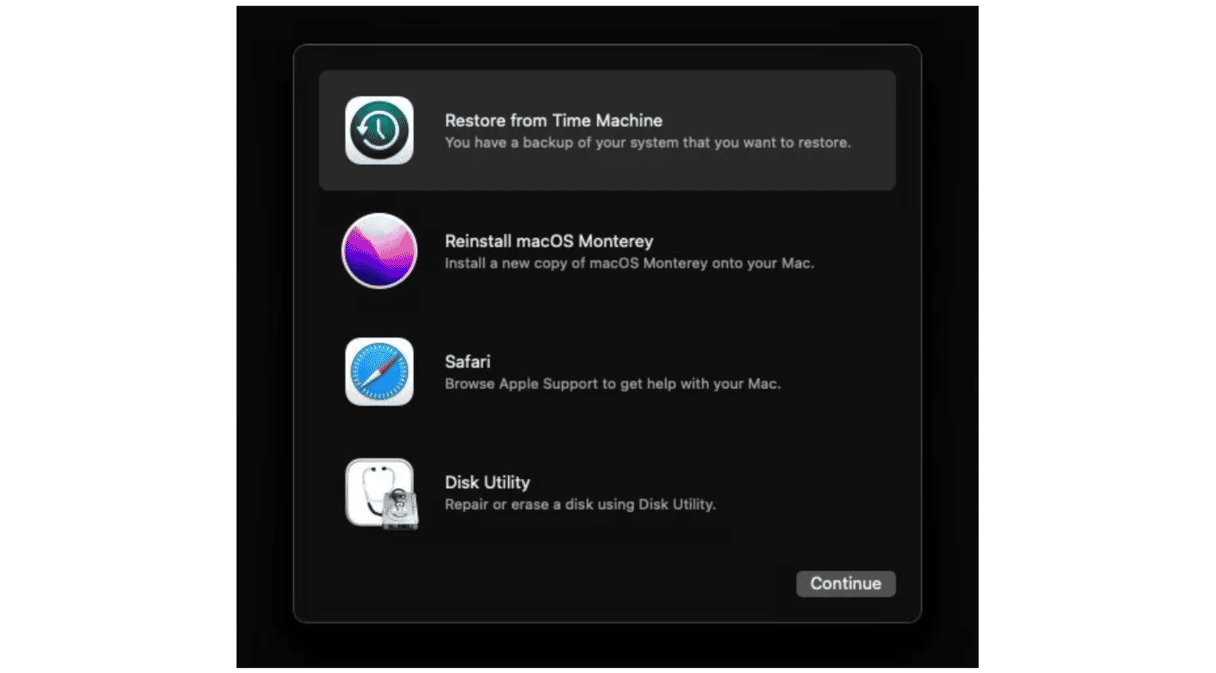
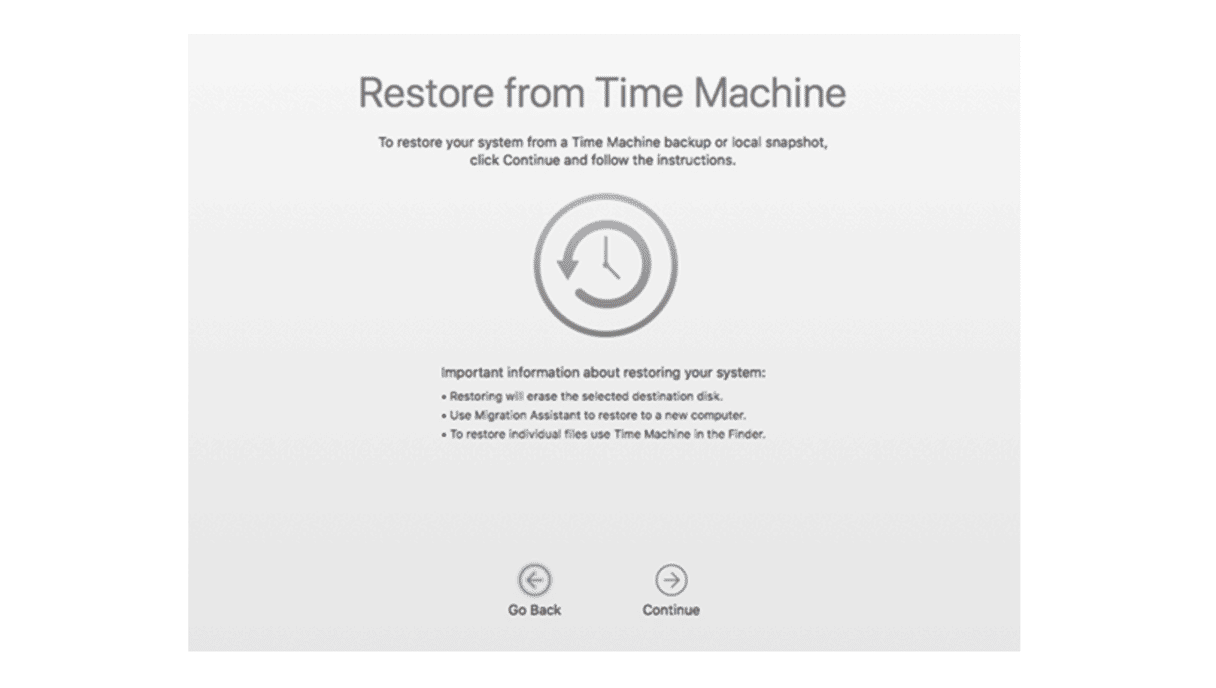
- Choose Restore from Time Machine backup in macOS Utilities.
- Follow the instructions on the screen to choose the backup time and date you want to restore from.

Mac with Apple silicon
- Press and hold the power button.
- Release the power button when you see Startup Options on the screen.
- Click Options.
- Type in your administrator username and password.
- Select Restore from Time Machine backup.
- Choose the date of the backup you want to restore from and follow the instructions.

Restoring your Mac to a previous date is straightforward. But don’t forget, you will need a backup to restore from. If you have one, simply follow the steps above.


