If you want to uninstall or reinstall MySQL on your Mac, it’s not enough to drag it into the Trash. To wipe it out completely, you need to remove all associated files, such as databases and configurations. Today, we’ll show you how to do that and uninstall MySQL from your Mac safely.
What is MySQL?
MySQL is a relational database management system (RDBMS) based on structured query language (SQL). Backed by Oracle, a multi-model database management system, this open-source software with a client-server module is integral to the most popular software stacks.
Giants like Google, Facebook, Twitter, YouTube, Yahoo!, and Adobe rely on MySQL for data storage purposes. Although it was initially created for limited use, now it’s available for macOS, Windows, Linux, and Ubuntu. As MySQL is a database, it can contain many data, therefore being the most prominent system on your Mac. So, if you want to delete it, I will show you how.
How to remove MySQL from your Mac manually
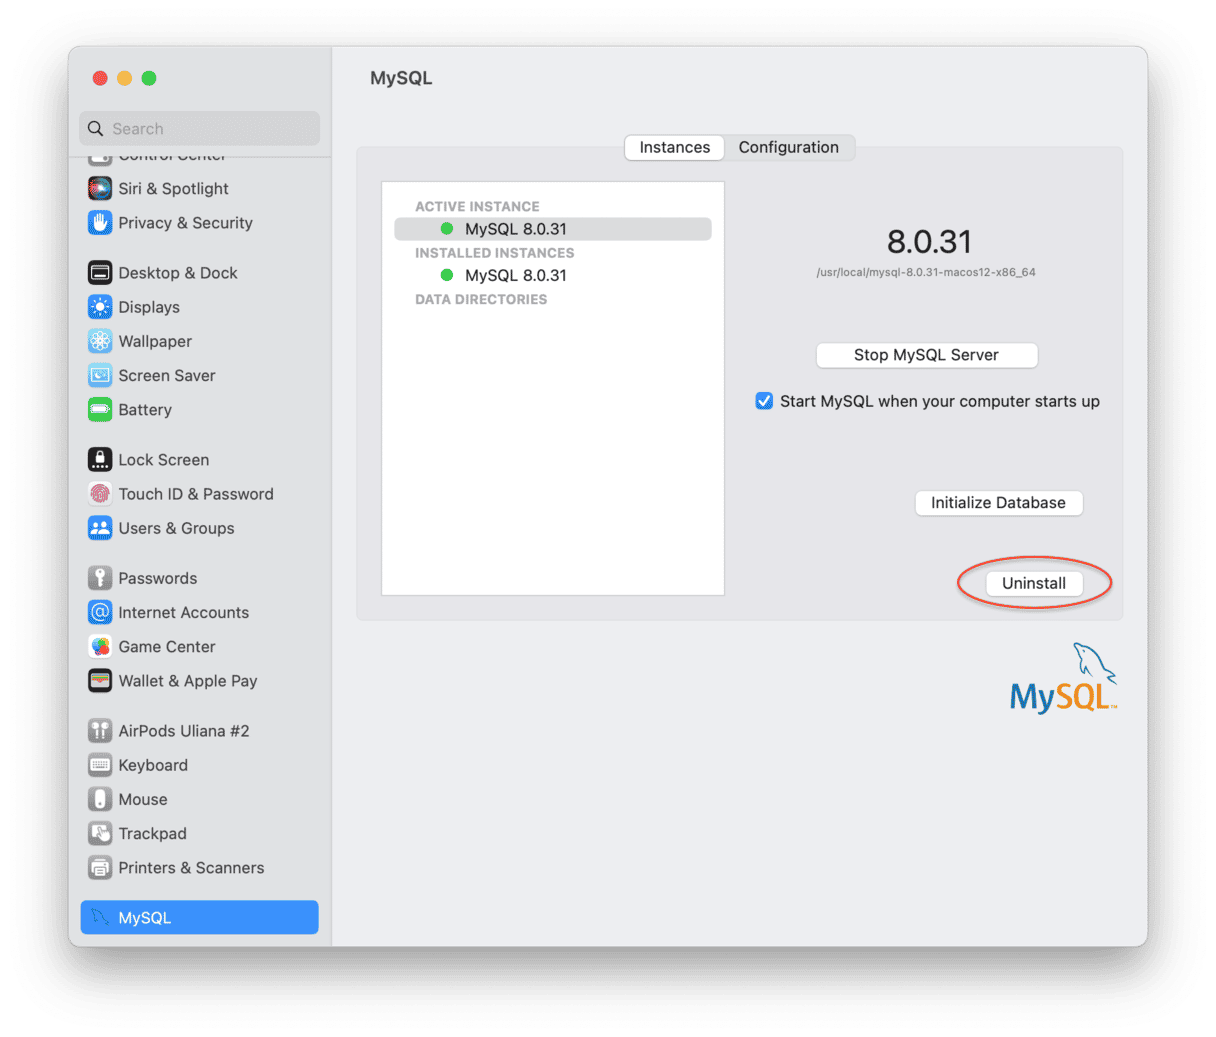
There are several ways to eliminate MySQL from your computer. Let’s see how you can do that manually. First, go to System Settings and click MySQL. Click Uninstall to delete the service.

Now that you trashed the app, it’s time to remove all the related files, including databases. To get rid of these files, use Terminal. Follow the steps below:
- Open Terminal from the Application folder.
- Back up your data with this command:
mysqldump - Check for any MySQL processes using this command
ps aux | grep mysql. If any are found, stop and terminate them. - Type the following command:
sudo rm /usr/local/mysql. Enter your password if required. - Execute the following commands consecutively:
sudo rm -rf /usr/local/mysqlsudo rm -rf /usr/local/var/mysqlsudo rm -rf /Library/StartupItems/MySQLCOMsudo rm -rf /Library/PreferencePanes/My*sudo rm -rf /Library/Receipts/mysql*sudo rm -rf /private/var/db/receipts/*mysql* - Remove the line
MYSQLCOM=-YES-from/etc/hostconfig.
Now, if you check System Settings, you won’t find MySQL there. Removing MySQL through Terminal may seem like a tiresome task.
Luckily, there is a much easier way to uninstall MySQL. Simply use a dedicated tool to quickly detect and remove MySQL and its files.
How to clean up your Mac and free up space
CleanMyMac is a Mac app that thoroughly scans your Mac for unneeded junk files. If you’ve removed MySQL and are looking for other ways to free up space, try running Smart Care in CleanMyMac. It does five things in one: finds outdated system files, neutralizes threats, runs optimization tasks, checks for updates, and identifies duplicates — everything you may need for complete Mac maintenance.
- Get a free trial of the app.
- Open it and run a scan.
- Click Run to clean up found junk and run other recommended tasks.

As simple as that!
As you can see, removing MySQL with Terminal is a long and tricky process. If you follow the instructions we’ve provided, you can remove MySQL altogether, freeing up some disk space on your Mac.
Hope that helped!


