There are lots of processes that run frequently in macOS that most of us know nothing about. Most of the time, we don’t need to. They just run in the background and do their thing. When things go wrong, however, it pays to have a little understanding of what they do and why. One of those processes is corespotlightd. Normally, it takes very few resources, but sometimes, it may use so much that it will slow down your Mac. In this article, we’ll show you how to fix corespotlightd high CPU usage on your Mac.
What is corespotlightd on Mac?
corespotlightd is a process that runs in the background, indexing files for Spotlight. It crawls your Mac — minus any folders you have chosen to exclude — and gathers information about the files stored on it. Without it, Spotlight wouldn’t return any results when you search for files on your Mac.
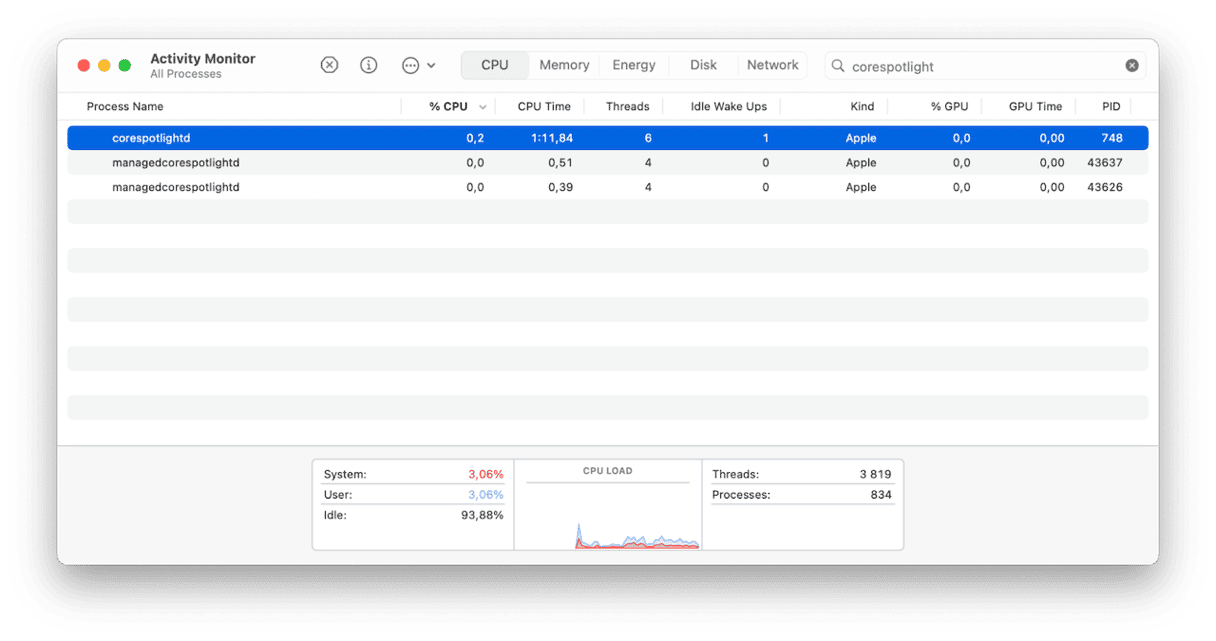
Why does corespotlightd have high CPU usage?
There are a number of reasons why corespotlightd may have high CPU usage on your Mac:
- Its existing index is corrupt, and it is struggling to update it.
- There are corrupt cache files on your Mac.
- You have a third-party app that has a large database.
- You have one or more external drives connected, and Spotlight is trying to index those.
- There’s a bug in macOS.
- macOS is throttling CPU speed to prevent your Mac from overheating.
How to fix corespotlightd high CPU usage on Mac
1. Quit the process
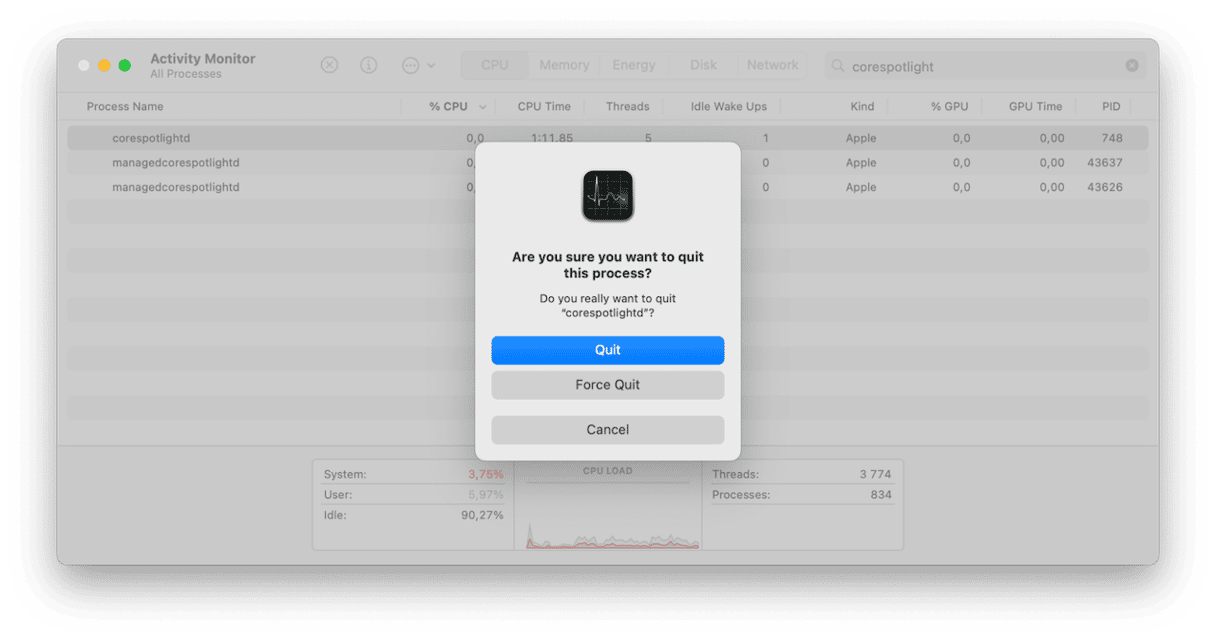
The first step is to check whether Spotlight high CPU usage is a one-off and quit the process. No need to worry; the process will relaunch automatically.
- Go to Applications > Utilities and launch Activity Monitor.
- Search for corespotlightd
- When you find it, select it and click ‘x’ in the toolbar to quit it.
2. Restart your Mac
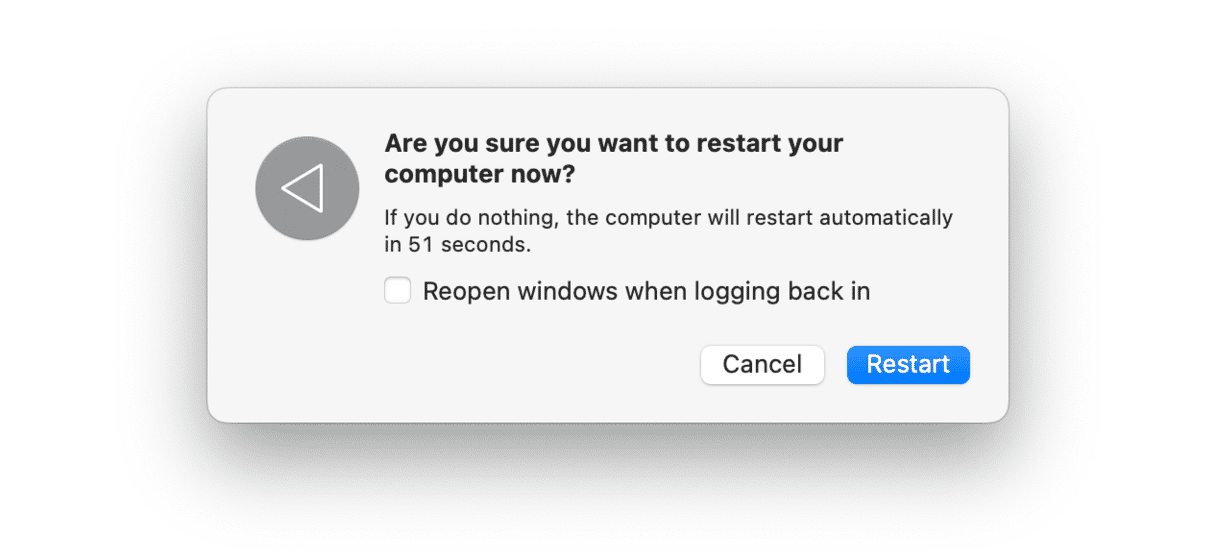
If, when corespotlightd restarts, it has high CPU usage again, restart your Mac. This will clear some cache and temporary files and run checks on your startup disk. So, go to the main Apple menu and choose Restart. Make sure not to reopen windows when logging back in.
3. Rebuild Spotlight’s index
The next step is to force Spotlight to recreate its index:
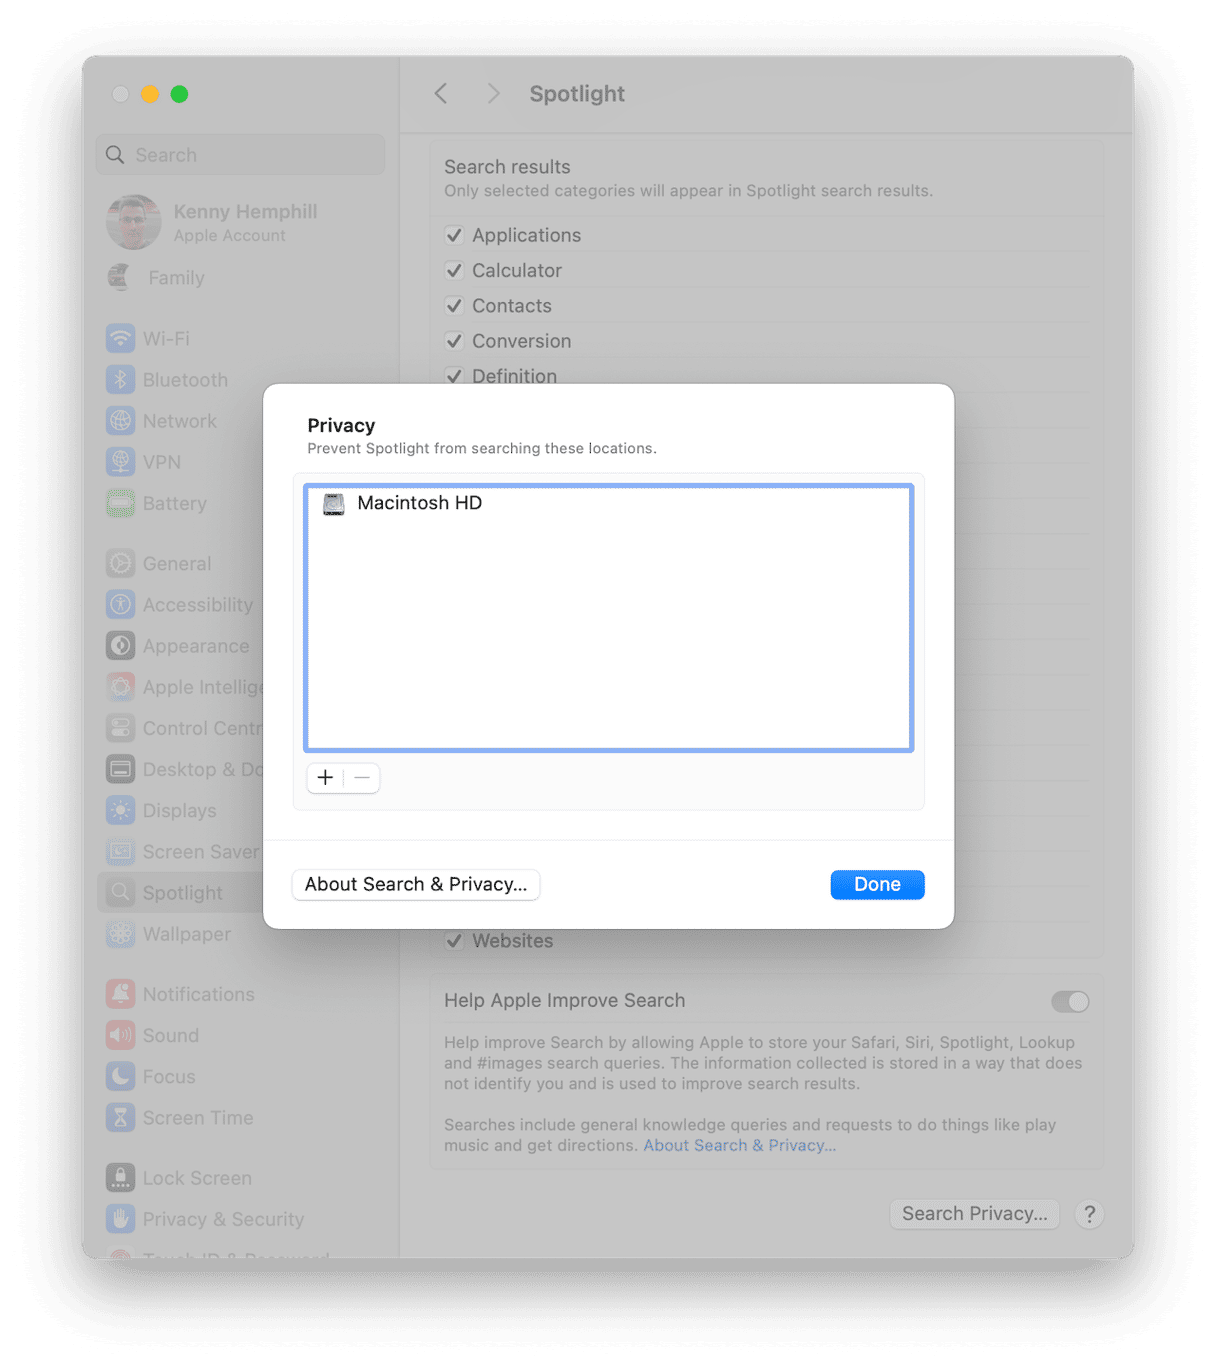
- Click the Apple menu and choose System Settings > Spotlight > Search Privacy.
- If Macintosh HD is on your Desktop, drag it into the window. If not, click ‘+’ then navigate to it and click Choose. You will be asked if you’re sure you want to exclude Macintosh HD. Click OK.
- Quit System Settings.
- Wait for a few minutes and then go back to System Settings > Spotlight > Search Privacy, select Macintosh HD, and click ‘-’ to remove it.
- Then, quit System Settings. Spotlight will rebuild its database.
4. Check your external disks
If corespotlightd still has high CPU usage after you rebuild the database and you have external disks connected to your Mac, it’s a good idea to prevent Spotlight from indexing them to check whether something on one of the disks is causing the problem:
- Go to System Settings > Spotlight > Search Privacy and drag the external disk(s) onto the window.
- Quit System Settings.
If that fixes the problem, you can remove the disks, if there is more than one, from Search Privacy one at a time until you find the one that is causing the problem.
5. Check Spotlight cache
Cache buildup can also cause the problem, so it’s a good idea to get rid of it:
- Click the Finder icon on the Dock and choose Go > Go to Folder.
- Paste this file path into the text box:
~/Library/Caches/com.apple.corespotlightd/ - If the folder exists, drag its contents to the Trash and empty it.
6. Remove problem files
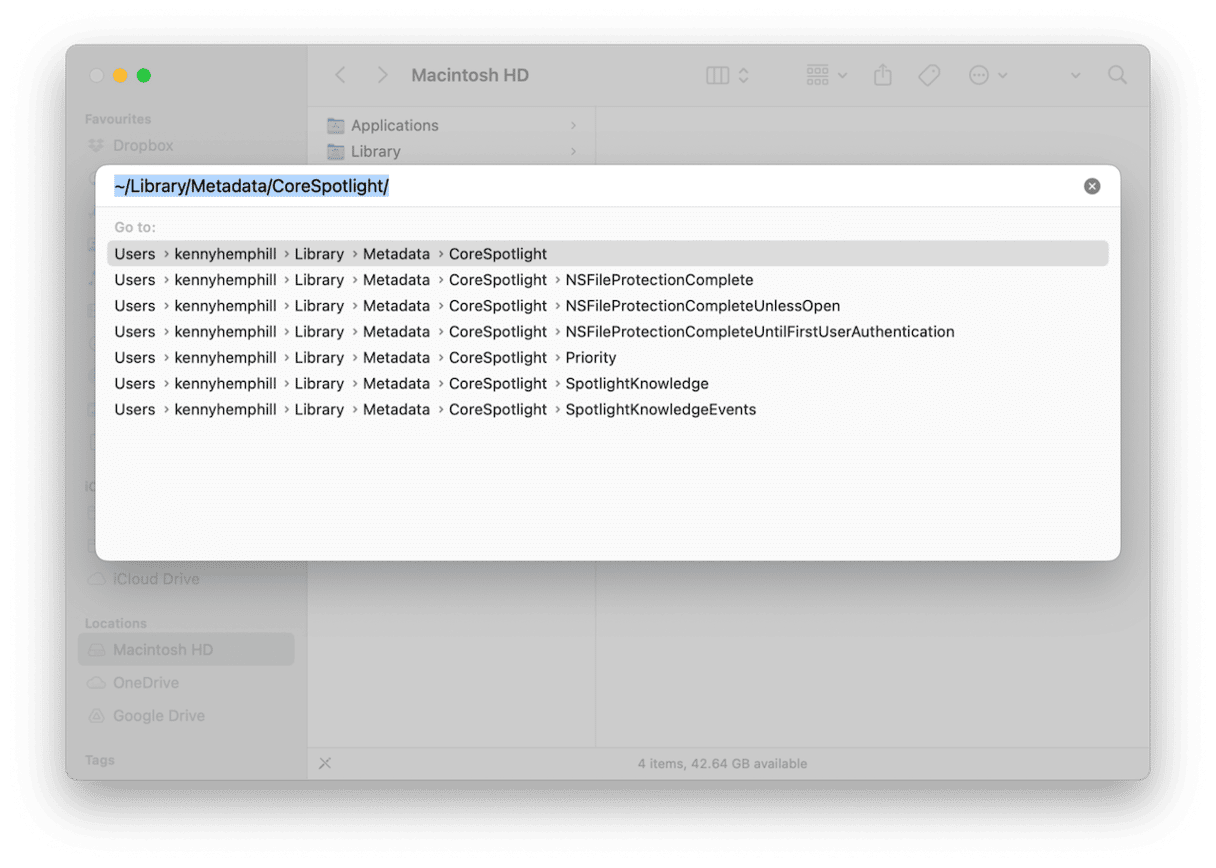
Spotlight relies on file metadata to understand what files contain. If there is a problem with that metadata, Spotlight will get into a cycle of trying to process it, failing, and then trying again repeatedly. To check metadata, paste this path into Go to Folder: ~/Library/Metadata/CoreSpotlight/
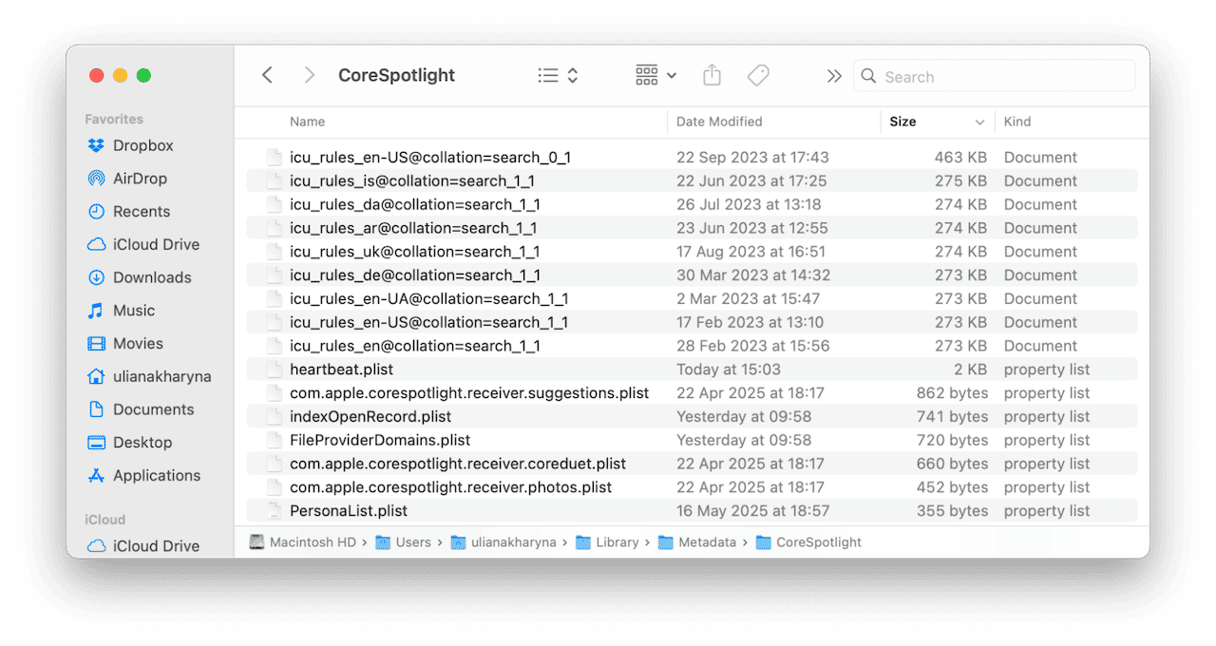
Look for any files that are unusually large compared to the others or have very old timestamps and drag them to the Trash.
7. Disable the indexing of third-party apps with large databases
Some apps have their own databases that can become corrupt or just too large for Spotlight to cope with. These apps are typically note-taking tools like Evernote, OneNote, and any other apps that store lots of different content.
To exclude those, locate their databases in ~/Library/Application Support/[Application name] and drag the database file into the Spotlight Privacy window in System Settings > Spotlight > Search Privacy.
How to keep your Mac running smoothly all the time
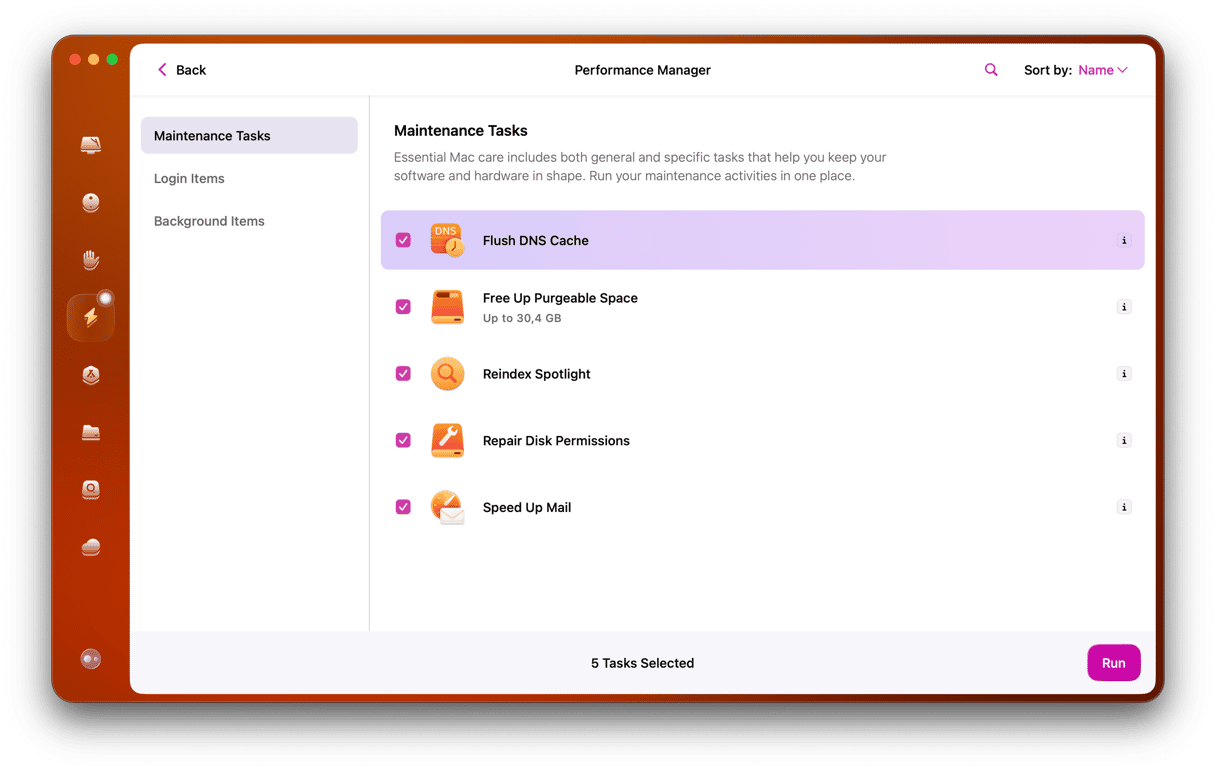
The maintenance tasks in the Performance feature we mentioned above aren’t the only tools CleanMyMac has to help you keep your Mac running smoothly. Its Smart Care feature covers all the bases, looking for junk files and clutter, malware, applications that need to be updated, and maintenance tasks that need to be run. It’s a one-stop shop to optimize your Mac.
Use it regularly and you can be sure your Mac will continue to run speedily and to its maximum potential. Here’s how:
- Open CleanMyMac — get your free trial here.
- Click Smart Care > Scan > Clean.

corespotlightd is a crucial process that runs in the background on your Mac, collecting information on the files stored on it so that Spotlight can find them when you use it to search. Usually, the only hint that Spotlight is indexing your Mac is a little dot in the magnifying glass icon in the menu bar, but if something goes wrong, you could experience corespotlightd having high CPU usage. That will slow down your Mac and, in extreme cases, could cause applications to hang or crash. If that happens, follow the steps above to fix it.


