Whenever you do anything on your Mac, from moving files around in Finder to surfing the web in Safari or editing video in iMovie, what you see on the surface is nothing compared to what’s going on behind the scenes. Peel back the curtain, and you’ll see dozens of processes with obscure names running, each performing a different task so that your Mac does what you ask of it. Most of the time, you don’t need to give those processes a second thought. But when your Mac slows down dramatically, hangs, or becomes unstable, it’s useful to know what processes are running and consuming resources. One of those processes that could be causing a problem is fileproviderd, which some users have noticed grabbing more than its fair share of CPU cycles. In this article, we’ll show you what to do if fileproviderd exhibits high CPU usage on your Mac.
What is fileproviderd?
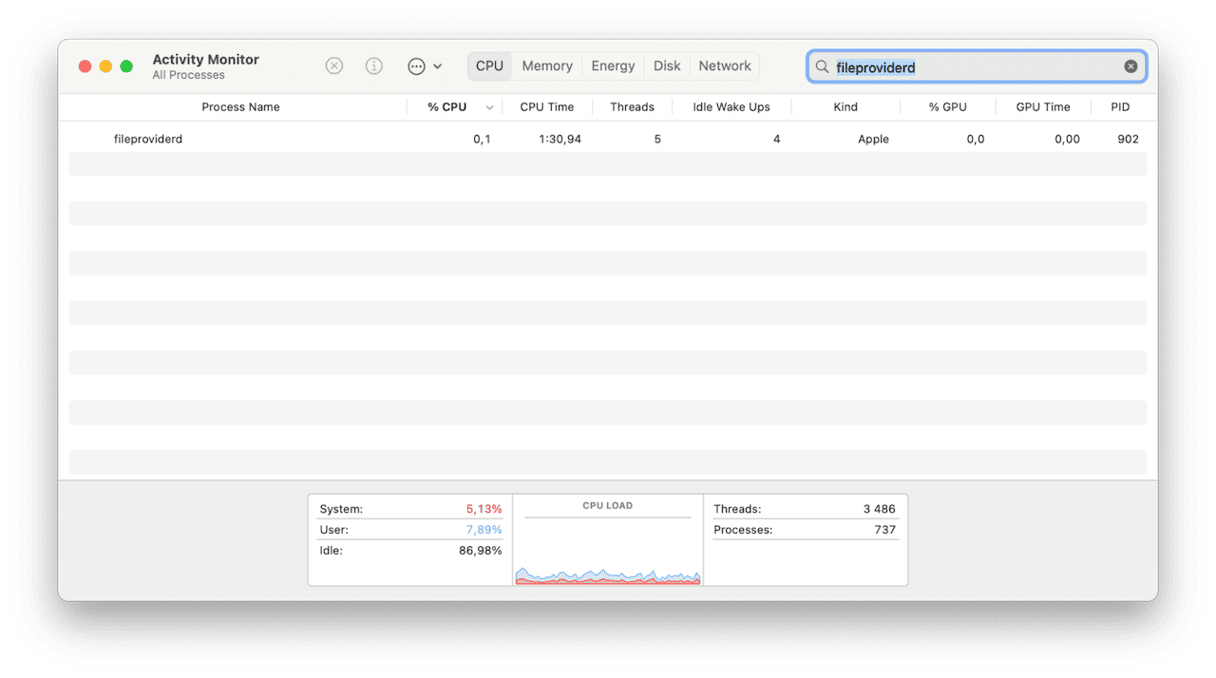
fileproviderd is a process that runs on your Mac to allow cloud sharing services, such as iCloud Drive, Dropbox, Google Drive, and Microsoft OneDrive, to work. It runs in the background and tracks the files you copy between your Mac and the cloud storage service, allowing access to them from the cloud storage service’s app. Let’s say you use OneDrive, for example. When you click OneDrive in the Finder and open a file or copy a file to it from your Mac, it’s fileproviderd that allows those actions to take place.
Why does fileproviderd have high CPU usage?
Most processes are capable of consuming lots of CPU cycles if they get into trouble. In fileproviderd’s case, that could be caused by the inability to connect to or sync with the cloud storage service, perhaps because of a permissions or authentication issue. Or it could be that the cloud storage service’s software needs to be updated.
How to check if fileproviderd has high CPU usage
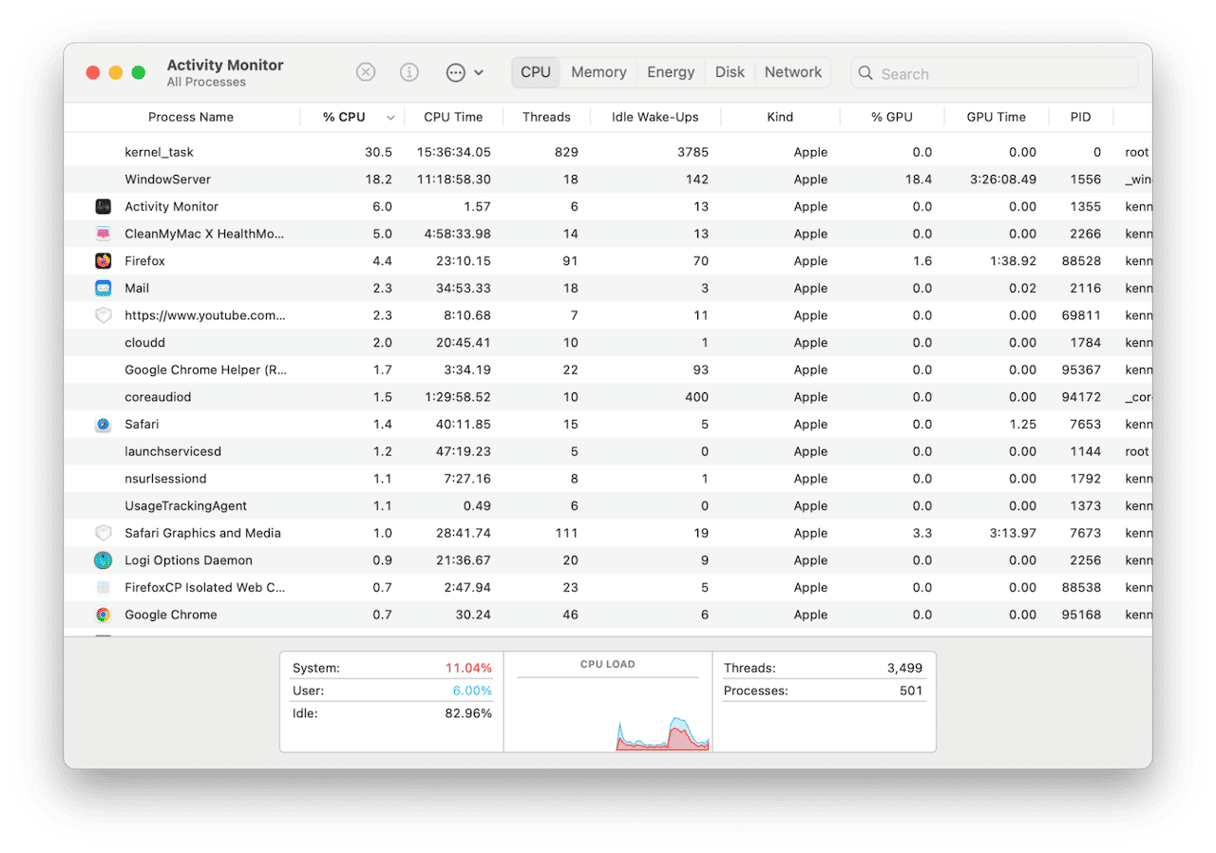
Let’s say you have noticed your Mac behaving strangely when you use a cloud storage service. Maybe its fans spin up unexpectedly, it slows down, or you see the beach ball. To determine whether fileproviderd is the culprit, we need to check Activity Monitor.
- Go to Applications > Utilities and open Activity Monitor.
- Choose the CPU tab, then check the CPU column.
- Processes should be listed in order of the CPU cycles they are using. If not, click the CPU column header.
- Look for fileproviderd. If it’s at or near the top with a high % of CPU cycles, you know it’s causing the problem.
How to fix fileproviderd Mac high CPU usage
Now that we’ve confirmed that fileproviderd has high CPU usage, we need to find out which cloud storage service is having problems. If you only use one, it’s easy. If you use more than one, monitor when your Mac slows down or when the fans spin up or you see the beach ball. If it happens when you use one cloud storage service, you know that one is responsible. If you use more than one and can’t figure out which is the problem, you will need to use trial and error.
1. Quit the storage service app and restart it
If the problem occurs with Google Drive, OneDrive, or Dropbox, click their icon in the menu bar and then click the Settings cog. Choose Quit or Exit. When it has quit, go to your Applications folder and reopen it.
2. Turn off iCloud Drive syncing and turn it back on again
If fileproviderd high CPU usage occurs when you’re using iCloud Drive, you should try turning off syncing and then turning it back on again. To do that, go to System Settings > your Apple Account > iCloud > Drive. Toggle Sync this Mac to off, wait a minute or so, and then turn it on again.

3. Reset OneDrive
If the problem occurs when you’re using OneDrive, resetting it might help.
- Quit OneDrive if it’s running (see step 1 above).
- Go to your Applications folder and right-click OneDrive.
- Choose Show Package Contents.
- Click Contents > Resources.
- Double-click ResetOneDriveApp.command or ResetOneDriveAppStandalone.command (whichever one is in the folder)
- Open OneDrive and follow the instructions to set it up again.
4. Clear out junk files
Your Mac accumulates a lot of junk files while you use it. These files are stored in various different folders and, as well as taking up space, they can slow your Mac down. They include temporary files that were never deleted, cache files, and settings files for apps that are no longer on your Mac. Clearing out all that junk manually would take a long time. But you don’t have to do it manually — CleanMyMac’s Cleanup feature can do it for you with just a couple of clicks. Get your free CleanMyMac trial. Once you’ve done that, follow the steps below:
- Open CleanMyMac and choose Cleanup.
- Click Scan.
- When it’s finished, click Clean to remove all the junk or Review to choose for yourself what to remove before clicking Clean.

5. Prevent Spotlight from indexing the cloud service folder
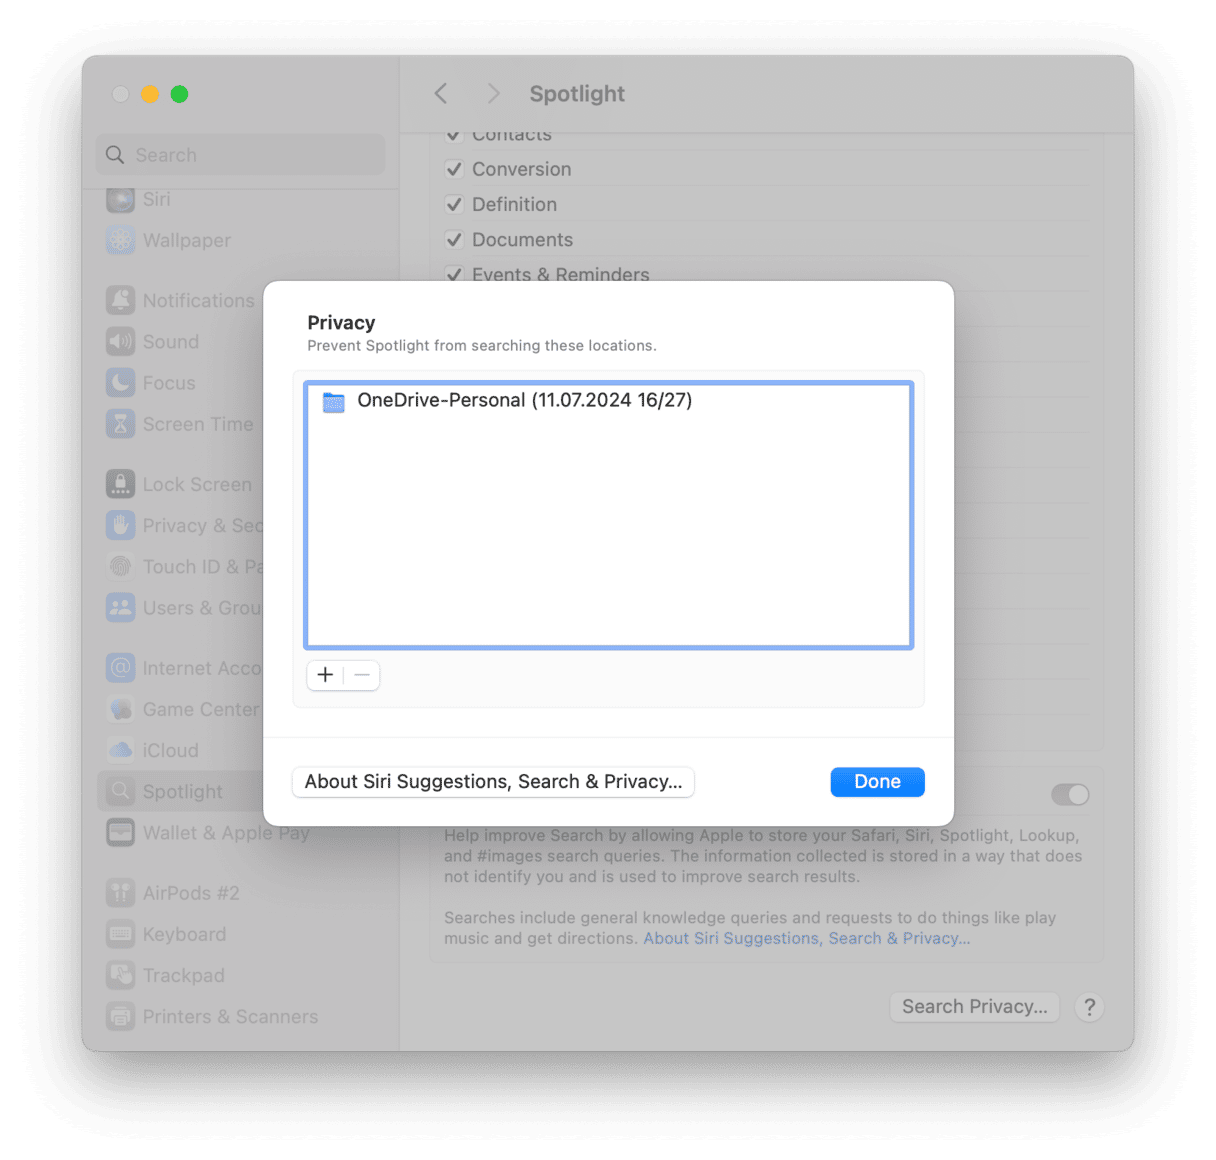
It could be that the reason fileproviderd is using so many CPU cycles is that Spotlight is trying to index it and running into trouble. Here’s how to stop Spotlight indexing the cloud storage folder.
- Go to System Settings > Spotlight and click Search Privacy at the bottom of the window.
- Drag the cloud storage folder onto the window or click ‘+’ and select it.
- Click Done.
6. Scan your Mac for malware
It’s possible that the reason fileproviderd has such high CPU usage is that your Mac has been infected with malware. One of the most common symptoms of malware is rogue processes that chew up CPU cycles and cause your Mac to slow down or hang. The only way to check for malware is to use a tool designed specially for the purpose. We recommend CleanMyMac. Its Malware Removal tool within the Protection feature is powered by the Moonlock Engine and can scan your Mac for adware, ransomware, cryptocurrency miners, and other malware. It has three levels of scan: deep, quick, and balanced. So, you would run a deep scan if you thought your Mac may be infected, but might run a balanced scan if it was just a precautionary check. You can choose whether to invoke a scan manually or have CleanMyMac check files in the background and alert you if it finds anything. Here’s how to use it:
- Open CleanMyMac.
- Click Protection > Scan.
- If the malware is detected, click Remove.

7. Uninstall and reinstall cloud storage apps
OneDrive, Google Drive, Dropbox, and others are just like regular apps. You can uninstall them (best to use the Uninstaller in CleanMyMac’s Applications tool) and then download the latest version and reinstall it.
fileproviderd is a service that makes it possible for you to move files between cloud storage services like Dropbox and iCloud Drive and your Mac. Most of the time, it sits in the background, happily doing its thing. But occasionally, you may notice the fileproviderd has high CPU usage. The symptoms are usually your Mac slowing down, fans spinning up, or the beach ball spinning on the screen. If that happens, follow the steps above to fix the problem and get your Mac working properly again.


