Sometimes, when trying to update your Mac to a newer macOS version, you can encounter an error saying that “macOS could not be installed on your computer.” Fortunately, you can do lots of things to fix the problem, so let’s get started.
Why does “macOS could not be installed on your computer” appear?
There are several reasons why you might see this error message. Here are some of the most common:
- Your Mac doesn’t support the version of macOS you’re trying to install.
- There was a problem downloading the installer.
- You don’t have enough space to install a new version of macOS.
- There’s a problem with the disk on your Mac.
- A piece of software like a launch agent or launch daemon is interfering with the upgrade.
How to fix “macOS could not be installed on your computer”
Now that we know why the error occurs, let’s proceed with the fixes.
1. Check if your Mac is compatible
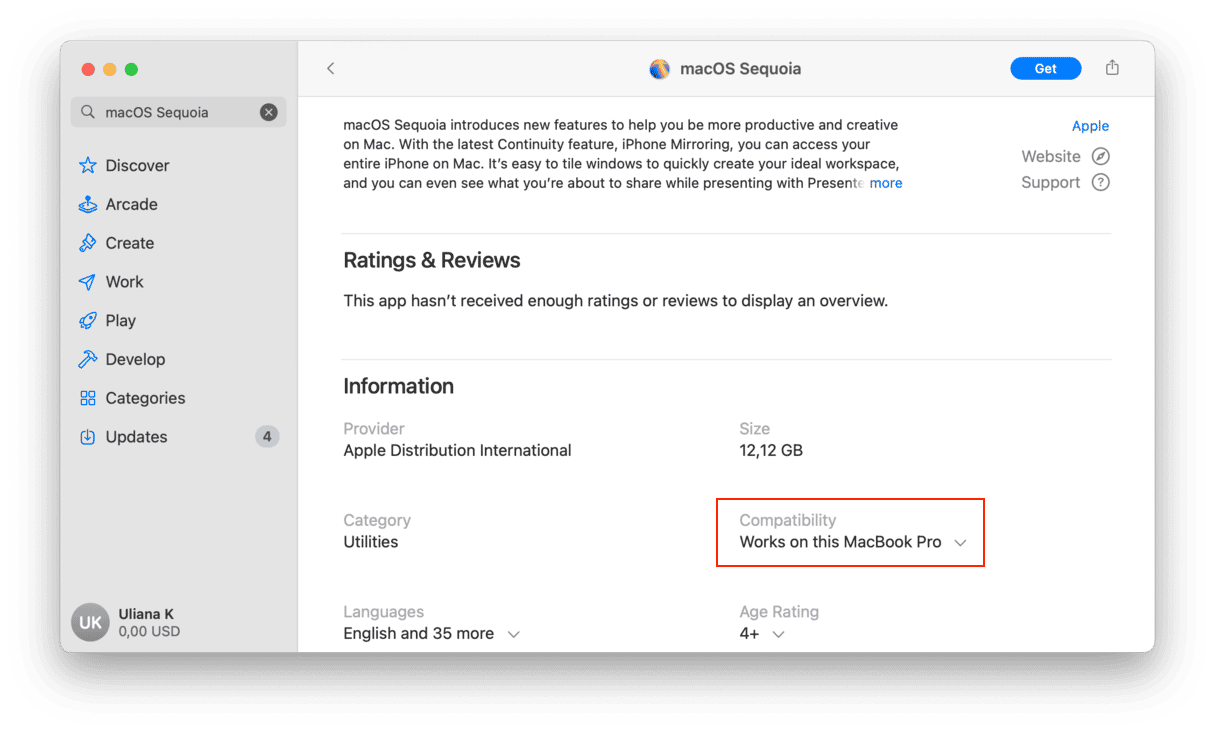
It is the very first thing to try. The best way to do that is to open the App Store app, search for the macOS version you’re trying to install, and scroll down the Compatibility section. You should see a message that says, “works on this Mac.” Alternatively, go to Apple’s website support pages and search for the minimum system requirements. You might need to reboot into safe mode (see below) to check because if you do a normal restart, your Mac may immediately relaunch the installer.
2. Set the correct date and time
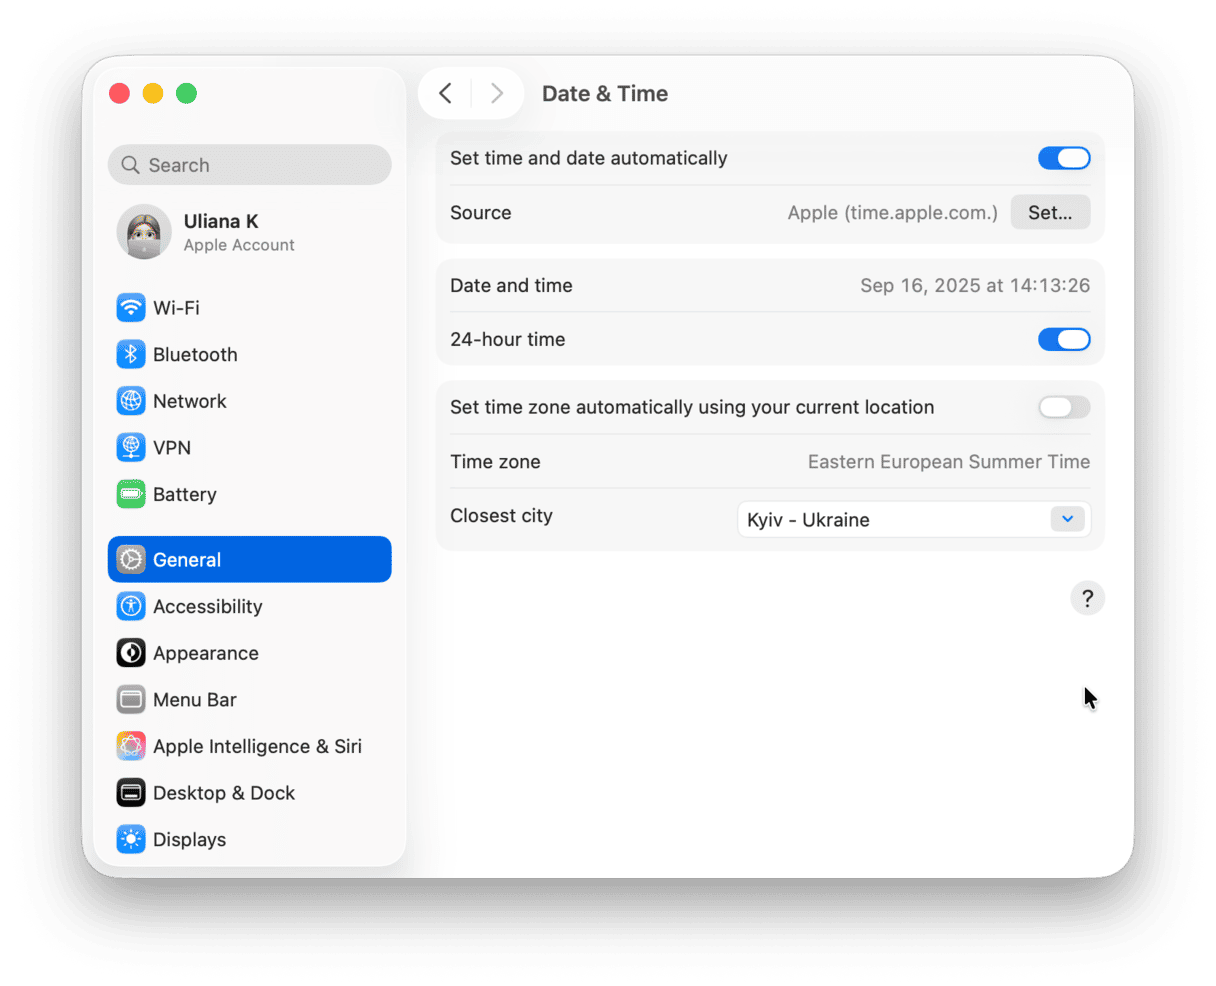
Sometimes, the error may occur if the date and time settings are misconfigured. Therefore, it is recommended to set the correct ones. You can do it from System Settings:
- Go to System Settings > General.
- Click Date & Time.
- Check the date and time and make changes if needed. It is better, though, to turn on the option that allows to set time and date automatically.
3. Re-download the installer file
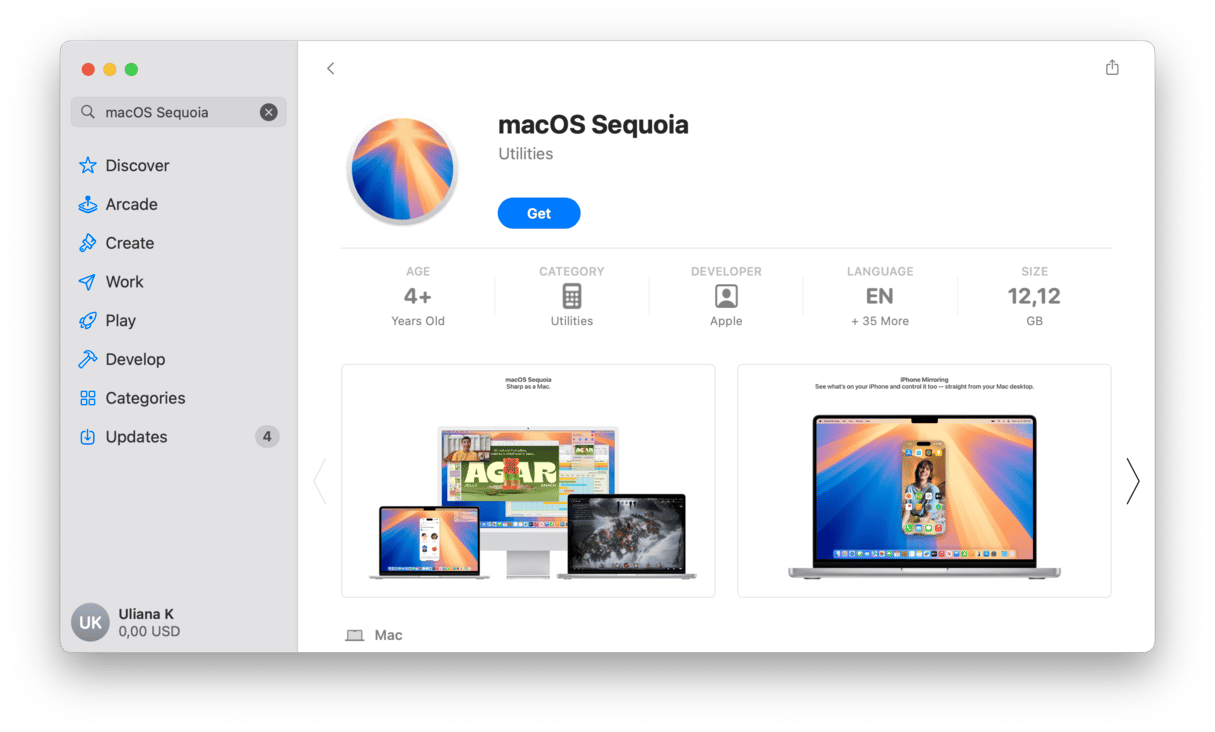
It may be that you encountered the error because the installer is corrupted. To try and fix it, go to the Downloads folder, find the macOS installer, and delete it. Now, go to the App Store and type the name of the macOS version you’re trying to install in the search bar. Click Get to download it and try to install it once again.
4. Free up space
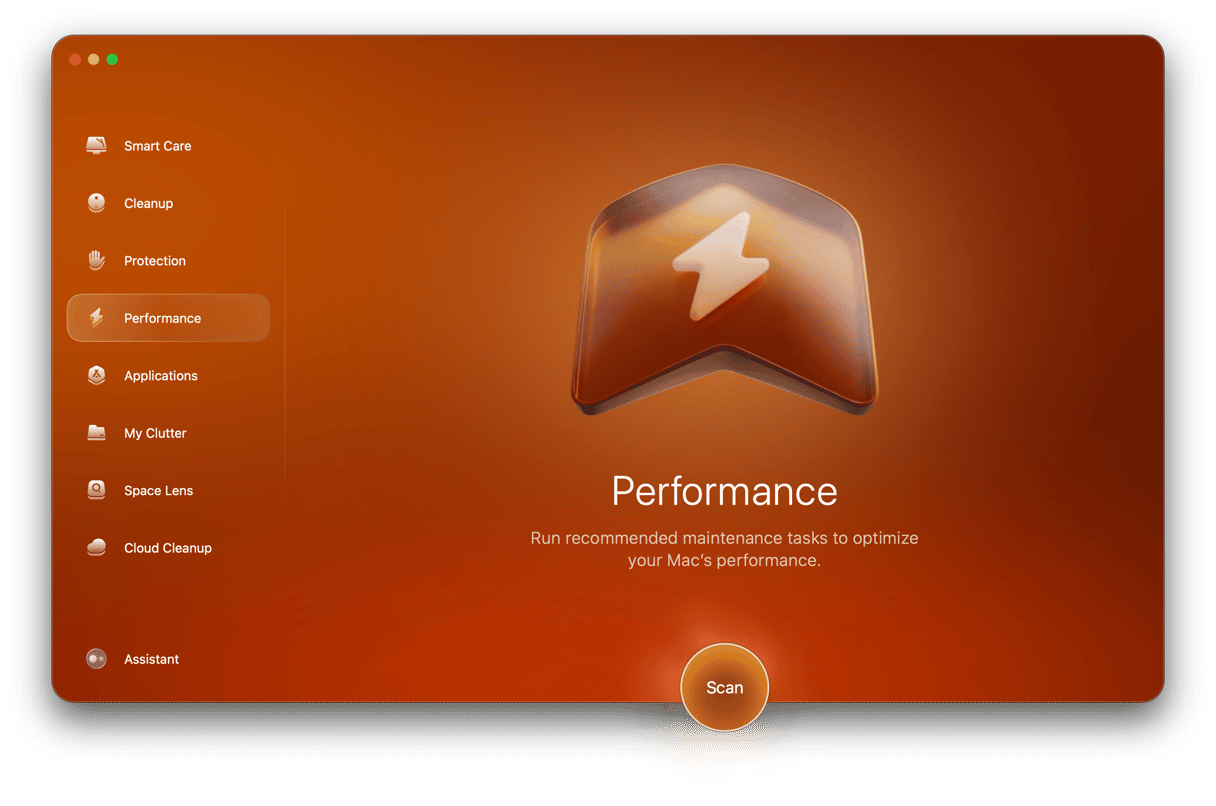
You’ll need up to 25GB of free space on your main drive to download and install an update to macOS. If you don’t have that much free space, it’s time to clear out the junk and free up space. The quickest and easiest way to do that is to use a popular app — CleanMyMac by MacPaw. It will free up tons of space, neutralize malware, and update your apps in one single scan.
Start your free CleanMyMac trial, install and then open it.
- Open the app and click Scan.
- When it’s finished, click Run to remove junk files or click Review to see what it has found.

5. Try to update macOS in safe mode
First, boot into safe mode. It disables startup items, launch agents, and everything else except the bare minimum macOS needs to function. Steps differ for different Mac models.
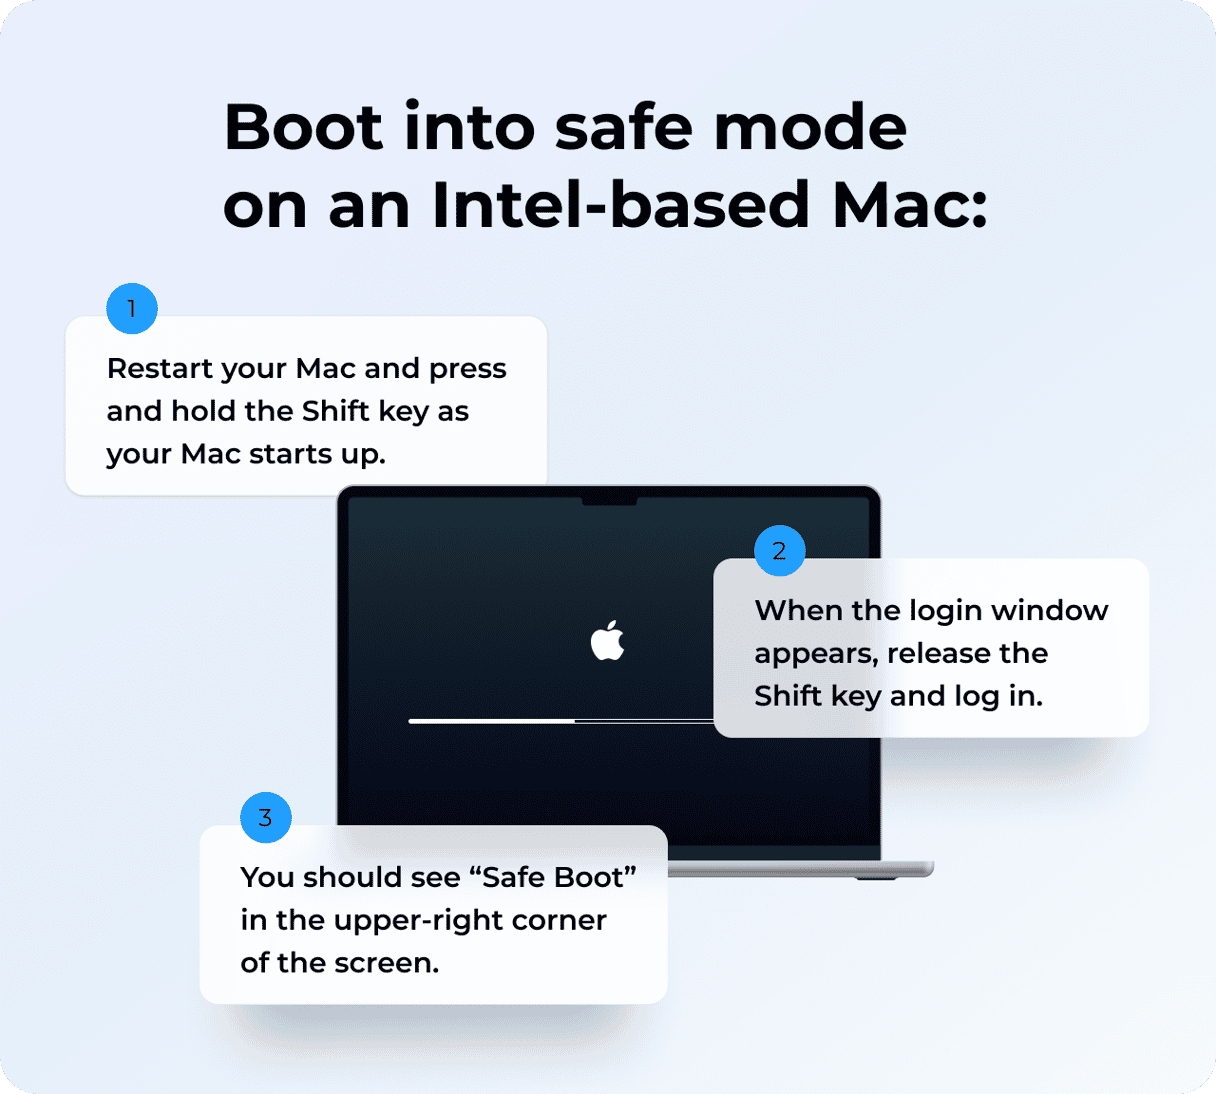
To start up your Intel-based Mac in safe mode:
- Shut down your Mac and wait 10 seconds.
- Restart your Mac and press the Shift key.
- Release the Shift key after the login window shows up.
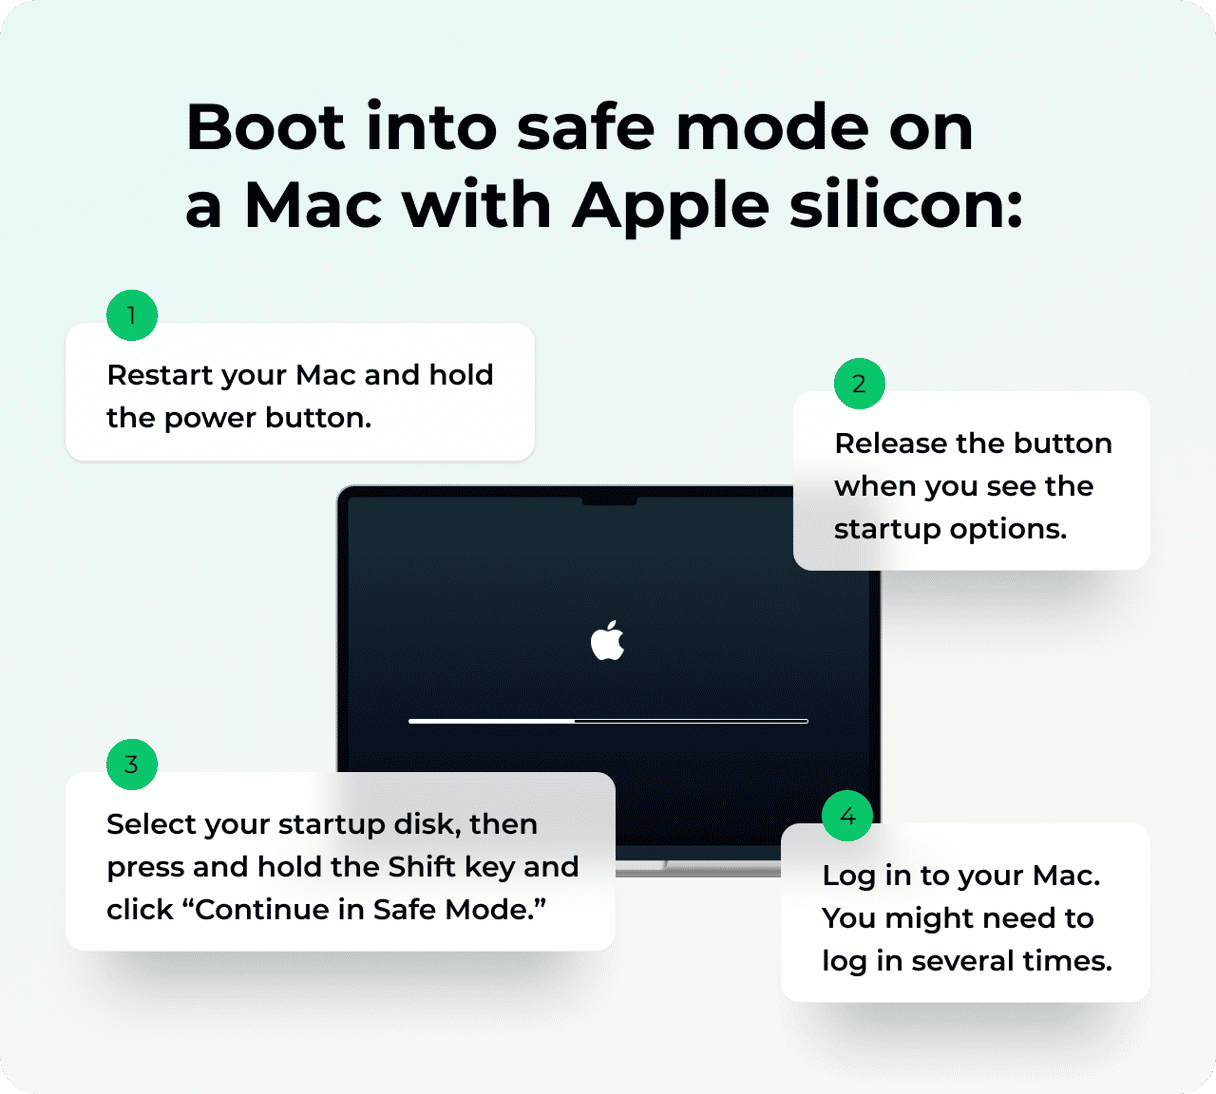
To start up your Mac with Apple silicon in safe mode:
- Shut down your Mac and wait 10 seconds.
- Press and hold the power button until the startup options window shows up.
- Select a startup disk.
- Press the Shift key and click Continue in Safe Mode.
- Release the Shift key.
If the problem was that background items were interfering with the upgrade, safe mode would fix that. If it works, you should restart your Mac normally after the installation and remove any background agents you don’t need.
6. Reset the NVRAM
The NVRAM on your Mac stores data even after your Mac shuts down or restarts, unlike regular RAM, which is flushed every time you restart. NVRAM persists, thanks to a small amount of power supplied by your Mac’s internal battery. Resetting NVRAM rarely has any effect, but it can do in some situations, and as it won’t do any harm, it’s worth trying. It’s quite tricky to do, so you might need some help.
Restart your Intel-based Mac while holding the Command + Option (Alt) + P + R keys and wait until you hear a startup chime. It may take a little longer than normal to restart twice, but the NVRAM will have reset once it’s done.

Apple state that there are no instructions for resetting NVRAM on Apple silicon. However, some forum users claim that turning off a Mac and turning it on again after 30 seconds helps.
7. Go to recovery mode
Another solution is to boot into recovery mode and reinstall macOS. Like with safe mode, steps are different for different Macs.
For an Intel-based Mac:
- Go to Apple menu > Restart.
- Immediately press and hold Command+R.
- Don’t release the keys until you hear Mac’s startup sound or until the Apple logo appears.
For a Mac with Apple silicon:
- When turning on your Mac, press and hold the Power button.
- Keep it pressed until you see startup options.
- Click the Gears icon (Options) and hit Continue.
- You may be asked to select a user and enter their administrator password. Follow the on-screen instructions and click Next after any action you take.
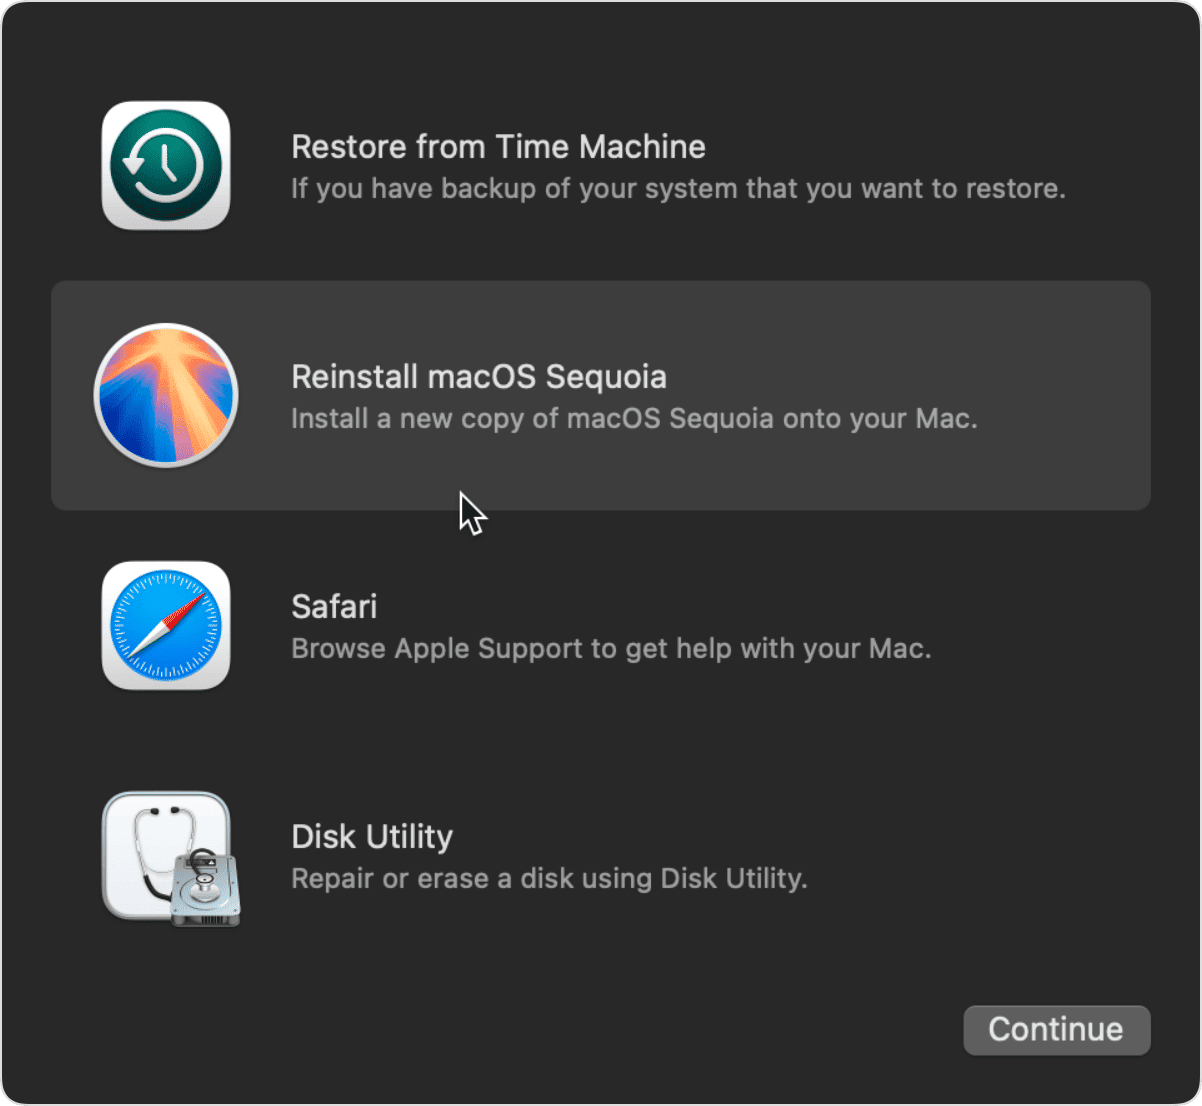
When you see the macOS Utilities window, you have two choices. You can either restore your Mac from a Time Machine backup if you have one or reinstall macOS. Choose the option that works better for you and follow the on-screen instructions to proceed.
8. Run First Aid
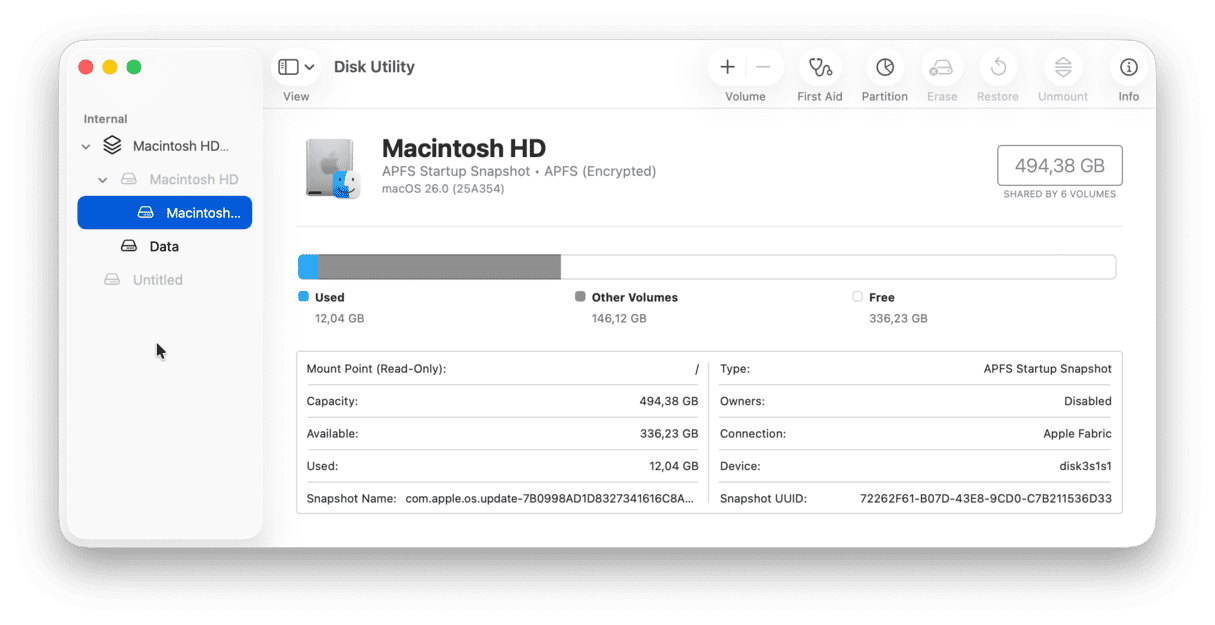
If nothing else helped, it may be that the error is caused by corrupt disk permissions and issues with fragmentation. Luckily, this one is an easy fix because macOS comes with a built-in tool designed for the purpose. Here’s how to do it:
- Go to your Applications folder and click Utilities.
- Double-click Disk Utility to open it.
- Select Macintosh HD from the sidebar.
- Click First Aid > Run.
There are a number of things you can do to fix your Mac when you see the message “macOS could not be installed on your computer.” If the problem is that you don’t have enough space, you can use CleanMyMac to get rid of files you don’t need. Otherwise, go through the above steps one at a time until you’re able to install a new version or update to macOS.


