Most of the time, when you update to a new version of macOS, it goes smoothly and without problems. But now and again, issues crop up, and one of those is that one or more apps don’t work. It might be that they don’t open or that they launch and don’t work properly. Whatever the issue, the good news is that it can probably be fixed. In this article, we’ll show you what to do if macOS Sequoia apps are not working.
Why are macOS Sequoia apps not working?
There are a few reasons why some apps may not launch or work properly in macOS Sequoia.
- The app hasn’t been updated to support Sequoia, either because the developer hasn’t issued an update or you haven’t installed the updated version.
- Some files the app uses have become corrupt.
- There’s a problem with your startup disk that’s preventing the app from working properly.
How to fix apps not working in macOS Sequoia
1. Force quit the app
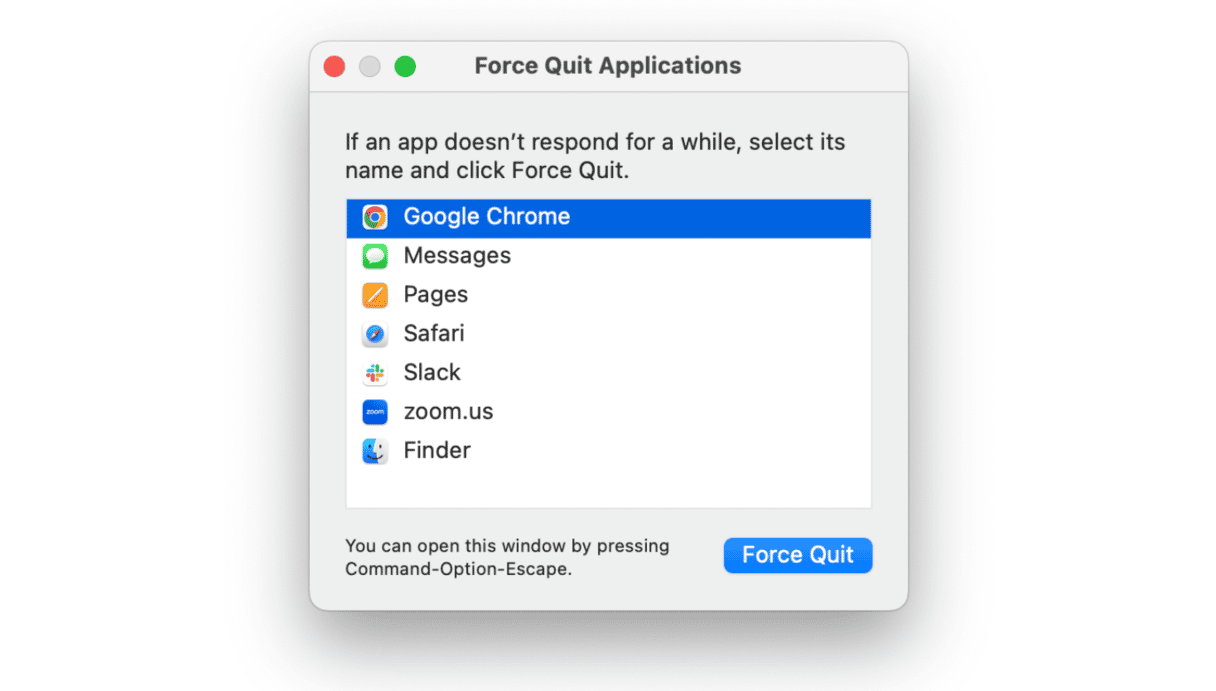
It may be that the app is non-responsive. So, when you click its icon, it simply jumps in the dock but doesn’t launch. A quick fix is to force quit it:
- Press Command-Option-Esc, choose the app from the menu, and click Force Quit.
- Or go to the main Apple menu, choose Force Quit, and select the app.
2. Restart your Mac
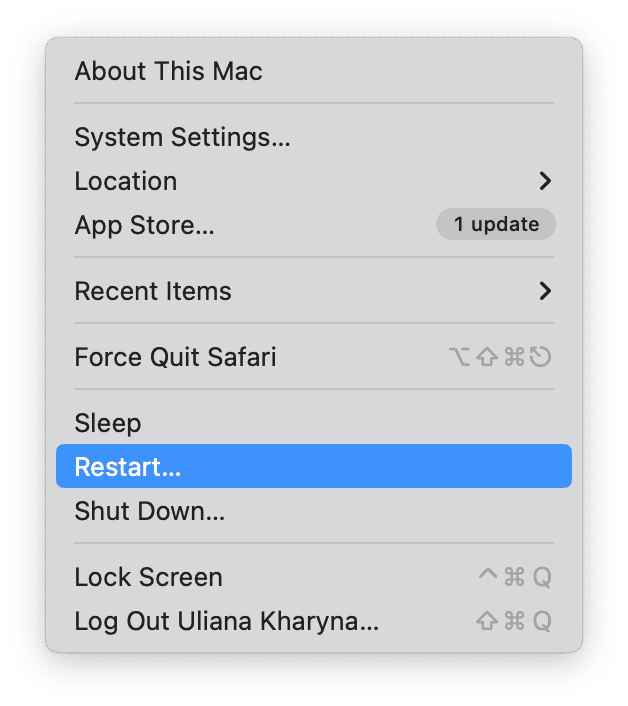
It may be all you need to do. Restarting your Mac basically gives it a fresh start. So, go to the main Apple menu and click Restart.
3. Check for an update to macOS Sequoia
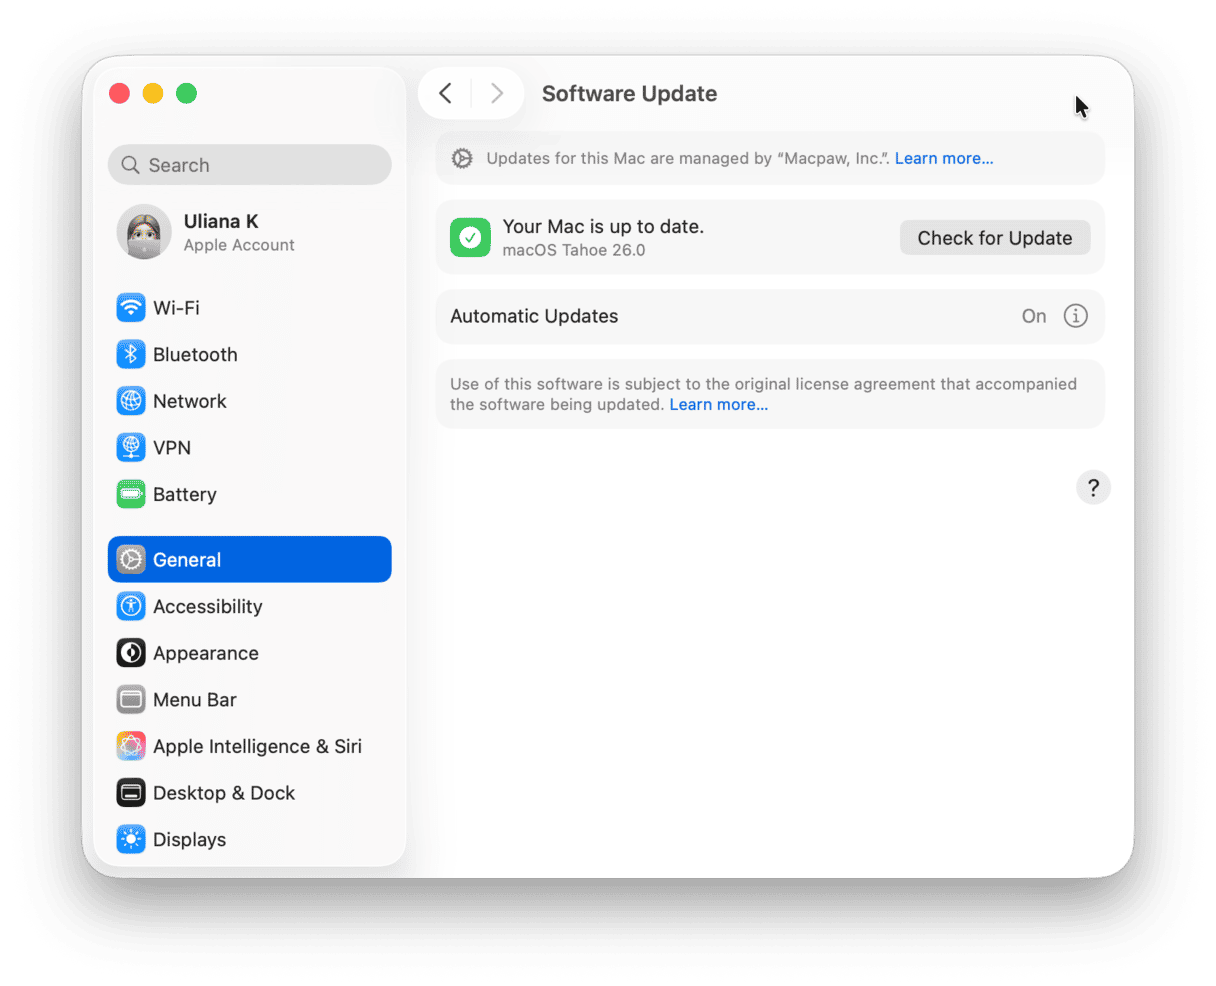
One more fix is to check for a minor update in which the bug causing your app to glitch may have been fixed.
- Go to System Settings > General > Software Update.
- Wait for it to check. If there is an update available, follow the instructions on the screen to install it.
4. Reset the app
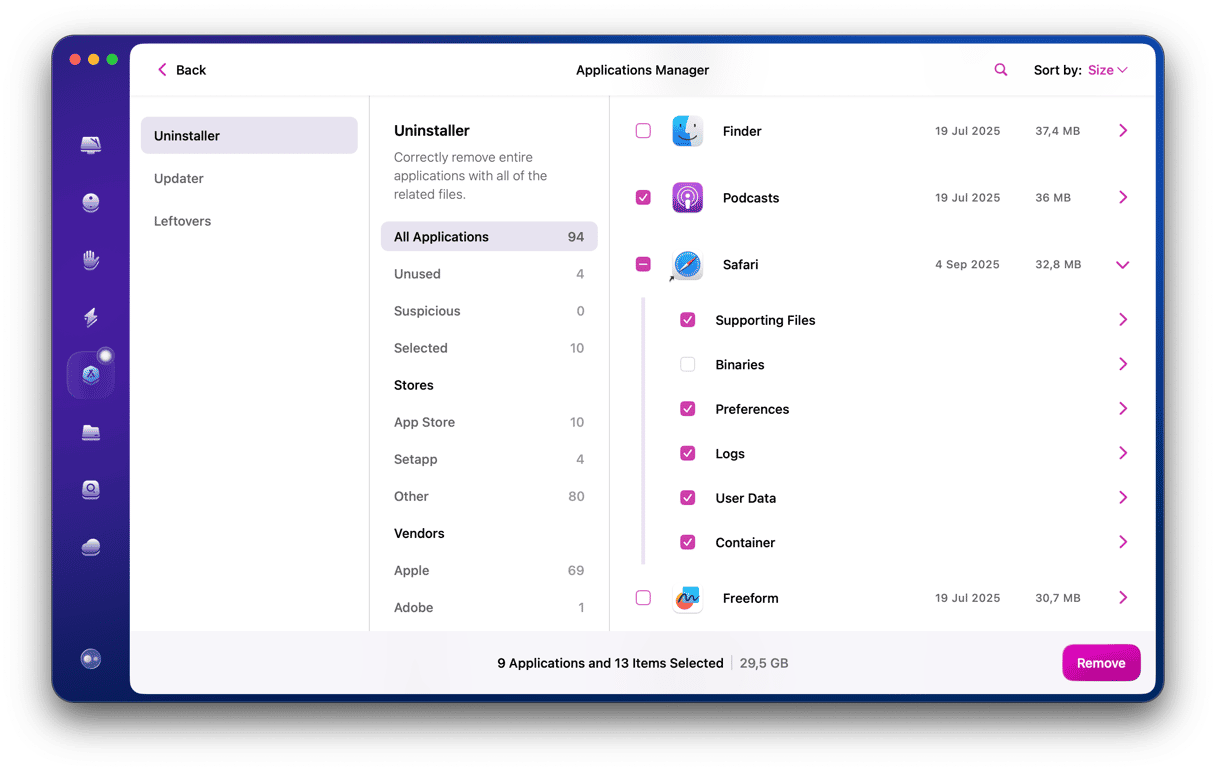
Resetting an app means deleting the preferences files it created when you started using it. The next time it launches, it will create new ones. Resetting an app manually is very difficult because you need to track down all those files and drag them to the Trash. But you don’t need to reset apps manually. CleanMyMac’s Applications tool can do it for you. You can download CleanMyMac for free here. Once you’ve done that, follow the steps below:
- Open CleanMyMac.
- Choose Applications in the sidebar and run a scan.
- Click Manage My Applications.
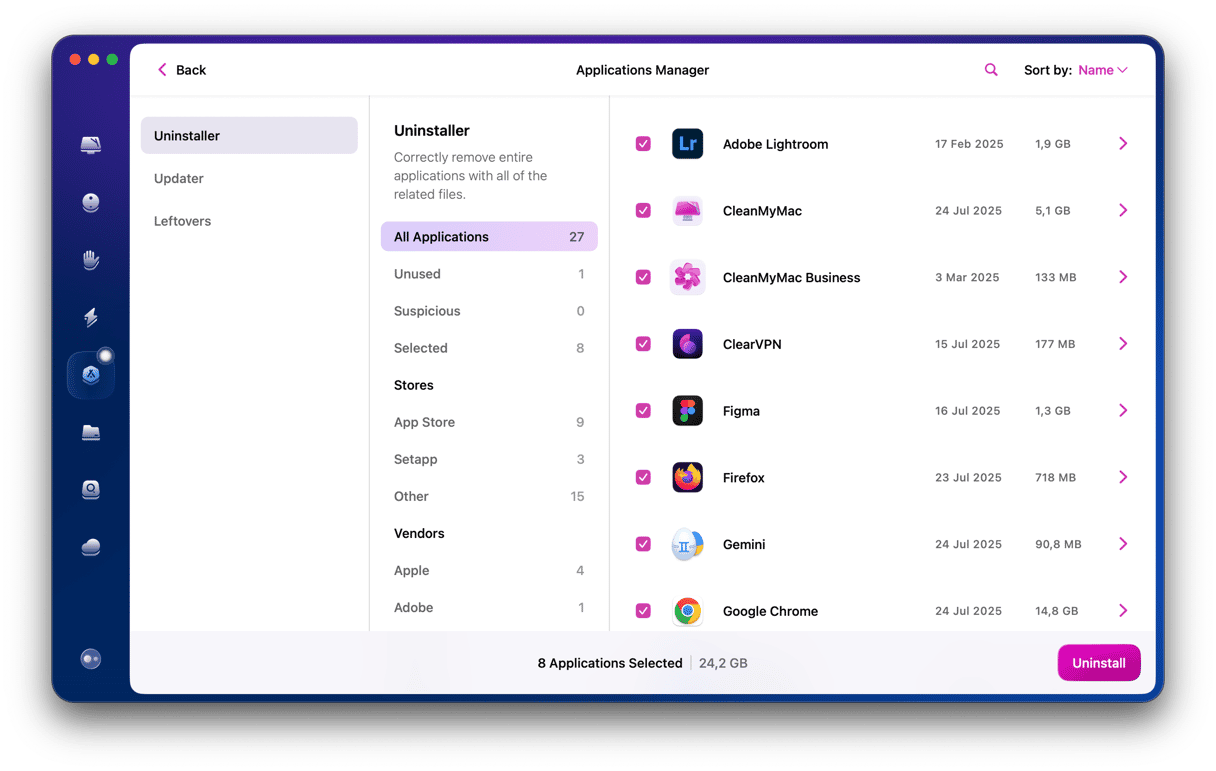
- In the Uninstaller tab, locate the app you want to reset in the list of all apps.
- Click an arrow (>) next to it and select everything except Binaries.
- Click the Remove button.
5. Check for an update to the app
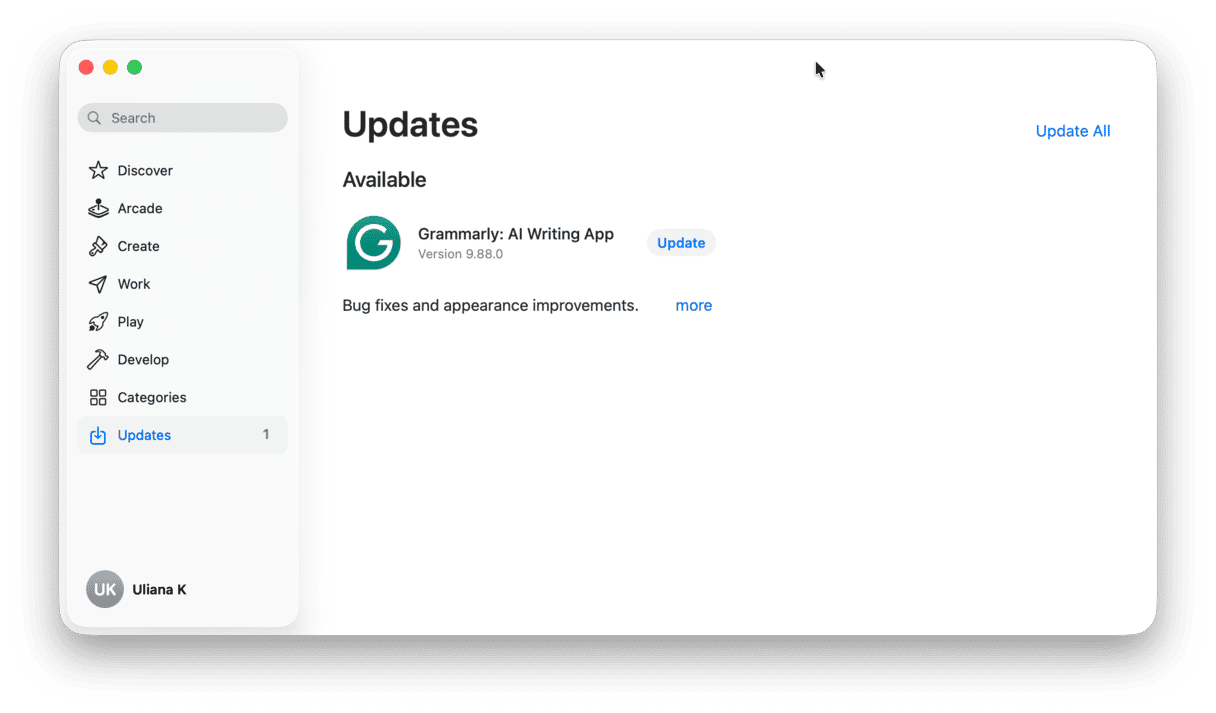
If you downloaded the app from the App Store, launch the App Store app, go to the Updates section, and look for the app. If there is an update available, install it.
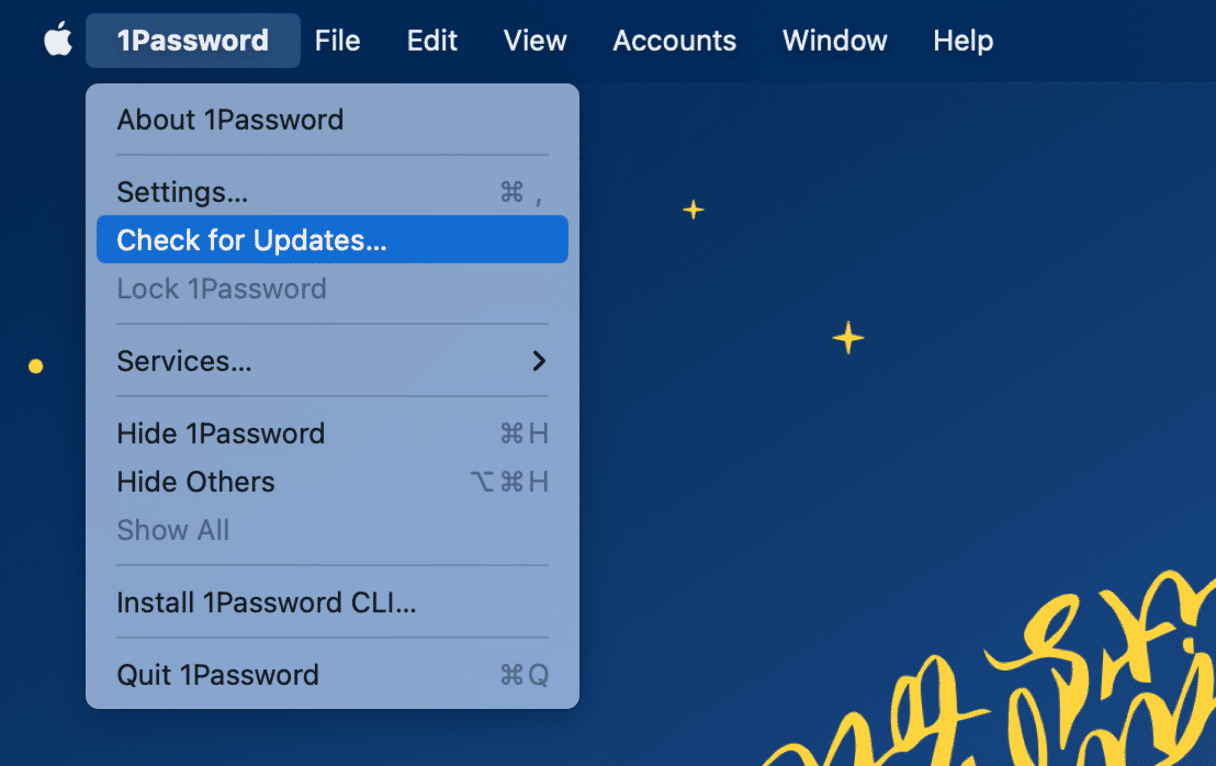
If you downloaded the app from the developer’s website, click the app’s name in the menu bar and choose Check for Updates. If you can’t do that because the app won’t open, go to the support section on the developer’s website and look there.
6. Reinstall the app
If resetting the app doesn’t fix it, the next step is to uninstall it completely and then reinstall it. You can use the CleanMyMac’s Applications tool to uninstall it — just locate an app in the list of all apps in the Uninstaller tab and click Uninstall. Once it has uninstalled, download it from wherever you downloaded it originally and install it.
7. Repair your startup disk
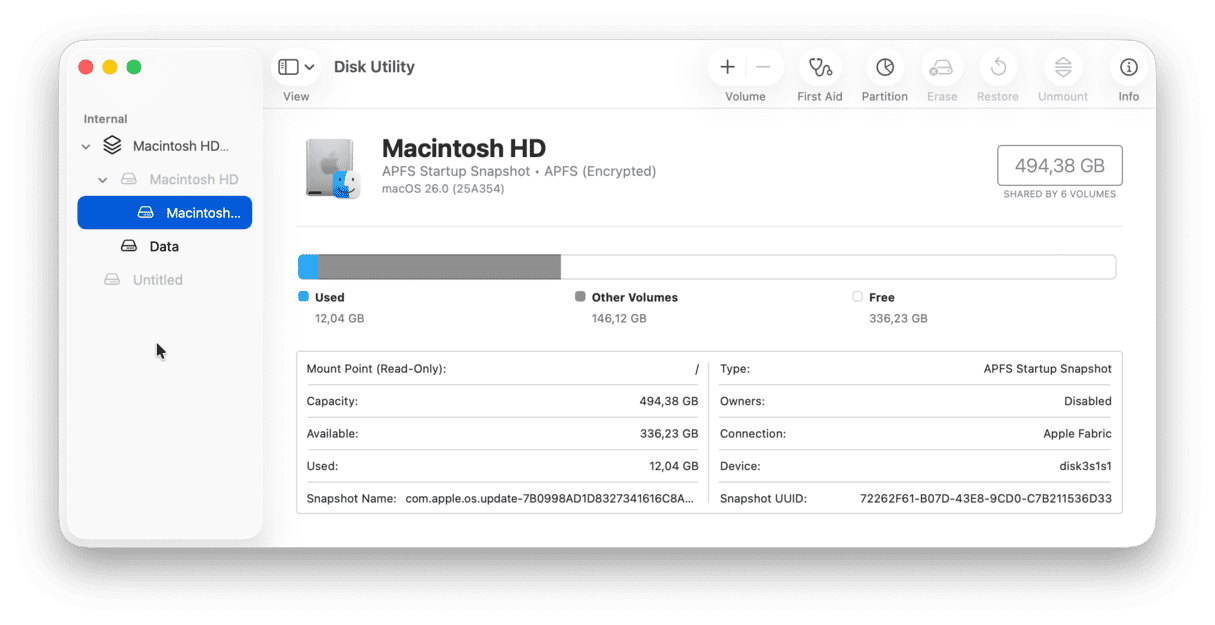
Sometimes, the complicated process of cataloging and indexing all the files on your Mac goes wrong, and it can’t find the files it needs to, say, launch an application. To fix it, go to Applications > Utilities and open Disk Utility.
- Choose Macintosh HD, or whatever your startup disk is called, in the sidebar.
- Click First Aid in the toolbar.
- Wait for it to run checks on the disk and repair any faults it finds.
- When it’s finished, quit Disk Utility and try to run the app again.
8. Try safe mode
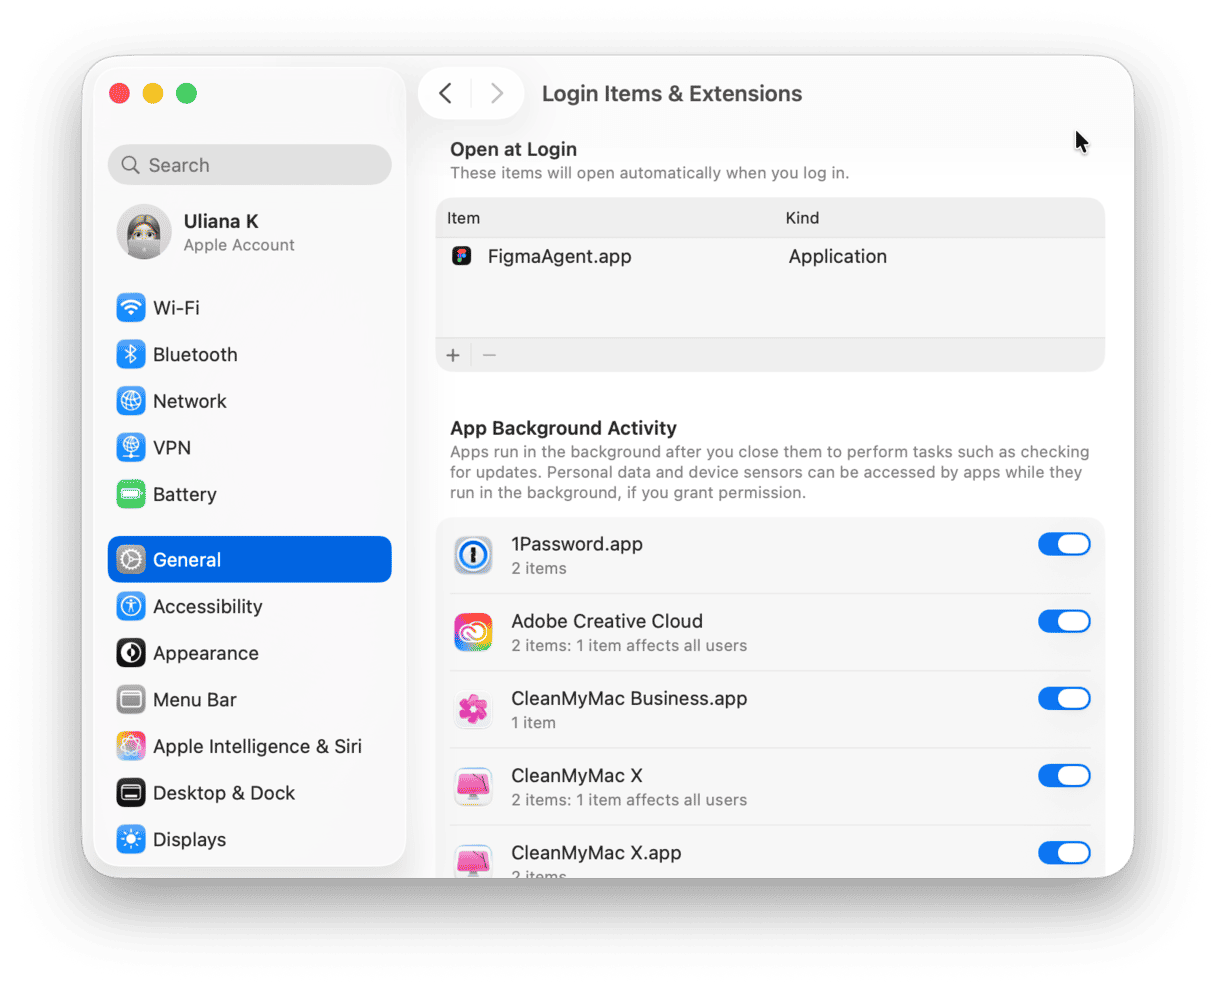
Boot your Mac in safe mode and try to launch the app. Safe mode disables all extensions except those that are needed to boot your Mac. If the app launches in safe mode, you will know that the problem is an extension. You can then reboot normally, go to System Settings > General > Login Items & Extensions and disable all background items. Then, launch the app. If that works, re-enable the extensions one at a time, rebooting each time, until the app stops working. You will then have found the extension that’s causing the problem and can disable it again.
9. Reinstall Rosetta
Rosetta is a translation layer for apps that weren’t updated to run natively on Apple silicon when the first M1 Macs were released. The current version is Rosetta 2; Rosetta 1 was the translation layer when Apple moved from PowerPC to Intel chips two decades ago. Most apps should now run natively on Apple silicon. But, just in case the one you’re having trouble with still needs Rosetta, it’s worth reinstalling Rosetta if nothing so far has worked.
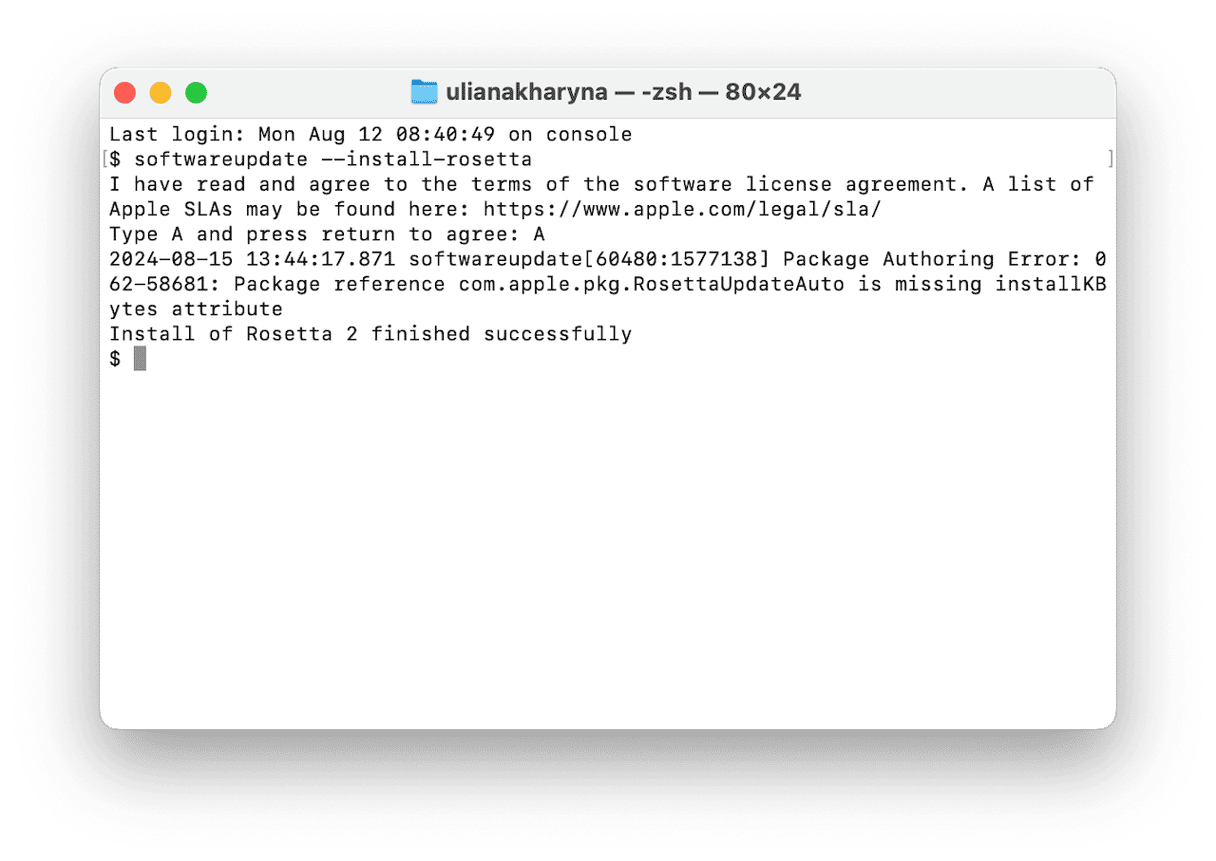
- Go to Applications > Utilities and launch Terminal.
- Type this command and then press Return:
softwareupdate --install-rosetta - When you see the license agreement in the Terminal window, follow the instructions on the screen.
- Wait until you see confirmation that Rosetta has been installed.
- Quit Terminal
- Open the problematic app again.
10. Contact the developer
If none of the steps above work, the final thing to do is to contact the developer of the app on their website. If you downloaded the app from the App Store, you will find a link to the developer’s website on the App Store page for the app. Explain the problem you’re having and give as many details as possible, including the version of macOS and the make and model of your Mac.
If apps are not working in macOS Sequoia after you upgrade your Mac, whether it’s one app or several, there are a number of possible reasons why it happens. It could be that the apps need to be updated or something more difficult to deal with. The good news is that whatever the reason for apps not working in Sequoia, it can be fixed. Follow the steps above to deal with the problem and get your apps working properly in Sequoia.


