O iMovie da Apple é ótimo para editar diversos tipos de vídeos, desde longa-metragens a clipes curtos e trailers. Seu único problema é exigir bastante espaço em disco. Como os projetos do iMovie são armazenados por padrão na sua Pasta Pessoal (no disco de inicialização), você precisa de um Mac com bastante espaço livre no disco principal. E isso é um luxo ao alcance de poucas pessoas. Neste artigo, mostraremos o que fazer quando não houver espaço suficiente em disco para o iMovie no Mac. Cobriremos todas as opções que tratam de apagar arquivos e mover projetos para outro disco, além de mostrarmos um ou dois truques.
Por que o iMovie diz que não há espaço suficiente em disco?
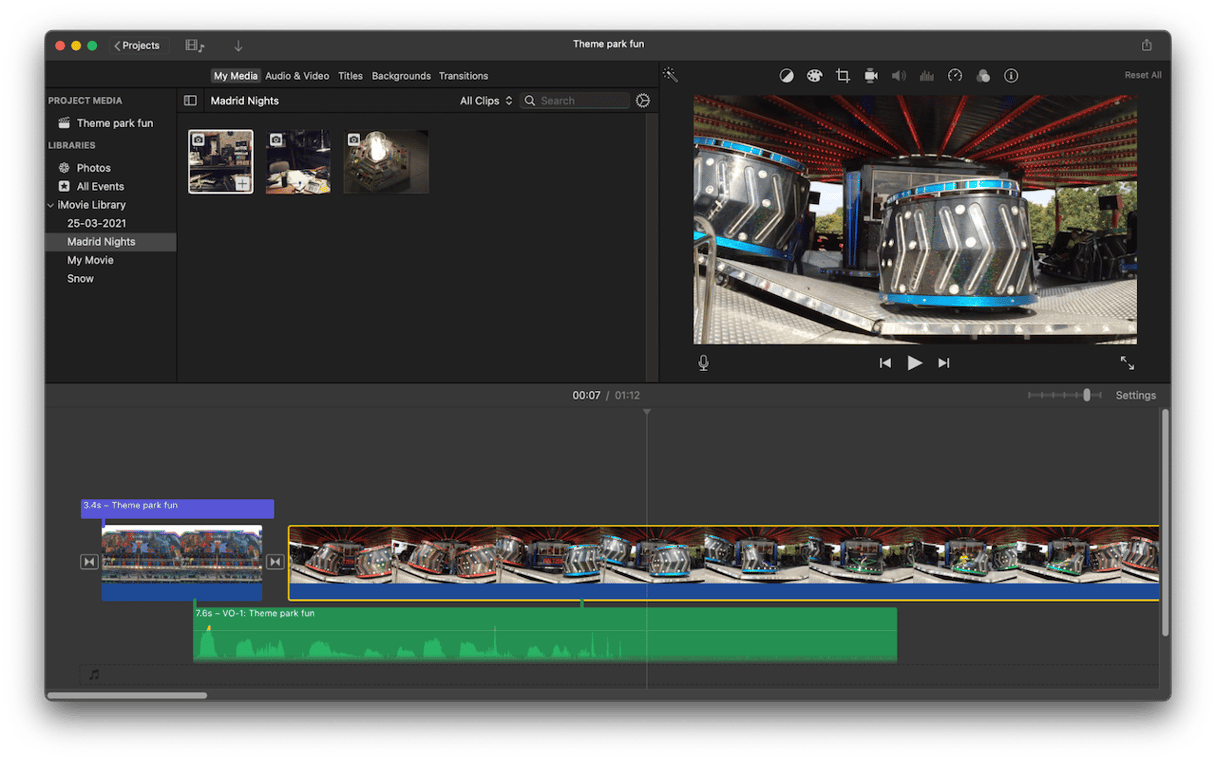
O iMovie precisa de bastante espaço para funcionar devidamente. Os arquivos de vídeo que você edita são bem grandes e o iMovie também precisa de espaço para outros dados, como efeitos e arquivos de cache. Sendo assim, se o Mac tiver um disco de apenas 128 GB ou 256 GB, será muito fácil enchê‑lo ao usar iMovie. A mensagem de erro aparece quando a quantidade de espaço necessária para o projeto excede o que foi calculado pelo iMovie.
O que fazer quando não há espaço suficiente em disco para o iMovie
Você tem diversas opções ao ver a mensagem de erro que diz que há pouco espaço em disco para o iMovie. Você pode:
- Apagar alguns projetos.
- Apagar caches e arquivos desnecessários.
- Mover projetos para outros discos para arquivá‑los.
- Mover a Biblioteca do iMovie para outro disco.
Mostraremos como fazer tudo isso.
Apague alguns projetos
Se você usou o iMovie para criar vídeos que já estão prontos, foram exportados e que você não pretende mais alterar, por que não apagar os arquivos desses projetos? Veja como.
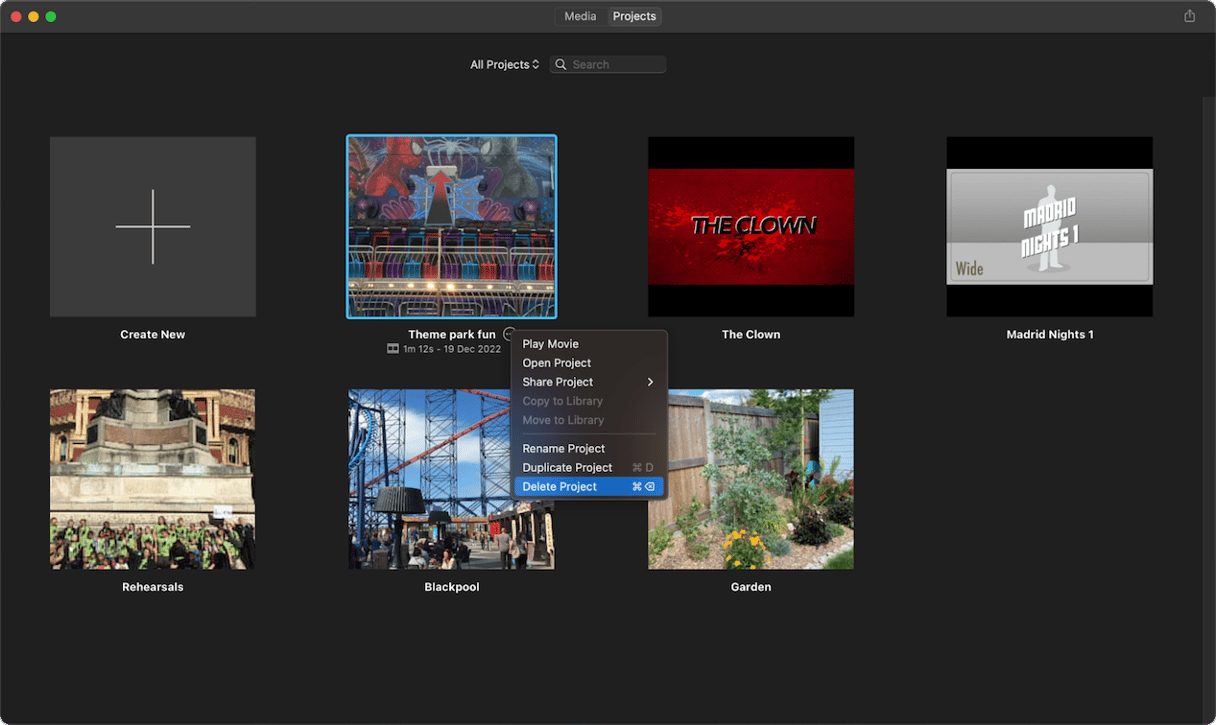
- Abra o iMovie.
- Clique em Projetos na parte superior da janela.
- Posicione o cursor sobre o nome do projeto que deseja apagar.
- Clique no ícone com as reticências.
- Selecione Apagar Projeto.
- Repita os passos 3–5 para todos os projetos que deseje apagar.
Apague arquivos desnecessários
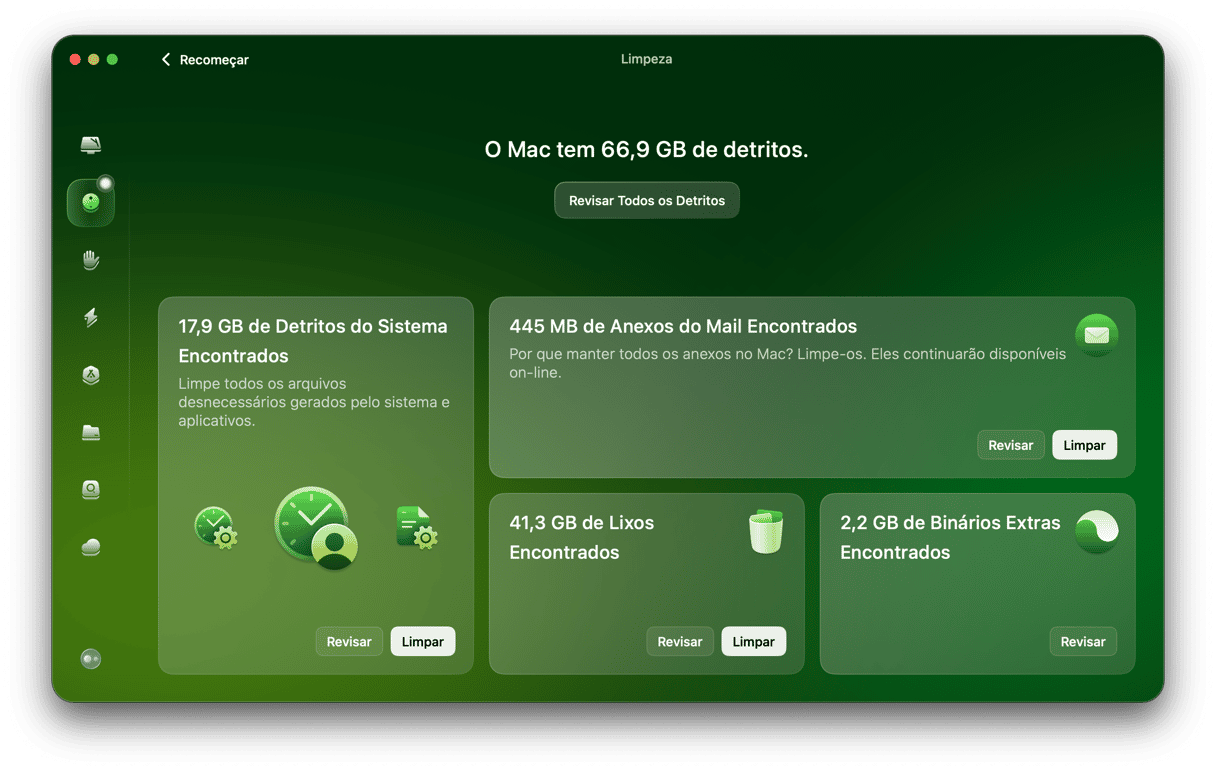
Esta é a solução mais simples, já que não exige que você mexa nos projetos. No entanto, é difícil realizá‑la manualmente, pois você precisa identificar e encontrar os arquivos antes de apagá‑los. A solução é usar um app concebido para esse propósito. Recomendamos o CleanMyMac. O módulo Limpeza do CleanMyMac identifica arquivos desnecessários, como os de idiomas que você não usa, itens temporários que já deveriam ter sido apagados (mas não foram) e caches antigos. Você pode apagar tudo isso com um único clique ou escolher os que você quer remover. Comece com uma avaliação gratuita do CleanMyMac.
Elimine arquivos de renderização
Se você quiser manter um projeto, mas reduzir o espaço que ele usa no Mac, apague os arquivos de renderização. Esses arquivos são criados quando você pré‑visualiza ou exporta um filme. Se você decidir alterar o filme mais tarde e precisar pré‑visualizar ou exportar o vídeo novamente, o iMovie recriará os arquivos de renderização. Este processo apaga os arquivos de renderização de todos os projetos na biblioteca. Mas conforme já dito, o iMovie os recriará da próxima vez que você pré‑visualizar ou exportar um projeto. Para apagar os arquivos de renderização:
- No iMovie, clique no menu iMovie.
- Clique em Ajustes.
- Clique em Apagar ao lado de “Arquivos de Renderização”.
- Clique em Apagar novamente para confirmar a remoção.
Apague mídias ou eventos
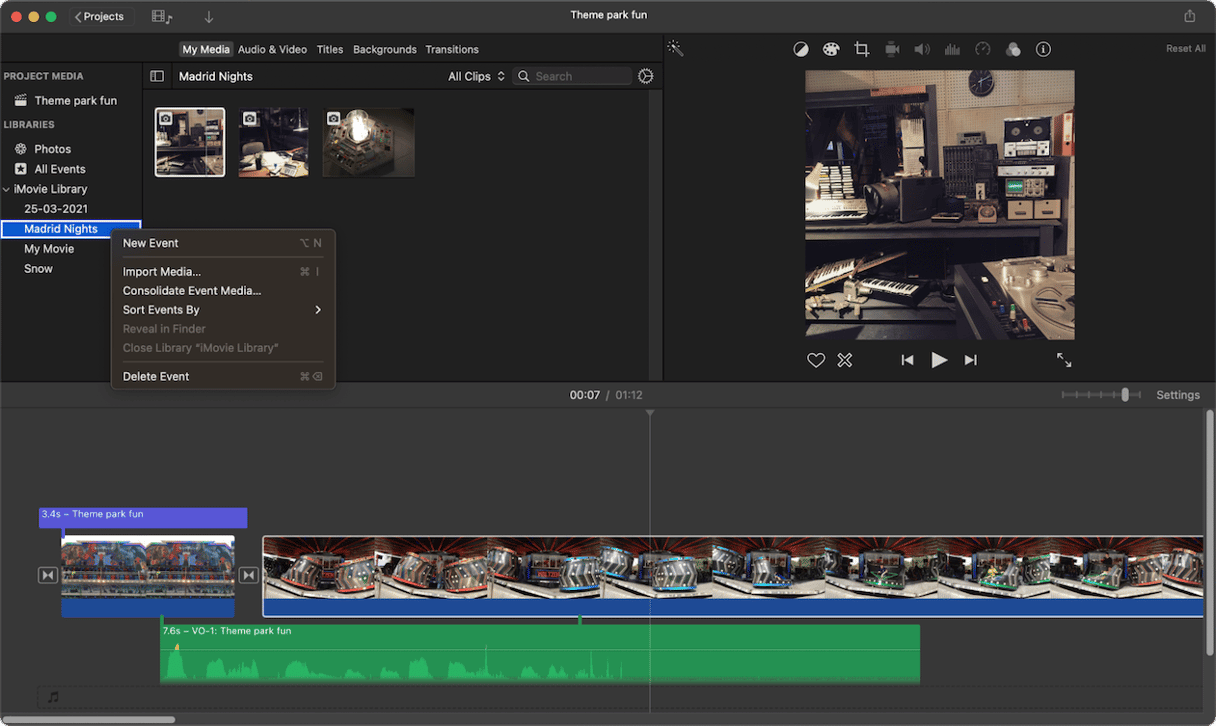
Outra maneira de liberar espaço é removendo mídias ou eventos inteiros do iMovie. Para apagar um evento, Control + clique (ou clique com o botão direito) no evento na barra lateral e escolha Apagar Evento.
Para apagar um clipe de mídia, clique duas vezes em um evento para abri‑lo, Control + clique no clipe e escolha “Apagar Mídia do Evento”.
Apague arquivos grandes e antigos
Uma forma de liberar espaço rapidamente sem afetar a maneira como você usa o Mac é eliminando arquivos grandes que não são abertos há tempos. O módulo Fundo do Baú do CleanMyMac identifica esses arquivos em instantes e permite que você os apague.
Mova e redefina a biblioteca do iMovie
Por padrão, o iMovie armazena todos os projetos, clipes e outras mídias usadas em um arquivo imenso na pasta Filmes, dentro da sua Pasta Pessoal. Mas você pode movê‑lo para outro local ou disco. Se você colocá‑lo em um disco externo, poderá apagar o arquivo da sua Pasta Pessoal e recuperar todo esse espaço.
Este método é mais adequado a Macs não portáteis, como um iMac, onde você tenha um disco externo conectado permanentemente. Mas você também pode usá‑lo com um laptop, desde que se lembre de conectar o disco quando quiser usar o iMovie.
- Encerre o iMovie.
- Escolha um disco externo apropriado (também é possível usar um pen drive).
- Se o disco contiver dados, apague‑o com o Utilitário de Disco (use o formato APFS).
- Quando a formatação terminar, clique no disco e pressione Command + I para mostrar a janela Obter Informações.
- Role até a parte inferior da janela e observe a seção “Compartilhamento e Permissões”.
- Verifique se a opção “Ignorar propriedade neste volume” está selecionada. Caso não esteja, clique no cadeado, digite seu nome e senha de administrador e selecione‑a.
- Abra a pasta Filmes dentro da sua Pasta Pessoal.
- Arraste o arquivo “Biblioteca do iMovie” para o disco externo.
- Quando o processo de cópia terminar, clique duas vezes no arquivo para abrir o iMovie.
- Verifique se todos os projetos, eventos e mídias estão presentes.
- Se tudo estiver certo, arraste o arquivo “Biblioteca do iMovie” original (na pasta Filmes, dentro da sua Pasta Pessoal) para o Lixo.
- Esvazie o Lixo.
Com as dicas acima, é possível liberar bastante espaço no Mac e nunca mais ver o erro de falta de espaço em disco para o iMovie.


