Most of the time, when you update macOS, everything just works. There are no issues, and apps open and run as they should. Occasionally, however, you may run into problems. One of those problems is that some apps won’t launch after you update. Maybe they bounce in the Dock and then nothing happens, or maybe you see a splash screen and then the app crashes. You might even see an error screen that says, ‘the application can’t be opened in macOS Sonoma.’ However it happens, apps not launching in macOS Sonoma is frustrating and can be time-consuming to fix. In this article, we’ll show you exactly what to do to get those apps up and running again as quickly as possible.
Why are macOS Sonoma apps not working?
There are a few reasons why some apps might not work in macOS Sonoma:
- The app needs to be updated to run in macOS Sonoma, and the developer hasn’t done it yet. Or you haven’t installed the update.
- Some of the files associated with the app have become corrupt.
- There’s a permissions problem with the volume where the apps are installed.
How to fix ‘the application can’t be opened in macOS Sonoma’
1. Check macOS Sonona is up to date
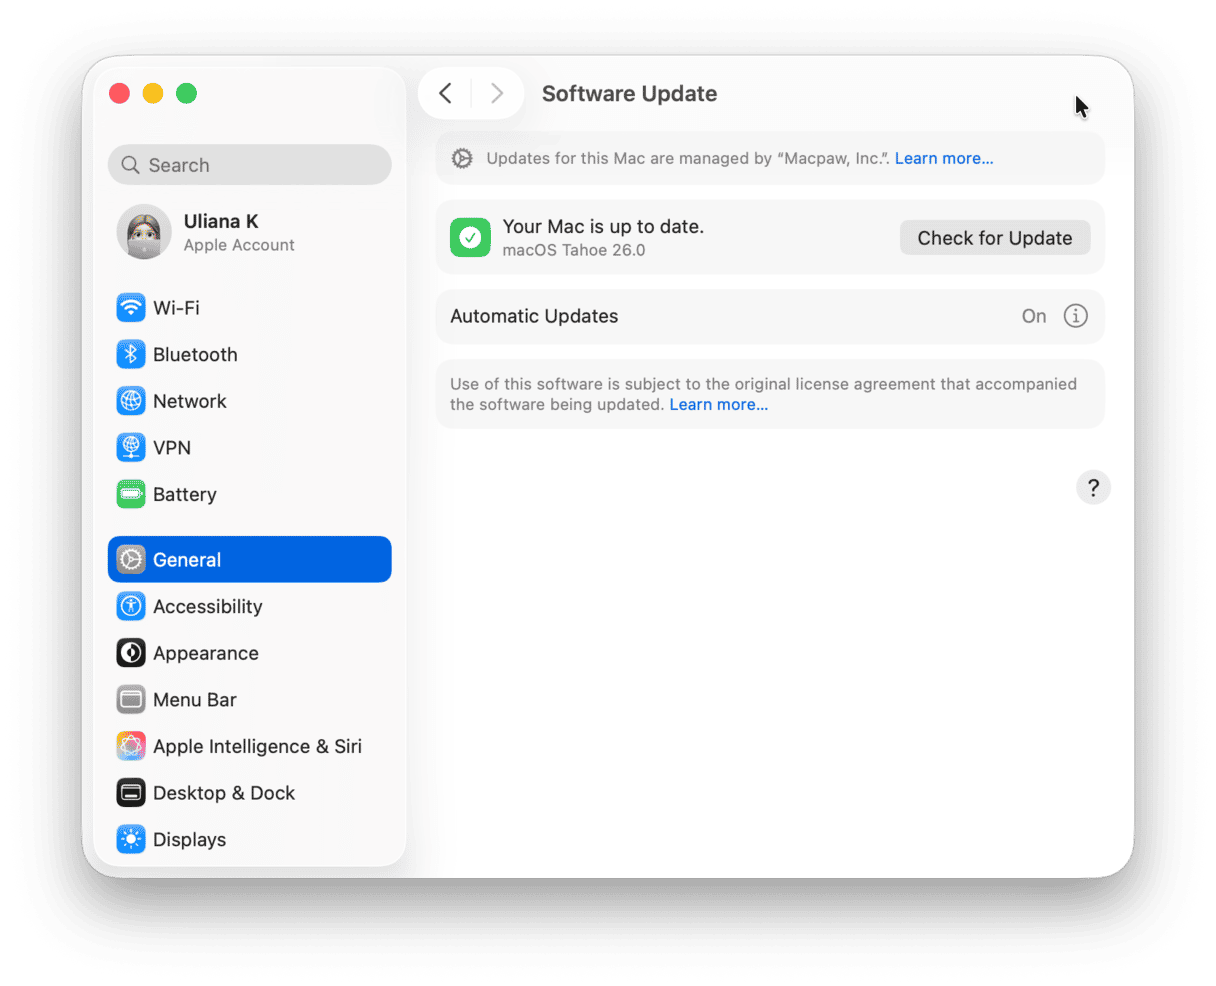
The first thing you should do in any situation where you have a problem with software on your Mac is to check for an update to the OS.
- Click on the Apple menu and select System Settings
- Go to General and then Software Update.
- Wait for it to check for updates. If there is one available, follow the instructions on the screen to install it.
2. Check the app is up to date
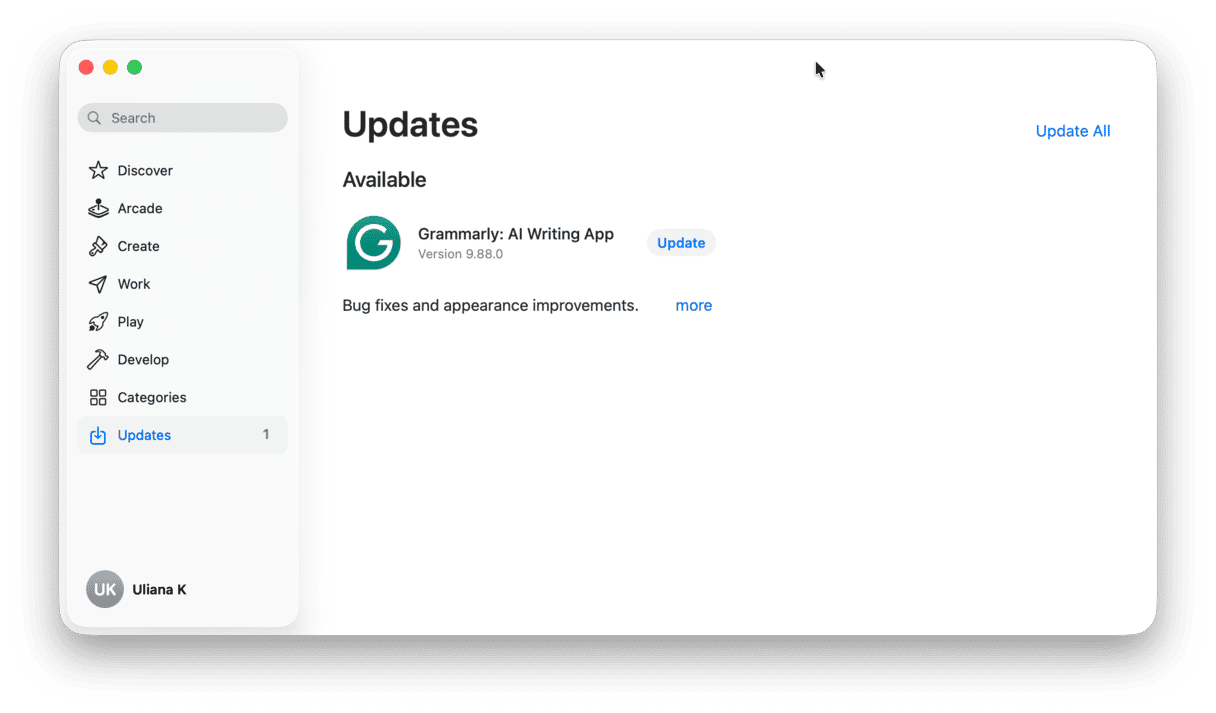
It could be that the developer has updated the app to be compatible with Sonoma, but you haven’t yet installed the update. If it’s an App Store app, open the App Store and choose the Updates section. If there is an update available, install it. If it’s not an App Store app, go to the developer’s website, find the support section, and look for an update.
3. Reset the app
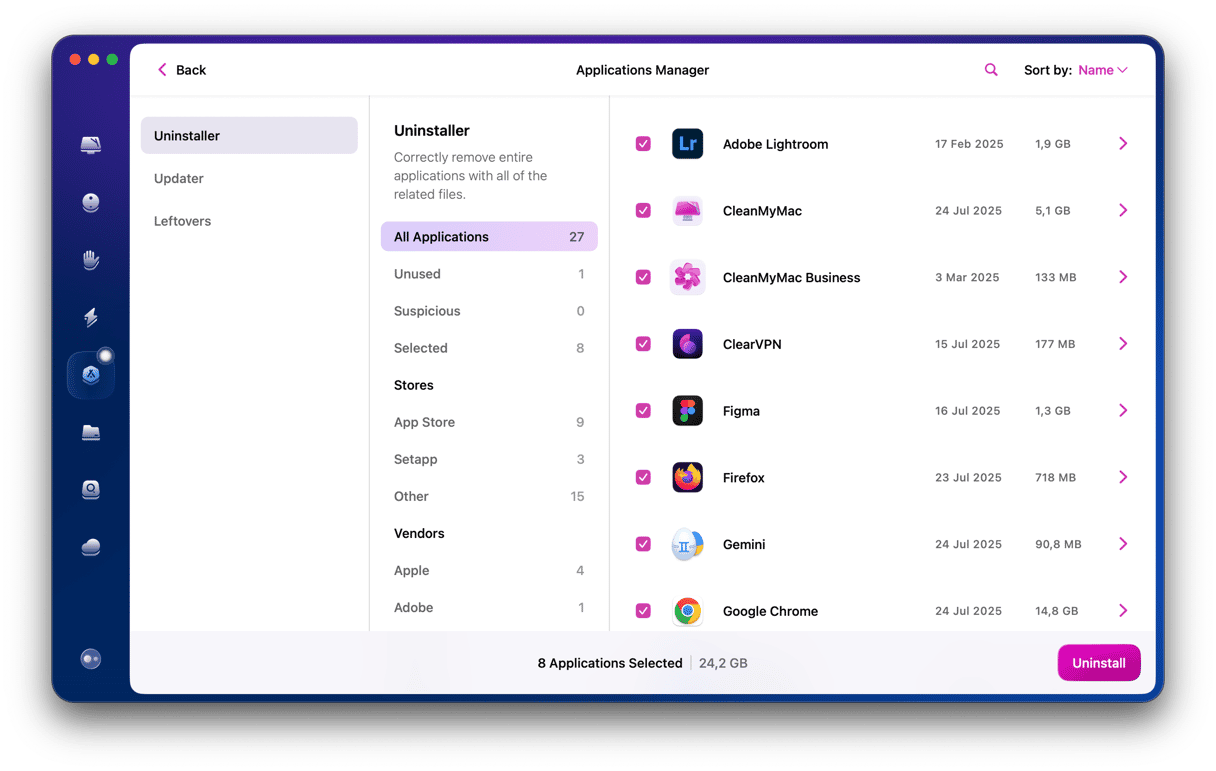
If an app’s files get corrupted after upgrading to Sonoma, you may not need to completely uninstall it. Sometimes, resetting it to the state it was in when you first installed it can fix the problem. To do that, you need to remove all the settings files it has installed. Doing that manually can be tricky, but thankfully, you don’t have to. CleanMyMac’s uninstaller module has the option to reset any app. You just choose the module, select the app, click the dropdown menu next to its name, choose Reset, and then click the Reset button. Best of all, you can download CleanMyMac for free here.
4. Reinstall the app
If resetting the app doesn’t fix the problem, the next step is to reinstall it. Make sure you uninstall it completely first. The best way to do that is to use the Uninstaller in CleanMyMac. Just select Uninstall instead of Reset. Then you can re-download it and install it again.
5. Repair disk permissions
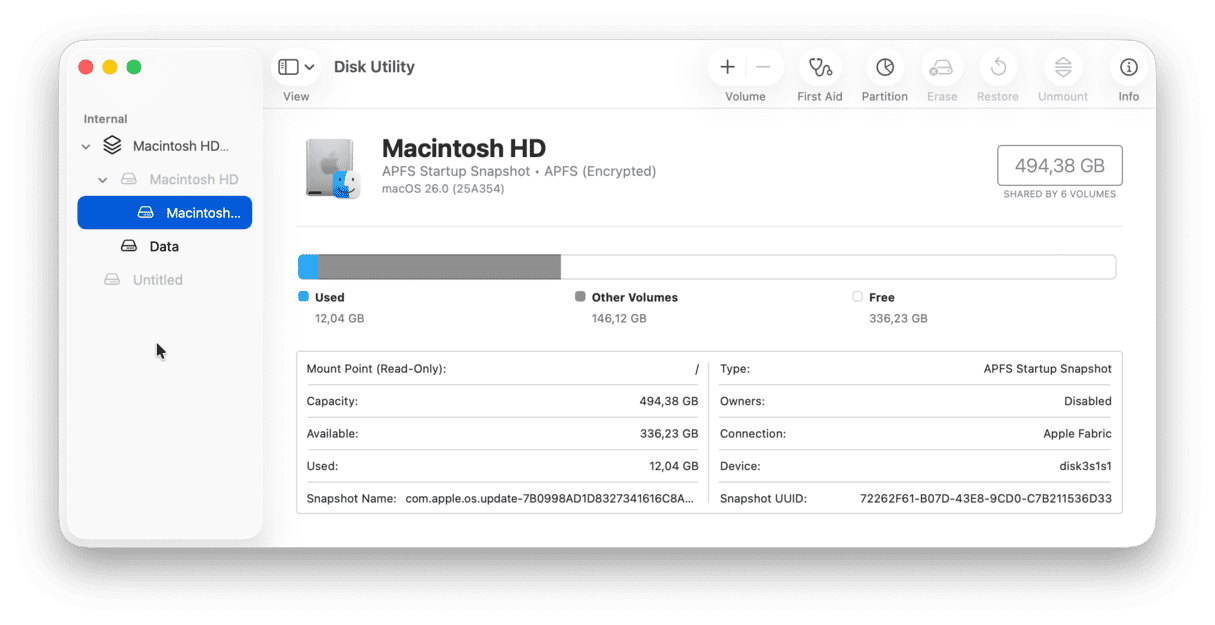
If disk permissions for files associated with an app are changed or broken, it can cause problems for the app. There are a couple of ways to repair disk permissions. The first is to use Disk Utility:
- Go to Applications > Utilities and open Disk Utility.
- Select the volume on which the app is installed in the sidebar.
- Click First Aid in the toolbar.
- Wait for Disk Utility to run checks and repair any problems it finds.
- When it’s finished, quit Disk Utility and try opening the app again.
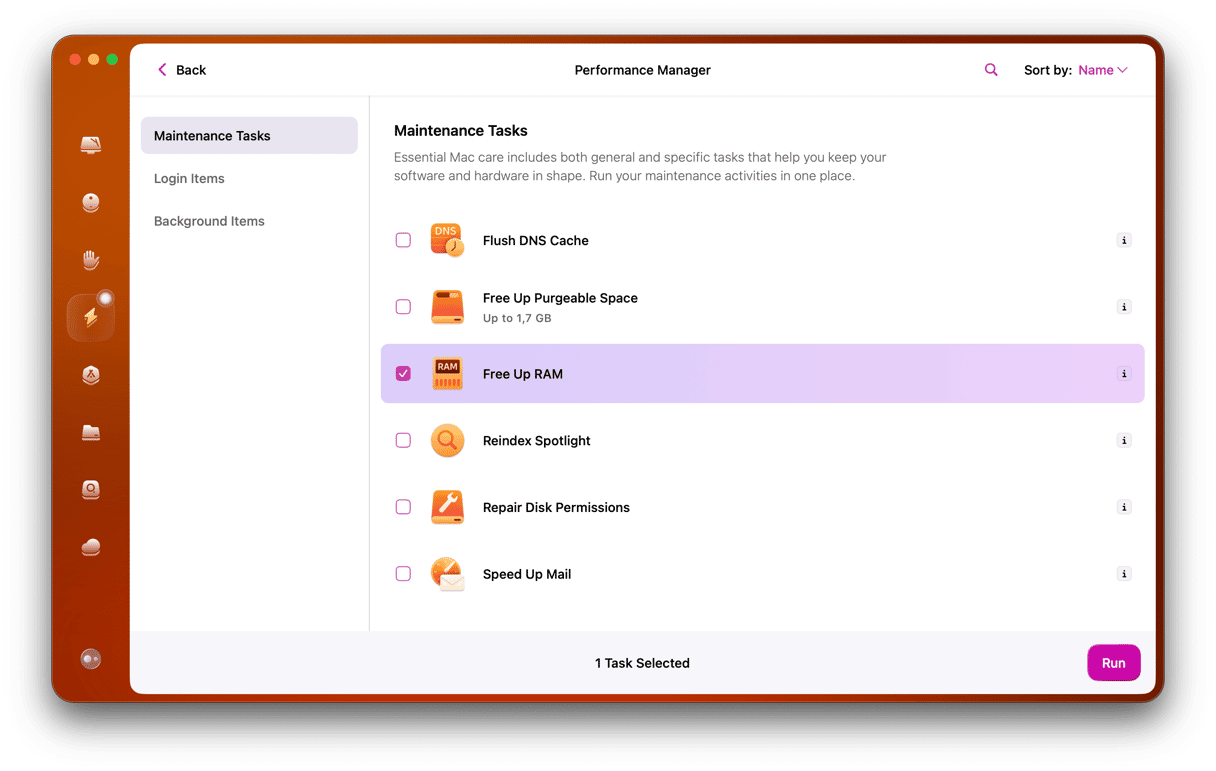
The other way to repair disk permissions is to use the Maintenance module in CleanMyMac. Just select Maintenance, then Repair Disk Permissions, and click Run.
6. Reinstall Rosetta 2
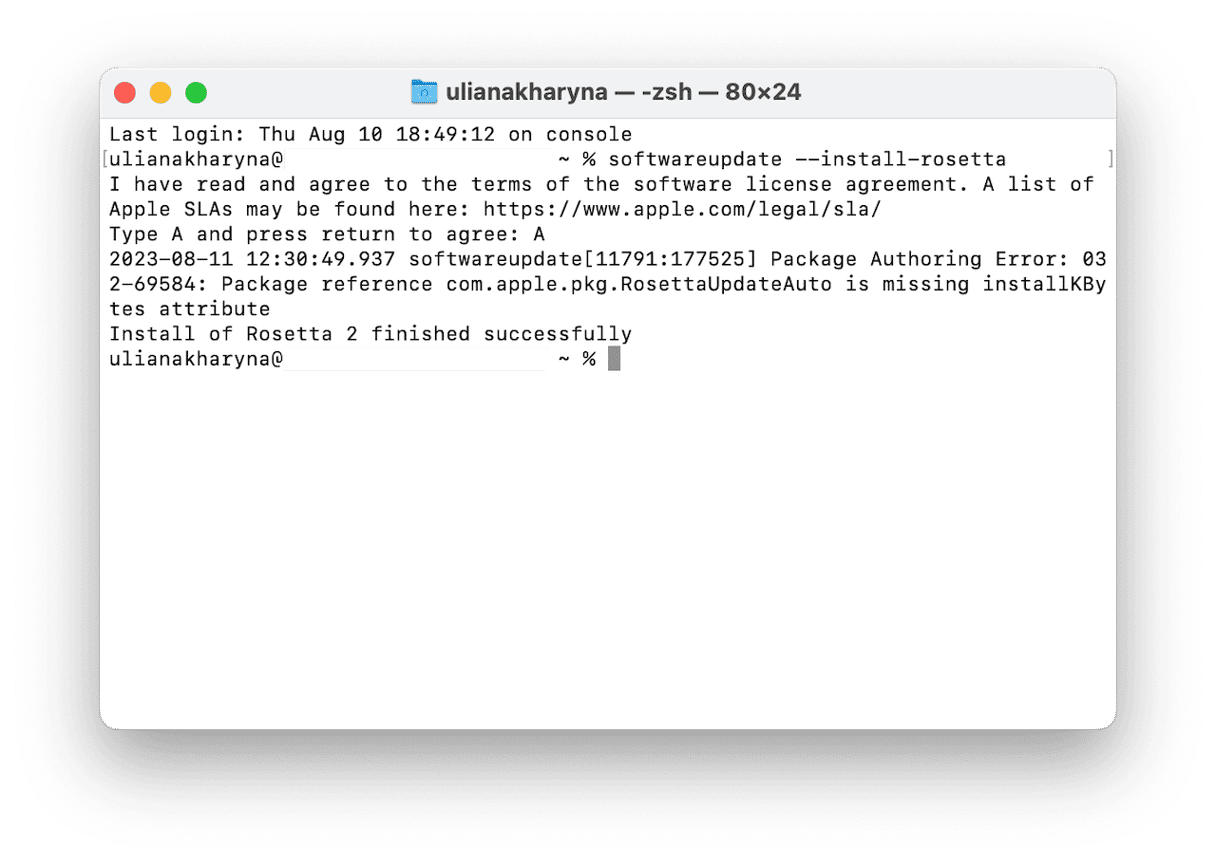
When Apple moved from Intel-based chips to its own silicon, it meant that developers had to rebuild their apps to work optimally with the new Macs. In order to make it easier and smoothen the transition, Apple introduced Rosetta 2. Like its predecessor, Rosetta, which eased the transition from PowerPC to Intel, Rosetta 2 provides virtualization tools that allow apps coded for Intel to run on Apple silicon. Sometimes, however, when you upgrade to a new version of the OS, Rosetta 2 isn’t installed or gets corrupted. That means that non-native apps won’t run in Sonoma. The solution is to reinstall Rosetta 2. Here’s how to do that:
- Go to Applications > Utilities and open Terminal.
- Type the following command and press Return:
softwareupdate --install-rosetta - When the license agreement appears, follow the instructions on the screen.
- After a few seconds, you’ll see confirmation that Rosetta 2 has been installed.
- Quit Terminal.
- Now try to run the application again.
7. Contact the developer
If none of the steps above work, the next step is to contact the developer of the app. To start with, go to the support page on its website and look for any information there on Sonoma. If you can’t find anything, use the contact form or email address to get in touch with them and ask for help.
Upgrading to macOS Sonoma should be exciting and free from problems. To coin a phrase, it should just work. But often, it doesn’t. One of the ways in which it can go wrong is that apps you rely on won’t open after you upgrade. To avoid that, it’s worth checking before you upgrade that all the apps you use are compatible with the new macOS version. If it does happen that you upgrade and an app doesn’t launch, don’t panic. There are lots of things you can do to try and fix the problem. Follow the steps above one by one, and you should have the app running again very soon.


