Apple’s iMovie video editing tool stores several gigabytes of data on your Mac. If you use it a lot, it could be tens of gigabytes. And if you’ve been using it for several years, you will have accumulated lots of data in folders that iMovie 10 doesn’t use. In this article, we’ll show you how to free up space used by iMovie by deleting and moving data, and we’ll explain what is safe to delete and what you should be more cautious about.
What is iMovie library?
In iMovie 10, everything needed for every project you’re working on is stored in one file called iMovie Library. It’s in the Movies folder in your home directory, and it contains all data and media used to make movies in the app. It also includes all iMovie events and projects.
How to delete iMovie library in one click
Before we proceed with the manual way to clear iMovie library on Mac, let us first introduce a quick and easy way to do it. CleanMyMac can help identify large and old files, such as projects in iMovie library, so that you can easily see what is taking up space on your Mac and decide whether to delete them. Its Large & Old Files feature that comes with the My Clutter feature scans your Mac to quickly see the largest files on your Mac and those files you haven’t opened in a while.
- Get your free CleanMyMac trial. Then, open it from your Applications folder.
- Select My Clutter from the sidebar and run a scan.
- Click Review All Files > Large & Old Files > Videos.
- Select the files you want to delete and click Remove.

How to clear iMovie library manually
To clear iMovie library manually, delete render files. These are the files iMovie creates when you preview or export a movie. Essentially, iMovie takes all the instructions you’ve given during the editing process and applies them to the clips on the timeline to produce the movie you want to view. You can delete these, and doing so will free up lots of space in your iMovie Library. However, if you go back to edit the movie, the render files will need to be recreated.
Here’s how to delete render files in iMovie:
- Open iMovie and click iMovie (from the menu bar).
- Choose Settings.
- Click Delete next to Render Files.
- Click Delete again to confirm.

You can also delete individual clips or events from within iMovie by selecting them and choosing File > Move to Trash and then emptying the Trash.
How to move iMovie library to external drive
If you’ve removed all the clips from your iMovie Library, but it’s still taking up too much space on your boot drive, the solution is to move it to an external drive. This is easier if you use a desktop Mac because you can keep the external drive permanently connected. If you use a portable Mac, you will have to remember to plug in the external drive each time you use iMovie.
- Quit iMovie.
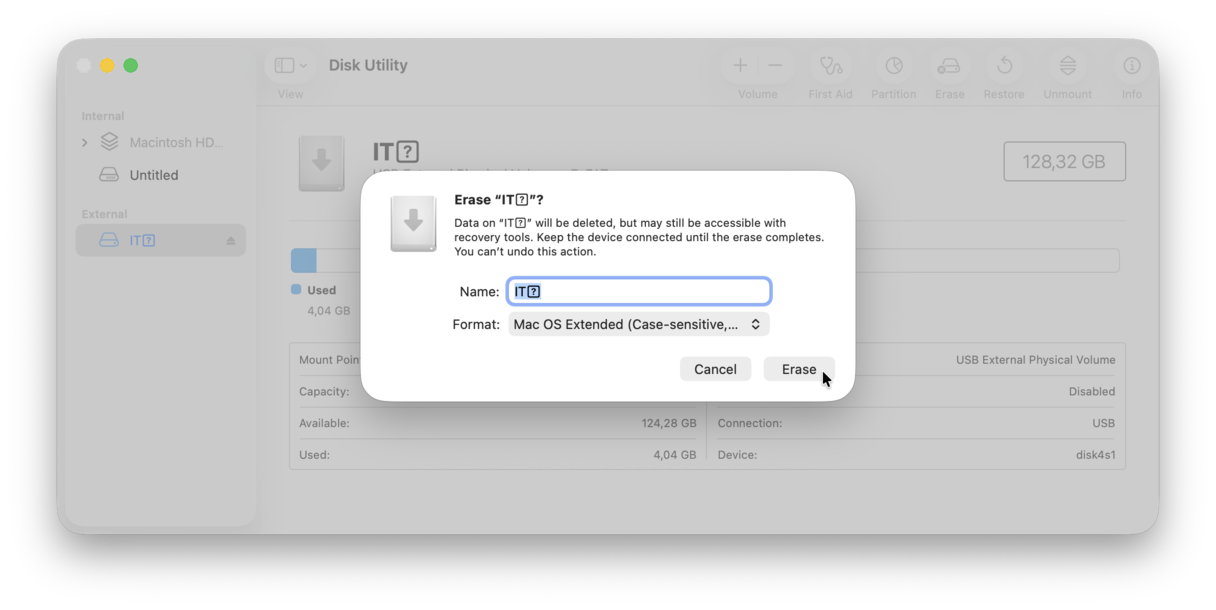
- Choose your external drive and connect it to your Mac. It needs to be formatted as APFS or MacOS Extended (Journaled). If it’s not, open Disk Utility (Applications > Utilities > Disk Utility) and erase it, so it reformats as one of those two formats.
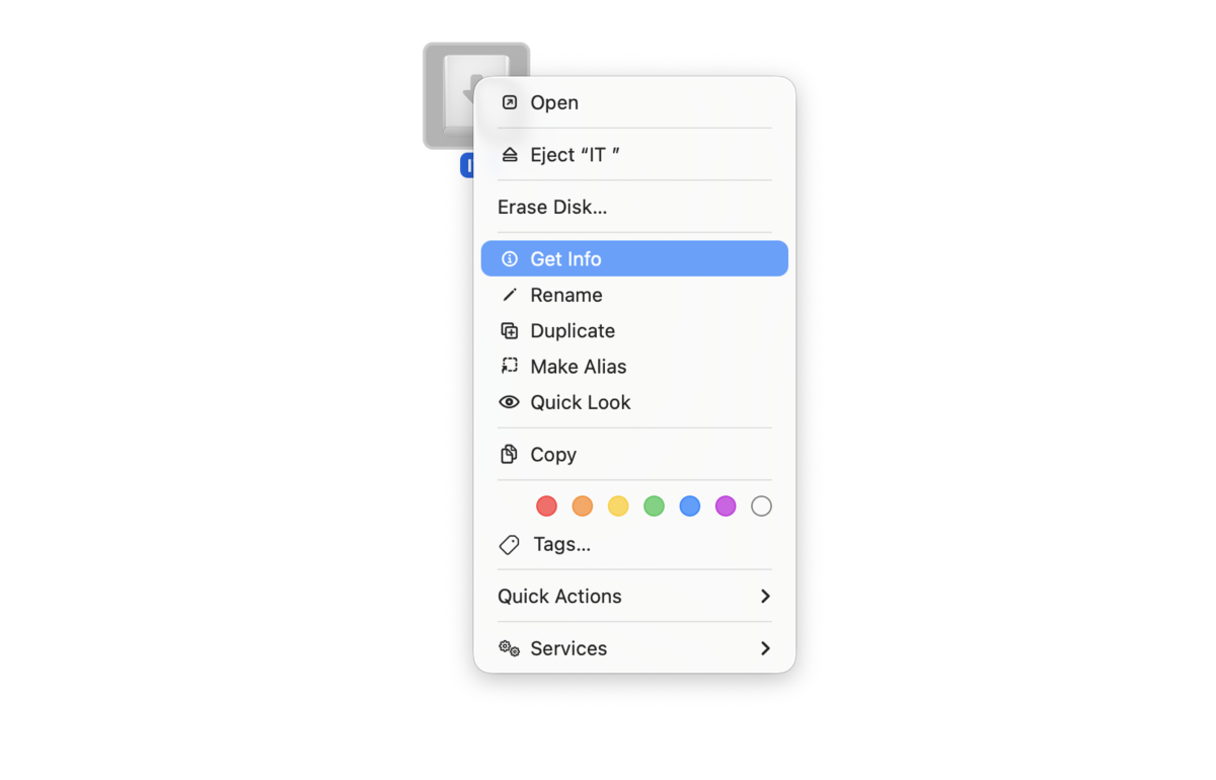
- In a Finder window, click on the external drive, then go to the File menu and choose Get Info.
- Click the triangle next to Sharing & Permissions at the bottom of the window so you can see the options.
- Make sure “Ignore ownership on this volume” is selected. If not, click the padlock, type in an administrator name and password, and then select the box.
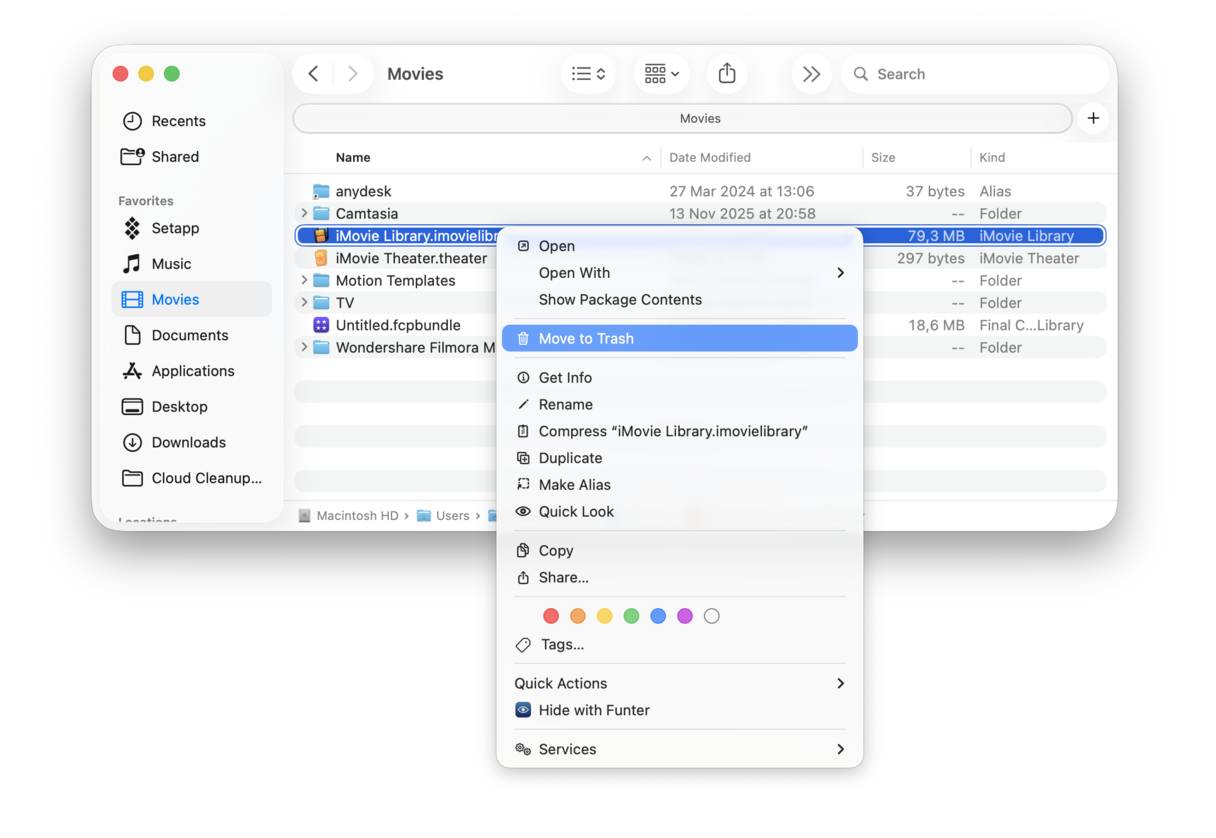
- Navigate to the Movies folder in your user home directory.
- Drag the file iMovie Library to the external drive.
- When it has finished copying, double-click it to open it in iMovie. If you see an alert that asks you to give iMovie access to a removable volume, click OK.
- Check all the clips that should be there are there.
- Quit iMovie.
- Send the original iMovie Library from your Movies folder to the Trash and empty it.


Editing videos in iMovie takes up a great deal of space on your Mac. And everything is stored in one file — iMovie Library. So, to remove clips and free up space, you should do it within iMovie. You can also use CleanMyMac to identify and remove large and old files and spot which files are using the most space on your Mac. As an alternative, you can move your iMovie Library to an external disk.
Frequently asked questions
Why is my iMovie library so big and how do I fix it?
Your iMovie library is likely huge because of render files (temporary working files generated for editing), high-quality imported media, and preserved event backups. You can easily reclaim space without losing your final exported videos by deleting render files, moving old projects to an external drive, and archiving old projects.
Will deleting the iMovie library delete my videos?
Yes, deleting your iMovie library folder will delete your projects, events, and all raw source media stored inside it. However, any exported or finished videos that you saved to your Mac (like to your Desktop or Documents folders) will remain completely safe.
How do I clear the iMovie cache on Mac?
Once you delete render files (as shown above), you are essentially clearing out the iMovie cache. But there is an alternative way to clear iMovie cache — via the Finder. Open a new Finder window, press Command + Shift + G, and paste this path followed by Return:
~/Library/Containers/com.apple.iMovieApp/Data/Library/Caches/
Delete the content of the Caches folder (the one that opens after you press Return).