Most of us are keen to update to a new version of macOS as soon as it is available. macOS Big Sur has been out since November 12, still, many users couldn't update their Macs straight away. It’s very frustrating if you see a message telling you that you don’t have enough space to install the new macOS. Don’t worry, though. There are lots of things you can do to fix it. We’ll show you what they are in this article.
How much space do you need for Big Sur?
While the installer for Big Sur takes up less than 16GB of space, you should make sure that you have at least 20GB of free space on your startup disk before you try to download and install it. The more free space, the better. Your Mac uses disk space to store temporary files and provide storage for active apps and tasks (which is what RAM does), so you should never be running with almost no disk space left.
How to free up space for macOS Big Sur?
Complete the following steps to ensure your Mac is ready to update to Big Sur.
1. Backup your Mac
Back up all files and data stored on your Mac, preferably twice to different locations. While upgrading to Big Sur is safe, you never know when something might go wrong. If you use Time Machine or another backup tool, run a manual backup just before you upgrade. And, if you can, clone your startup disk to an external drive, too.
2. Free up disk space using CleanMyMac
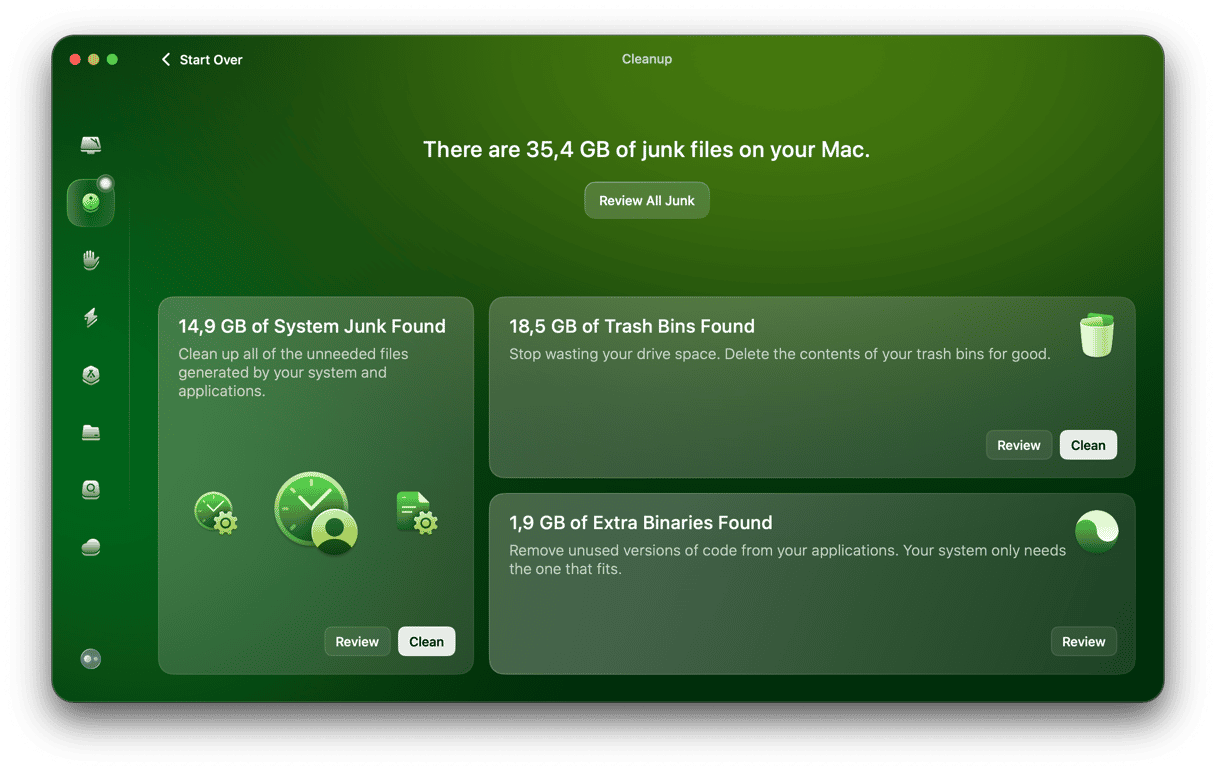
Start your free CleanMyMac trial. This tool will help you clear some space and delete large and old files quickly.
- Launch CleanMyMac.
- Choose Cleanup in the sidebar and press Scan.
- When it’s finished, press Clean to free up space, or Review to find out more.
3. Get rid of large and old files
Media files usually gobble up a large amount of disk space. And the worst thing is they are scattered around Mac’s folders, making it difficult to find and remove them. CleanMyMac proves to be useful here:
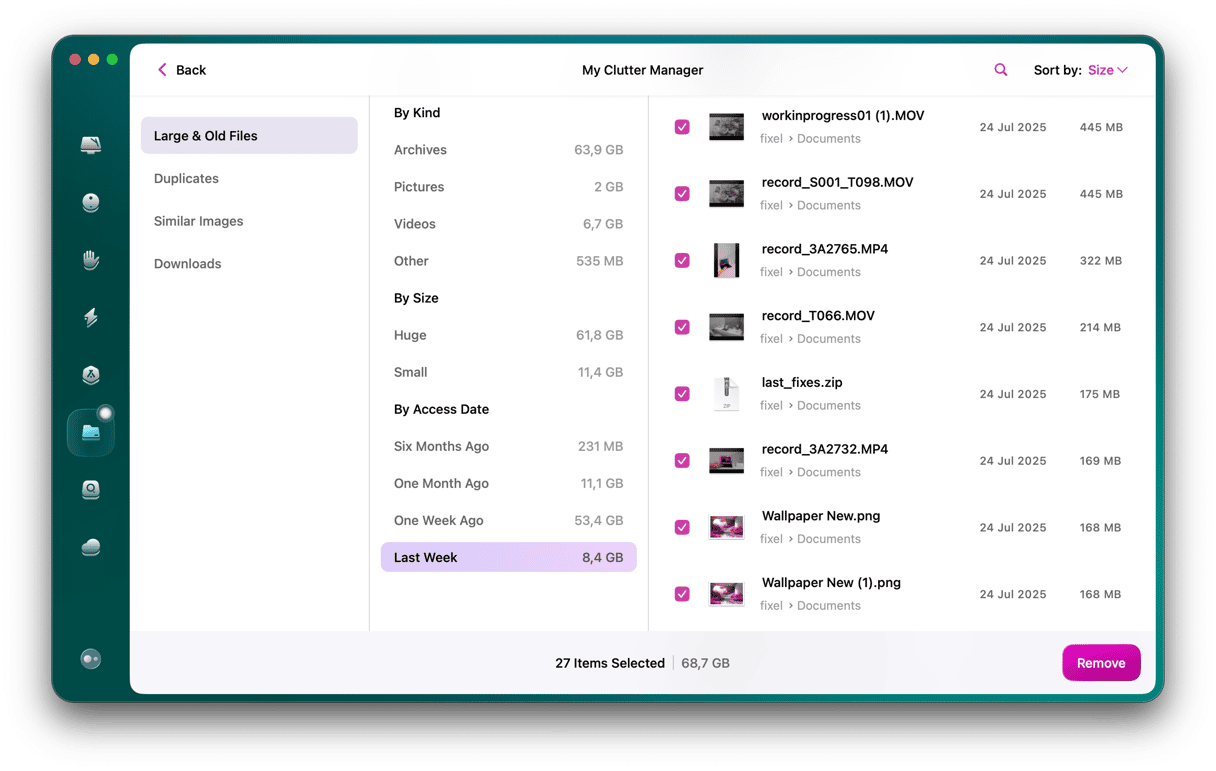
- Choose My Clutter in CleanMyMac’s sidebar.
- Press Scan.
- When finished, click Review All Files.
- Check the files that you want to delete and press Remove.
4. Use Apple’s built-in storage management tool
Apple has provided a method for you to manage storage by showing you what is taking up disk space and making recommendations for deleting. It’s not as quick and easy as CleanMyMac, but it can help you save disk space. Here’s how to use it.
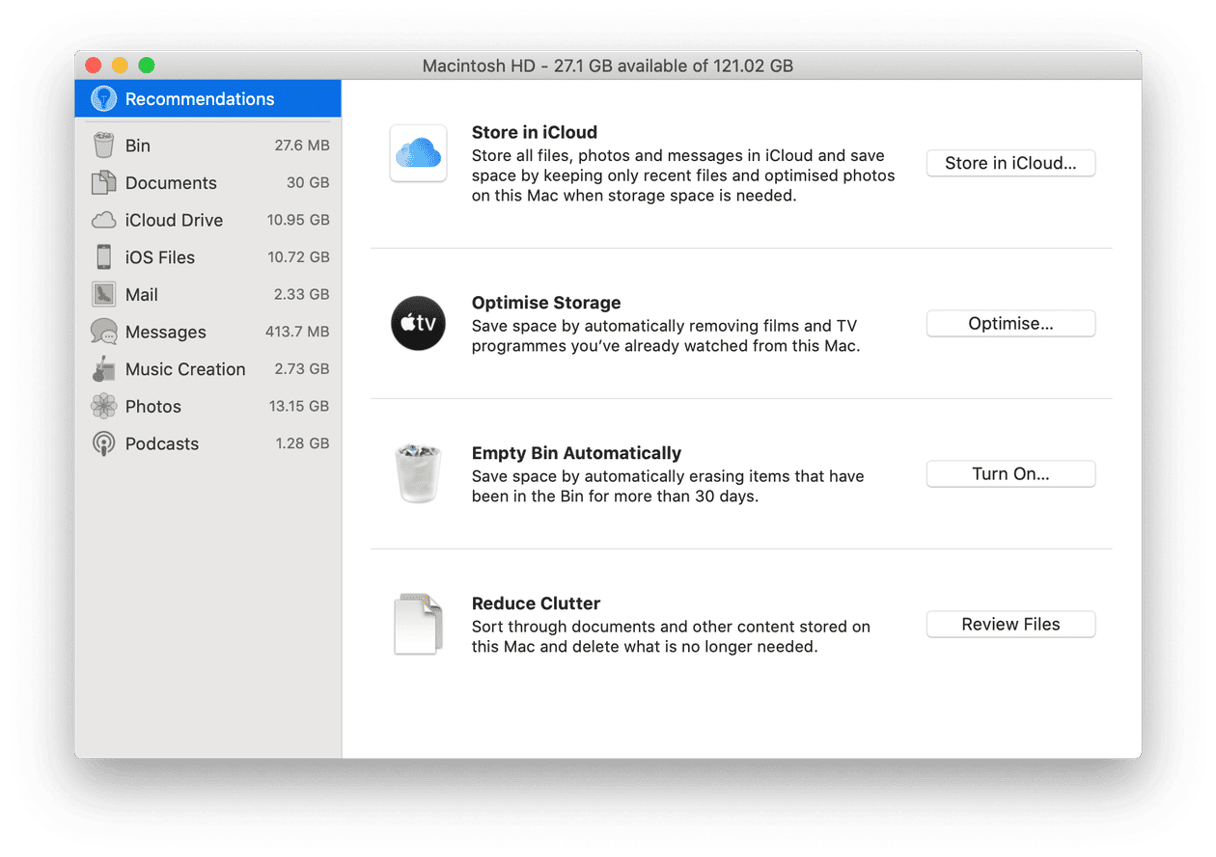
- Click on the Apple menu and choose About this Mac.
- Select Storage and press Manage.
- In the Recommendations section, review each section in turn.
- Now go through each of the sections in the sidebar.
- Delete files or take further action, depending on what you choose.
5. Delete local Time Machine snapshots
There is one other thing you can try if you keep getting a message telling you that you do not have enough space to install Big Sur. You should only try it if you are sure there is enough space on your startup disk and that the message is wrong. And it will only work if you use Time Machine to back up your Mac.
Time Machine stores local snapshots on your Mac. Your Mac is supposed to count the space used by snapshots as free space, which is why it looks like you have enough space for the installation.
However, it seems that the installer may not realize the space is free. The solution is to delete the snapshots. This won’t remove backups on your backup disk, just snapshots on your Mac.
Open Time Machine from System Preferences. Uncheck Back Up Automatically and wait some time till Time Machine deletes snapshots. Then you can turn Time Machine back on.
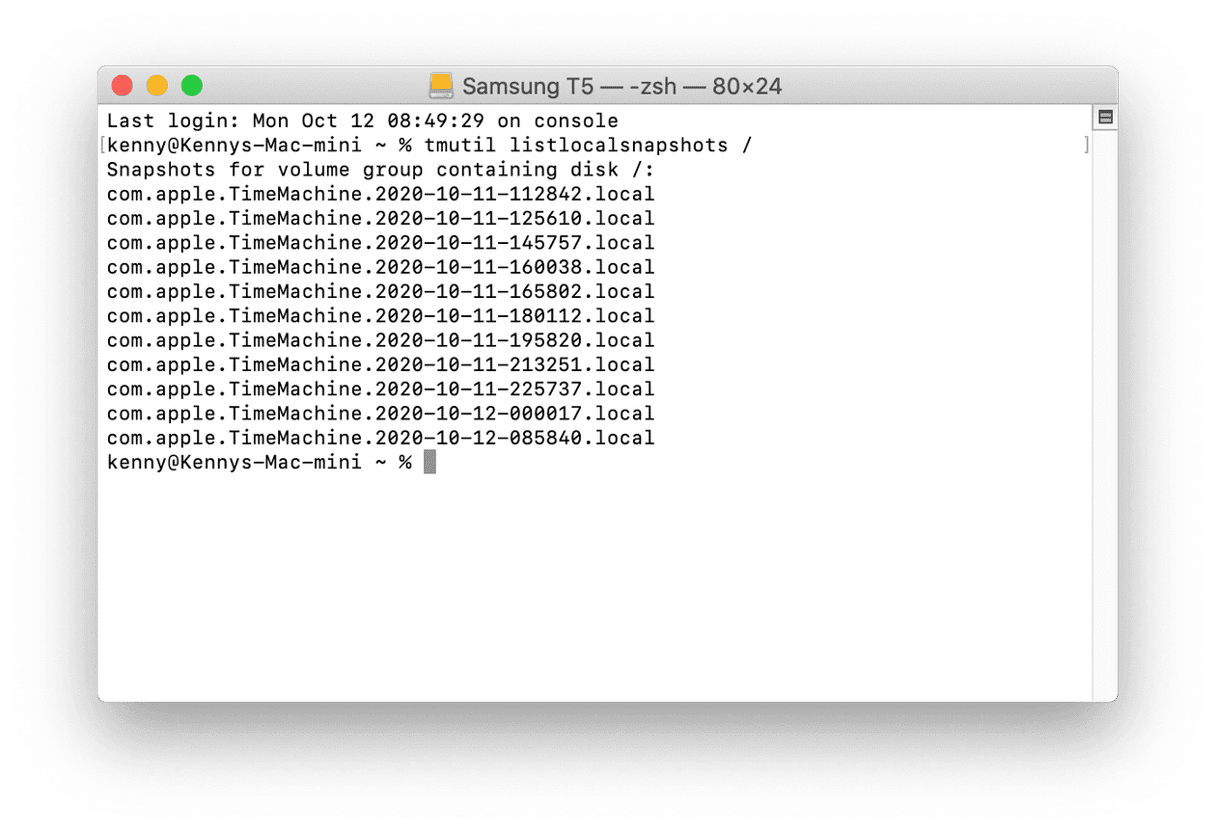
If you’re familiar with Terminal, you can try deleting local snapshots manually.
- Go to Applications > Utilities and launch Terminal.
- Type:
tmutil listlocalsnapshots / - You will see a list of snapshots that look like this:
com.apple.TimeMachine.2020-10–09-002010.local - To delete a snapshot, type:
sudo tmutil deletelocalsnapshots - Then type the date part of the snapshot name. For example:
sudo tmutil deletelocalsnapshots 2020-10–09-002010 - Type Return and repeat for each snapshot you want to delete.
Hopefully, this helped you free up some space and update your Mac to the latest OS. If you're just preparing your Mac for the upgrade, don't forget to back up your data before you start clearing space. So you won't be afraid of losing anything important.


