Cada año, después del lanzamiento una nueva versión de macOS, los usuarios de Mac se lanzan a actualizar sus equipos y aprovechar todas las nuevas funciones y mejoras. Muchos ni siquiera esperan a que se lance la versión final e instalan la beta pública. Para la mayoría, la actualización va sin problemas y pueden disfrutar de la última versión de macOS sin ningún problema. Sin embargo, hay usuarios que pronto se arrepienten de haber instalado la nueva versión y comienzan a preguntarse cómo desinstalar macOS Sequoia. La buena noticia es que es posible volver a la versión anterior de macOS en tu Mac. En este artículo te vemos a mostrar cómo hacer un downgrade de macOS Sequoia.
¿Por qué volver de macOS Sequoia?
Hay varias buenas razones por las que podrías querer hacer un downgrade de macOS Sequoia. Podría ser que tu Mac funcione lento o menos estable después de actualizar. O que algunas apps que necesitas no funcionen correctamente en Sequoia. O simplemente no te gusta el nuevo diseño o las funciones y quieres volver a Sonoma.
Antes de hacer el downgrade de macOS Sequoia
Si la razón por el que quieres hacer un downgrade de macOS Sequoia es que tu Mac funciona más lento o es inestable en comparación con Sonoma, hay una cosa que puedes probar primero. Ejecuta varias tareas de mantenimiento y optimiza el rendimiento del sistema. Las tareas de mantenimiento incluyen cosas como los scripts de mantenimiento de macOS, indexación de Spotlight, liberación de la RAM y vaciar la caché de DNS. Además, reducir el paso de los respaldos de Time Machine, reparar los permisos del disco y acelerar Mail puede ayudar a que tu Mac tenga un mejor funcionamiento. Para optimizar tu Mac, tienes que revisar los ítems de inicio y los procesos en segundo plano para asegurarte de que solo estén funcionando lo programas que necesitas, deshabilitando el resto. Hacer todo eso de manera manual consumiría mucho tiempo y sería muy laborioso. Pero no tienes que hacerlo manualmente. Los módulos Mantenimiento y Optimización de CleanMyMac pueden hacer todo esto por ti con solo hacer varios clics. En combinación, los módulos Mantenimiento y Optimización pueden hacer todo lo que hemos descrito antes y, lo que es aún mejor, puedes descargar CleanMyMac gratis aquí.

Cómo volver a Sonoma desde Sequoia
Entonces, ¿cómo puedes volver a una versión anterior de macOS? Existen tres formas principales de hacerlo y las vamos a ver en detalle más abajo.
Usar Time Machine
Espero que hayas hecho una copia de seguridad de tu Mac con Time Machine antes de actualizar a Sequoia. Si lo has hecho, es fácil volver a la versión anterior de macOS. Simplemente sigue estos pasos:
- Conecta el disco que contiene la copia de seguridad de Time Machine a tu Mac.
- Arranca tu Mac en el Modo de Recuperación. Para hacerlo en un Mac con procesador Intel, mantén presionadas las teclas Comando y R justo después de presionar el botón de encendido. En un Mac con Apple silicon, mantén presionado el botón de encendido hasta que aparezcan las Opciones de inicio. Haz clic en Opciones, luego en Continuar.
- Cuando aparezcan las Utilidades de macOS, elige Restaurar desde Time Machine y haz clic en Continuar.
- Selecciona tu disco de respaldo de Time Machine como la Fuente de Restauración.
- Selecciona la copia de seguridad desde la que quieres restaurar — tiene que ser el último respaldo que hayas hecho antes de la actualización y tiene que decir que se ha realizado con Sonoma.
- Selecciona Restaurar.

Hacer el downgrade en el modo recuperación
Si tienes un Mac con procesador Intel, es relativamente fácil reinstalar la versión de macOS que venía con tu Mac. Una vez hecho, puedes actualizar a Sonoma si hace falta. Existe un atajo de teclado para arrancar en modo recuperación que instala la versión de macOS que venía con el equipo originalmente, en vez de reinstalar última la versión de macOS que se instaló en tu Mac. Así es cómo puedes hacerlo:
- Apaga el Mac.
- Presiona y mantén Mayús. + Opción + Comando + R y luego presiona el botón de encendido.
- Suelta las teclas cuando veas el logo de Apple.
- Cuando veas las Utilidades de macOS, elige Reinstalar macOS.
- Espera a que macOS se reinstale.

Usa un instalador ejecutable
Si no has creado una copia de seguridad de Time Machine para hacer la restauración y tienes un Mac con Apple silicon, no podrás usar el método de modo de recuperación que hemos explicado. Aun así, sigue siendo posible hacer un downgrade de Sequoia, pero será algo más difícil. Vas a tener que crear un instalador de arranque en una memoria USB, arrancar tu Mac desde el USB, luego borrar tu disco de arranque e instalar macOS desde la memoria USB. Si esto suena algo complicado, no te preocupes, te lo explicamos todo paso a paso. Requiere del uso de un comando de Terminal, pero puedes simplemente pegarlo desde las instrucciones.
- Prepara una memoria USB con al menos 16GB de espacio libre. Si ya la has utilizado antes, conéctala a tu Mac, abre la Utilidad de Discos, selecciona la memoria USB y selecciona Borrar. Formatéala como APFS y llámala macOS Sonoma installer.
- Haz clic aquí para descargar macOS Sonoma desde la App Store.
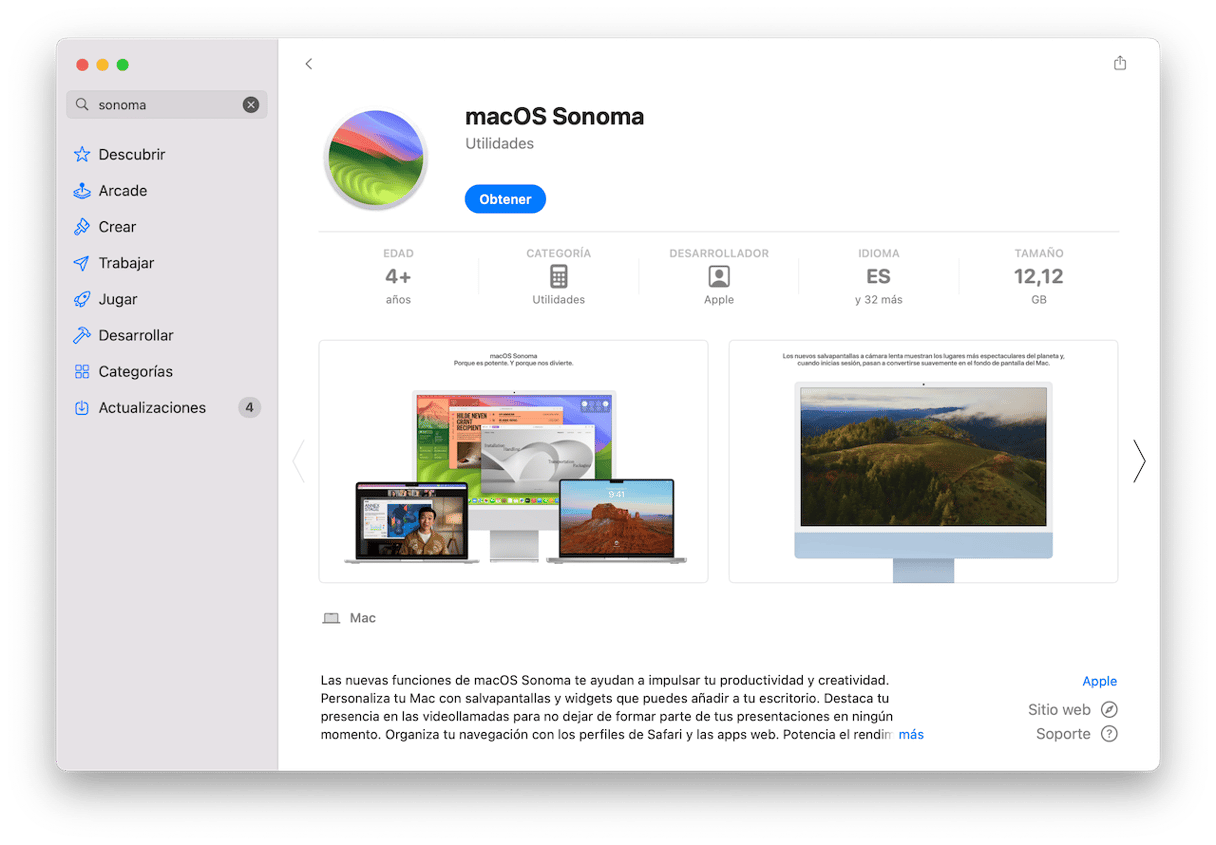
- Una vez se descargue, se abrirá automáticamente. Presiona Comando-Q para cerrar la ventana. El instalador ahora estará en tu carpeta Aplicaciones.
- Para crear el disco de instalación de arranque, abre Terminal. Escribe o pega este comando y presiona Intro: sudo /Applications/Install\ macOS\ Sonoma.app/Contents/Resources/createinstallmedia --volume /Volumes/macOS Sonoma installer
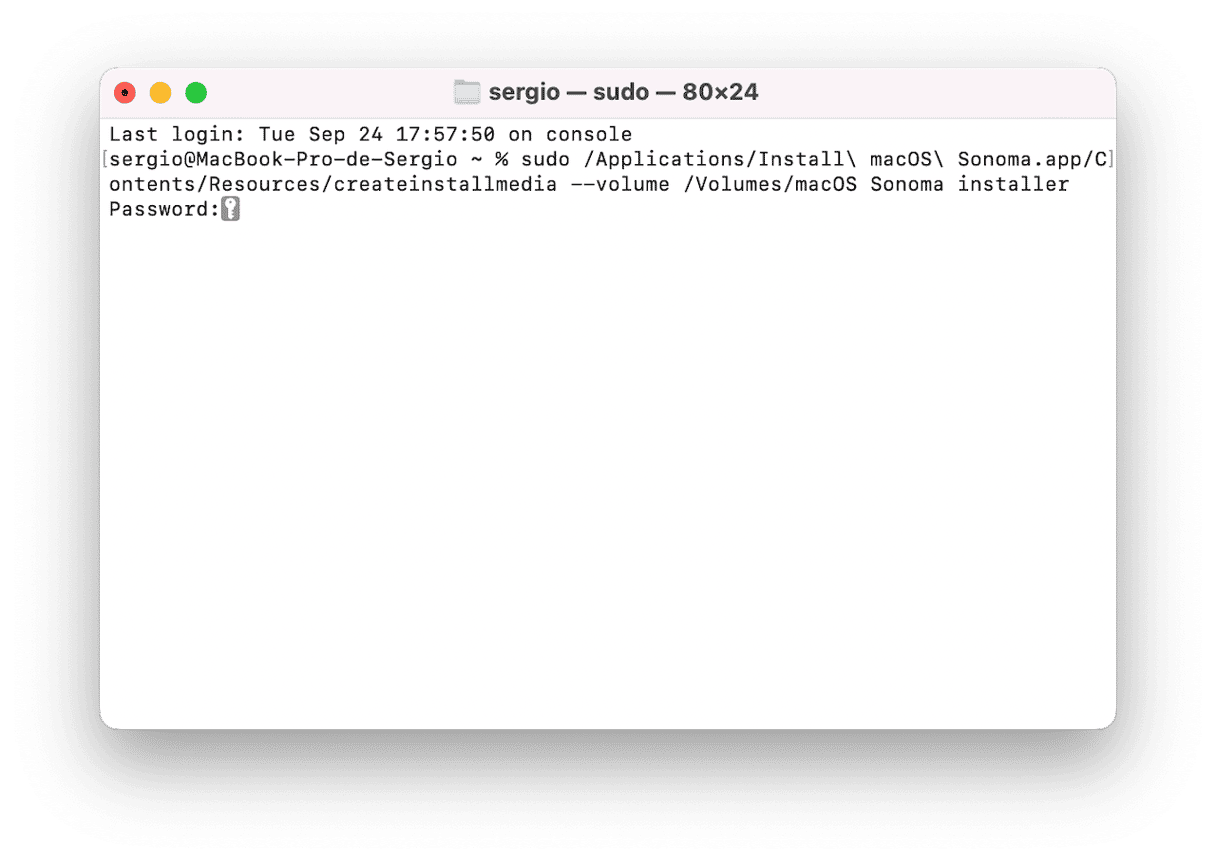
- Cuando aparezca un mensaje en la Terminal diciendo que el instalador se ha creado correctamente, cierra la Terminal.
- Haz clic en el menú Apple, ve a Ajustes del Sistema > General > Disco de arranque y selecciona el instalador USB.
- Apaga tu Mac. Mantén presionado el botón de encendido hasta que aparezcan las Opciones de inicio.
- Haz clic en Opciones, luego en Continuar.
- Cuando veas las Utilidades de macOS, elige Utilidad de Discos.
- Selecciona tu disco de arranque y pulsa Borrar.
- Selecciona APFS como formato y Macintosh HD como nombre del disco.
- Cuando se borre, cierra la Utilidad de Discos.
- Desde las Utilidades de macOS, elige Reinstalar macOS.
- Sigue las instrucciones que se muestren en pantalla y luego espere a que macOS Sonoma se instale.


La mayoría de las personas que actualizan a la última versión de macOS no se topan con ningún problema, pero algunos usuarios de vez en cuando descubren que no todo funciona correctamente y deciden volver a la versión de macOS que tenían antes. Podrían ser cosas como que tu Mac va lento o que algunas apps no funcionan correctamente o no funcionan del todo después de instalar la última versión. Si esto te ha pasado, sigue los pasos que hemos explicado arriba para hacer un downgrade de macOS Sequoia.


