Your Mac has a secret. Thousands of them, in fact. They are in the form of hidden files and folders lurking on its hard drive or SSD. Don’t worry, though. These files and folders are all supposed to be there to keep your Mac at its best performance. If you need to unhide them, keep on reading to learn how you can view hidden files on your Mac in several quick steps.
How to view hidden files on Mac
Before you make your Mac show hidden files, it’s important to remember they’ve been hidden for a reason. The data they contain could cause havoc if you delete or alter it and don’t know what you’re doing.
The easiest — and safest — way to view and remove hidden files is to use a dedicated Mac cleaner app like CleanMyMac. It comes with a smart Space Lens tool that builds an interactive storage map of your computer and lets you delete those files you no longer need. If you need just to review what’s hidden from sight, you can use the same tool, too.
Here’s how to unveil what your Mac hides with CleanMyMac:
- Get your free CleanMyMac trial — you can enjoy unlimited app functionality for 7 days at zero cost.
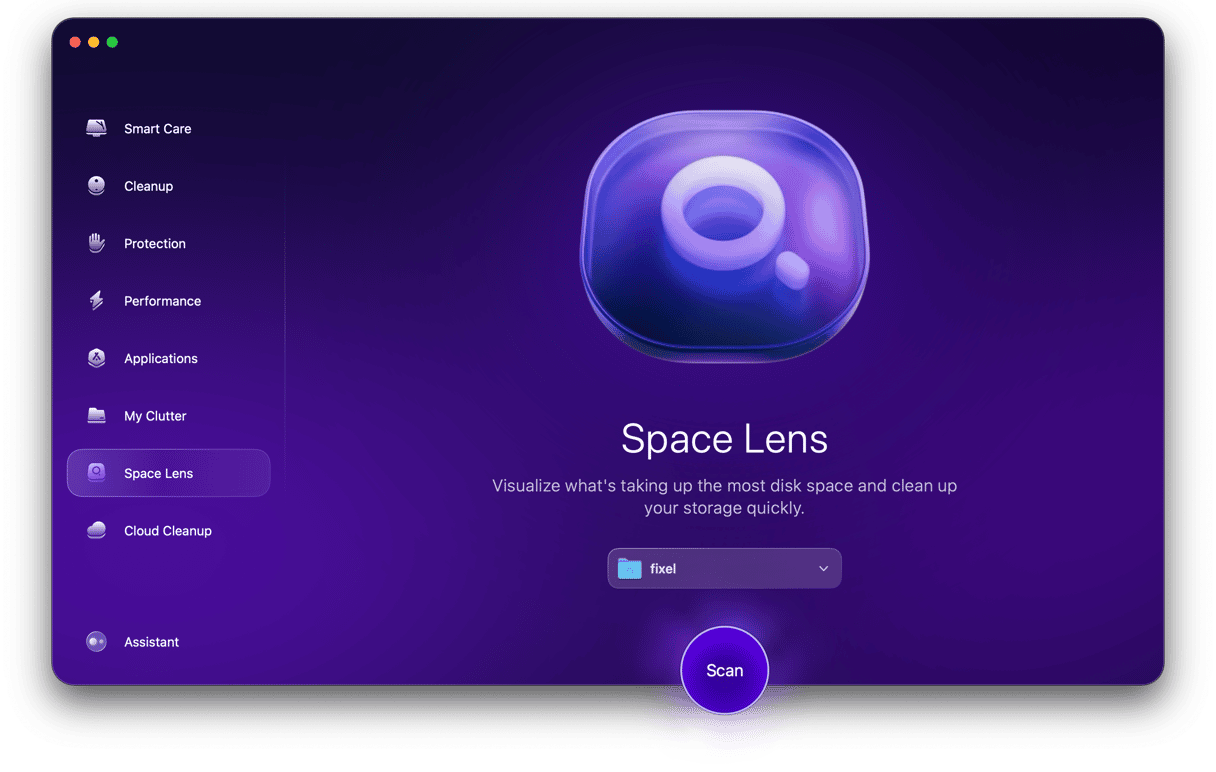
- Open the app and click Space Lens > Scan. You can choose any location for the scan, but we recommend starting with the Home folder (your username). You can also choose the entire drive (Macintosh HD).
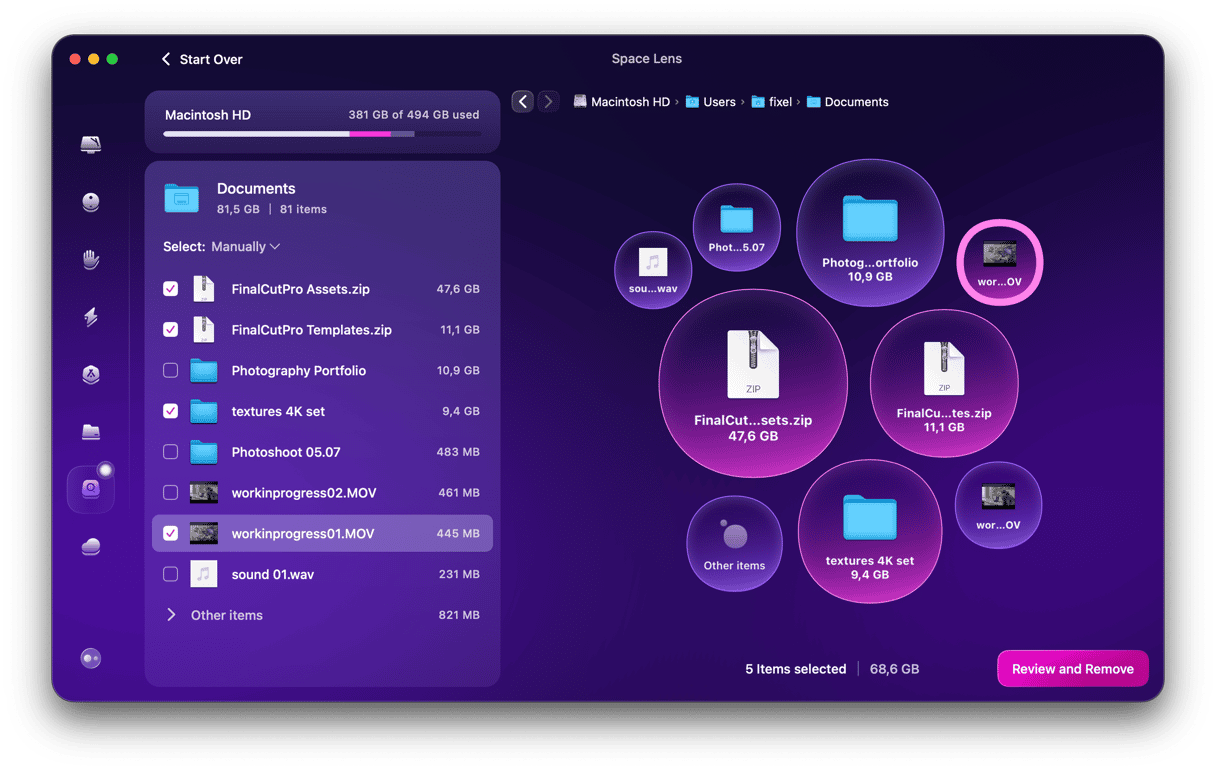
- Now, make your way through the deepest depths of your Mac. If you see anything you no longer need, select it and click Review and Remove.
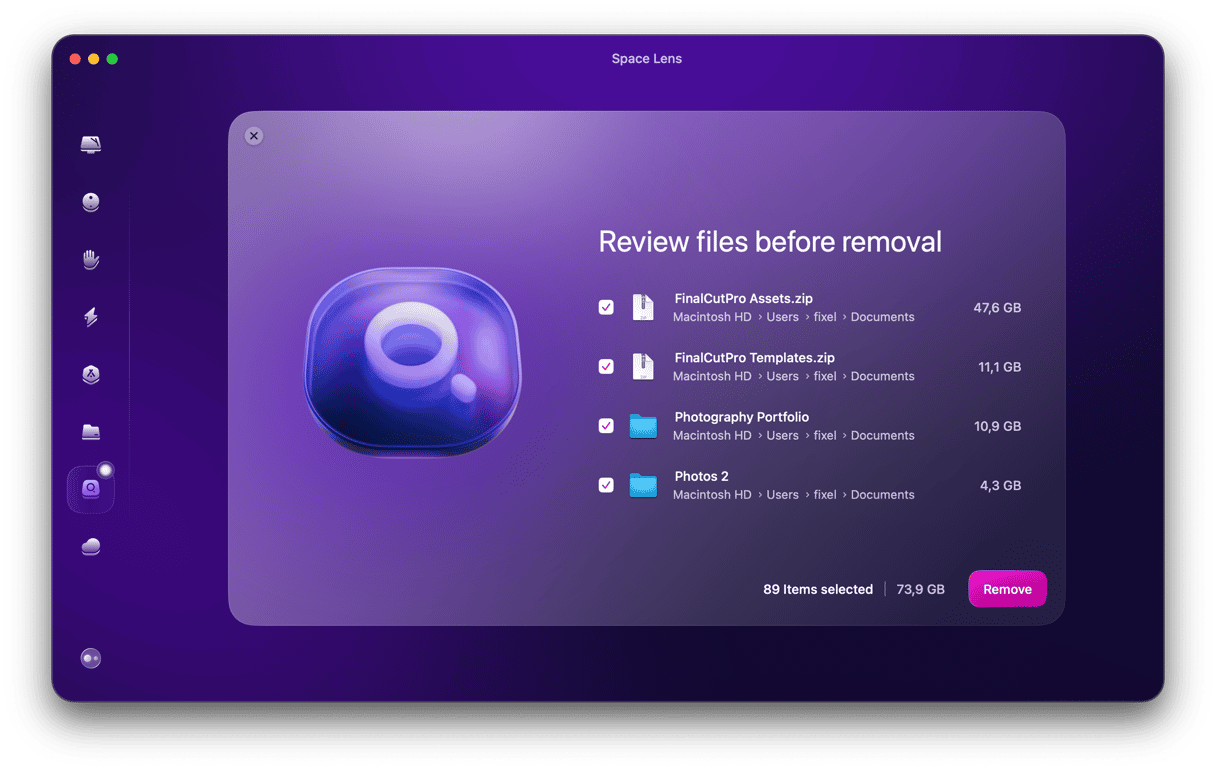
- Once happy with your selection, click Remove.


I like CleanMyMac for allowing me to get rid of all the hidden files I no longer need. Usually, those files just sit there clogging up my hard drive. CleanMyMac scans Mac, identifies all system junk, and allows to quickly and easily free up gigabytes of disk space.
If you want to unhide your hidden files manually, you need to go to the Finder and do the following:
- Open a new Finder window and click the name of your Mac under ‘Locations’ in the sidebar.
- Press Command-Shift-. (period). You should now see many files and folders whose name starts with “.” become visible.
- To re-hide, the files and folders, hold down Command-Shift-. again.

If you’re feeling particularly adventurous, you can use the Terminal command line interface to view hidden files and folders. Here’s how to do it:
- Open Terminal from the Utilities folder in Applications or by searching for it using Spotlight. You can also use the Go menu in the Finder to go directly to the Utilities folder.
- Type, or copy and paste, this command: defaults write com.apple.Finder AppleShowAllFiles YES
- Press Return.
- Type: killall Finder

Repeat the above steps to hide the files again, but replace ‘YES’ with ‘NO’ at the end of step 2.

How to hide files on a Mac
Now that you know how to view hidden files and folders on your Mac, you may be wondering how you can hide other files or folders to keep them away from prying eyes. There are some third-party applications and utilities that offer to do this for you, but you can do it yourself in Terminal, like this:
- Open Terminal.
- Type: chflags hidden
- Press the spacebar.
- Drag the file or folder you want to hide from the Finder onto the Terminal window.
- You’ll see the path to the file or folder displayed in Terminal after the command you typed.
- Hit Return to execute the command.

The file or folder you dragged onto the Terminal window will now be hidden. To see it again, use one of the above methods to see hidden files.
To make the file visible permanently again, use the steps above, but in step 2, type: chflags nohidden
What are the hidden files on Mac?
The hidden files are a throwback to macOS’ Unix roots. Even the convention of naming them starting with a “.” comes from Unix. You can’t use a “.” at the start of a regular file name; otherwise, OS X will hide it.
The files themselves contain data like access rights and privileges for files and folders, application support files, and preferences.
Why are some files hidden on a Mac?
There are several reasons files and folders are hidden. Mostly, though, it’s because they contain data critical to the smooth running of your Mac and that you shouldn’t interfere. In addition, there’s no practical reason for most users to see or access them. If they were all visible, your Mac would look horribly cluttered.
How to keep your Mac files private and secure
Keeping vital files hidden is effective for keeping them private, but it’s not the only way to ensure security. As an extra measure, you can use CleanMyMac and its Protection feature.
Here’s what it can do to keep your files private and secure:
- Detect and delete malware that may want to access your sensitive data
- Clear your Recent Items Lists so no one reveals your secrets
- Remove browser items stored locally
- Help you manage app permissions so that suspicious apps do not have access to your Documents folder
Just run a scan and see which privacy items you can manage.

As you can see, viewing hidden files and folders on your Mac is very straightforward. There are so many ways to do it, and you can make them visible temporarily or permanently. Many of those files are stored in Library folders, including the one in your User folder, ~/Library. That folder is hidden by default, but you can view it or make it permanently visible using the tip described above.
However, just because you can view hidden files doesn’t mean you should — the files are usually hidden because accidentally deleting them or altering them could cause chaos on your Mac. So, while it’s OK to have a peek, don’t do anything with the hidden files unless you know what you’re doing.


