Macs are pretty much self-reliant, and that's why many users run their systems for years without so much as a hiccup. But it does not mean that they’re immune to issues that affect performance, like bugs, erratic app behavior, and network issues, especially if they are running out of space. Luckily, you can prevent all these and other issues by properly maintaining your Mac. Just follow these routine Mac maintenance tips to prevent your system from running into trouble.
How to perform Mac maintenance?
1. Learn how to back up your data
Backing up your data should always be a top priority. Macs are not indestructible; they are also not immune to malware, not to mention the risks of losing your computer. Therefore, if anything goes wrong, having a backup can save all of your hard work and precious photos.
Luckily for you, it is not difficult to back up your Mac since macOS has a built-in Time Machine that routinely backs up all of your files to an external storage device so they can easily be restored.
To set up Time Machine, you’ll need to connect an external hard drive to your Mac. Once you’ve done that, scheduling backups is easy:
- From the Apple menu, select System Settings > General > Time Machine.
- Click Select Disk.
- Select your disk from the list, then click Use Disk. You may need to click Add Backup Disk and follow the on-screen instructions if you have not yet set up Time Machine on your Mac.

Time Machine will then start making hourly backups for the past 24 hours, daily backups for the past month, and weekly backups for all previous months.
2. Use Mac maintenance app
The best way to ensure your system works flawlessly is to get a Mac maintenance app. We recommend CleanMyMac, which has a few other tools to handle all sorts of Mac issues.
The Performance feature lets you run maintenance tasks and manage login items and background items that affect the smooth performance of your Mac. CleanMyMac does all these in seconds rather than the hours it would take to perform maintenance manually. Here’s how it works:
- Open CleanMyMac — get your free trial here.
- Click Performance from the sidebar.
- Run a quick scan.
- Click View All Tasks and select the routines you’d like to run.

The best part? You can have CleanMyMac run silently in the background and alert you about critical changes in memory and CPU load. From an icon in the menu bar, you can use the CleanMyMac Menu App to perform maintenance tasks, such as free up RAM, in a single click.
If you’re making maintenance part of your routine, you need this tool in your corner.
The benefits of using CleanMyMac
- Comes with 25+ tools to clean, maintain, and protect your MacBook: on average, users find and remove 10.5 GB of junk files, 1 malware, 4 duplicates, and 5 similar images after the first scan
- The scan/clean process is blazing fast: on average, it takes up less than 2 minutes
- Trusted by users in 185+ countries (Trustpilot rating: 4.7/5)
Get your free CleanMyMac trial — test it for 7 days and see how you can automate Mac maintenance.

3. Clean up junk files
If you’re running a new macOS version, you can use Mac’s Optimized Storage feature. It erases Trash automatically, reduces clutter, optimizes storage by removing previously watched movies and TV shows, and moves certain files to iCloud.
- Open the main Apple menu > System Settings > General > Storage.
- Check Recommendations under the colored bar.
- Browse through the categories under Recommendations and see if you can delete any files or application.

While it will help you free up space in a hurry, neither offers a comprehensive cleanup. Whenever you move an item to Trash, all you’re really doing is moving the main app or item file. Other associated junk like cache and preference files get left behind and sit on your disk hogging space.
To permanently remove old files, you’ll need a cleaner app. CleanMyMac, the app we recommended above, can perform a full junk cleanup. The tool is designed to run a deep scan of your system and detect any old, broken, or outdated files for full removal. Here’s how to use it:
- Open CleanMyMac.
- Go to Cleanup and run a quick scan.
- Now, you can either review all junk files or click Clean right away. Worry not, the app selects only those files that can be safely removed.

4. Declutter Mac desktop
For every app, file, or screenshot on your desktop, Mac has to contribute RAM. So, the more things you have there, the more draining it is on system resources. Keep your desktop clutter-free by removing anything you don’t need and organizing items into folders.
Try using the Stacks feature
This originated on macOS Catalina. A simple organizer feature called Stacks.
- Right-click on a blank space on your desktop.
- Click Use Stacks.
Now, the contents of your Desktop will be grouped into folders.

In the same menu, you’ll find Show View Options. There, you can specify the size of icons on your Desktop and stacks themselves.
Wondering if there are other tips? Check out our guide to cleaning up your Mac desktop.
5. Keep Mac software updated
Updating software keeps your system free of bugs and vulnerabilities. First, check for macOS updates:
- Go to System Settings > General > Software Update.
- If an update is available, click Update Now.
- While you’re waiting for it to download, consider enabling automatic updates.
Now, it’s time to update your apps. There are several ways to do it:
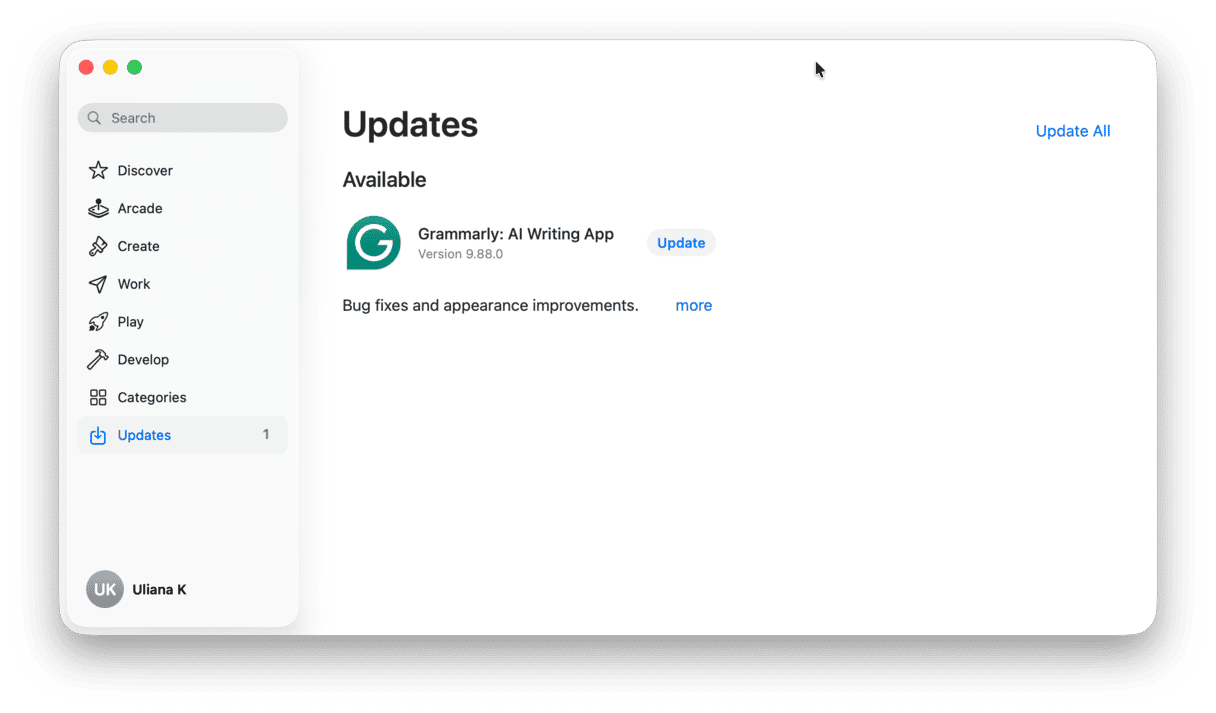
- For Mac App Store apps: Open the App Store. Click Updates > Update All.
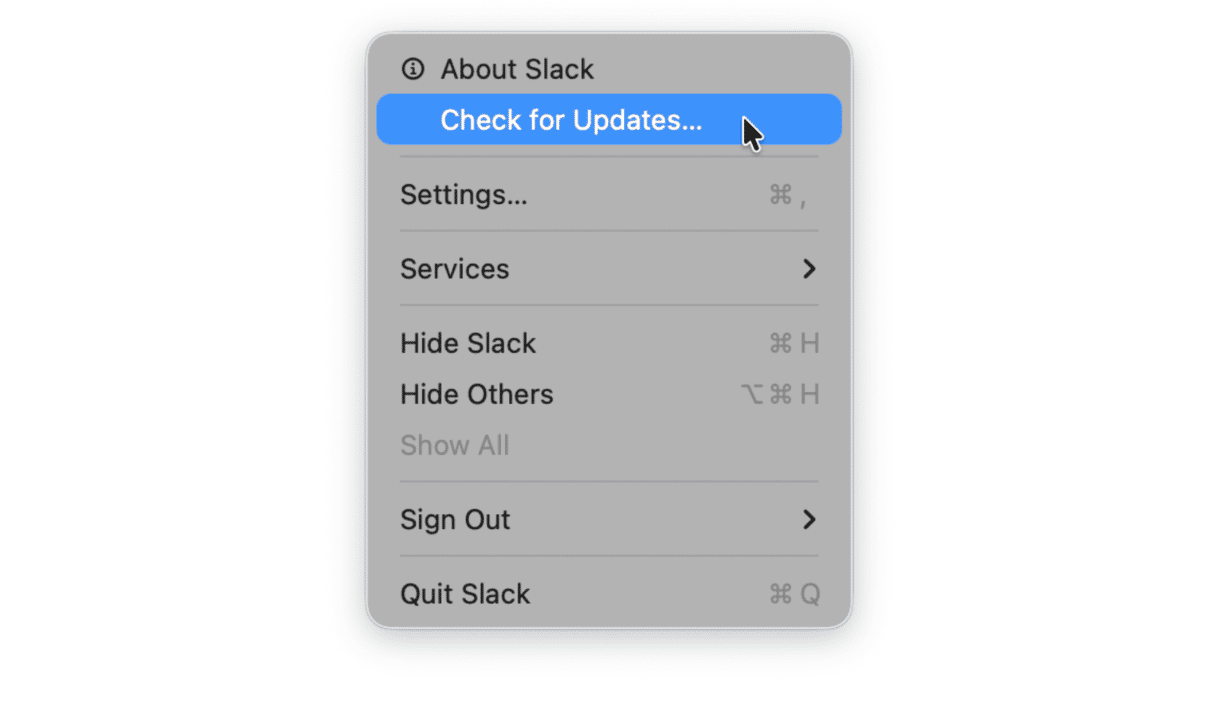
- For non-App store apps: Open the app, click its name from the menu bar, and choose Check for Updates.
- Use CleanMyMac and its Applications tool — it lists updates for both App Store and non-App Store apps and lets you install them with one click.
- Check the developer’s website if none of the above methods worked for you.


6. Restart your Mac periodically
By periodically restarting your Mac, you’ll be able to free up RAM, regenerate certain cache files, and rid the system of virtual memory swaps that Mac performs as you launch and quit apps. It’s like a fresh start for your computer.

Restart your system every two weeks or whenever you experience a noticeable slowdown in performance.
7. Check out Disk Utility
If you are experiencing issues like file corruption, unexpected app closure, or external devices that don’t work correctly, you can run Disk Utility to repair the startup disk:
- Go to Finder > Applications > Utilities and open Disk Utility.
- Click View > Show All Devices.
- Select the disk you want to repair from the sidebar.
- Click First Aid > Run.

8. Scan for malware
As we already mentioned, Macs are not immune to malware. So, it’s not even a question that you should install antivirus software on your system and periodically scan for malware.
If you don’t want to have a lot of third-party apps on your Mac, CleanMyMac is a great alternative to all antivirus software. In addition to maintenance and cleanup tools, its Protection feature will scan your system for adware, viruses, spyware, ransomware, cryptocurrency miners, worms, and more identifying the most recent threats.
All you have to do is click Protection > Scan and wait for the results. Anything detected can be removed at the click of the Remove button.

If you’re interested in other trusted antimalware apps, check out our guide to the best Mac antivirus software.
9. Regularly empty Mac Trash
You already know that deleting unnecessary files from your Mac is an effective way to manage it. However, when you send files to Trash, you do not delete them immediately. Instead, they are still there, occupying valuable space on your Mac’s drive. They can pile up and take up gigabytes, so it’s recommended to regularly empty Trash.
There are a few different ways to do it:
- Open Trash and click Empty Trash.
- Right-click Trash icon and select Empty Trash.
- Turn on automatic trash removal by going to Finder > Settings > Advanced and selecting Remove items from Trash after 30 days.

10. Manage your login items
The final tip is to manage login items. These are apps that launch once you boot up your Mac. The main problem is that you may not even know that they constantly run in the background, but they consume your Mac’s resources, thus affecting its performance and slowing it down.
Therefore, it is a good idea to turn off those you do not need booting at startup. Here’s how:
- From the main Apple menu, go to System Settings.
- Navigate to General > Login Items & Extensions.
- Select a login item you do not need or want to boot at startup and click the “-” button.
- Once there, turn off any apps you do not need or want running in the background.

Bonus tip: Physically clean your Mac
This one is not directly associated with Mac maintenance, but it is about making the user experience more pleasant. After you’ve removed the inner junk, devote some time to external aesthetics:
📌 Wipe your keyboard. You can use disinfecting wipes or a soft fabric. Periodically, blow the dust and other particles out of your keyboard. Just avoid spraying liquids directly on the keyboard.
📌 Clean the screen. Use any soft tissue. You can dampen it with distilled water, but do not spray liquids on the screen. Also, we do not suggest using any cleaning solutions to avoid damaging the screen.
📌 Clean the ports. You may need compressed air to blow out dust and debris.
📌 Clean the MacBook itself. Once again, use a damp cloth and wipe the outside of the computer.
Once done, consider using a hard shell. Not only will it protect your MacBook from possible damage, but it will also eliminate the need to clean it too often. You may be wondering if you should also use a screen protector. Generally, no. Adding a screen protector can prevent the lid from closing properly, potentially causing display cracks or damaging the antireflective coating.
What are maintenance scripts and how to run maintenance scripts on Mac?
macOS has a built-in function to keep your system from getting bogged down with old files that are no longer needed. It is named maintenance scripts.
There are three versions of these maintenance scripts: daily, weekly, and monthly. They handle clearing out different unnecessary files as well as some additional system upkeep like reporting network statistics and rebuilding the so-called locate and whatis databases.
Regular maintenance makes it easier to keep your Mac in top condition rather than trying to resolve issues once they’ve already taken hold.
How to check when maintenance scripts were last run
Mac maintenance scripts run automatically at night if your computer has not been turned off. If you’d like to check if they were performed, you will need to use Terminal — a built-in command line tool.
- Open Terminal.
- Type
ls -al / var/log/*.out— it’s important to enter the command exactly, including spaces. Like in the screenshot below, there should be spaces before and after-aland no space before/var - Pressing Return will bring up a list of when (date and a time) a maintenance script was run and what type of script it was (daily, weekly, or monthly). If the scripts are running automatically, you will see timestamps for their default times (03:15, 04:30, or 05:30).

How to run maintenance scripts through Terminal
If you’re comfortable with using Terminal, you can use it to run maintenance scripts:
- Open Terminal either through the Spotlight search or by navigating to the Utilities folder in Applications.
- Type
sudo periodic daily weekly monthlyand press Return. - You will be asked to enter your administrator password. For security reasons, your password will not appear on the screen.
- Your Mac will then perform three maintenance scripts. There won’t be a status bar or percentage to show that the scripts are being run, but you’ll know they’re complete when Terminal prompt returns.
If you only want to perform one maintenance — perhaps you’ve missed your monthly script or have limited time — you can edit the Terminal command to sudo periodic monthly and type it into Terminal.
Note: you will need an administrator password to run maintenance scripts through Terminal.
Frequently asked questions
How durable are MacBooks?
Macs are considered highly durable, thanks to solid aluminum unibody construction, high-quality components, and consistent software support. If maintained properly, they can easily last up to 5-8 years. Of course, as they age, they won’t support the latest macOS versions, and you might need to replace the battery or some keys if the keyboard wears out, but they can still be good for daily use.
Do I need third-party cleaning or optimization apps on Mac?
As long as you want to make Mac maintenance easier and faster, yes. It is true that you can keep your Mac in top shape manually, but this process would be really time-consuming and tedious because you will have to run a few Terminal commands and dive deep into System and Library folders, media files, and browser settings. By doing so, you also risk deleting vital system files. With this in mind, a Mac cleaner app can give you some peace of mind, but make sure to download only reputable software directly from the developer’s website.
Is it worth buying AppleCare for MacBook?
Generally, yes. AppleCare is like insurance for your MacBook, helping you avoid expensive repairs for accidental damage and unexpected hardware failures.
How to charge my Mac to ensure battery longevity?
To ensure battery longevity, follow these simple recommendations: enable Optimized Battery Charging in System Settings > Battery > Battery Health to manage charging patterns automatically, maintain charge levels between 20% and 80% to avoid high-voltage stress, avoid letting the battery drain to 0%, and do not use your Mac at extreme ambient temperatures if possible. Also, use genuine Apple charger, cables, and other accessories.


