Apps that come preinstalled with macOS should work flawlessly, shouldn’t they? Well, not always. Sometimes, Mac users may encounter Mac Mail problems following a macOS upgrade to a number of recent macOS versions, including macOS Sonoma, Sequoia, and even Tahoe.
In this article, we’ve collected the most common Mac Mail app problems users experience and the solutions to help you fix them. So let’s dive in!
Why is my Apple Mail not working?
Here are the most common reasons users encounter Apple Mail issues:
- Unstable internet connection
- Misconfigured settings
- Incorrect login information
- Outdated macOS and Mail app
- Apple server outages
Keep on reading to find out how to fix Apple Mail not working. Below, we’ll provide the most common Mail issues and quick solutions you can try to fix them.
Apple Mail not updating
This problem is about Apple Mail not loading emails. If you have ever encountered it, try the fixes below one by one.
Fix 1. Check Apple servers
It may be that the problem is not with the Mail app itself but with Apple’s servers. Note, though, that the tip works for iCloud Mail only. To check if that is the case, go to the Apple System Status page and check iCloud Mail. If it is green, no issues are experienced at the time. If there is an issue, your only option is to wait for Apple to fix it.

Fix 2. Check your internet connection
If you are not connected to the internet, naturally, you won’t see new messages in your inbox. So, run a quick speed test to find out if you have a stable internet connection. You can also try moving your Mac closer to your router or contacting your internet provider and asking about any outages.
Mail app crashing
Another common problem is Apple Mail crashing. It may also be working slower than expected, so it might seem as if it’s not working. The first thing to do is to force quit the app and restart it. If it doesn’t help, there are a few other workarounds.
Fix 1. How to force quit Mail on Mac
The first solution to Apple Mail not working is to Force Quit the app. There are several ways to do it:
- From the main Apple menu, choose Force Quit. Locate the Mail app on the list and click Force Quit.
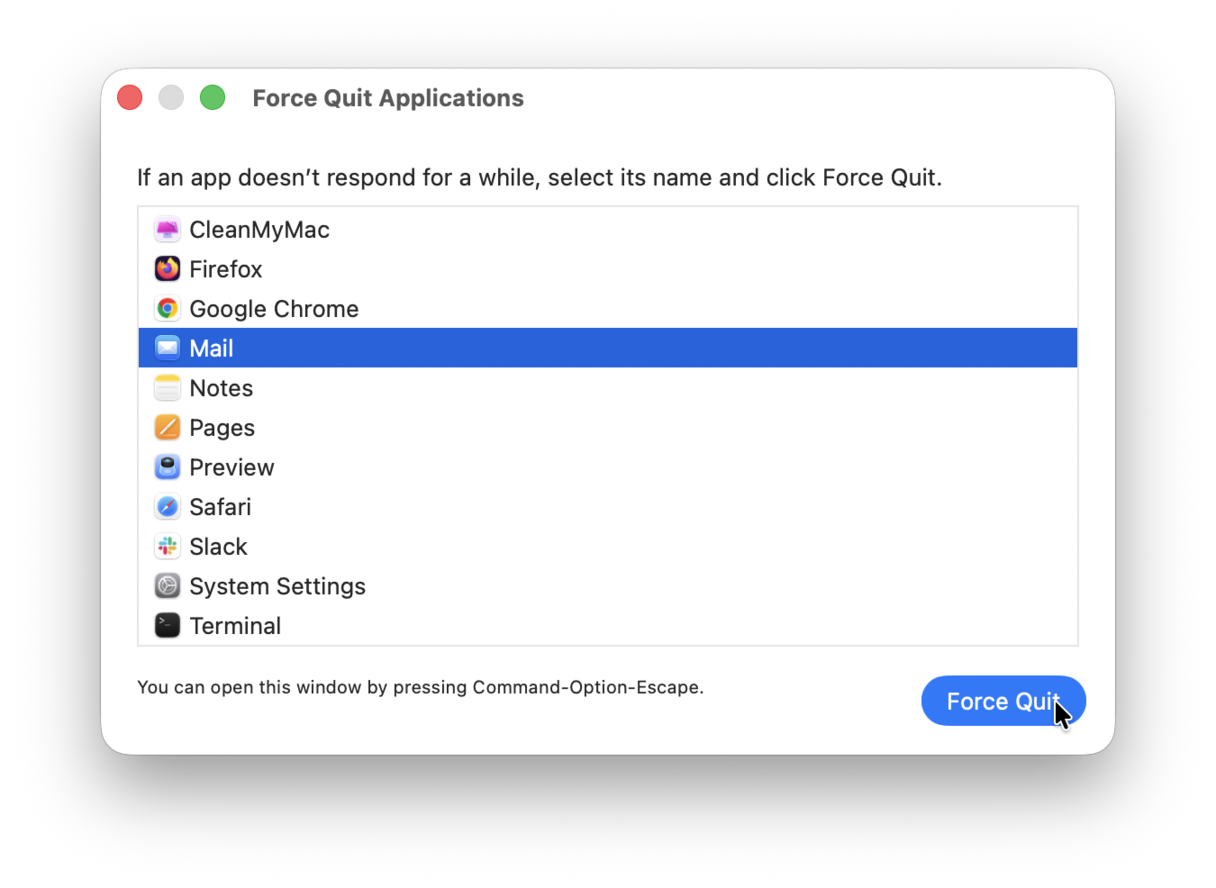
- Press Command+Option+Esc. It will open the same Force Quit menu. Now, follow the steps above.
- With the Option key pressed, right-click the Mail app icon from Dock. Click Force Quit.


Fix 2. Reset the Mail app
Another quick fix that works in 99% of cases is to reset the Mail app. We use CleanMyMac for this operation. It doesn’t delete the program itself but brings it back to its default state. This way you can solve many app conflicts and incompatibilities. Also, your user files stay safe and will not be affected.
To enable this feature, you need to do complete preliminary step — open CleanMyMac Settings. Get a free trial of the app.
- Open CleanMyMac.
- From the menu bar, navigate to Settings.
- Click Ignore List and choose Uninstaller.
- Deselect Ignore system applications.

Now, you are ready for reset. Just do the following:
- Open the Applications tool in CleanMyMac.
- Run a quick scan.
- Click Manage My Applications and find Mail.
- Select all the app’s files, except binaries.
- Click Remove to perform reset.

Fix 3. How to refresh Mail on Mac
Refreshing essentially means reloading. To do it, press Command + Shift + R. It may not work if this shortcut is not added to your Keyboard settings. So, you may need to follow these steps instead:
- Open the Mail app and click Mailbox from the menu bar.
- Choose Synchronize.
- Choose your account. You’ll need to repeat these steps for all accounts.
- Wait for new messages to load.

Apple Mail search not working
Except for Mail not updating or the app crashing, you can also notice that the search is not working.
Fix 1. Update macOS
Sometimes, apps do not work because of a software bug. Users on forums have reported that search not working is one of the known issues since upgrading to a new macOS version, so if there is a minor update waiting for you in System Settings, this nasty problem may have been fixed in it.
To update macOS, do the following:
- Go to the main Apple menu in the top left corner of the screen.
- Move to System Settings > General.
- Open Software Update.
- Click Upgrade Now, Update Now, or Restart Now if new macOS versions are available.

It will also update the Mail app itself since it comes preinstalled with macOS.
Fix 2. Check Spotlight settings
Sometimes, Mail search is not working because of the misconfigured settings. Here’s how to fix it:
- Go to System Settings > Spotlight.
- Under Search Results, make sure that Mail & Messages option is selected.
- Restart your Mac and check if the search is now working.

If it hasn’t helped, you’ll need to restart the indexing service.
Fix 3. Restart the indexing service
Users on forums report that it helped fix the search-related issues. To restart the indexing service, you’ll need to use Terminal. Do it with caution and double-check the commands you paste. Here’s what to do:
- Open Terminal.
- Now, copy and paste this command followed by Return:
sudo mdutil -a -i off - Enter your admin password and press Return.
- Next, run this command:
sudo mdutil -a -i on

Mail won’t open on Mac
Another commonly reported Mac Mail issue is the app not opening. So, you double-click the Mail icon in Dock, but nothing happens. Luckily, it is fixable.
Fix 1. Check the app in the Applications folder
You may encounter the Mail app not opening on Mac issue if the app has been misplaced from the Applications folder. So, check if it is in the right place.
To do it, follow these steps:
- Open a new Finder window and navigate to Applications.
- Search for Mail. If the app is not there, find its location by using the Spotlight feature.
- To find the app, simply type “Mail” and drag it from the current location to the Applications folder.
- Last, restart your Mac and the Mail app.

If it didn’t help, update your macOS if you haven’t done it already. Find the steps on how to do it above.
Fix 2. Check the internet connection
If you can finally open the app, next, check the internet connection. The thing is that the app needs a strong signal to open and work properly. You should have run the speed test by now, but there’s another fix to try:
- Open the Mail app
- Click Window in the menu bar.
- Choose Connection Doctor.

Mail app junk
Another problem is having a lot of Mail app junk. Usually, it would slow down your Mail app to a point when it seem as if it stopped working altogether. Luckily, it is an easily fixed issue.
Fix. Clean up Mail attachments
As outlined above, there are a number of fixes for Apple Mail not working. One of them is to clean up Mail attachments. You can do it by hunting down files in the Library folder, but it requires a certain amount of technical confidence and know-how. It is also worth noting that deleting the wrong folder or file within the Library could disable another app accidentally. But luckily, there’s software that can do all the fixing for you.
CleanMyMac is a Mac maintenance app that is notarized by Apple. It’s developed by MacPaw, the makers of various productivity tools for Mac. The latest version of CleanMyMac has tools that help you troubleshoot Mail, beyond other things.
- Start your free CleanMyMac trial.
- Go to Cleanup and run a scan.
- Click Review All Junk.
- Go to Mail Attachments and clear unneeded ones.

Now, open Mail again — it should be working as good as new.
After an app reset, if the problem occurs again in the future, try refreshing the Mail app to see if there are new messages.
Mail app is slow
If you cleaned up Mail junk, it should have helped speed up the Mail app. If it did not, there’s another quick solution for you — merging windows. The thing is that your Mail may be slow because it has to deal with tons of open windows buried beneath other apps.
Fix. Merge Mail windows
Specifically for this, your email client has a lesser-known command called “Merge All Windows”:
- Open Mail and click Window from the menu bar.
- Now, choose “Merge All Windows.”
- Close the redundant windows to minimize the impact on your Mail’s memory. Hopefully, it will get snappier.

Mac mail not showing messages in Inbox
Sometimes, it may seem as if messages are missing. Most commonly, it is when you try to find an email, and it is not there in your Inbox. It may be either one message or all messages. Luckily, this problem is also easy to fix.
Fix 1. Check Mail Activity
It may be that the app is not showing messages in Inbox simply because they have not loaded yet. The very first thing to do is wait for at least 10 seconds. Another quick solution is to check whether you are connected to the internet — naturally, you won’t see the messages if your Mac is offline, and they won’t load.
If none of the above worked, check Mail Activity:
- Open the Mail app.
- Click Window > Activity.

You should see whether any processes are running in the background. The app may be downloading a large attachment or paused loading messages to save battery life or prevent overheating.
Fix 2. Disable your email accounts
If you have several email accounts, it may be that there is an issue with one of them. Therefore, a quick fix is to disable them one by one and check if it helped.
Here’s how to disable email accounts:
- From the main Apple menu, go to System Settings.
- Navigate to Internet Accounts.
- Open your accounts one by one and click Delete Account > OK. Don’t forget to check if it helped after disabling every account.

Alternatively, you can turn off Mail for every account one by one. Like with disabling accounts, check if it helped before moving to another account. Don’t forget to add your accounts again if you’re removed them in System Settings > Internet Accounts.
Apple Mail app not working or crashing may be an annoying issue. Luckily, it is easy to fix either manually or automatically with a Mac performance improvement app we introduced — CleanMyMac. Hopefully, one of the tips above has helped bring you back online and you receive emails again.