If there’s one thing we don’t care about when we have enough of it is free hard drive space. But just as we’re trying to install the new macOS update, we find out our hard drive is almost full, which makes us wonder where did all those free GBs go? Don’t worry; we’ve got some fixes for you. Follow these tips to solve the “not enough space to install macOS Monterey” error.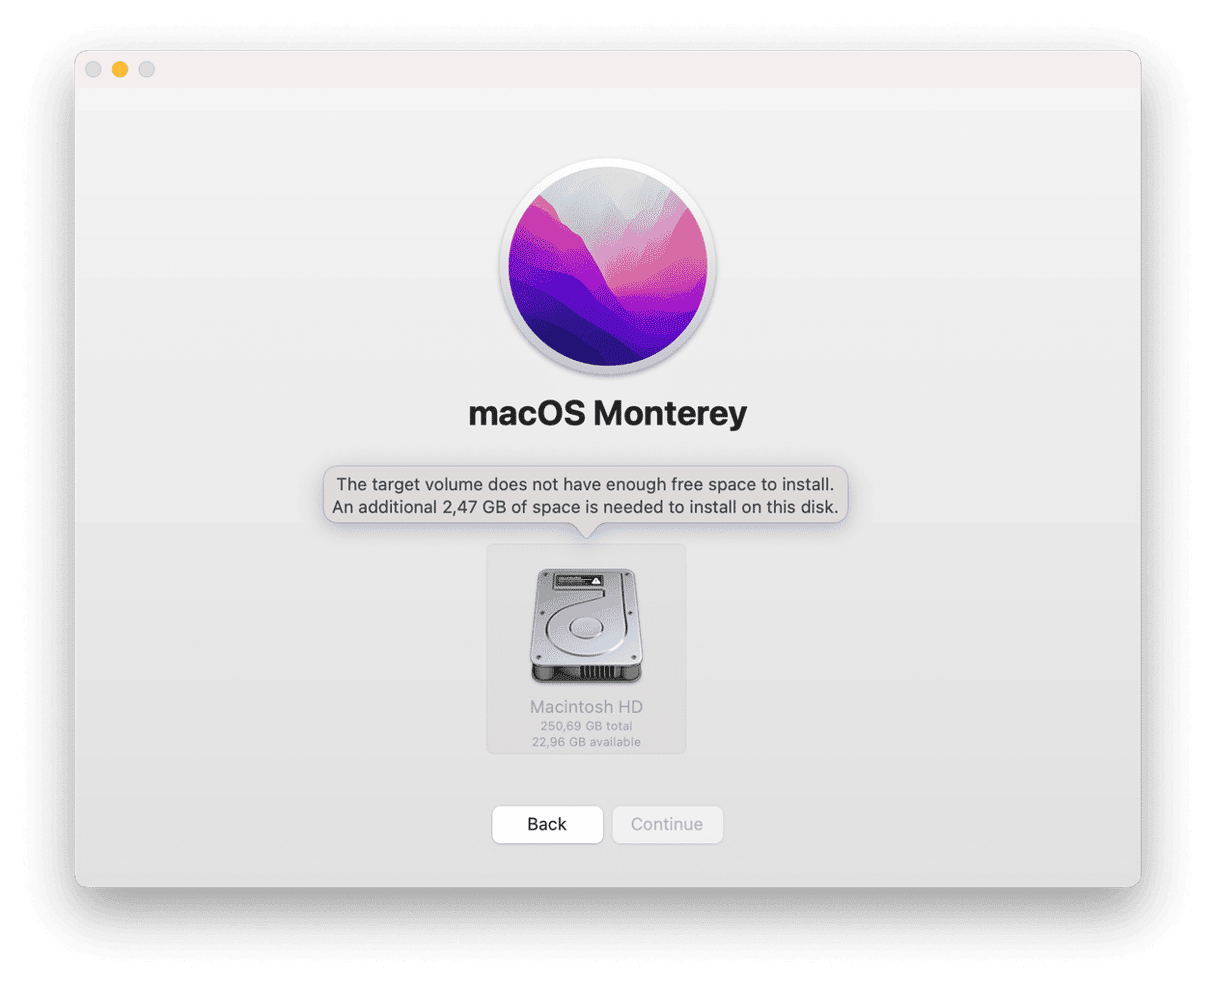
How much space do you need for Monterey?
The macOS Monterey installer takes around 12 GBs. But that’s not all: you’ll also need at least 2 GBs of memory to update your Mac successfully. Even if your Mac does not have enough space for Monterey, macOS will try to finish the update, and that’s when you may lose your important files. So, let’s find out how to check how much free space you have.
| 12 GB | macOS Monterey installer size |
| 2 GB | Additional space needed for successful update |
How to check the storage on a Mac
It’s quite easy to check out how much free space you have left. Follow these steps:
- Go to the Apple menu.
- Select About This Mac.
- Then, go to the Storage tab.
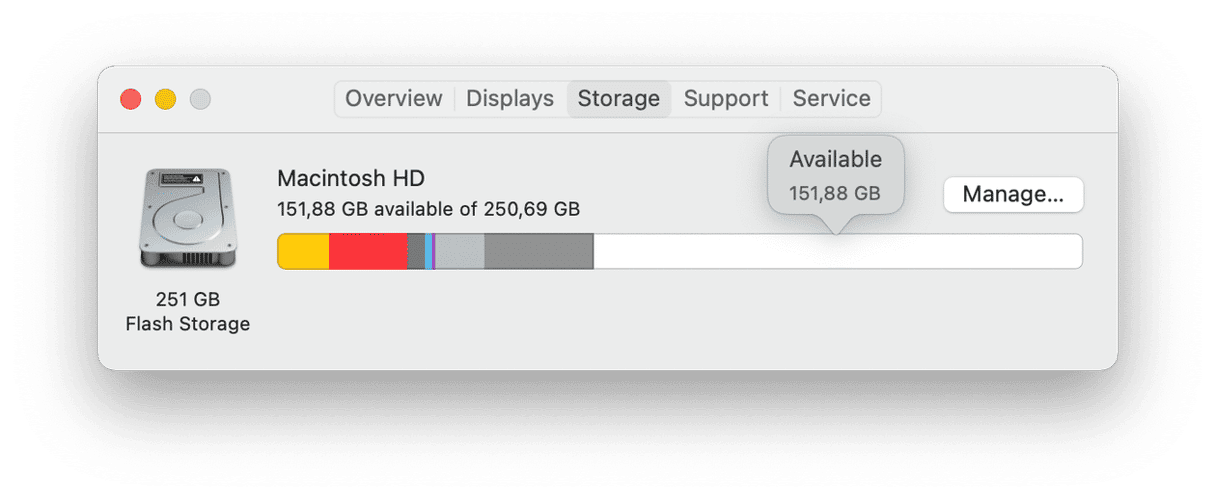
Wait a few minutes to let it calculate how much all your used space weighs. Hover over the white section to see how much free space is available. Do you have enough for macOS Monterey installation? If not, keep reading — we have some useful tips down there.
How to free up space on Mac for macOS Monterey
Next up, we’ll walk you through some of the ways to free up your storage space and fix the “not enough space to install Monterey” error.
1. Delete iPhone and iPad backups
When we’re running low on disk space and looking for weighty files we can delete, we often overlook iOS and iPadOS backups. Those can be the biggest culprit that clutters your hard drive. If you’re backing up your devices to iCloud, no need to store those old backups on your Mac — you can just delete them. Here’s how:
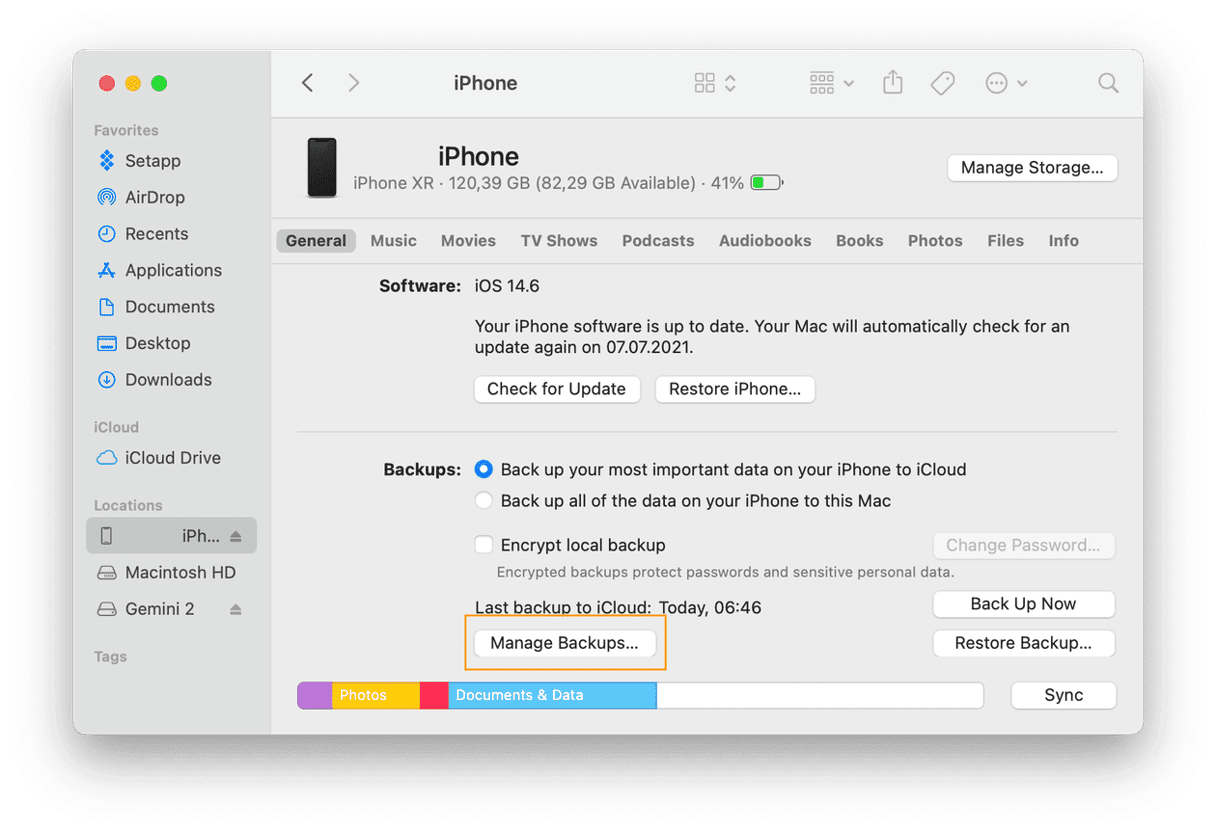
- Connect your device to your Mac.
- Open Finder.
- Locate the device under the Locations tab.
- Select Manage Backups.
- Choose the backup you want to remove, then click Delete.
Just like that, you can clear up some storage space on your computer.
2. Clean out system junk
Software and apps generate lots of files on your Mac. Those are cache, app-related data, user logs, and other files that eventually become outdated. Removing those items may reclaim missing disk space — but cleaning your Mac with CleanMyMac can free even more storage space. It is a dedicated Mac cleaner that clears all sorts of system junk: it identifies old useless files and lets you delete those altogether. Here’s how it works:
- Start your free CleanMyMac trial.
- Run the app and go to Cleanup.
- Click Scan.
- Click Clean to remove what’s been found.
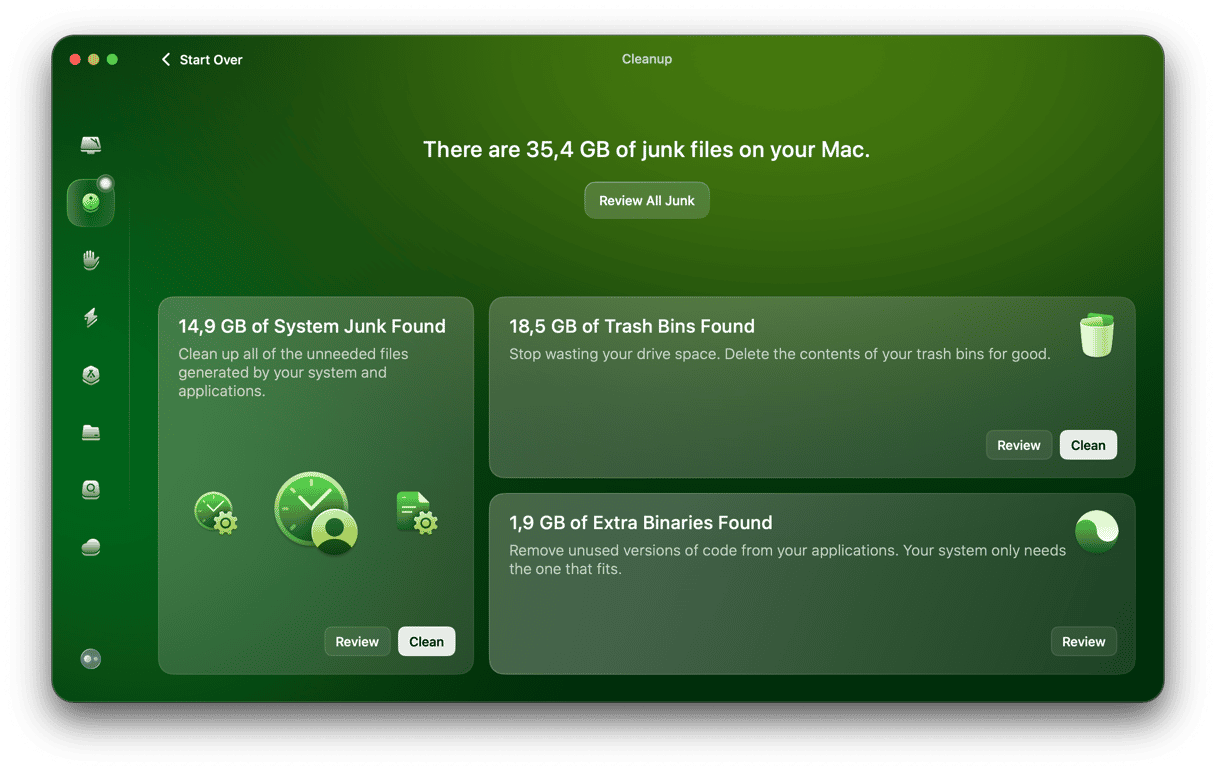
Now your hard drive is much cleaner than it was before.
3. Optimize storage with a built-in feature
Your Mac already has an in-built tool that allows you to manage your storage. It lets you reduce clutter, optimize your hard drive and see what exactly takes up space on your Mac.
- Go to Apple menu > About This Mac.
- Go to the Storage tab and click Manage.
- Explore the Recommendations section.
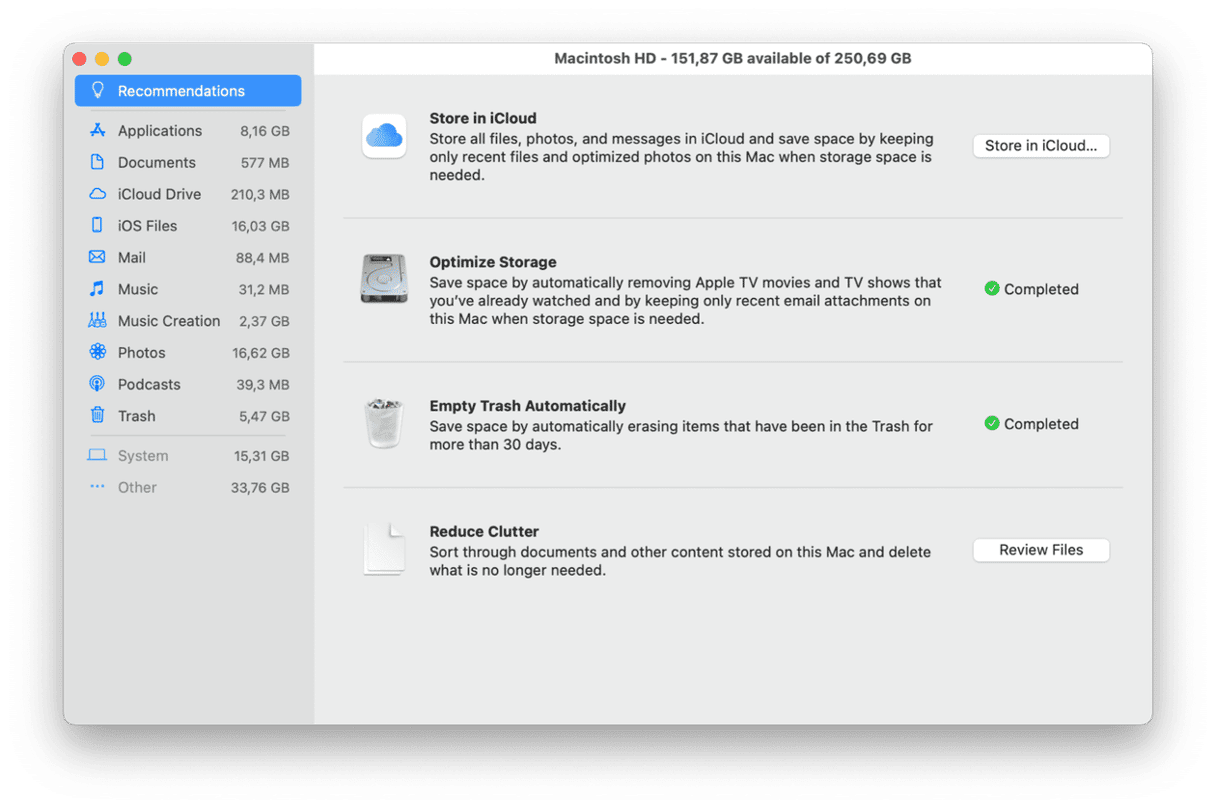
Look through the suggestions and apply any of them to save space. Also, explore the left-side menu: review section by section to find files that can be safely removed. And don’t forget to empty the Trash: the trashed items are still stored on your hard drive, so clear your bin every time you remove something big.
4. Clean up the Downloads folder
The Downloads folder is like that dumping drawer we all have in our homes: we fill it with all kinds of different things and never clear it. But the time has come. If you have not enough space to update your Mac, let’s declutter your Downloads folder:
- Open Finder and go to Downloads.
- Click the Group button

- Select Date Added.
Now scroll down to see the oldest downloads. Command-click any of the files you want to remove and send them to Trash. You can also sort your downloaded files by size so that you can identify the largest ones.
But what if your largest files are scattered across your Mac’s hard drive? We have a solution below.
5. Remove large and old files
Deleting large files is the best way to reclaim more space in no time. But looking for those items manually can be very time-consuming. CleanMyMac can do the job quickly for you: it has the Large & Old Files tool that locates and removes the heaviest files.
- Get your free CleanMyMac trial.
- Go to My Clutter and click Scan.
- Click Review All Files > Large & Old Files.
- Review the details and select what you want to remove.
- Click Remove.
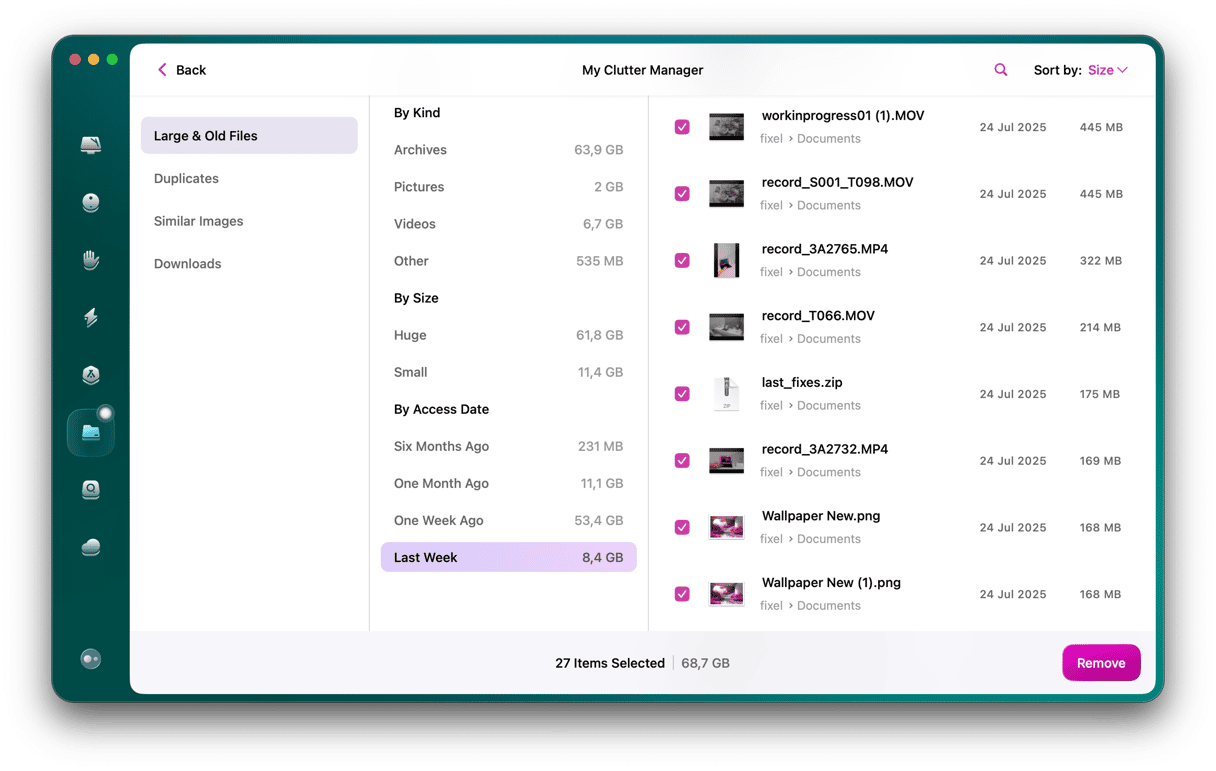
And the large files are gone!
6. Uninstall unused apps
We’ve all been there: you download this and that app cause it looks interesting, and then you end up having hundreds of programs on your Mac you never actually use. That’s why removing unused apps is one useful habit to pick up: it will help you save gigabytes of space.
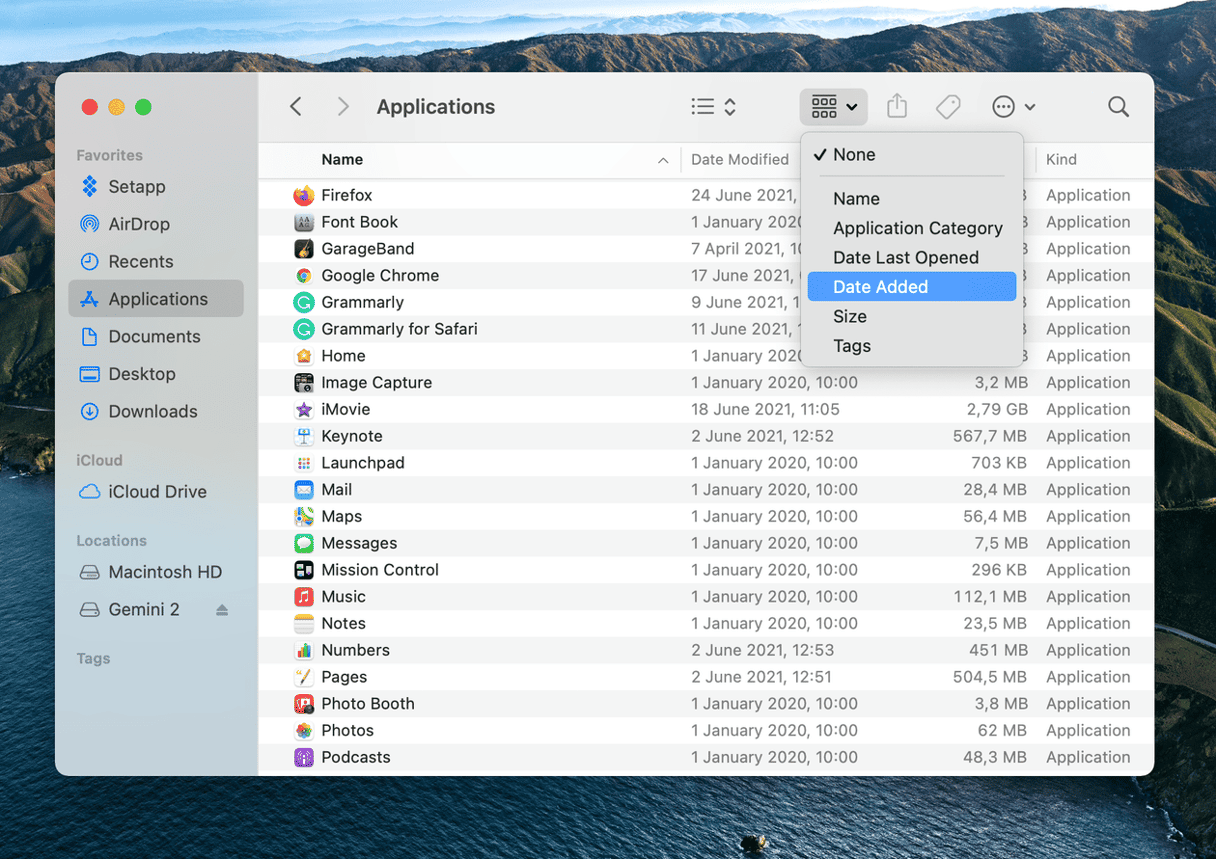
- Open Finder.
- Go to Applications.
- Click the Group icon and select Date Added.
The oldest apps will be at the end of the list — right-click any unused app and move it to Trash.
7. Remove language files
Every app you use is translated into different languages so more users can enjoy it. The app stores those localizations on your Mac, which can take up to 1GB of space. But if you have not enough space to install Monterey, every free gigabyte counts. And what’s the point of those unused language files anyway? So, here’s how to delete them:
- Go to Finder > Applications.
- Right-click the app which language files you want to delete.
- Select Show Package Contents.
- Here, open the Resources folder.
- Find the folders ending with “.lproj.”
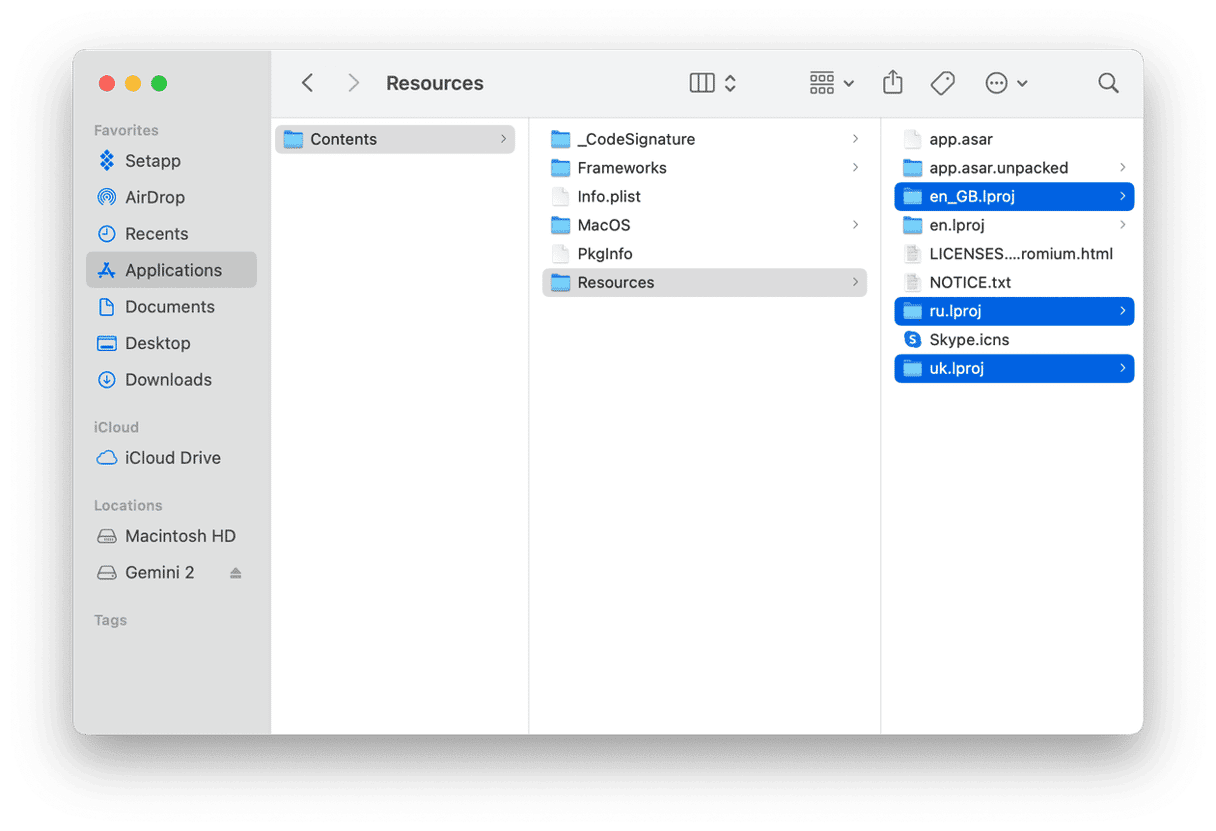
Every folder contains files for one language — remove the folder to delete the app localization. A faster way to delete localization files is by using CleanMyMac: it shows all language files stored on your Mac and lets you remove them with just a few clicks.
Hopefully, this helped you clear up your storage space and successfully update your Mac to macOS Monterey. Enjoy the features of the new OS, and come back for more tips!


