Each year, Apple releases one major macOS update and up to 10 minor ones. So, you’ll have to update your Mac around 10 times per year, and most of the time, the process is simple and straightforward. You just go to System Settings > General > Software update and do it from there. Sometimes, though, your Mac may be stuck on “Checking for updates” — all you will see is a spinning wheel. If that’s what happened to you, here’s what you can do to fix Mac software update stuck on checking for updates. Let’s dive in!

Why is my Mac stuck on checking for updates?
There are lots of possible reasons for your Mac getting stuck checking for updates. Here are the most common ones:
- Poor internet connection: it could be that your Wi-Fi network or internet connection is very slow or has stopped working altogether.
- Issues with Apple’s servers: if they are busy or down, you won’t be able to update your macOS.
- The lack of free storage: it could be that there’s not enough space for the installer to download and run.
- Software glitches: some system extensions may be preventing your Mac from updating.
The good news is that whatever the reason, it’s very unlikely to be serious, so you should be able to fix it quite easily.
How to fix it when your Mac is stuck on checking for updates
We’ve listed the steps you should take in order of the easiest to do and the most likely to fix the issue, so it’s a good idea to follow them in order.
1. Make sure it’s really stuck
Is your Mac really stuck on checking for updates, or is it just taking longer than it normally does? Before taking action to fix the problem, make sure it’s not just a little slow. Carry on using your Mac or go and make a cup of coffee. Give it half an hour or so. If it’s still checking after that, go to the next step.
2. Check how much free storage you have
A lack of free storage shouldn’t prevent your Mac from checking for updates, but it might prevent one from installing, so it’s worth checking now. Go to System Settings > General > Storage and make sure you have at least 25GB free.

Of course, it’s better to have more than 25GB of free storage to make sure that your Mac runs smoothly. If you wonder how to free up space, check out this handy article with the most effective cleaning tips and tricks.
3. Free up memory
Freeing up memory can solve many problems on your Mac. You can use Activity Monitor to identify resource-hungry apps, but a third-party tool might be quicker and more efficient. We recommend CleanMyMac. Its helpful Menu provides detailed insights into your Mac's health, allowing you to monitor memory and CPU usage.
Follow these steps to free up memory:
- Get your free CleanMyMac trial.
- Click the CleanMyMac Menu icon in your menu bar.
- Click "Free Up" on the memory panel.
- Review the list of apps consuming the most memory under Top Consumers. Quit any unnecessary apps.
- Once complete, try checking for updates again.

4. Restart your Mac
Restarting your Mac is an excellent way to fix lots of problems your Mac may be having. It clears out memory, gets rid of temporary files, and resets the NVRAM and SMC on Macs with Apple silicon.
Just head over to the main Apple menu and click Restart.

Once you’ve restarted your Mac, go back to System Settings > General > Software Update and try checking for updates once again.
You can also try shutting it down completely and see if it helps. In the main Apple menu, choose Shut Down instead of Restart. Wait for all the lights to go off and press the power button to turn on your Mac.
5. Check your internet connection
If restarting your Mac didn’t work, the next step is to check your internet connection. Is it running slowly? Is it dropping out? macOS updates are several gigabytes in size and need a stable internet connection. Try streaming a video to see if your internet connection is OK.
6. Check Apple’s servers
If your internet connection is fine, it’s time to check the other end — Apple’s servers. Apple has a page on its website where you can check the status of all of its online services, including updates. The page is here. Click the link and look for ‘macOS Software Update.’ If it has a green light next to it, it’s working properly. If not, the update server may have a problem, and you’ll have to wait until it’s fixed.

7. Clear App Store cache
Sometimes, clearing the App Store cache may help fix the issue with software updates. It is easy to do:
- Open Terminal and run this command:
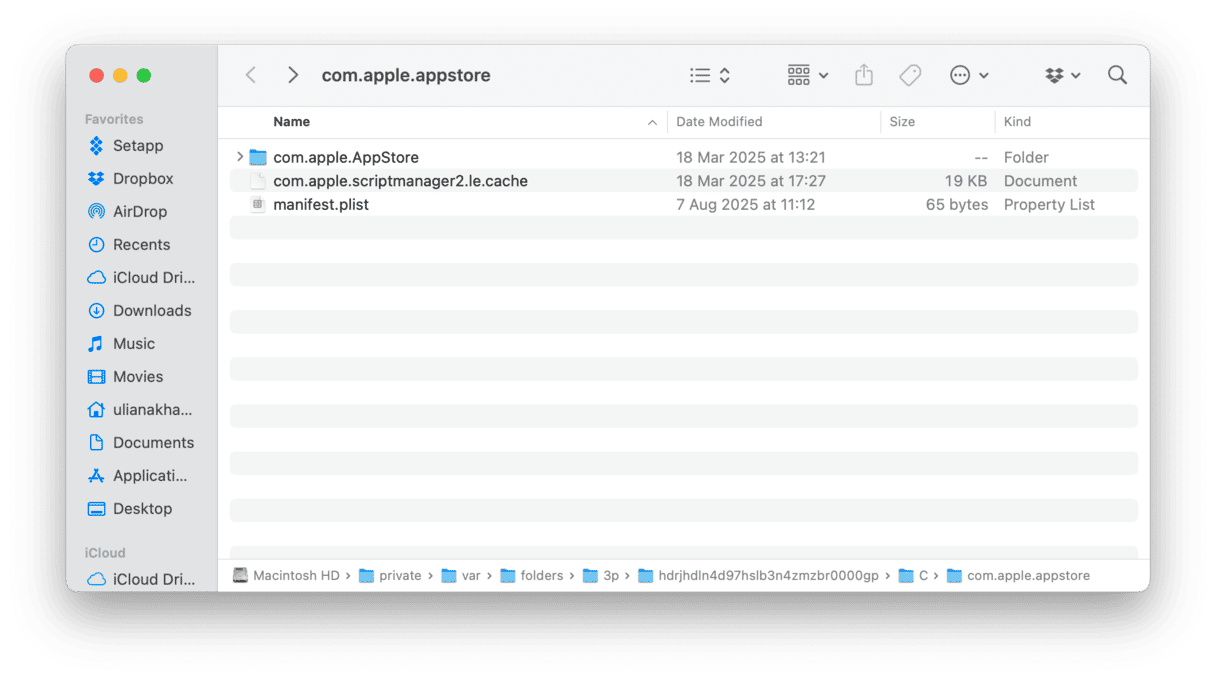
open $TMPDIR../C/com.apple.appstore/
- Drag the contents of the com.apple.appstore folder to the Trash.
- Now, press Shift+Command+G and paste this path followed by Return in the pop-up: ~/Library/Caches/com.apple.appstore/
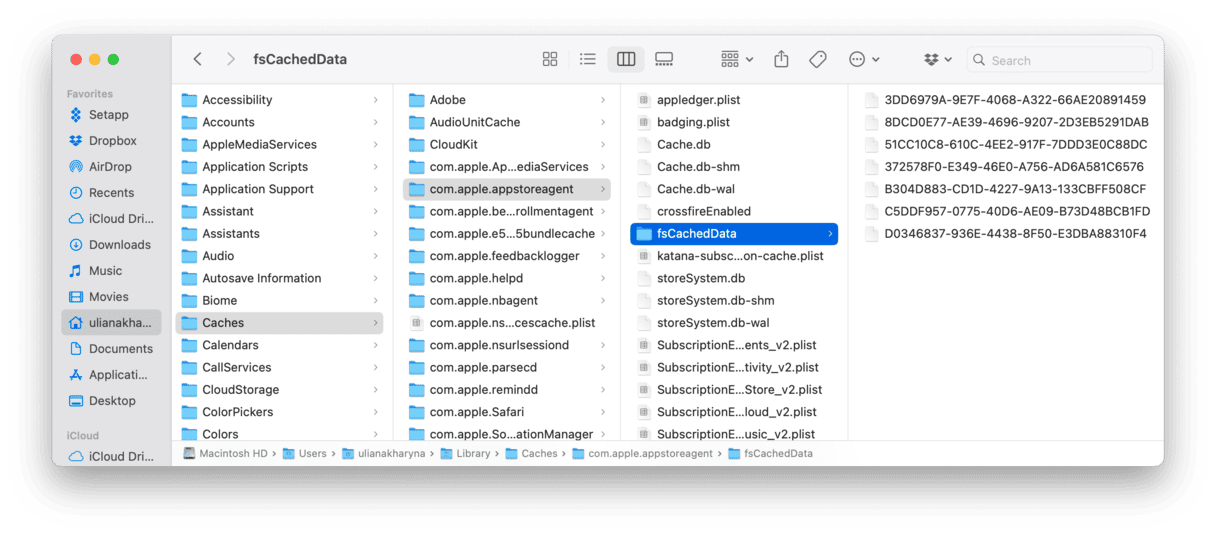
Depending on your macOS version, you may need to paste this path:
~/Library/Caches/com.apple.appstoreagent - Drag the contents of the fsCachedData folder to the Trash.


Do not forget to empty the Trash.
8. Reset NVRAM
NVRAM stands for non-volatile random-access memory. It stores vital system information about settings, and resetting it may fix numerous issues. On a Mac with Apple silicon, it resets automatically. On an Intel-based Mac, follow these steps:
- Shut down your Mac.
- Immediately press the Command+Option+P+R keys and the power button.
- Press and hold them until you hear the startup chime.
- Release the buttons and press the power button again to turn on your Mac.

9. Restart in safe mode
If nothing so far has worked, the next thing to try is to restart in safe mode. Safe mode loads only those extensions that are needed for your Mac to boot, meaning that if the problem is being caused by an extension, it should be resolved. On Macs with Apple silicon, it also performs a check on your boot disk and fixes any problems it finds. Before restarting in safe mode, it’s a good idea to disconnect any peripherals you’re not using.
The process for restarting in Safe Mode is different for Apple silicon and Intel-based Macs. Choose the method for your Mac below.
Apple silicon
- Shut down your Mac.
- Press and hold the power button until you see ‘Loading startup options’ on the screen.
- When you see the option on the screen, choose your startup disk and press and hold the Shift key.
- Choose Continue in Safe Mode.
- Your Mac will restart, and you will see ‘Safe Boot’ in the menu bar.
Intel
- Shut down your Mac.
- Press and hold the Shift key and then press the power button.
- Release the Shift key when you see the login window.
- Log in with your usual admin username and password.
- Log in again if necessary.
- Your Mac will restart, and when it boots, you will see Safe Boot in the menu bar.
10. Reinstall macOS
This is the most drastic solution since it means booting your Mac in recovery mode and reinstalling macOS from scratch. However, if nothing else works and you can’t update, it’s worth doing. Be sure to back up your Mac before you start because while you shouldn’t lose data during the reinstall, it’s always a possibility. It’s best to use Time Machine to run the backup because you can then restore your data very easily.
As with safe mode, the process for booting your Mac into recovery mode is different for Apple silicon and Intel Macs. Follow the steps below for your Mac.
Apple silicon
- Shut down your Mac and then press and hold the power button until you see startup options.
- Select the gear icon labeled Options.
- Click Continue.

Intel
- Shut down your Mac.
- Press the power button and hold down Command-R until you see an Apple logo or other image.

When your Mac finishes booting, you will see the macOS Utilities screen. From there, choose Reinstall macOS. Follow the instructions on the screen.
Once macOS has been reinstalled, you can check for updates again from System Settings.
Keeping your Mac up to date is important for security reasons as well as to take advantage of new features, bug fixes, and performance improvements. So it’s frustrating when it gets stuck on checking for updates. Thankfully, it’s usually easily fixed. Most of the time, all you have to do is wait a little while and try again. But if that doesn’t work, follow the steps above in order, and you should be able to update your Mac.


