So, you want to update your Mac because you know how crucial having the latest macOS version is for keeping your computer running smoothly and free from bugs and malware. But what do you do if your Mac returns the message ‘no updates available’? Perhaps, you start asking yourself, “Why can’t I update my Mac?” Keep on reading to find out why it happens and how to fix it.
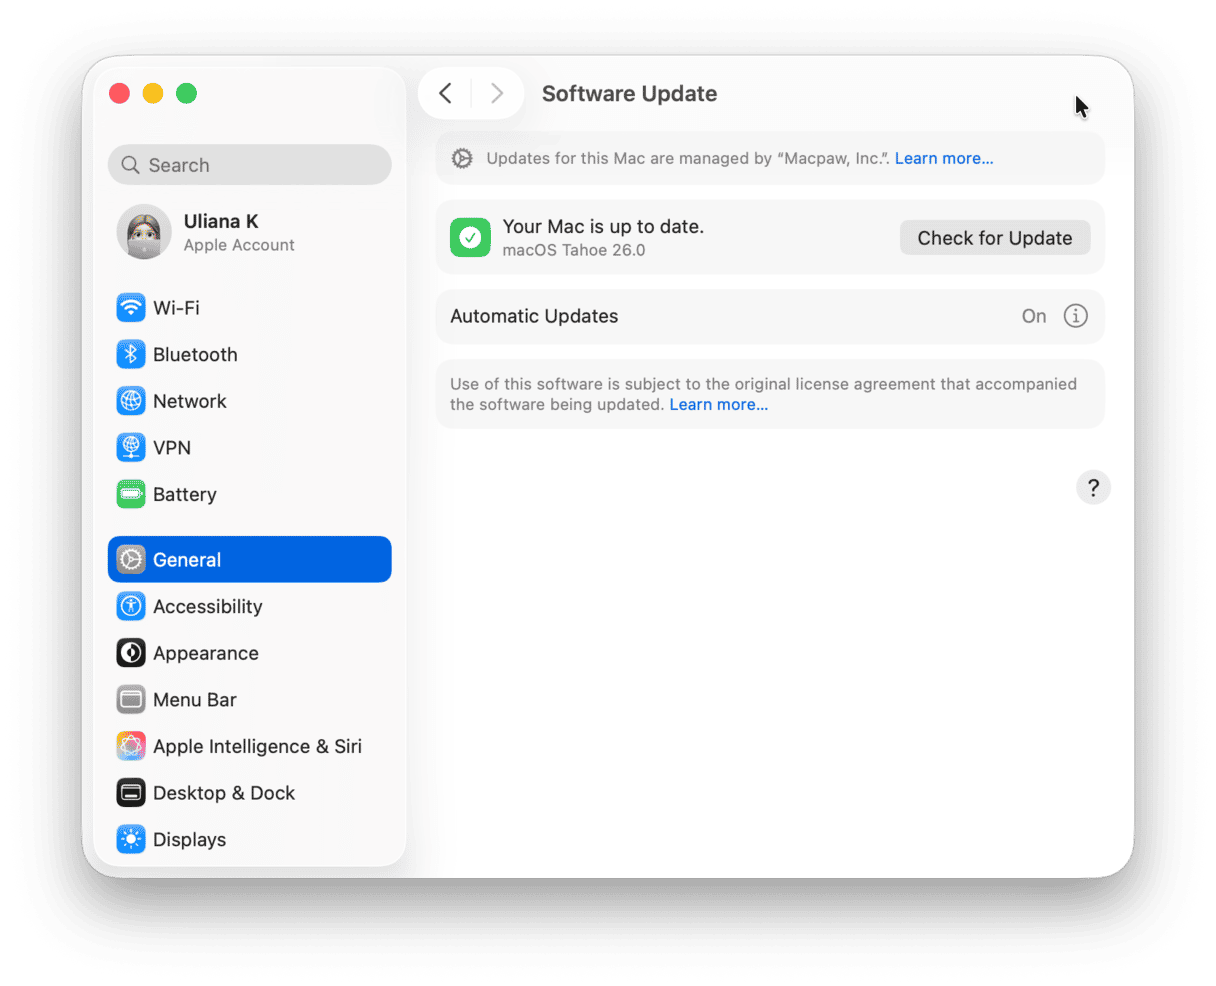
Why are there ‘no updates available’?
There are several reasons why your system doesn’t show an update:
- Compatibility issues. Sometimes, your system won’t see an update because your Mac is no longer compatible with the latest macOS version released.
- Internet connection. If your internet connection is not stable, you won’t see any updates.
- Issues with Apple servers. If there are any problems with Apple’s update servers, you won’t see any updates.
What does ‘no updates available’ on your Mac mean?
If you check for an update by going to System Settings > General > Software Update and it says there is no update available, it might be that there is no update available for the version of macOS installed on your Mac, even though there is one for the most recent macOS.
However, it could also mean there is an update, but your Mac can’t find it for some reason. That could be because Apple’s servers are having problems or there’s an issue with your internet connection. It can also indicate a problem with macOS on your machine. We’ll show you how to fix each of those problems.
What to do if you see ‘no updates available’
Like most problems you’ll run into while using your Mac, the best way to solve this one is by eliminating the most obvious possible causes first. Here’s how to do that.
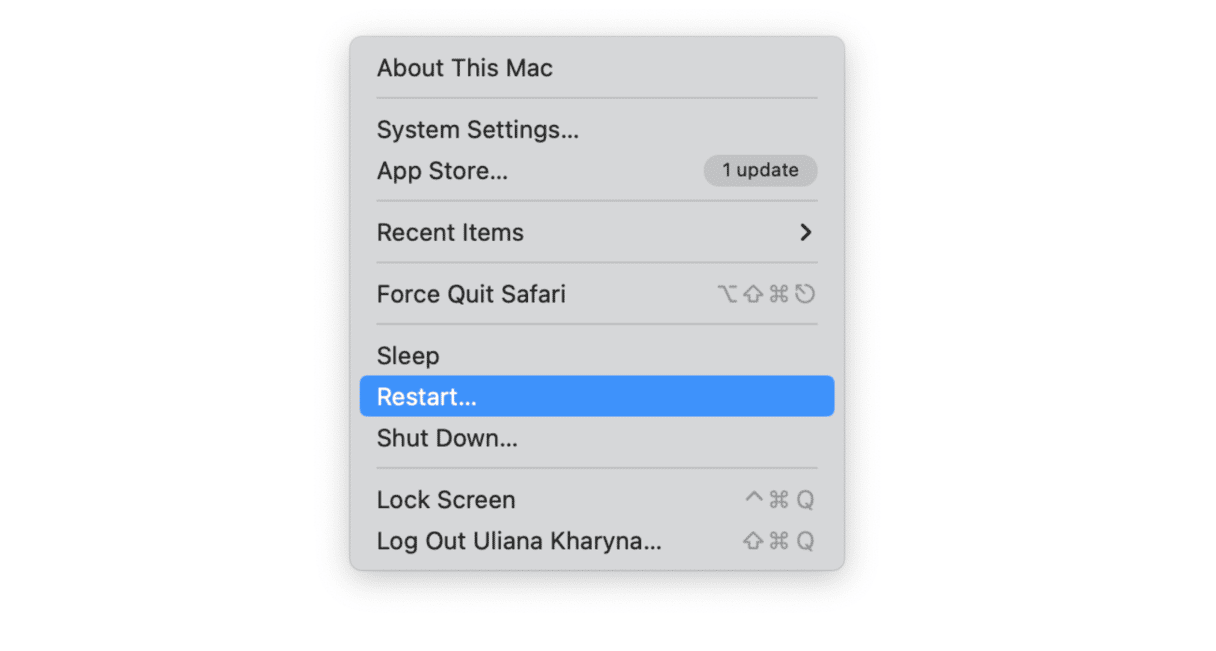
1. Restart your Mac
Often, restarting can flush out any problems, including temporary files, preventing you from connecting to Apple’s servers. It’s also good practice to restart your Mac every now and again.
2. Check your Wi-Fi and broadband
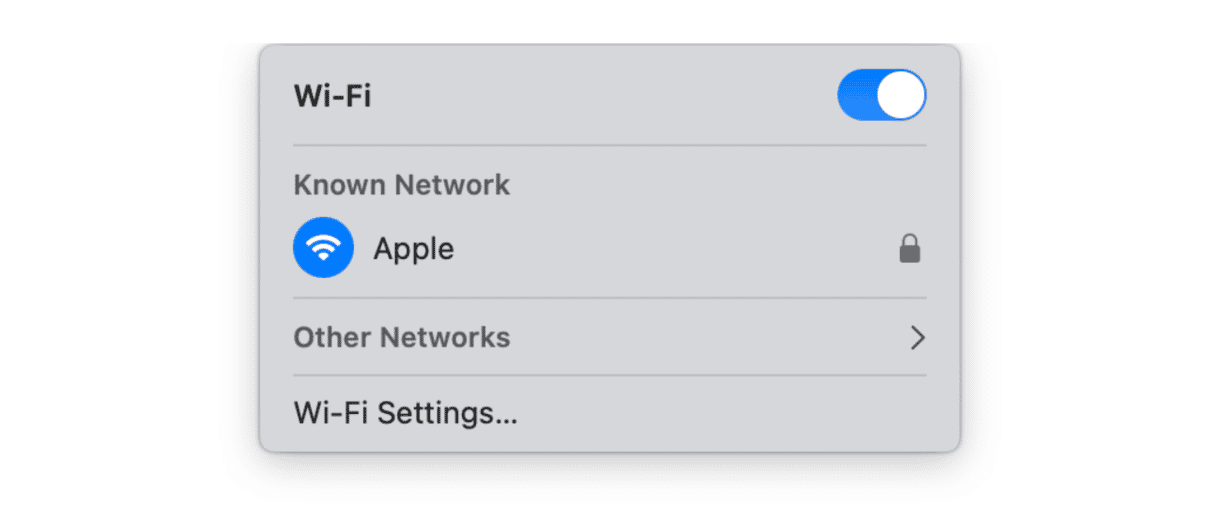
If your Wi-Fi network or internet connection aren’t working correctly, you won’t be able to connect to the software update server to check for updates. Open a web page in Safari to check. If that doesn’t load, try moving your Mac closer to your router, switching Wi-Fi on your Mac off and then on again, and restarting your router. If none of those work, check with your broadband provider whether there is a problem with their network. If you can load a web page in Safari, move on to the next step.
3. Fix issues on your Mac
If restarting your Mac doesn’t fix the problem, there could be a software conflict or other problem preventing it from identifying the update on Apple’s servers or from being able to install it.
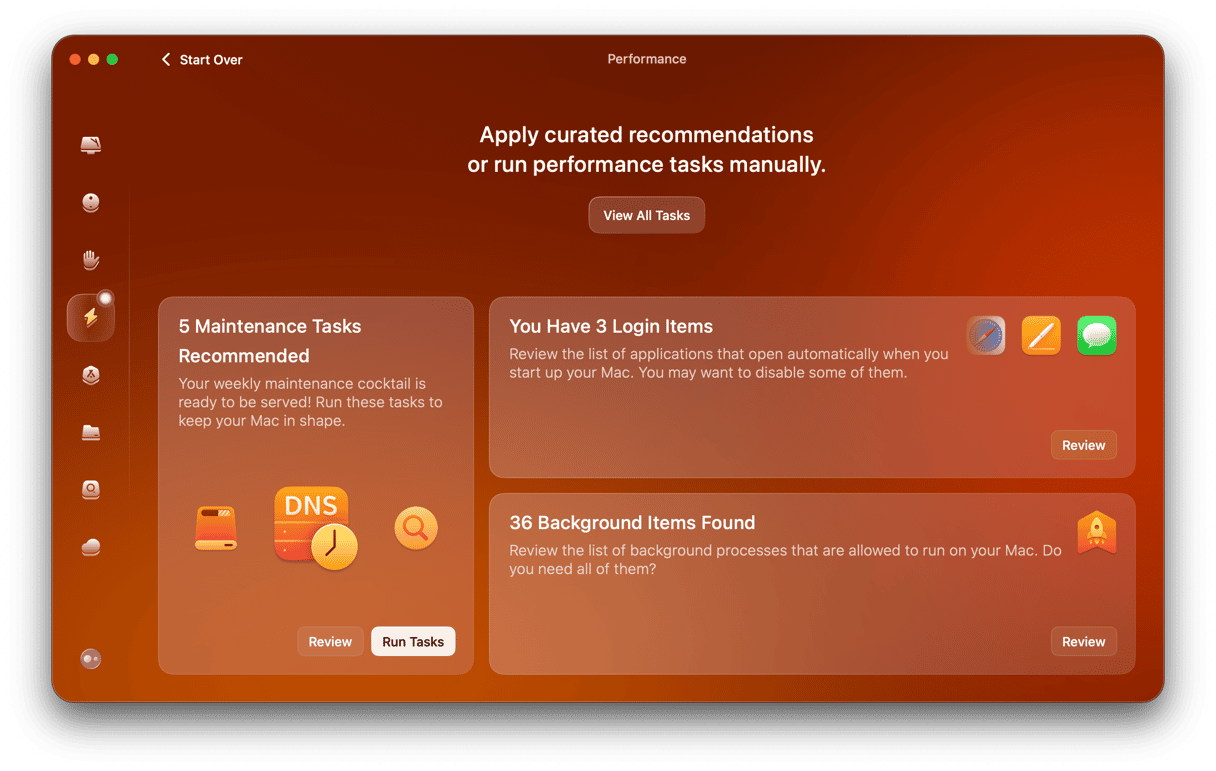
One way to deal with this is to clear out junk files on your Mac that could be causing the problem. Another is to carry out maintenance on your Mac, such as running maintenance tasks and repairing disk permissions — these are all things that will help your Mac run more smoothly in any case.
The easiest way to clear out junk files and run maintenance on your Mac is to use a handy tool called CleanMyMac. It has the Cleanup feature that is designed specifically to clear out the files that are taking up space and possibly causing conflicts on your Mac. Its Performance feature runs maintenance routines and helps optimize your Mac. Get started with a free CleanMyMac trial.
4. Check Apple’s System Status page
Apple has a status page on its website that lists all of its online services and shows you, using green or red lights, whether they are online. You can find it here.
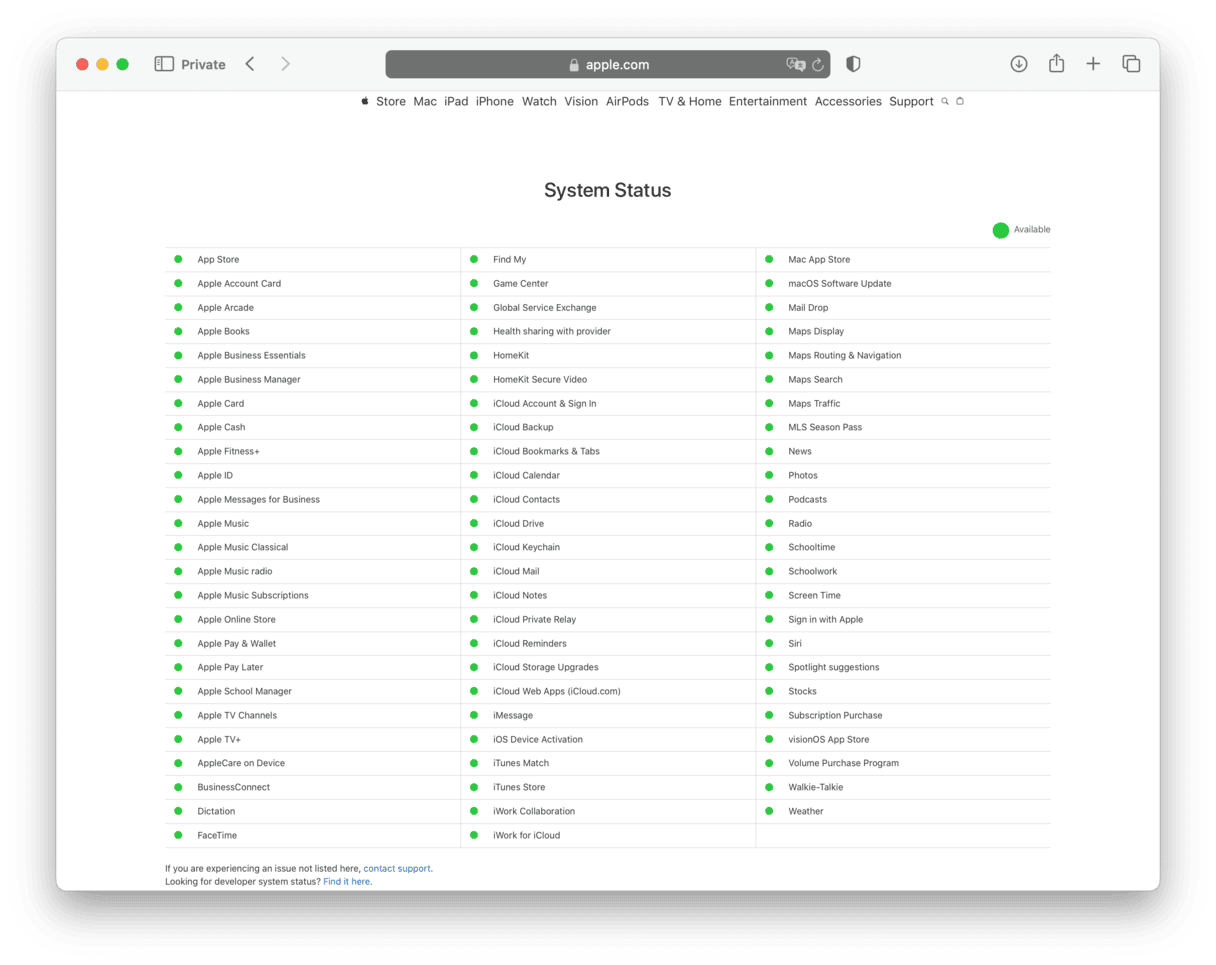
Look for the ‘macOS Software Update’ status and check that the light is green. If not, the problem is on Apple’s side, and you will need to wait until it’s fixed.
5. Make sure there is an update available
If you think there should be an update available because you saw it posted online or you saw an update in the App Store, check the official source to make sure that there is an update for the version of macOS you are running.
6. Download the update manually
If nothing we’ve described so far works, you may install macOS update from the App Store. Note, though, that you will only be able to upgrade your macOS — say, from Ventura to Sequoia. However, you will not be able to install minor updates (e.g., update from 15.0 to 15.3.1).
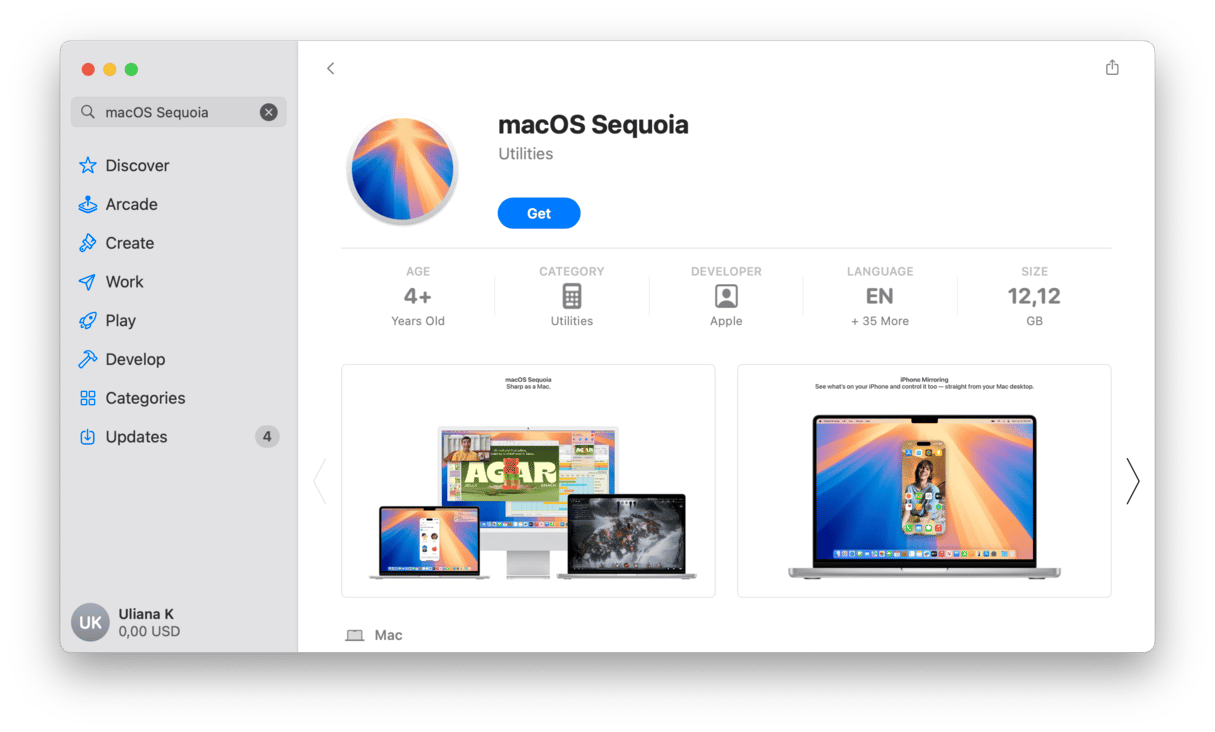
To find the needed macOS version, type the name of the macOS into the search bar and click Get. You will now download the installer. Double-click it to install the update.
For older macOS versions (like Lion or Sierra), check Apple Support article here to download macOS installers.
7. Update the macOS in safe mode
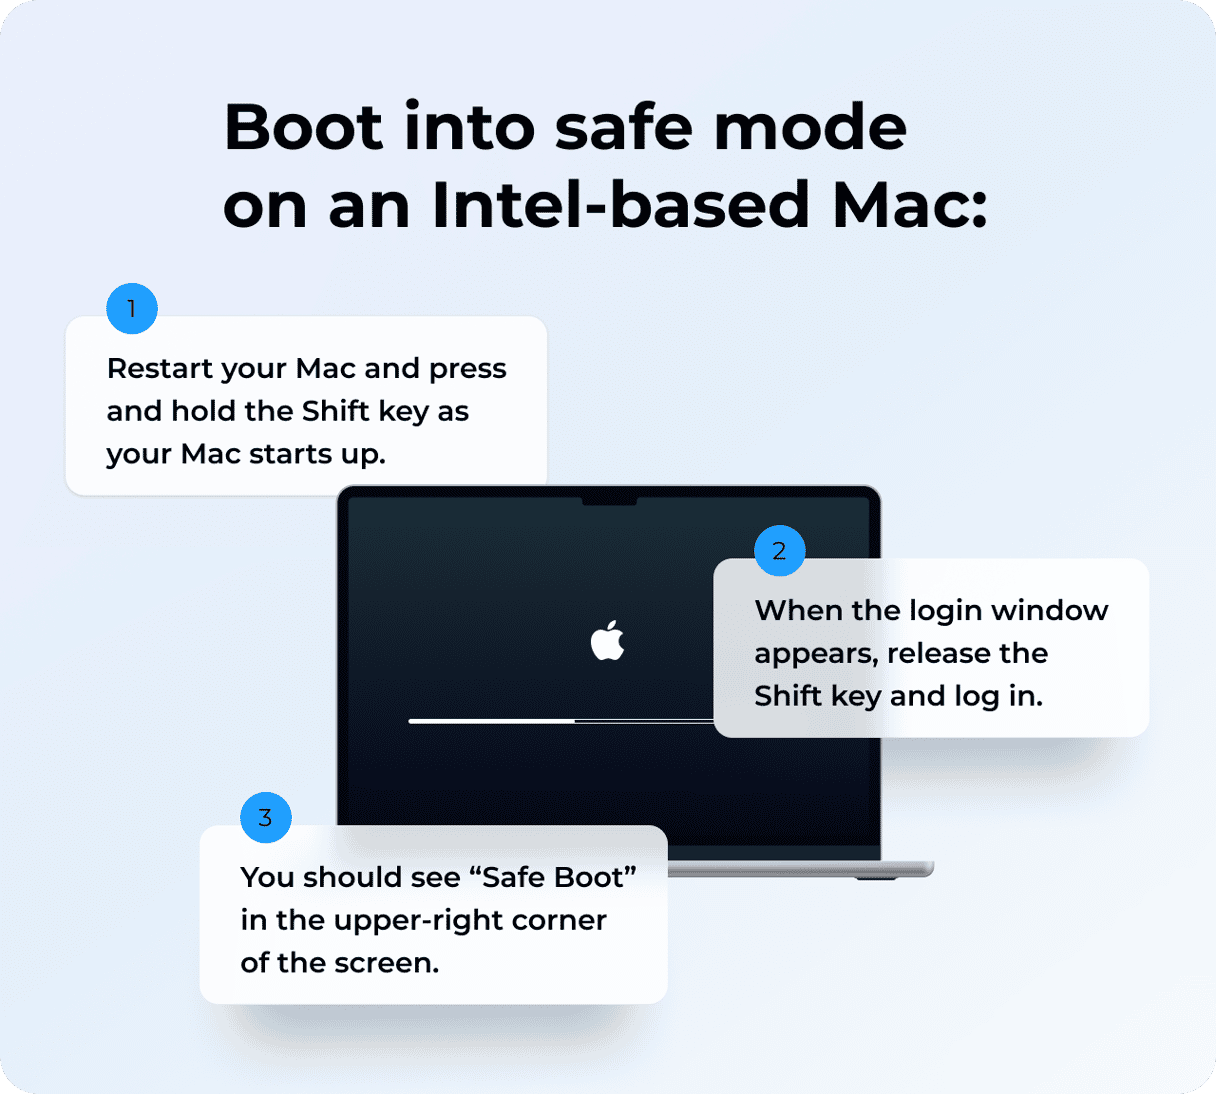
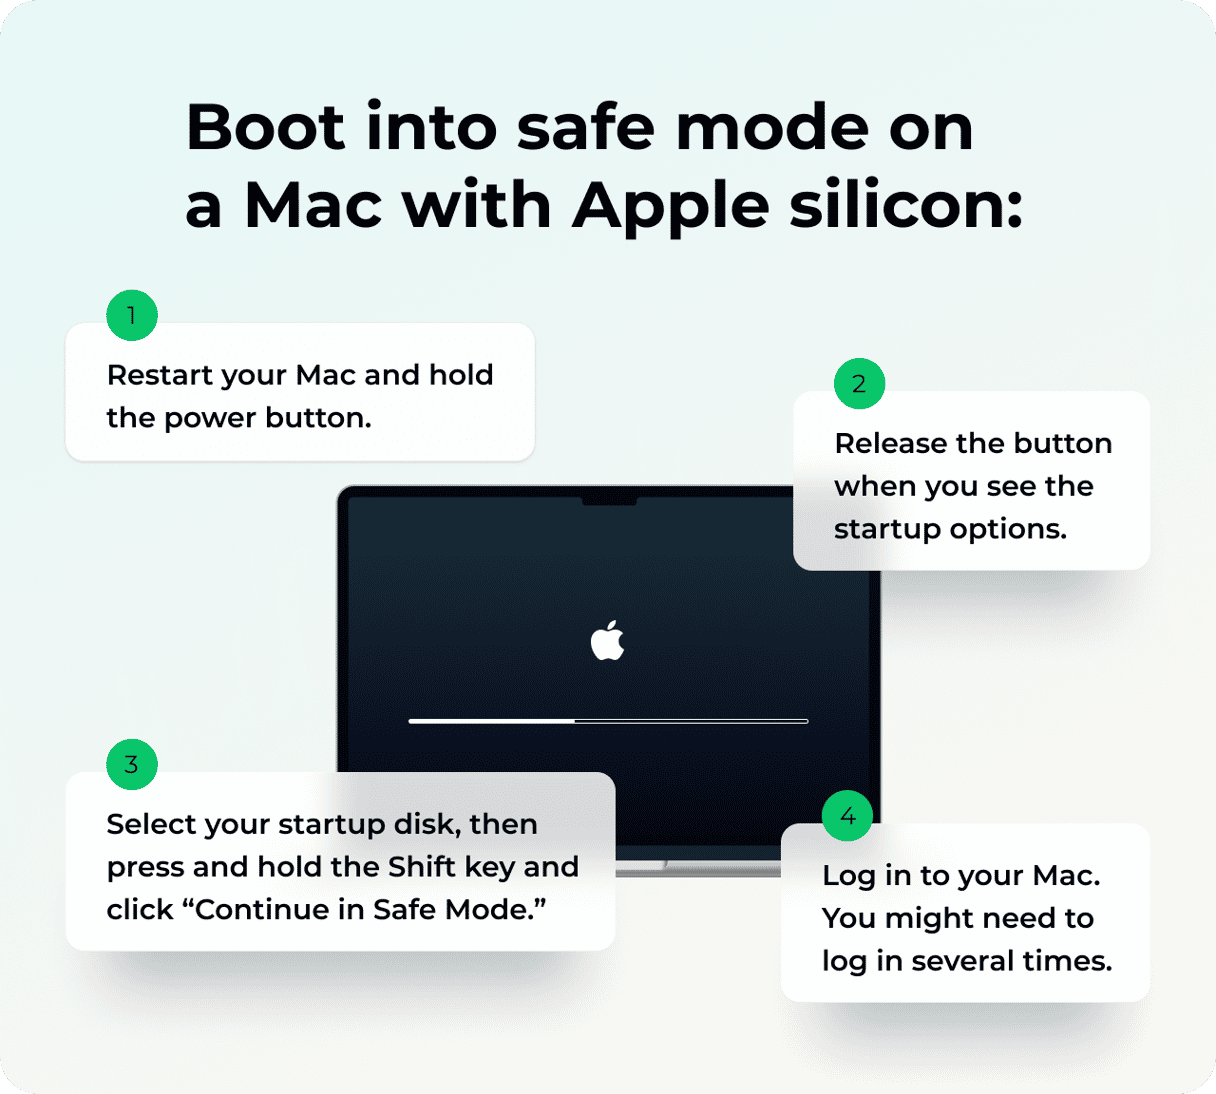
Another tip is to try to update macOS in safe mode. It is a special mode that loads only the most important processes and system extensions. The process for booting into safe mode is different for Intel-based and Apple silicon Macs.
Intel
- Shut down your Mac and wait 10 seconds.
- Restart your Mac and press the Shift key.
- Release the Shift key after the login window shows up.
Apple silicon
- Shut down your Mac and wait 10 seconds.
- Press and hold the power button until the startup options window shows up.
- Select a startup disk.
- Press the Shift key and click Continue in Safe Mode.
- Release the Shift key.
Now, go to System Settings > General > Software update and check if there are updates available.
8. Reinstall macOS
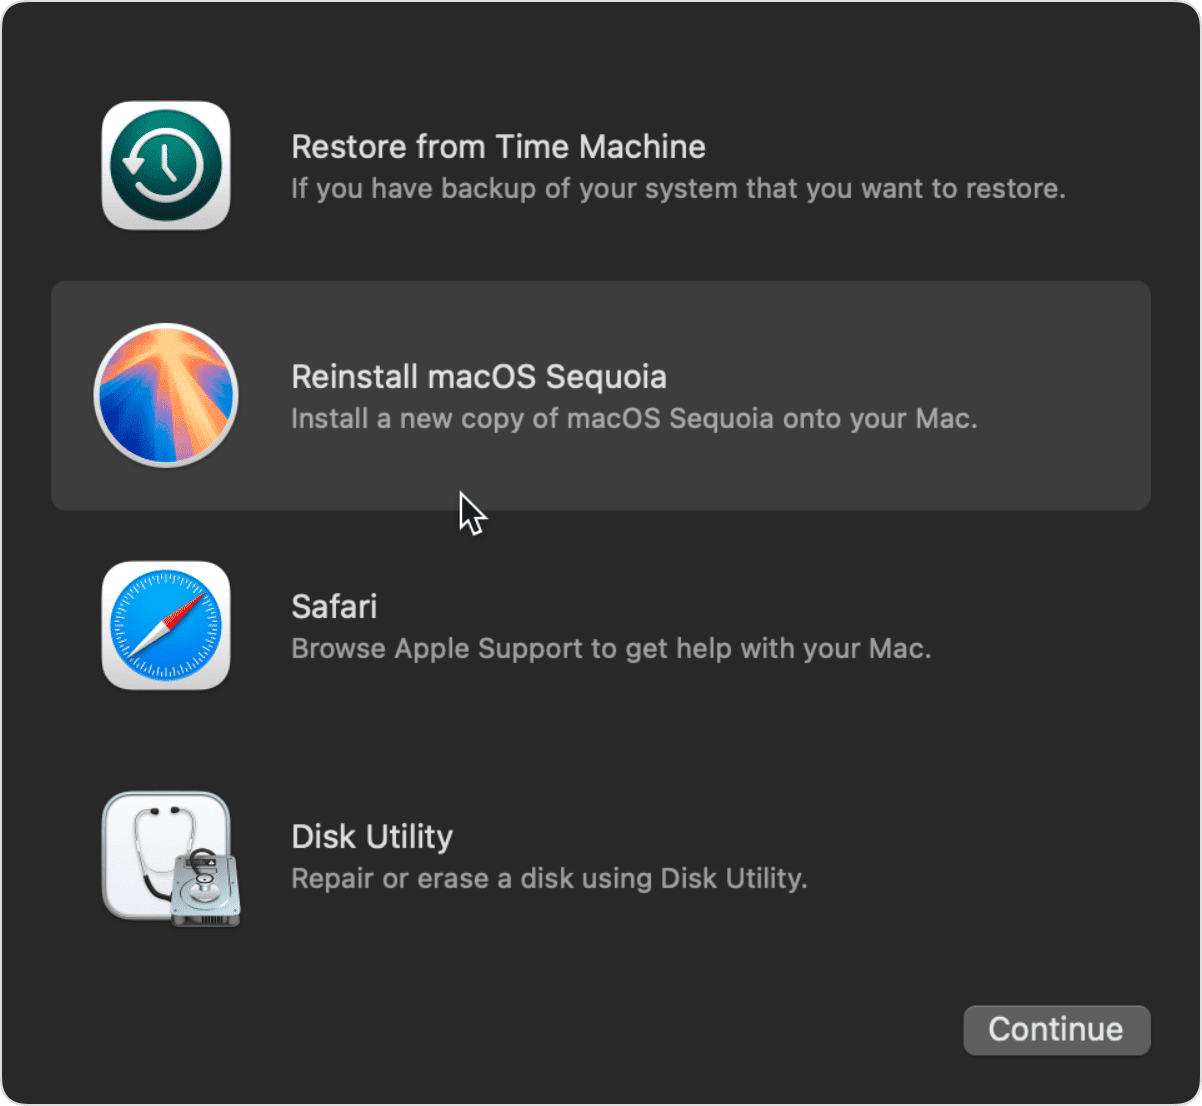
You should have updated your Mac by now, but if nothing helped, try booting into recovery mode and reinstalling macOS. macOS reinstallation rewrites your Mac’s operating system and solves any underlying system glitches that do not allow to install updates.
Before you start, back up your Mac. Reinstallation should not affect your files, but it is always a good idea to have a backup just in case anything goes wrong.
Now, boot your Mac into recovery mode:
- Intel processor: Press and hold Command + R while restarting your Mac.
- Apple silicon chip: Shut down your Mac and press and hold the power button until you see the startup options window. Click Options > Continue and select your startup disk if prompted. Click Next and enter your password.
Once in recovery mode, click Reinstall macOS.
Most of the time, we don’t have to think about Software Update. It either runs in the background if it’s set to install updates automatically or sends a notification when a new update is available. But what do you do when that doesn’t happen, and it says there is no update available? Follow the steps above, and you should be able to fix the problem and download the latest macOS update.


