What is purgeable space on Mac and can you reduce it? Yes, and you can start right now by restarting your computer or emptying the Trash. But there’s more to it. Keep on reading, and we’ll explain what it is and how to delete purgeable space on Mac manually or automatically.
What is purgeable space on Mac?
Purgeable storage consists of files that macOS deems suitable for removal. But it does not clear them until you run out of space. So, it is not free space, which is absolutely empty, but non-essential space that can be emptied automatically when you need more storage.
It appeared with the feature of Optimized Storage in macOS Sierra. When Optimized is turned on, loads of files get moved into the cloud, and for some of them, actual presence on your drive is optional.
But for which exactly and how does macOS decide which files to mark as "purgeable"? It is done based on their capability to be safely deleted and redownloaded or re-generated when needed.
These are system-generated files that comply with two criteria:
- They’re really old and haven’t been used in a while.
- They are synced with iCloud, so their original file can be removed from your Mac.
So, macOS primarily targets locally cached cloud content and old, unaccessed data and flags these files as purgeable.
How to check your purgeable space?
You can see how much space your macOS has by checking your native storage tab:
- From the main Apple menu, click About This Mac.
- Now, click More Info and select Storage Settings.
- If there is some purgeable space, it will appear as a section with white and gray stripes.

Or you can open Disk Utility from the Applications > Utilities folder, click the name of your drive in the sidebar, and find purgeable there — look for it next to Available.

Can macOS be trusted to automatically reclaim purgeable space when needed?
Yes and no. For the most part, macOS does automatically empty it when the system runs low on storage, but it is not always instantaneous or perfect. Sometimes, it may fail to release this space, leading to "low disk space" errors. Luckily, there's a lot you can do to free that space up by removing local Time Machine snapshots, caches, and cloud-synced content. Keep on reading to learn how.
How to clear up your purgeable space on Mac?
1. Use a dedicated cleaner app
The easiest trick is to use a Mac maintenance app like CleanMyMac, which has a tool designed specifically for the job of purging space on Mac. CleanMyMac is designed to avoid essential system files; it only eliminates old temporary items that no longer serve a purpose and those files that can be redownloaded and re-created.
Now, to purge space in just a few clicks:
- Start your free CleanMyMac trial.
- Go to Performance and run a quick scan.
- Click View All Tasks.
- Select Free Up Purgeable Space and click Run.

Once you’ve reclaimed purgeable space, use CleanMyMac’s Smart Care feature to remove junk files, speed up the system, update your apps, scan your Mac for malware, and declutter your storage — all in one go.

Also, it’s a good idea to clear your browser extensions, old Wi-Fi connections, and apps you don’t use as part of general Mac system hygiene.
The benefits of using CleanMyMac
- According to internal data, on average, a Smart Care scan and clean take up less than 3 minutes
- Based on internal company data, on average, users find and remove 4.9 GB of unnecessary items after the first Smart Care scan
- Comes with 25+ tool to clean, maintain, and protect your MacBook
Test CleanMyMac for free — reduce purgeable space and declutter your Mac in two clicks.
Yet CleanMyMac is a great and effective cleaning tool, there are other similar apps on the market. Check out this article to learn more about the best Mac cleaner software.
There’s still a lot you can do to free up that space on Mac. Keep reading.
2. Restart your Mac
Basically, every Mac troubleshooting guide should begin with this recommendation. Purgeable space is space that can be freed up by macOS automatically, and restarting your Mac is one way to do it.
All you have to do is go to the Apple menu and click Restart.

3. Enable Optimized Storage feature
To have your macOS remove files that can be purged when it’s needed is to have your Optimized Storage turned on. To do it, go to Storage Settings once again by following the steps outlined above and check Recommendations under the colored bar. Now you can turn any option you’d like to be synced with iCloud. If you still run an older macOS version, you can read more on Optimized Storage and how to use it.
4. Clear purgeable space in Terminal
If you are looking for a way to get rid of purgeable space without restarting your Mac, you can use Terminal. Note, though, that this method is complicated and can be fallen upon only if you are comfortable with using the command line. If you are not, skip to the next section.
If you want to use Terminal, follow these steps:
- Open Terminal from Applications > Utilities, Launchpad, or via the Spotlight search.
- Now, paste the following command:
mkdir ~/largefilesand press Return. It will create a folder named largefiles in the home directory.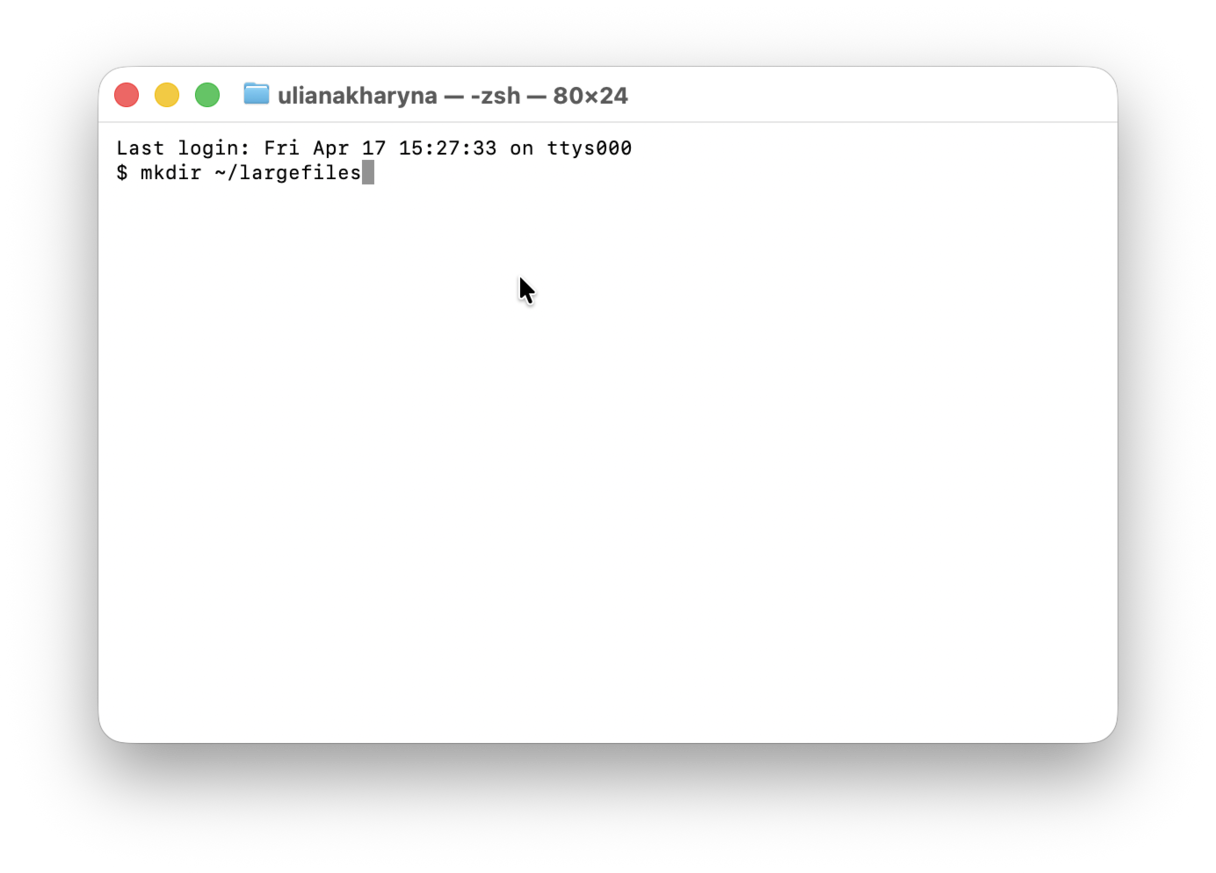
- Next, paste this command, pressing Return afterward:
dd if=/dev/random of=~/largefiles/largefile bs=15m— it will create a file named largefile within the largefiles folder you created earlier. - A few minutes later, press Ctrl + C to stop the previous step and paste the following command:
cp ~/largefiles/largefile ~/largefiles/largefile2and press Return. - Continue running this command, changing
largefile2to a different name every time. - Stop running this command when you see the message telling you that your disk is critically low.
- Now, paste the following command:
rm -rf ~/largefiles/and press Return.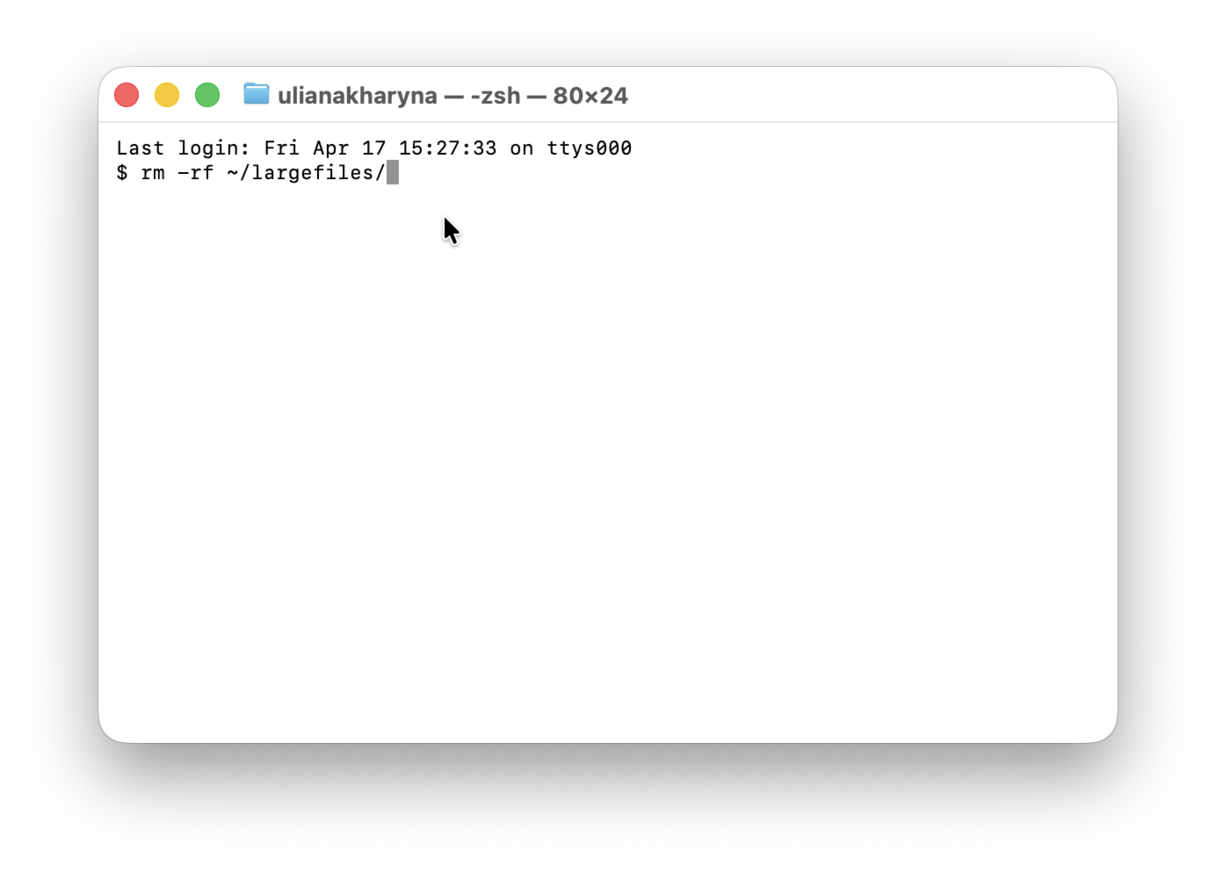
- Finally, empty the Trash.


Instead of running Terminal commands, try using CleanMyMac’s My Clutter feature. It scans your Mac for duplicates and large and old files, making it easy to declutter your Mac and free up valuable space. And you do not risk losing anything valuable or affecting the proper work of your macOS by running a wrong command. Just open the app and click My Clutter > Scan. Review files you no longer need and click Remove. Easy!✅

5. Clear cache files
Another way to clear purgeable space is to clear cache files. It can be done manually via Finder. Just follow these steps:
- From a new Finder window, click Go in the menu bar.
- With Option pressed, click Library.
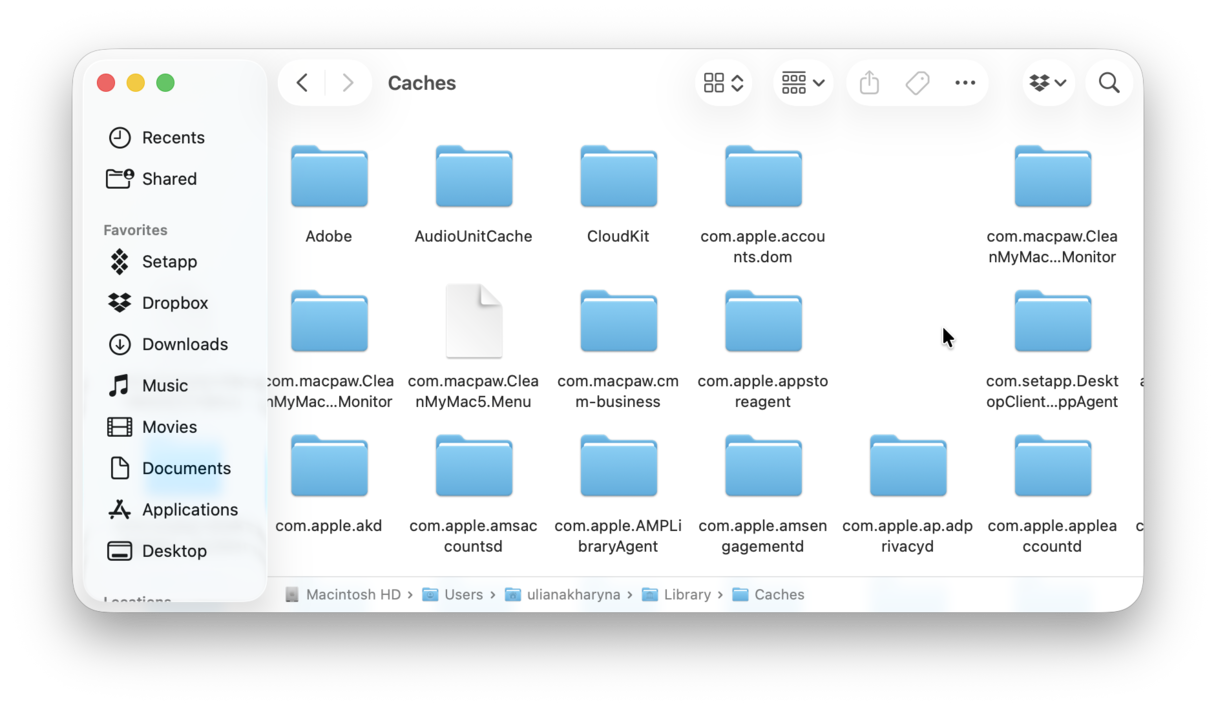
- Go to Caches.
- Now, delete files you don’t need. Note that you should not remove folders, only files from them. Double-check what you delete to avoid removing files vital for the operation of macOS.
- Empty the Trash.

If you are unsure which files to delete, CleanMyMac can help by identifying and removing cache items. In addition to cache files, CleanMyMac detects other types of junk: universal binaries, document versions, unnecessary language files, and outdated log files, to name just a few. All you have to do is click Cleanup > Scan > Clean.
If you want to learn more about different cache types and how to remove these files, check out this ultimate guide.
6. Disable Time Machine backups
Finally, check if Time Machine backups are enabled. It is a good idea to keep them turned on, but if you want to free up even more purgeable space automatically, disable them. Here’s how:
- From the main Apple menu, go to System Settings > General.
- Click Time Machine.
- From the Back up frequency menu, select Back up manually.

Should you use third-party tools to purge your hard drive?
Using third-party tools to purge your Mac's drive can speed up reducing purgeable space. But make sure to consider both pros and cons of such apps before you choose one that will work best for you.
Pros:
- Automation. As we’ve shown, the process of cleaning up purgeable space is tedious and time-consuming. If you use a third-party cleaning software, it will be much faster.
- Ease of use. Most cleaners come with an intuitive design, and you will need just a couple of clicks to do the job.
- Effectiveness. For the most part, Mac cleaning tools are designed in a way to ensure the deletion of only those files that are safe to remove. So, you can rest assured that nothing vital is sent to the Trash.
Cons:
- Potential privacy and security concerns. All third-party tools designed to purge space have access to the deepest parts of macOS. If you choose a trustworthy developer, though, your data should be safe.
- Malware and viruses. Some “Mac cleaners” are malicious software, not trustworthy apps.
- Risks of data loss. If you use a semi-automatic cleaning tool — one that allows you to browse deep in the macOS and choose files for deletion by yourself — you may lose some data by accidentally selecting vital files.
Given the abovementioned, as long as you research what you download to your Mac, using a third-party tool for purging the hard drive is a viable cleaning option.
Key takeaways
- To quickly free up purgeable space. restart your Mac, empty Trash, and run a Smart Care scan using CleanMyMac
- When to use Terminal: when you know what you're doing and how to recover accidentally removed files
- When to run a third-party app: when you do not want to spend hours clearing up space and have a safe-to-use tool from a trusted developer
That’s about all you need to know about what purgeable space is on Mac, so we hope this article has been of help. macOS is a great addition to Mac, and we’re glad it has space-saving features and other cool stuff (Siri!), but it could’ve been a bit clearer to users, that’s for sure. Anyway, have a good day, and keep your Mac clean.
Frequently asked questions
What is the difference between purgeable space and 'Other' or 'System Data' in About This Mac storage?
Purgeable space is temporary, iCloud-backed, or cache data that macOS automatically deletes when space is needed. Conversely, 'System Data' (or 'Other') is a permanent, miscellaneous category comprising logs, caches, and app files that must be manually managed or reduced by the system.
Is purgeable space a good or a bad thing?
It is both. Purgeable space is a good thing because it lets macOS automatically manage storage and maximize free space. But it can be a bad thing in that you'd need an internet connection to make it possible for macOS to offload these files and for you to re-access the data that was removed automatically. It can inhibit system tasks, too. Also, given that purgeable relies on iCloud, it might have cost implications, as you might need to invest in a higher-tier iCloud plan.
Why can't I see or browse purgeable files directly in Finder or a disk scanner?
It is because files flagged as purgeable are not traditional files occupying active storage; rather, they are placeholders, cloud-synced items, or system-managed APFS snapshots that macOS manages automatically. They are designed to be "invisible" so the operating system can delete them instantly when space is needed without user intervention.
Why does a small amount of purgeable space (7–10 GB) always remain even after purging?
macOS deliberately retains it for system stability and because the operating system immediately creates new temporary files to function. So, it is not stuck; instead, it is a byproduct of how macOS manages temporary storage, Time Machine backups, and file system caches.
Does the sudo purge Terminal command actually reduce purgeable space, or is it unrelated?
It is unrelated. The sudo purge command in Terminal clears the RAM and disk caches (temporary memory) to simulate a cold boot for performance troubleshooting.
What should I do if purgeable space seems out of control and keeps growing?
If purgeable space on your Mac is constantly growing and not automatically clearing, it is often due to a backlog of Time Machine local snapshots, large caches, or a failed sync with iCloud. If it suddenly ballooned to tens of gigabytes, it is almost always because of Time Machine snapshots (perhaps, you have not disconnected a drive to which you back up your Mac). If that is your case, follow the steps above one by one to reduce purgeable space manually. Be ready that a simple restart won't always fix it.